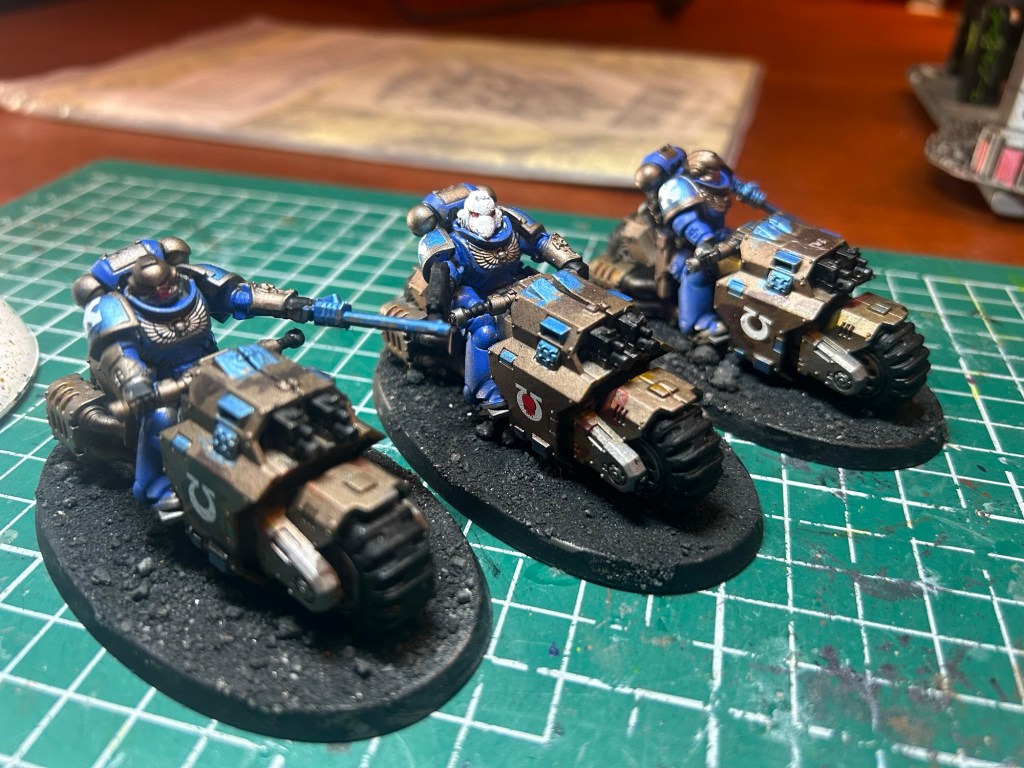
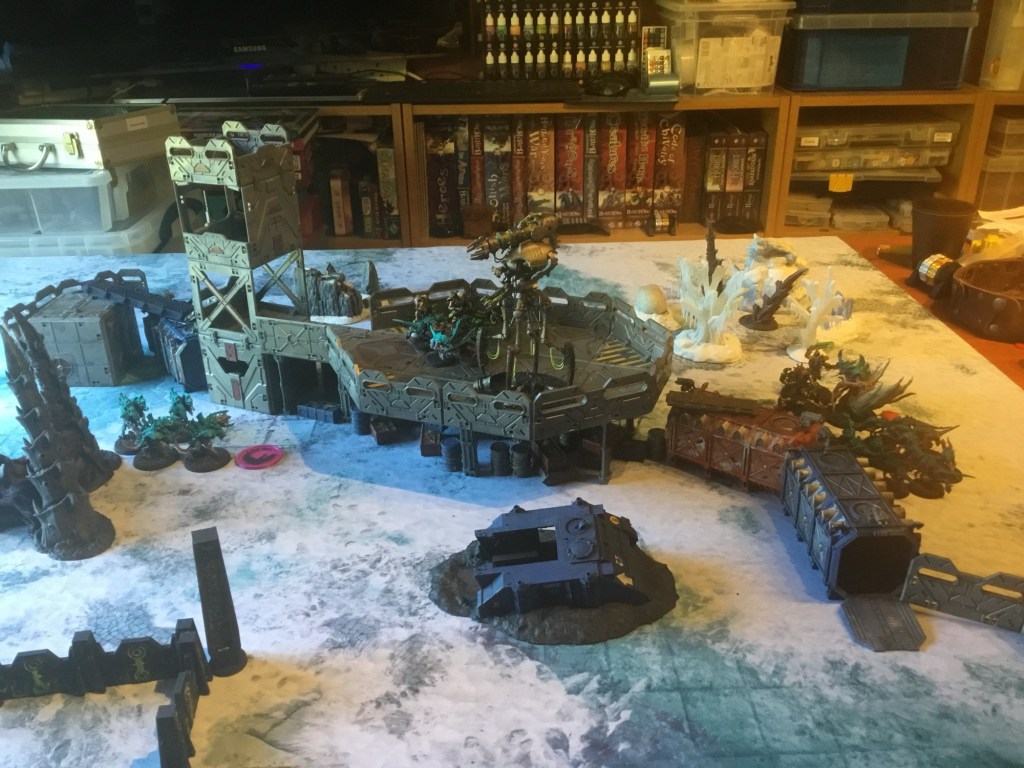
Link has set up a small battle to play with his friend this week. The space marines using his new painted jet pack and outrider squads vs essentially a Necron combat patrol.
The Necrons are attacking the space marines base in the ruins of a fallen civilisation on a planet being consumed by lava.
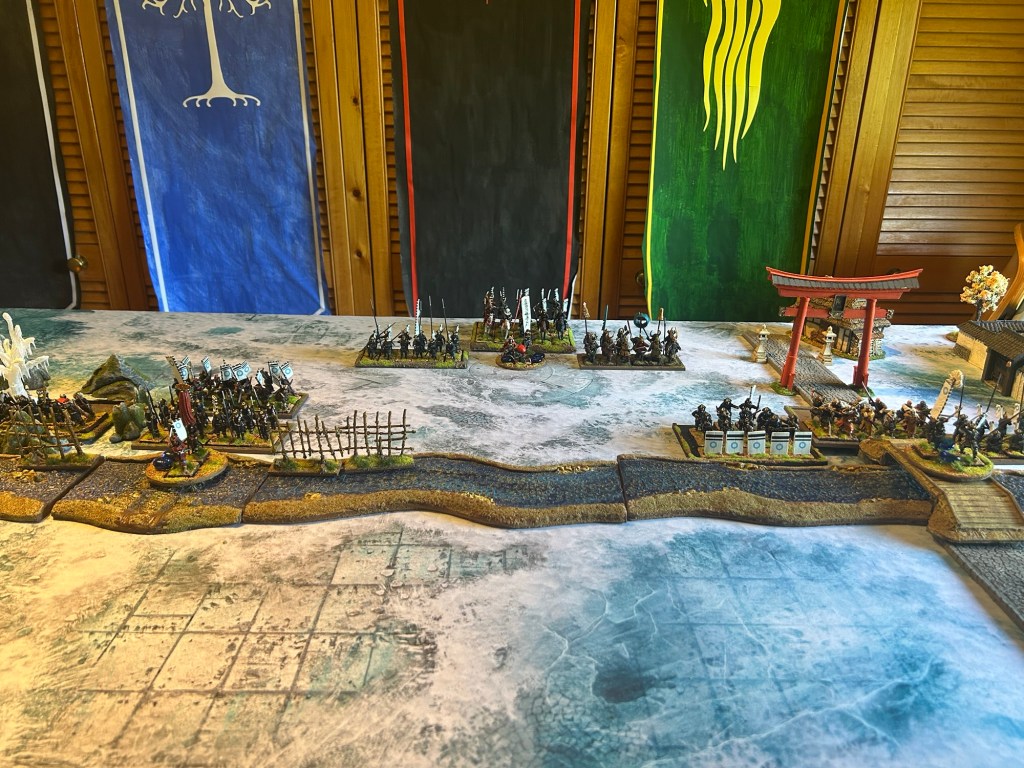
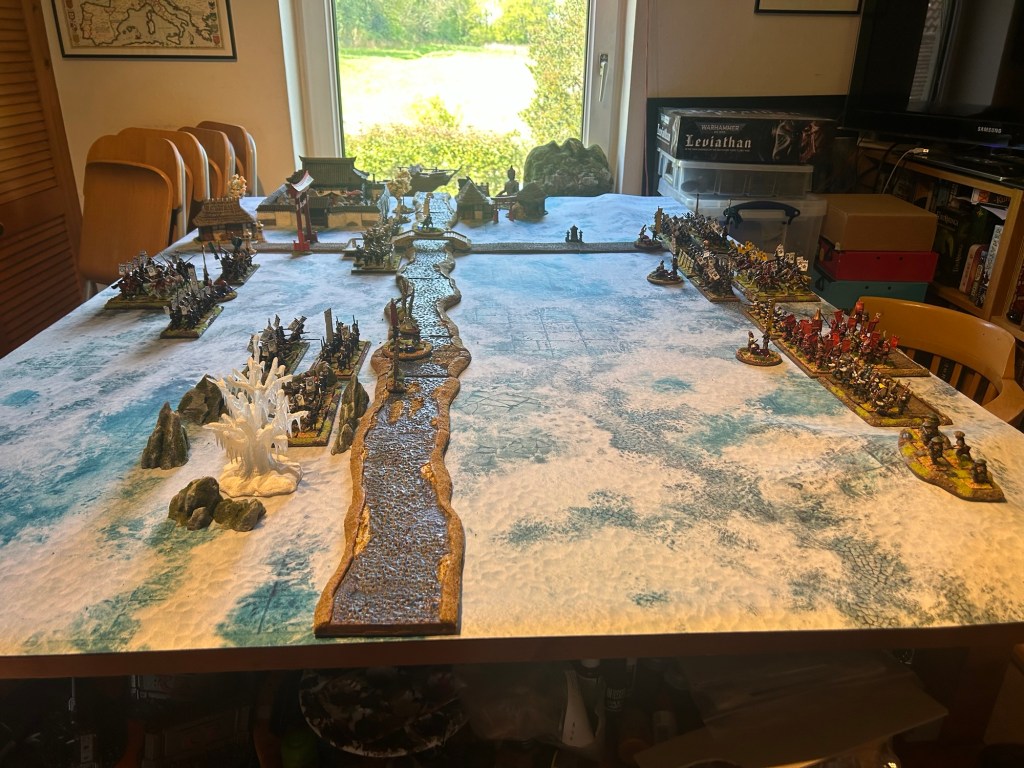
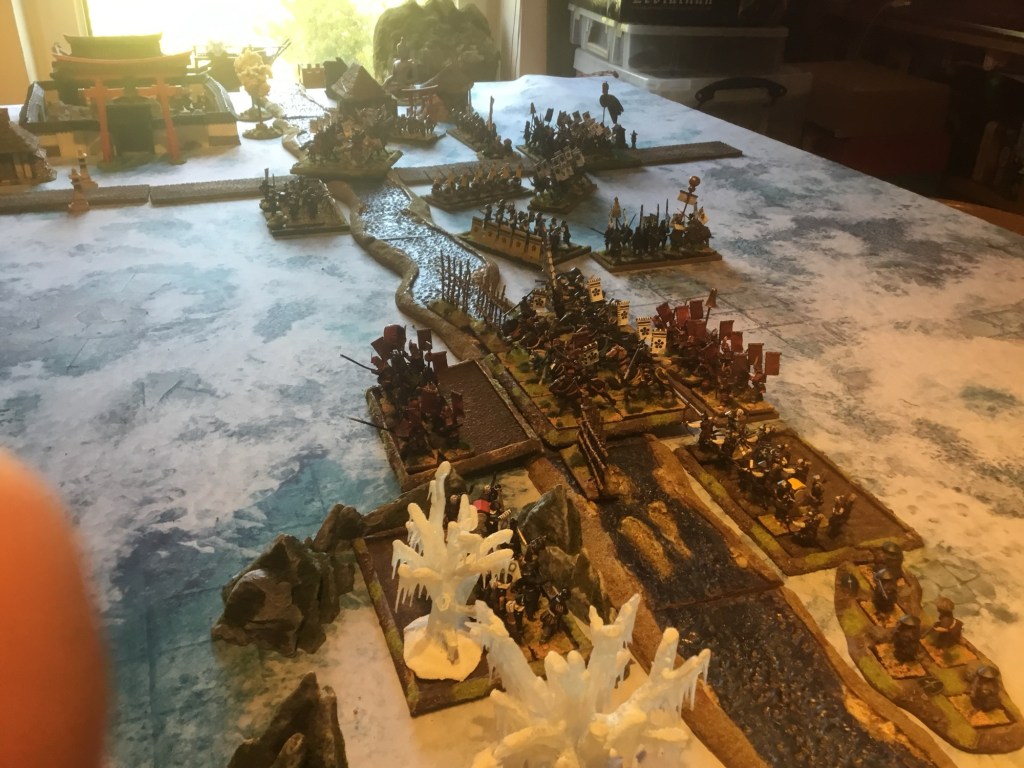
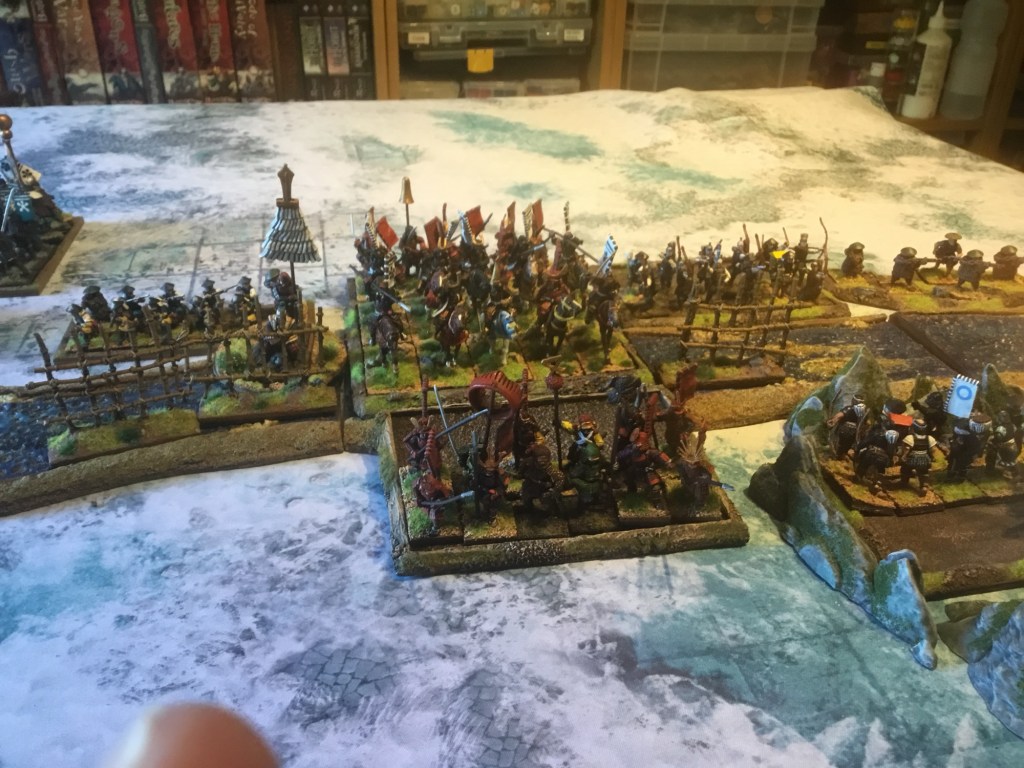
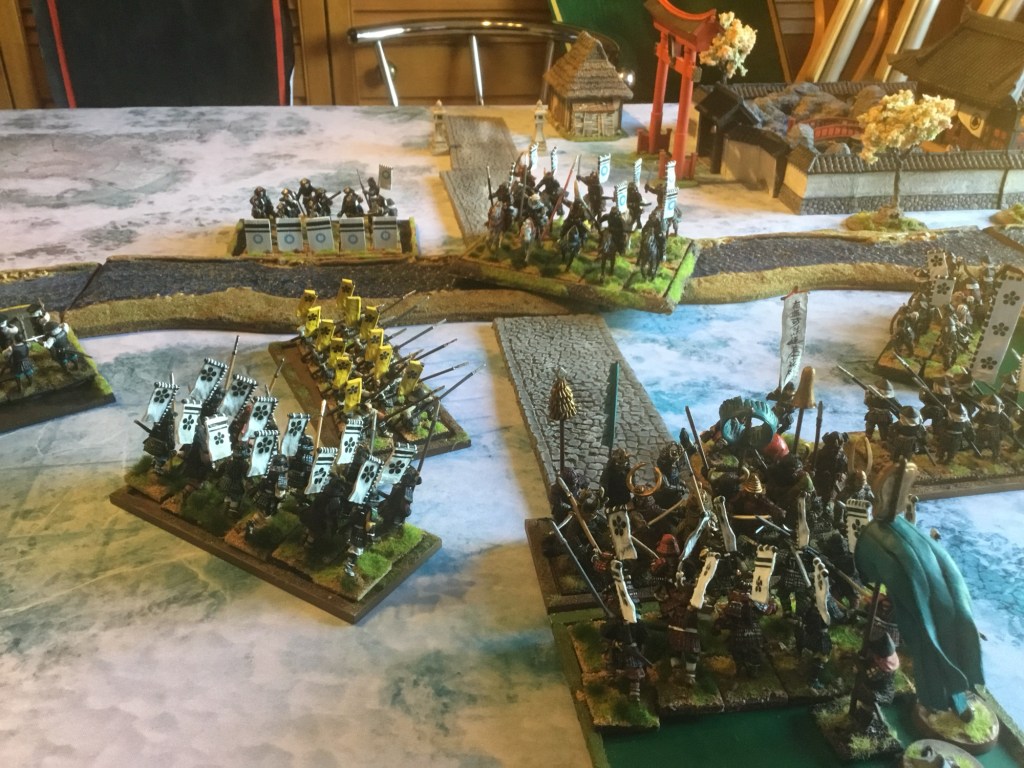
Link and me played a Sengoku Jidai battle using the Midgard rules. Capturing the spirit of the battle of the frozen river centuries earlier our two forces met across the frozen main outside Kyoto. Scenario two of the rules was used with Link defending two crossings across the icy waters. The river being otherwise impassable
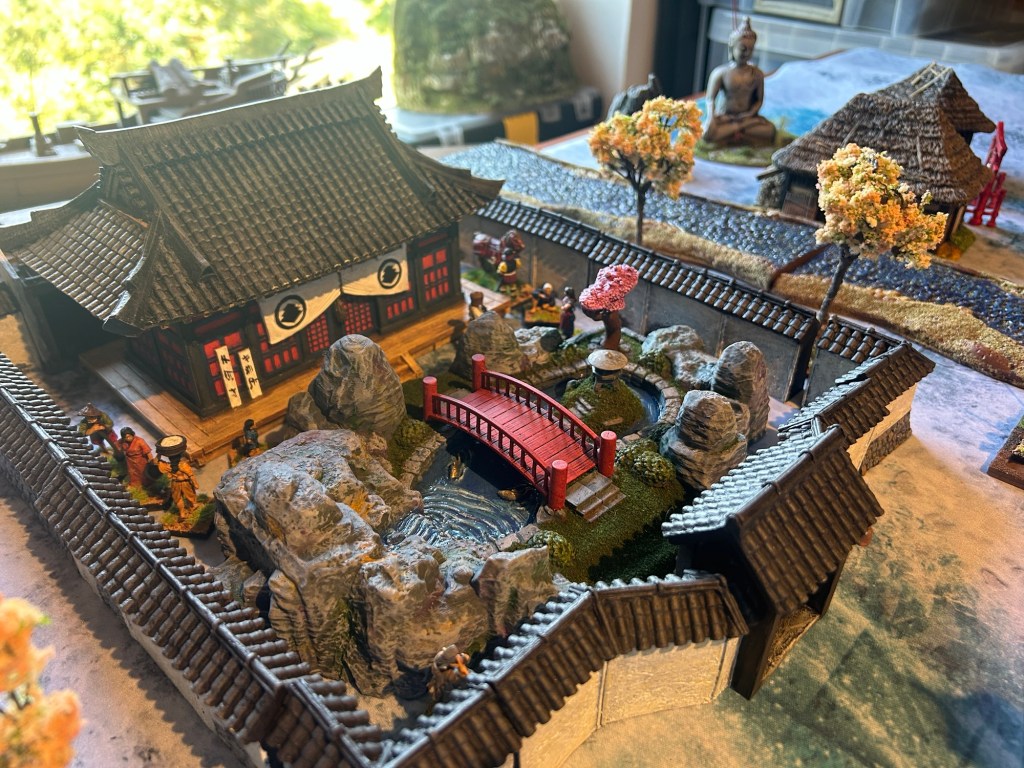
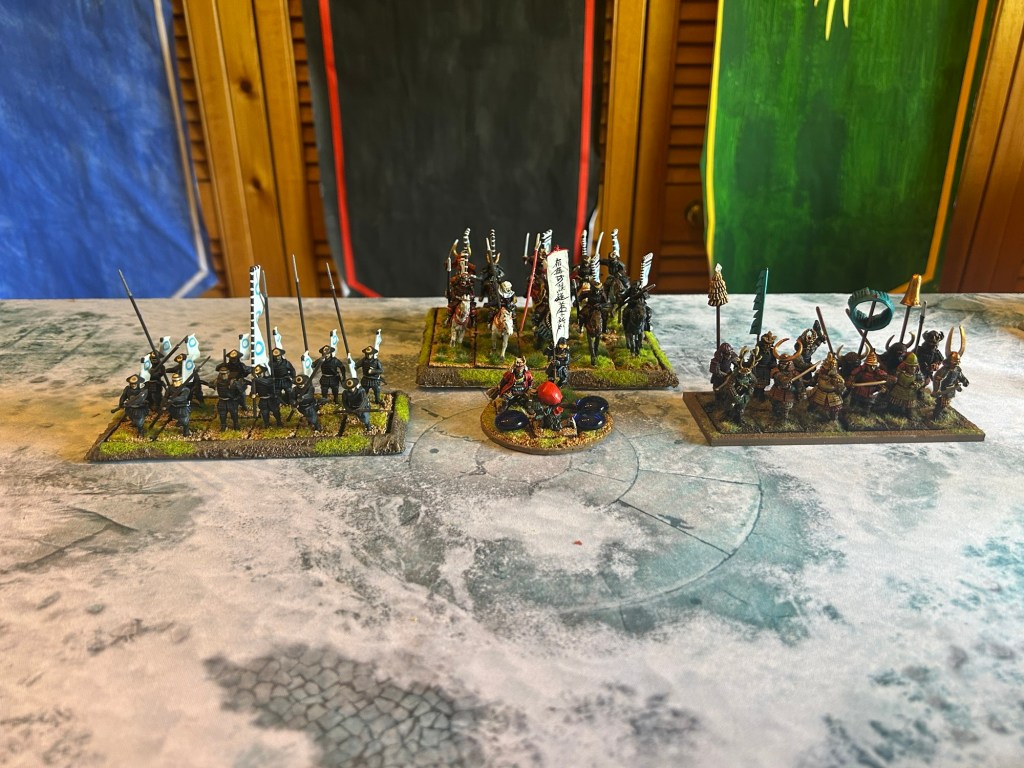
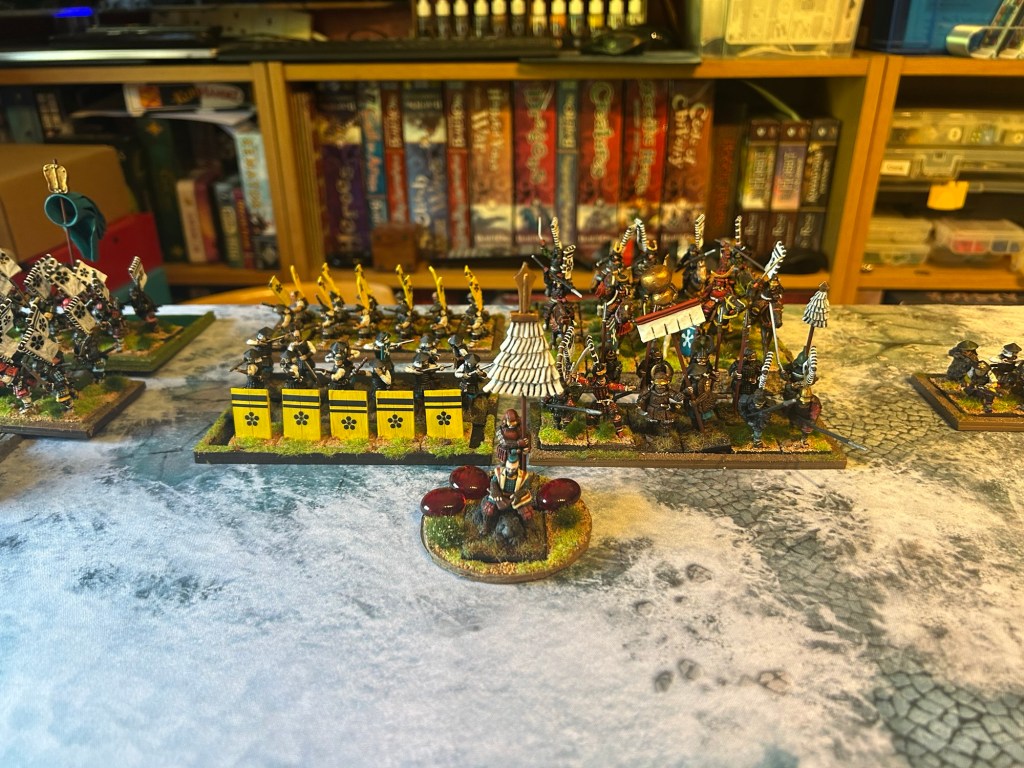
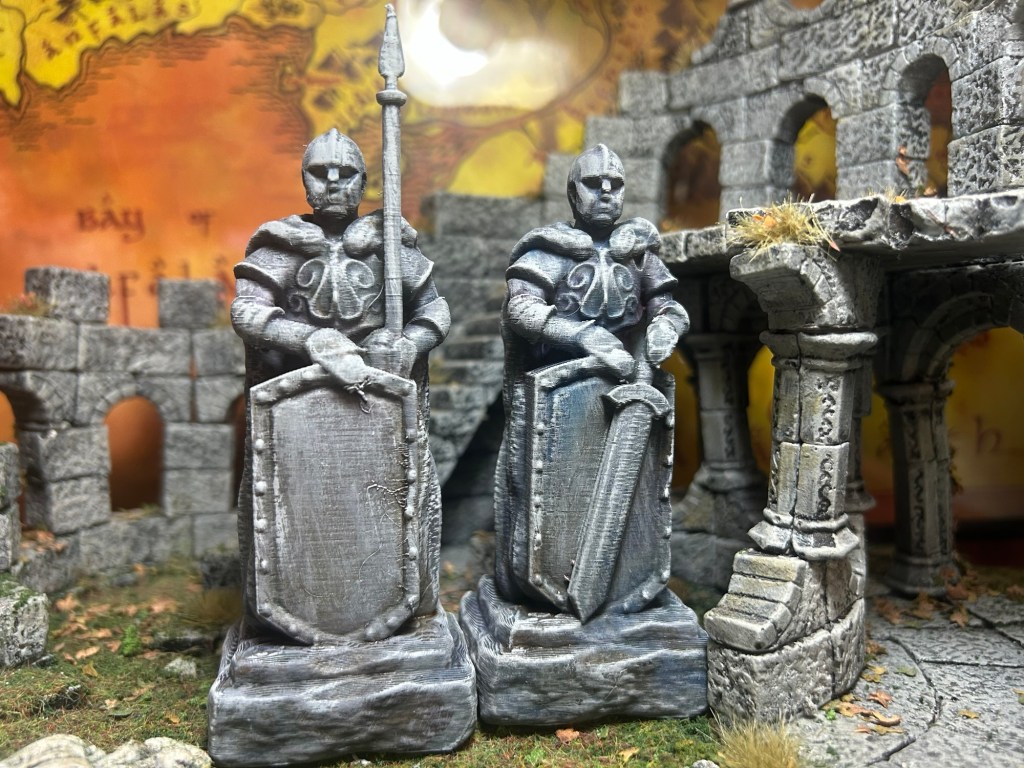
The Kato clan are holding the river crossings. The battlefield across the snowy ground . The river in full flow with just two crossing points. The Kato clan on the left ready to defend. The Maede clan on the right prepare to attack. The Maede clan are ready . The imperial prince is being held safely in meditation in the temple . The battle lines. Read the rest of this entry »
Wild West ticket to ride . This time Phil came first but only because he went crazy looking for the lost treasures of sierra madre. He burnt through his special cards and with the help of the treasure hunter found two treasures . However he then ran out of trains to complete his roots having gone mad in his gold fever and had to use his special reserved cards to cancel them .
Hopefully this will let him catch up with the others as he was last in the previous game . We now have the bad lands map open and soon will be on our way to California!
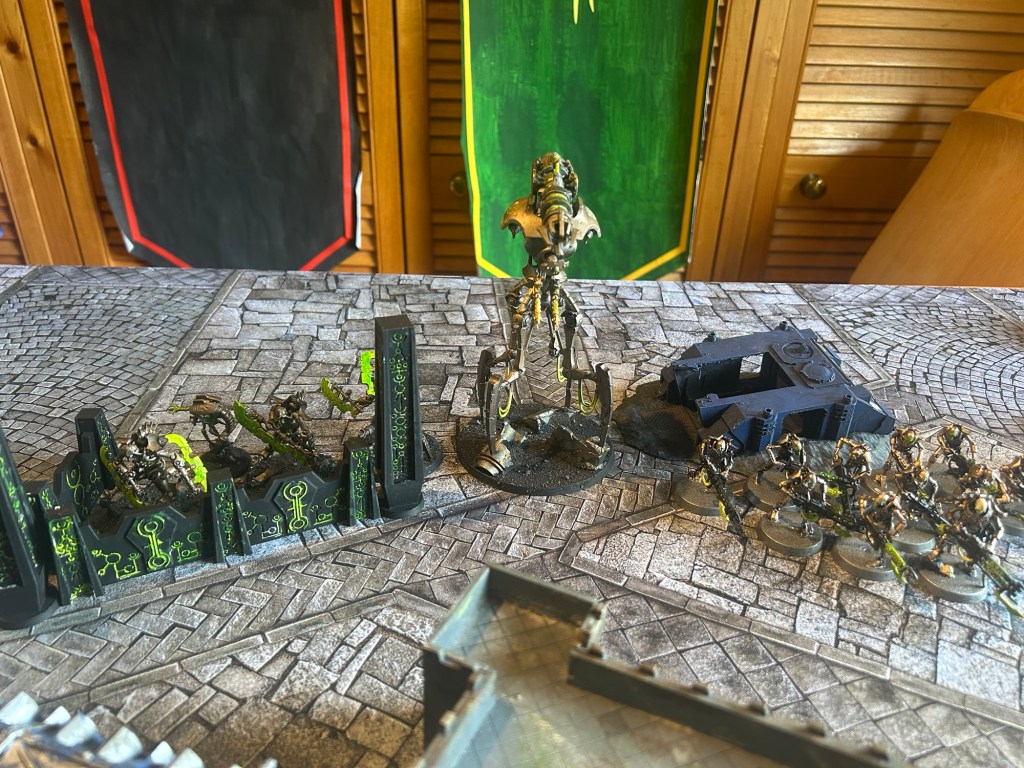
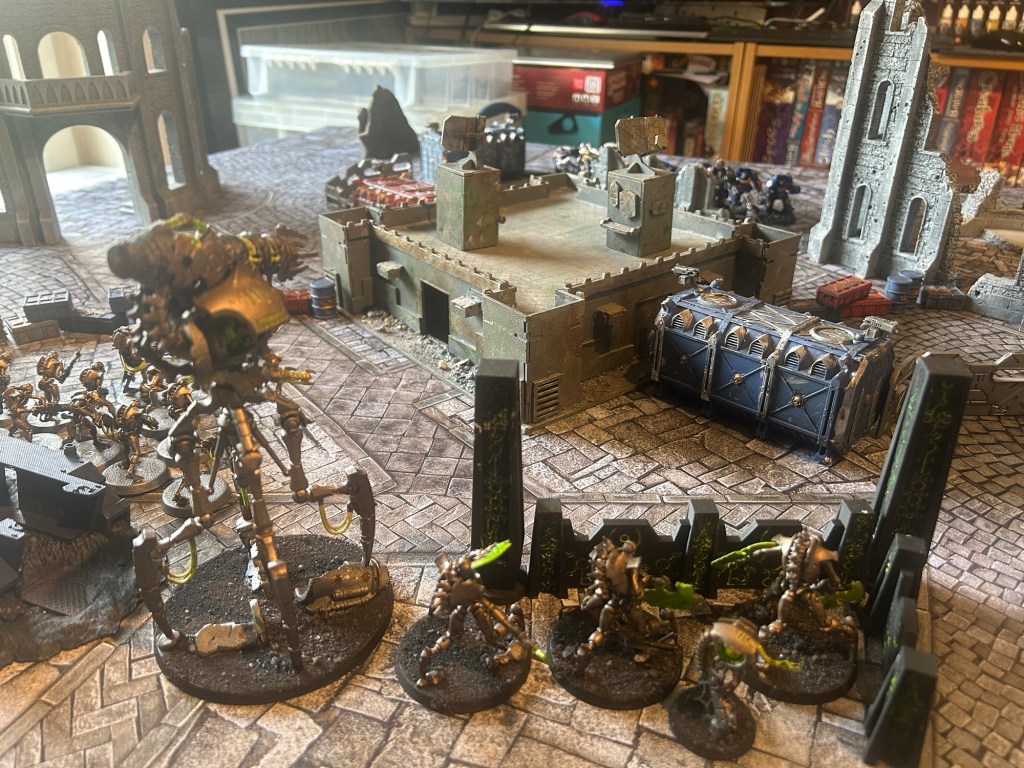
Link wanted to try out his Tyranids vs Necrons combat patrol. The Tyranids won through on VP when he brought his warlord on from deep strike at the end of the game . Good game and well played Link . Great painting too !
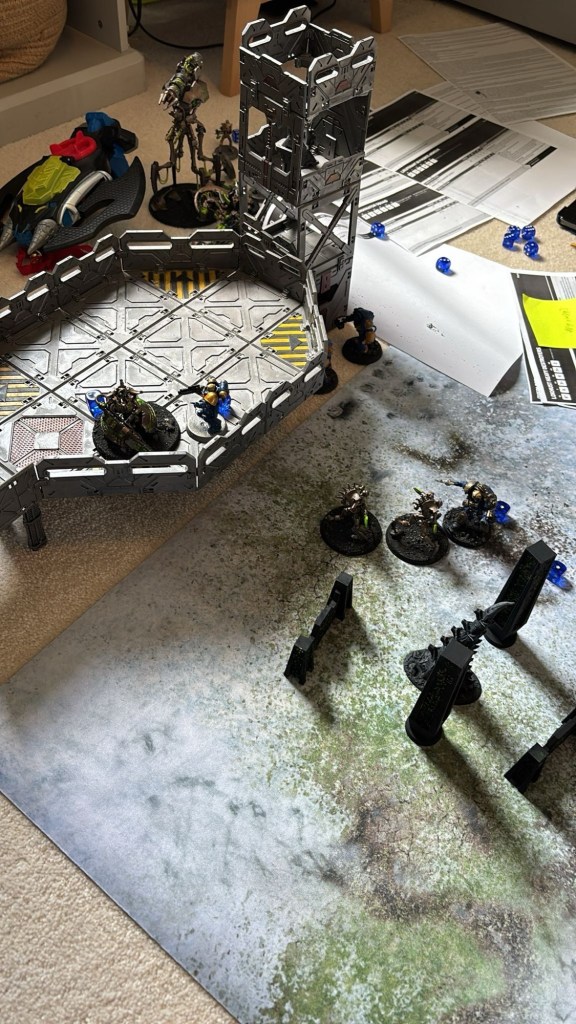
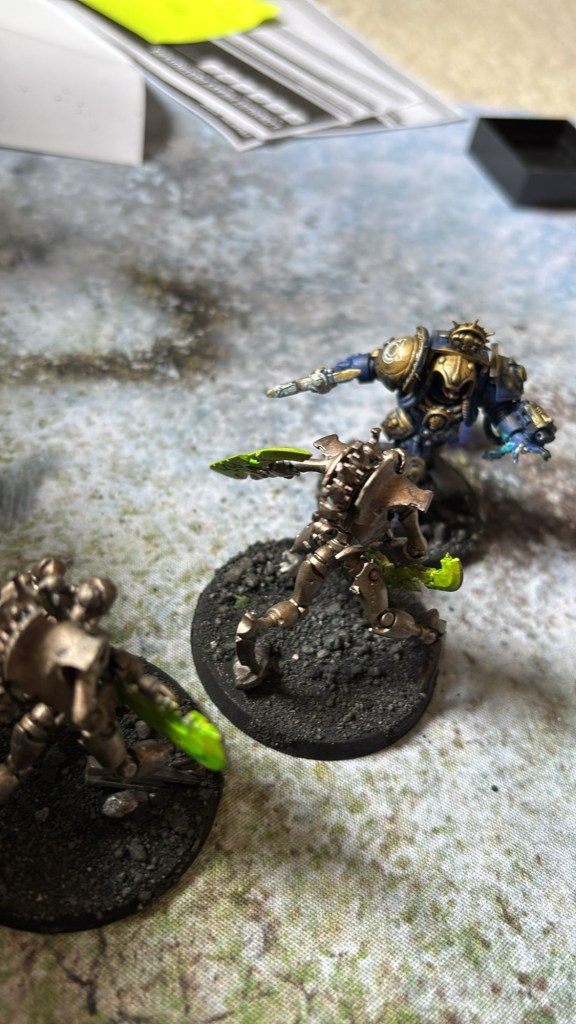
On a snowy planet the Necron warlord was trying to summon a dark god. The adeptus started intelligence caught wind of this. Thus, they sent a small 500 point army to stop this.The battle started with the Necrons. They had the skorpekh destroyers jump onto the point and defend it. They also positioned the canoptek Doomstalker as another line of defence. Three tomb blades charged at the space marines left flank but the infernus quad activated fire over watch and took out 2 tomb blades. The Necrons shot the infernus squad to pieces with the Doomstalker and lokhust heavy destroyer, leaving no survivors. All the other space marines were out of sight. Then it was the space marines turn. The terminators dashed from the right into the open, looking to charge the Doomstalker. The biker squad rolled over the bodies of the infernus squad to also charge the Doomstalker. The assault jump pack squad (ajps) charged the skorpekh destroyers after shooting ajps gained nothing from shooting but the biker squad achieved a wound on the Doomstalker. The terminator squad shot at an annoyingly placed scarab swarm which would’ve prevented their charge. It died. Ajps then charged the skorpekh destroyers dealing two mortal wounds, and knocking out two with their combined force. The biker squad charged and dealt another three wounds to the doom stalker with there astartes chain swords . The terminator squad, however failed the charge and were left out in the open. the left tenant in Phobos armor failed his charge roll, meaning he could not finish off the tomb blade. It was then the Necron turn. The remaining tomb blade moved forward to make his charge real easier, but apart from that there was no other movement.