After trying to use an old monitor as a game board issues arose such as poor view at certain angles and being too small I obtained a projector in the amazon sale (Magicube). This was installed above the table and linked to a laptop via a long HDMI cable. Using this and DnD beyond I was able to run our latest session. I printed a bracket for this using the Bambu printer.
I have created the campaign using Obsidian. From there I can move images such as maps onto the laptop’s second screen (the projector). For the most part for combat and dungeon exploration I used the battle maps loaded onto the DndD beyond VTT.
Using the VTT I was able to have the main DM map on laptop and project the player version with Fog of War. On the DM map I was able to prepare all the monsters/ encounters ahead of time and then select them into the battle as required.
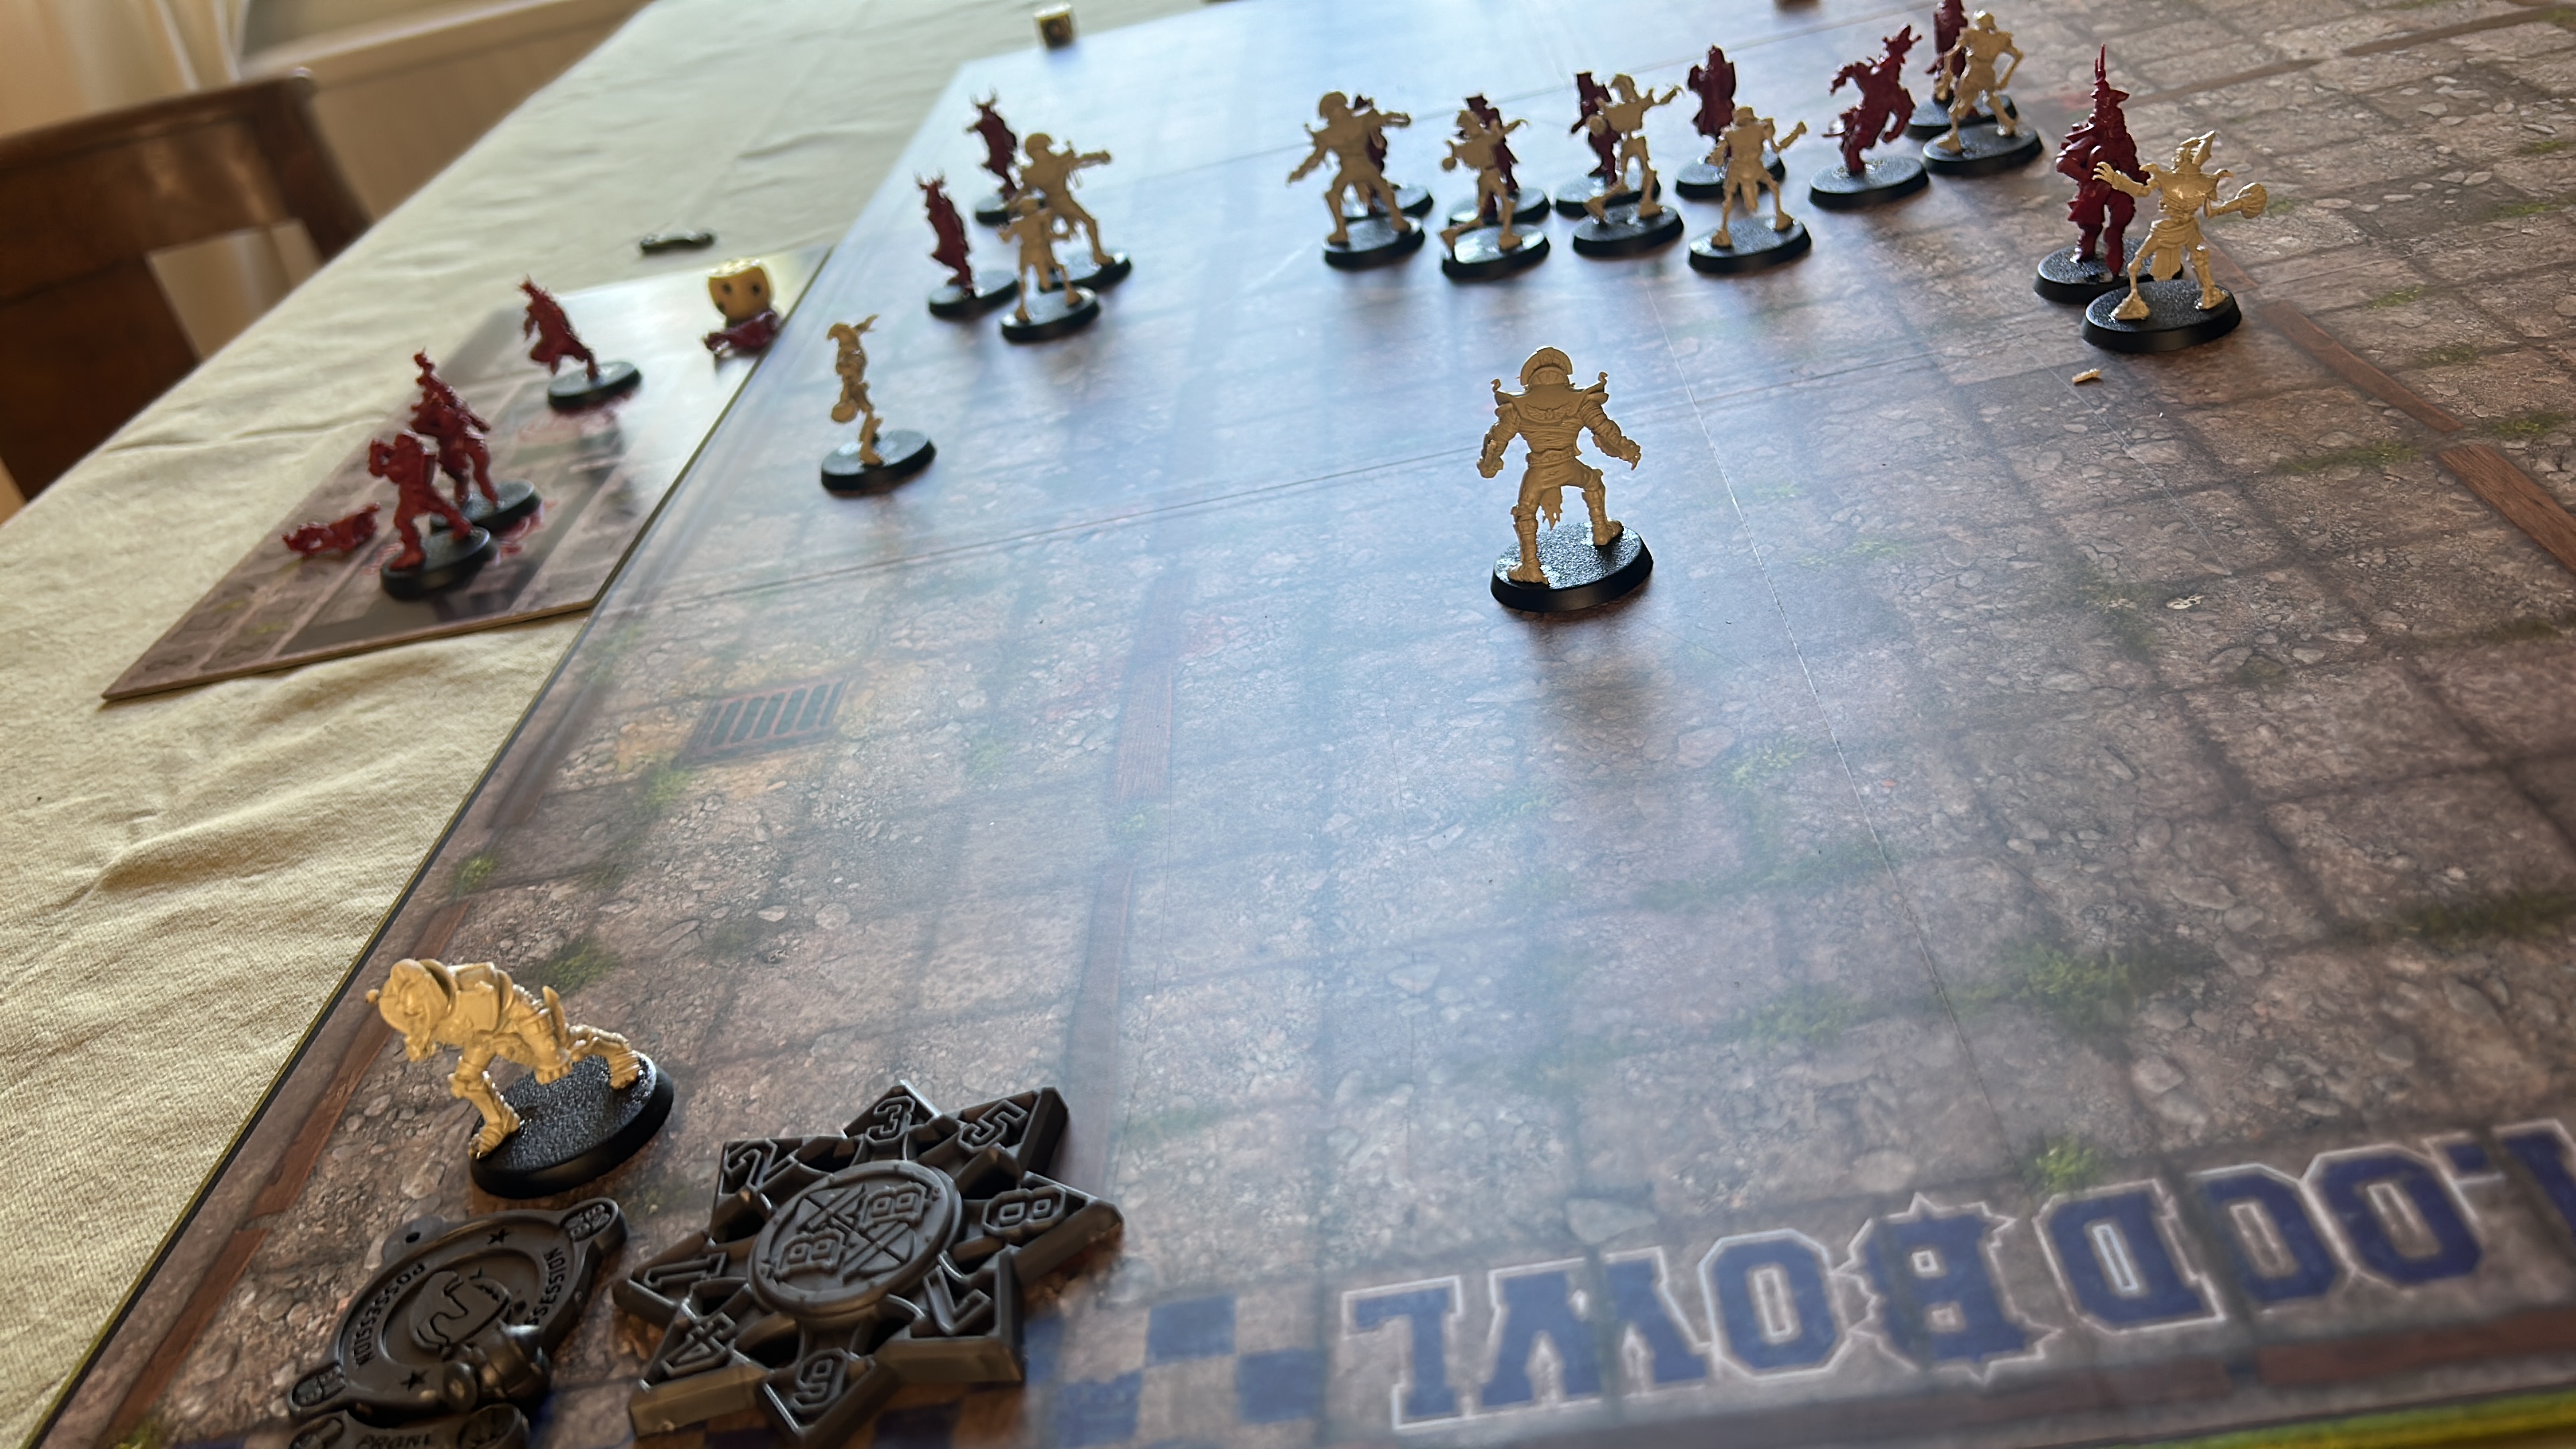
We then put physical miniatures onto the maps. I kept the counters for the monsters and used that to track HPs, initiative and open up their Monster Sheets with their abilities which worked well.
The room has to be dark and my adventure book is a physical version so I had a small reading lamp for that and we used physical dice mostly which we could see using the lamp or on the battlemap.
This worked really well and we had a great session.
After surviving the perils of the Triboar Trail, Korrath and his steadfast companion Brightblade finally arrived in the frontier town of Phandalin, travelling aboard Gundren Rockseeker’s oxcart. Though weary from the road, they wasted little time in fulfilling the promises they had made.
Their first stop was Barthen’s Provisions, where they delivered Gundren’s long-overdue supplies to Elmina Barthen. Before they could even step through the doorway, however, they found themselves roughly shouldered aside by two swaggering members of the notorious Redbrands. Their arrogant display left little doubt that the gang believed themselves masters of the town. After completing the delivery and receiving Gundren’s payment, Korrath’s opinion of Phandalin’s so-called peace had already begun to sour.
From there the companions travelled to the Lionshield Coster, returning the stolen goods they had recovered from the goblin ambush. Linene Greywind gratefully accepted the recovered cargo and rewarded them for their honesty and courage. During their conversation they learned that the Redbrands were known to gather at the Sleeping Giant Inn, a rough alehouse that served as the gang’s preferred haunt.
With business concluded, Korrath and Brightblade accepted Sildar Hallwinter’s generous offer of lodging at the welcoming Stonehill Inn. There they met the friendly Stonehill family and spent the evening learning more about the troubled town. Beneath the warmth of the inn, it quickly became clear that fear of the Redbrands cast a long shadow over every household.
The following morning the pair visited Sildar at the Townmaster’s Hall. Sildar spoke of Iarno Albrek, the wizard who had vanished after arriving in Phandalin, along with several other concerns that hinted at darker forces moving behind the scenes.
Determined to learn more, they travelled to the nearby orchard to meet Daran Edermath, the retired adventurer whose sharp eyes missed little. Impressed by Korrath’s sense of justice, Daran promised to sponsor him for membership of the Order of the Gauntlet if he could rid Phandalin of the Redbrand menace and uncover whoever truly commanded them.
Those words stirred something deep within Korrath. Outrage at the gang’s tyranny hardened into resolve.
Without delay he marched to the Sleeping Giant Inn, where he confronted the Redbrands openly. Steel was drawn, blows were exchanged, and the confrontation confirmed what Korrath had already suspected: the gang operated from the long-abandoned Tresendar Manor overlooking the town.
After speaking with concerned townsfolk, including Harbin Wester, Sildar Hallwinter, and members of the Stonehill family who had gathered to investigate the disturbance, Korrath set out immediately for the manor.
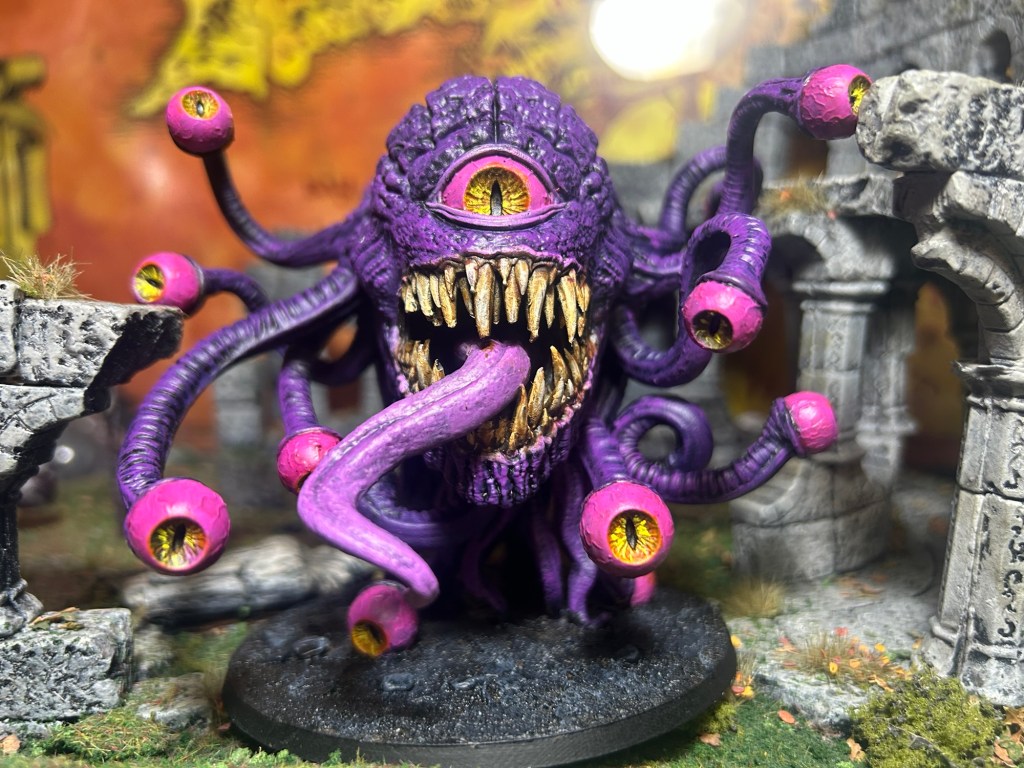
Searching its ruined cellars, he uncovered a concealed passage leading into the Redbrands’ hidden stronghold. There, lurking in the darkness, dwelt a strange and dangerous Nothic. Rather than rushing headlong into battle, Korrath chose diplomacy. Through careful negotiation he convinced the twisted creature to grant safe passage, avoiding what could have been a deadly confrontation.
Within the hideout, Korrath and Brightblade proved relentless. They swept through the Redbrand ranks, defeated their bugbear allies, and rescued a miserable goblin who had suffered constant abuse at the hands of his supposed comrades.
Honouring his bargain with the Nothic, Korrath later supplied the creature with ample “fresh meat” from the fallen Redbrands. In return, the creature revealed the location of a hidden cache containing the magical longsword Talon, a weapon worthy of a true champion.
Armed with this knowledge, the companions tracked down the mysterious Glasstaff in his private library. Before the wizard could escape or unleash his magic, Korrath acted swiftly, overpowering him and taking him alive. With Glasstaff bound as their prisoner, the remaining Redbrands lost both their confidence and their leadership.
Rather than pressing deeper into unnecessary danger, Korrath wisely used his captive to secure safe passage through the remaining sections of the hideout. In doing so, he was able to rescue the imprisoned Dendrar family, avoiding many of the deadly traps and remaining foes that still lay ahead.
Notable Achievements
Delivered Gundren’s supplies to Barthen’s Provisions.
Returned the Lionshield cargo and earned Linene Greywind’s reward.
Earned the respect of Daran Edermath.
Received the promise of sponsorship into the Order of the Gauntlet.
Defeated the Redbrands within Tresendar Manor.
Negotiated peacefully with the Nothic.
Defeated the bugbears.
Rescued an abused goblin.
Captured Glasstaff alive.
Rescued the Dendrar family.
Claimed the magical longsword Talon.
Threads Yet to Unravel
Although the Redbrands have been broken, many questions remain unanswered.
Who truly commanded Glasstaff?
What became of Gundren Rockseeker?
Where does the mysterious Black Spider fit into these events?
Will Korrath prove worthy of joining the Order of the Gauntlet?
The roads around Phandalin remain dangerous, and greater adventures surely await beyond the town’s borders.
Family game with Iz the victor with great strategy of completing many tickets and finishing before others were ready. P even with longest route could not catch up.
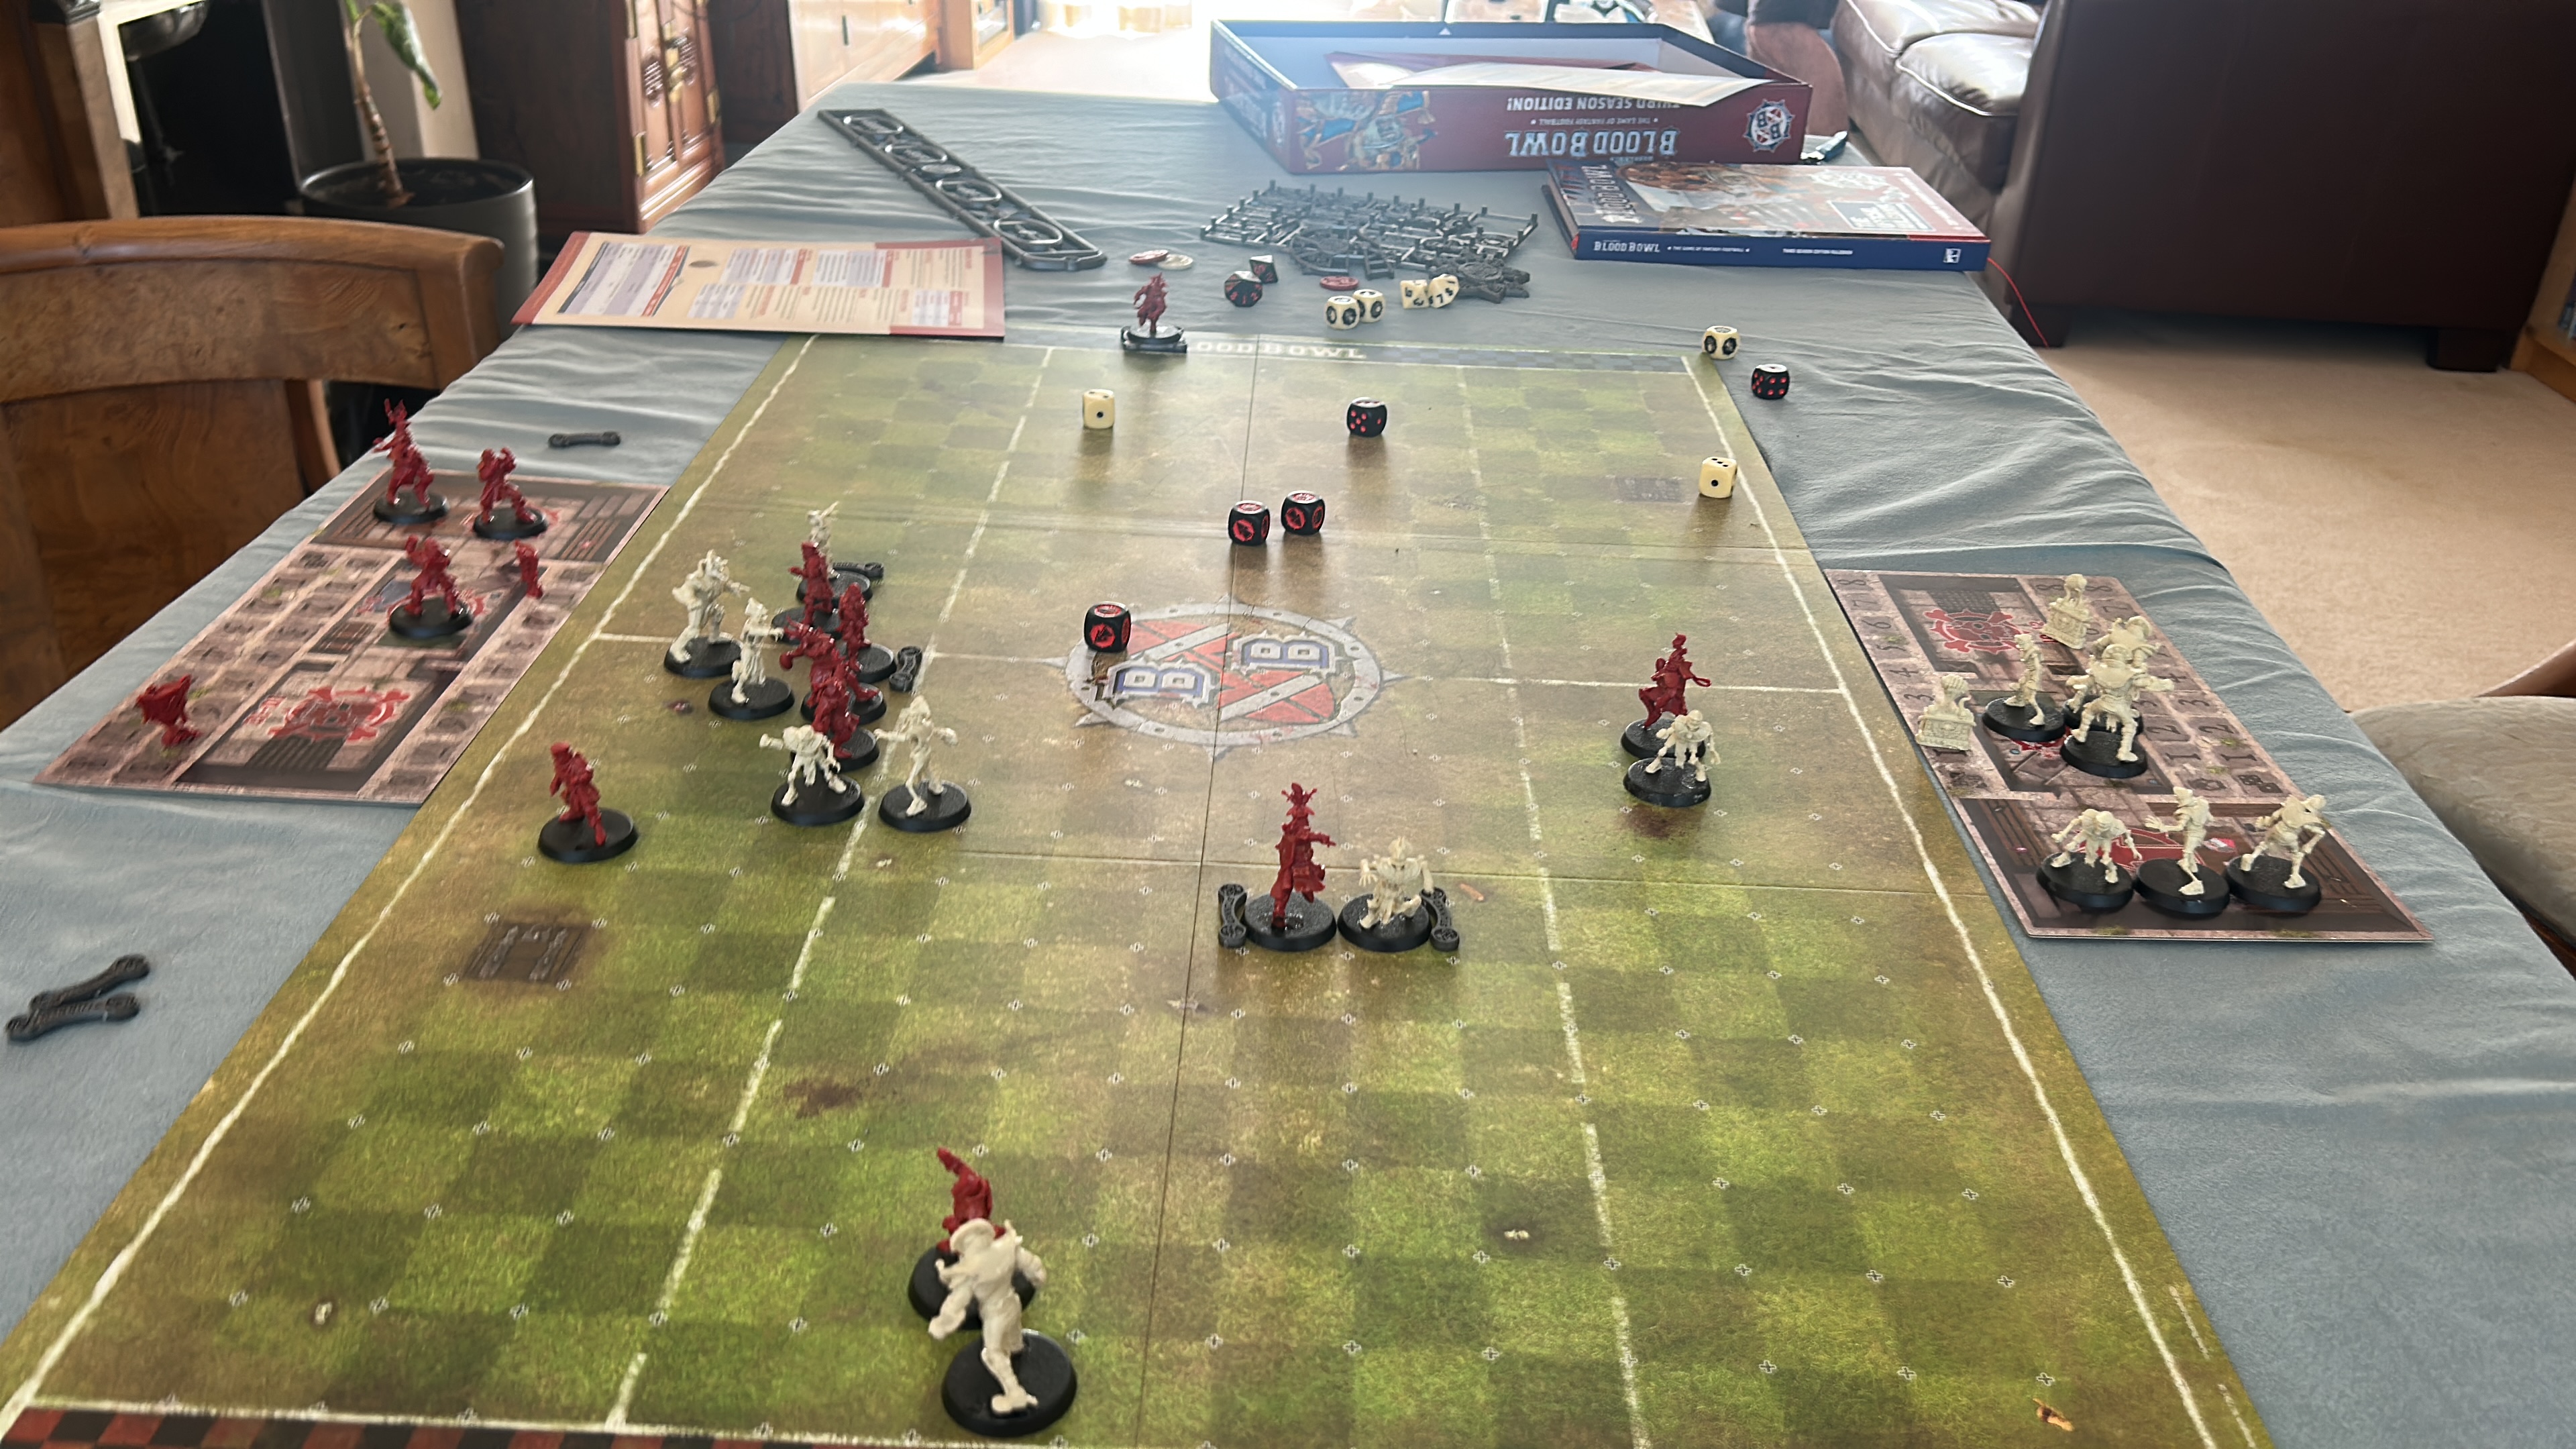
In the end the players lost both games to the General.
They could never work together and the communists were always looking out to win Spain for themselves. It is hard to imagine how any one team could ever win for themselves. A clever concept.
First game went to B and P who attacked to the right and centre and captured some good flags. A good cavalry charge helped. Losing their leader to a duel netted 0VP to M and D.
Next game went to M and D. Early loss of the B and P leader to a fight gained 2VP to M and D. Clever use by M and D of 2 fight firsts and a similar event plus cancelling a well planned Hold and Shoot led to not so great a game for B and P. With their leader dead and down to 3 command cards it was soon all over even after a brief resurgence.
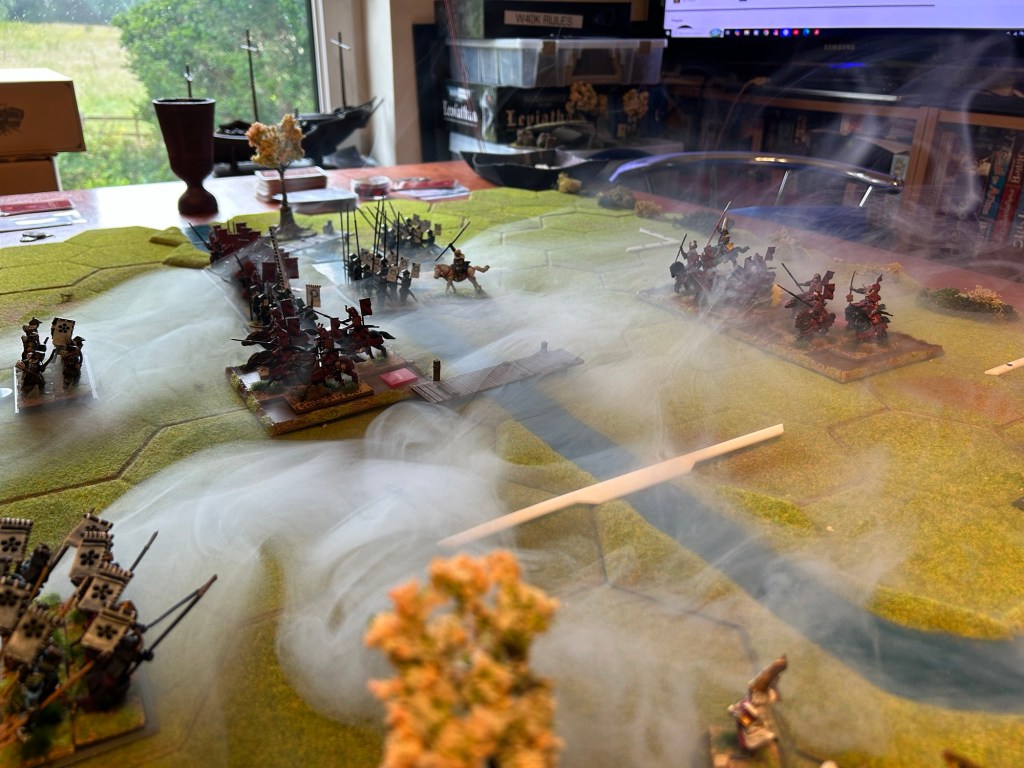
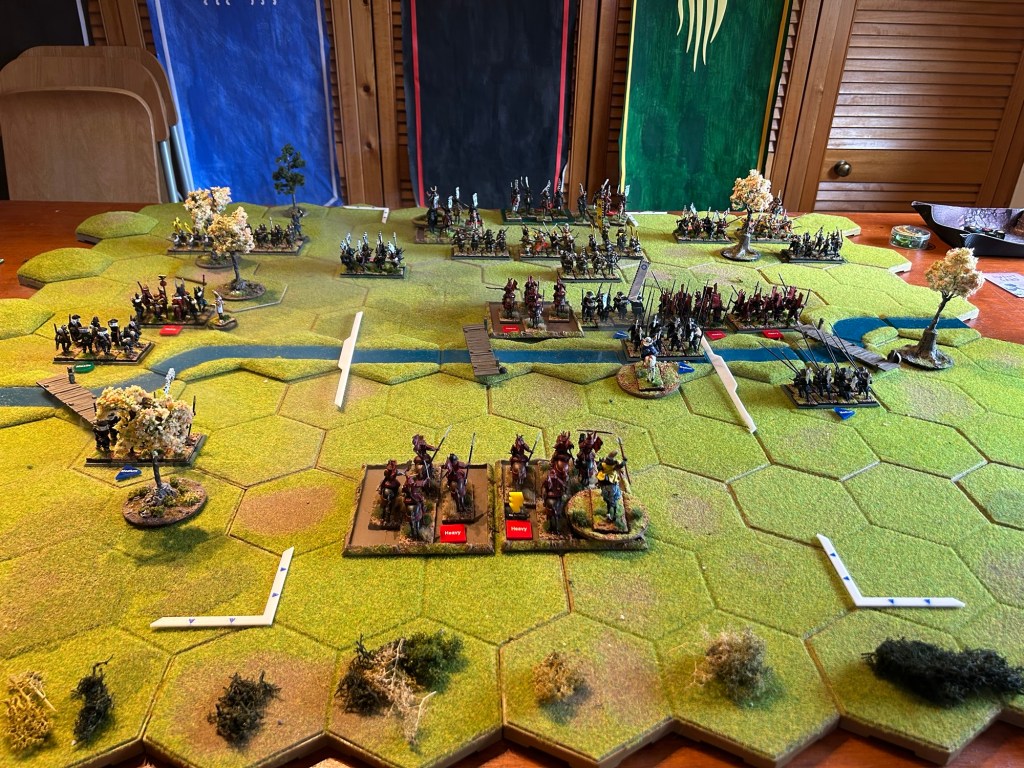
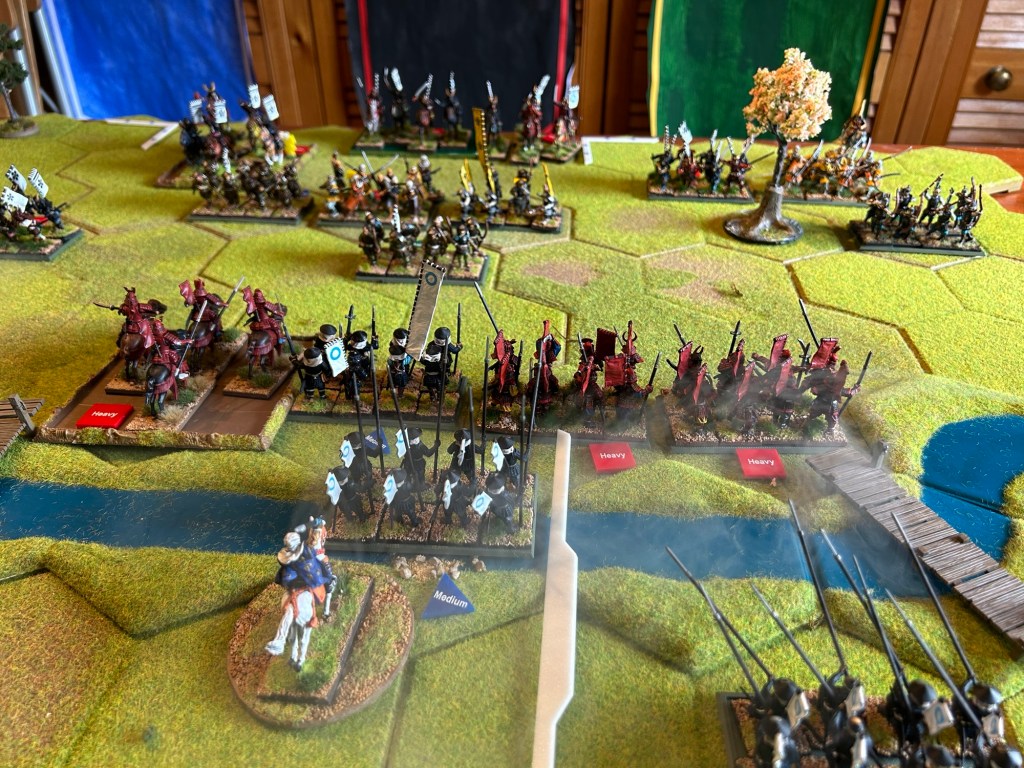
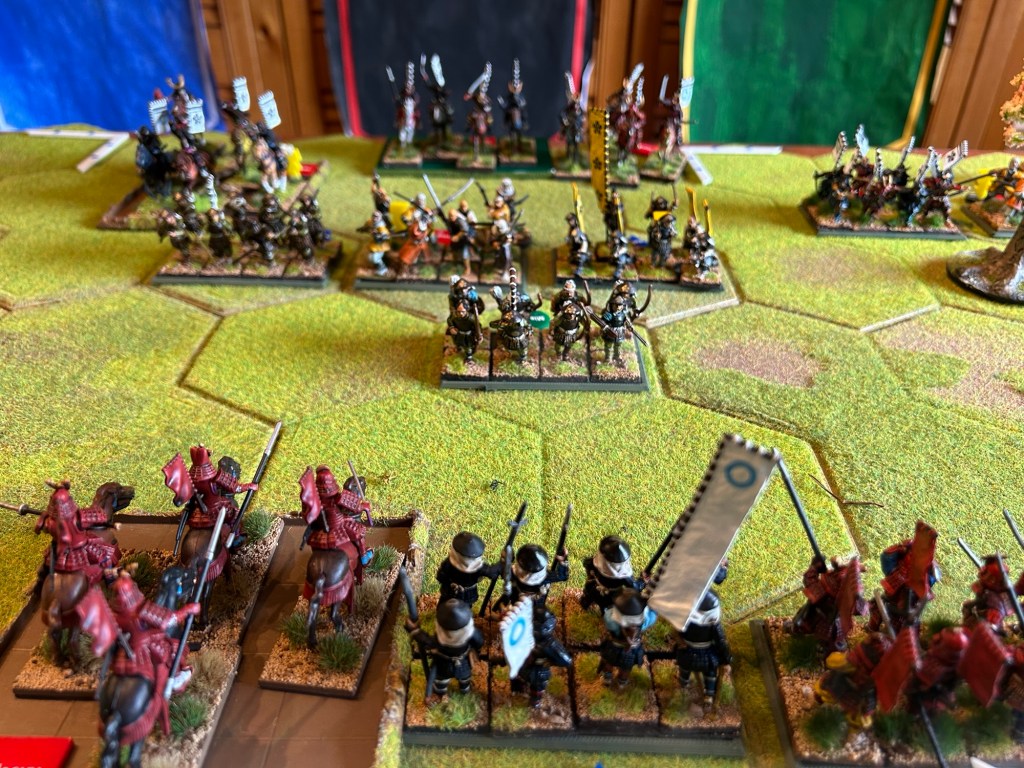
The mist rises over the Matachi river. The year is 1517 and the Takeda are defending as the Mori cross the river and attack.
This is the second scenario in the samurai battles CCA book.
Link played as Takeda and me as Mori. My Mori crossed quickly with the cavalry and launched a mounted charge which gave me an early lead after a Shogun card .
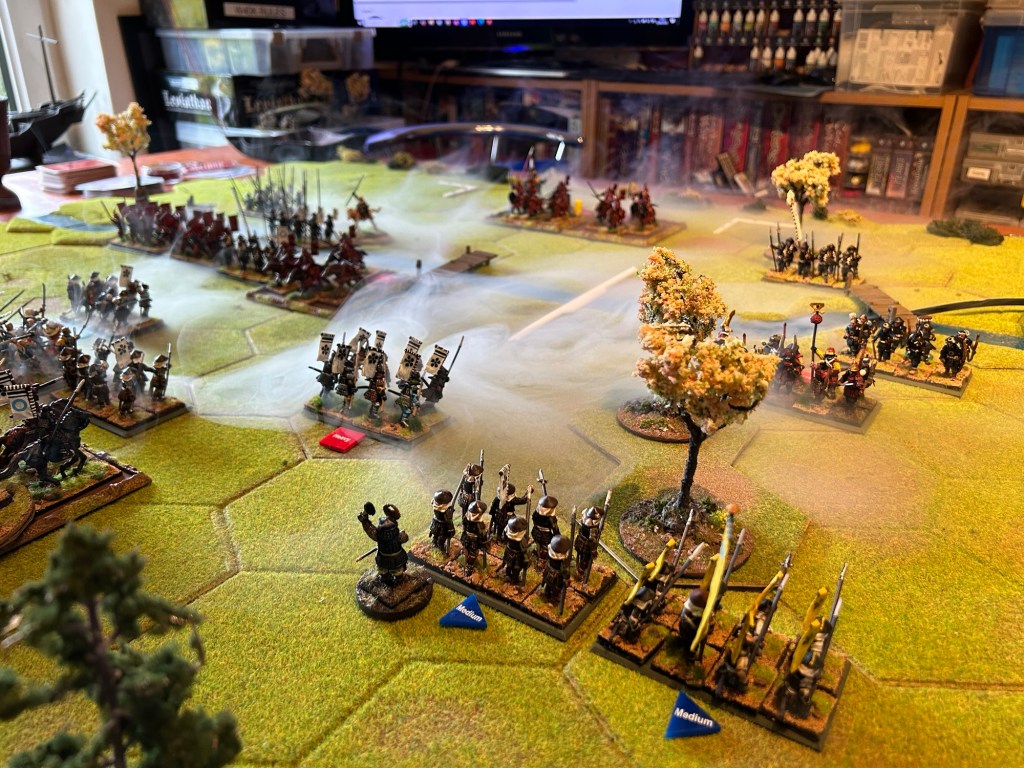
However my hold and fire card was blocked by Link who then counter attacked and soon we were at five flags each with one more needed to win.
Somehow my Ashigaru survived with one hit remaining. On my turn I moved up with my last remaining cavalry unit led by my commander and rolled two hits thus claiming victory!
The tale continues with Korrath, Dragonborn Monk, warrior, and master of arms.
After the fall of the Cult of Chaos in the Borderlands, Korrath and his longtime companion Geriant the Fighter earned hard-won renown. Together they defended the Keep, shattered the cursed bell within the Sacred Pool, and brought a fragile peace to the land.
With their previous trials behind them, the pair travelled north to the great city of Neverwinter. Geriant sought out an old acquaintance, the dwarven prospector Gundren Rockseeker, while Korrath pursued a different path entirely. Drawn by honour and discipline, he hoped to learn more of the famed Order of the Gauntlet and journeyed toward Phandalin to seek one who had once belonged to that noble order.
Fortune, however, has a habit of twisting roads together.
Gundren was in need of capable adventurers willing to escort a wagon south to Phandalin. At a crowded inn Korrath encountered Brightblade, a silver-tongued bard with expensive tastes and a suspiciously empty coin purse. Brightblade eagerly joined the expedition after a combination of persuasion, promises of glory, and outright bribery.
Geriant, meanwhile, remained behind in Neverwinter on business he refused to explain.
Thus Korrath and Brightblade set out alone upon the Triboar Trail.
Their journey quickly turned perilous.
Not long after leaving the High Road, the pair discovered signs of violence and soon fell prey to an ambush by Cragmaw Goblins lurking in the wilds. Refusing to retreat, Korrath pursued the raiders directly to their hidden cave stronghold.
Charging ahead with fearless determination, the Dragonborn triggered nearly every trap on the path to the goblin tunnels, though by grit, skill, and sheer stubborn resilience he emerged with little more than bruises and irritation.
Within the caves the companions defeated the outer sentries and soon came upon a den of chained wolves. Using a Spider Climb enchantment, Korrath scaled the rough chimney walls to spy upon the goblin king above: a brutish bugbear tyrant holding court within his filthy throne room.
After silently descending once more, Korrath and Brightblade devised a daring assault.
Together they overcame the wolves before climbing into the chamber itself, striking with complete surprise. The self-proclaimed “King” was cut down before he could rally his guards, and the pair pressed deeper into the caves, clearing goblins and beasts from chamber after chamber.
At last they reached the heart of the hideout, where several goblin bosses and hardened warriors made a desperate final stand.
The battle was fierce.
Korrath fought like a living tempest, scattering foes with fists, steel, and relentless martial discipline, but even he was eventually overwhelmed and struck down amidst the chaos. In the critical moment Brightblade rushed to his side, forcing a healing potion between the Dragonborn’s jaws and dragging him back from the brink.
Recovered and furious, Korrath rejoined the fray while Brightblade, never one to miss an opportunity for theatrics, loosed a perfectly timed arrow into the distracted final goblin leader during tense negotiations over the fate of the fallen bugbear king.
With their leaders slain, the remaining goblin warriors surrendered.
Among the prisoners the adventurers discovered a captured nobleman who introduced himself as Sildar Hallwinter. Grateful for his rescue, Sildar rewarded the heroes with valuable information and promises of future payment.
Before departing, Korrath and Brightblade ordered the surviving goblins to load the stolen merchant goods back onto their wagon before scattering into the wilderness.
Now the unlikely companions once again travel the road to Phandalin, wagon heavy with recovered supplies, rescued prisoner in tow, and new dangers waiting somewhere beyond the hills.
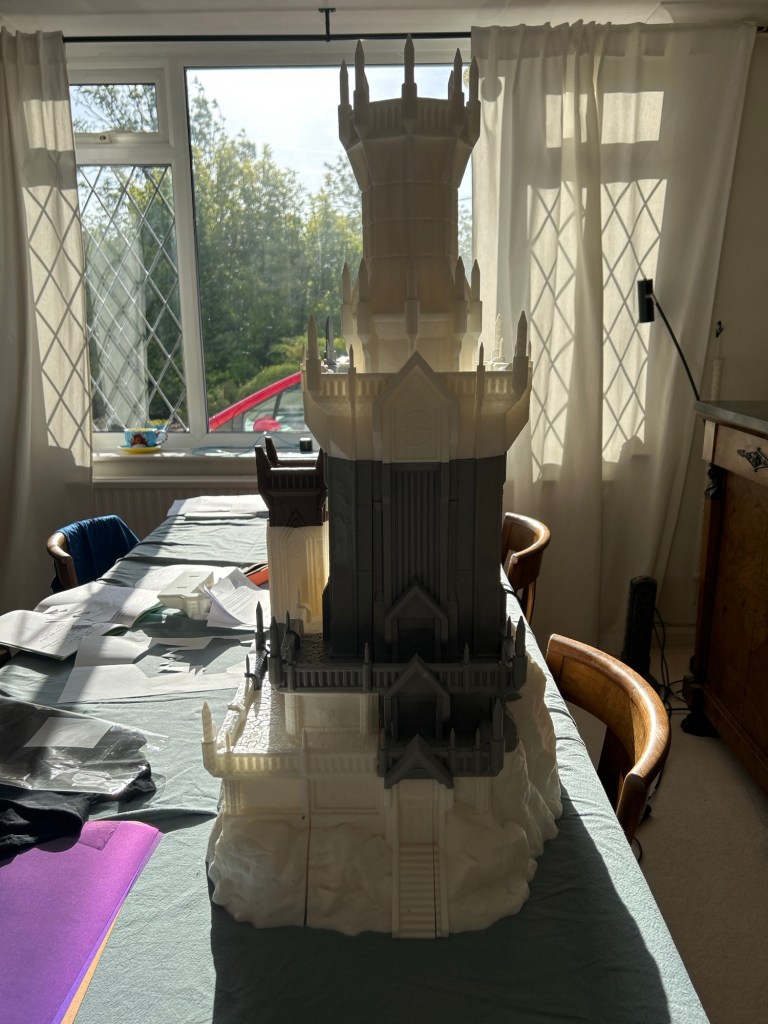
Have printed out finally this project. The iron moor tower in fdm. One day will get round to gluing the layers together and painting it but for now it goes back into storage in the garage!