We continued our campaign with the last two scenarios in the book.
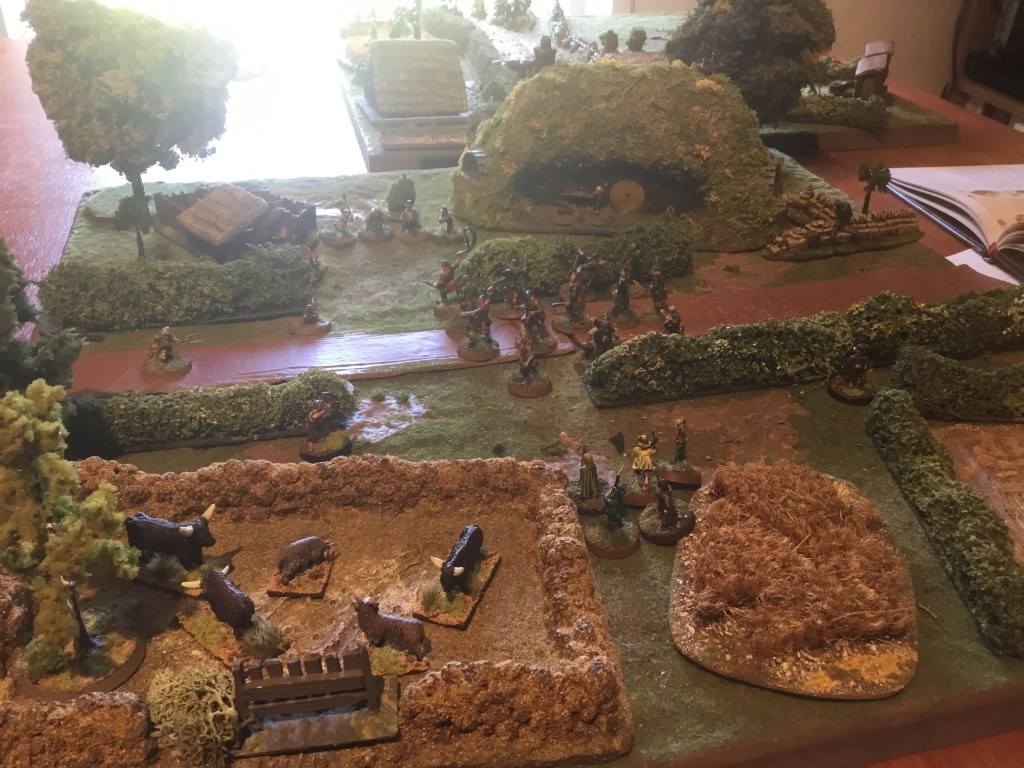
First up was Farmer Cotton’s Farm. The hobbits deploy in ambush.
Gaffer Gamgee was the first to fall. Kerry proved a hard nut to crack with his shield adding to his defence he was able to clear his side of the road. However the Ruffians on the other side were able to defeat Sam being led by their hero whilst Frodo looked on in horror. Finally Cotton fell and with the hobbits losing numbers it was down to just Merry and Frodo alone. Though good had been able to get the Ruffians down to their last five it was not quite enough and when Merry was surrounded and struck from behind it was all over with an evil victory.
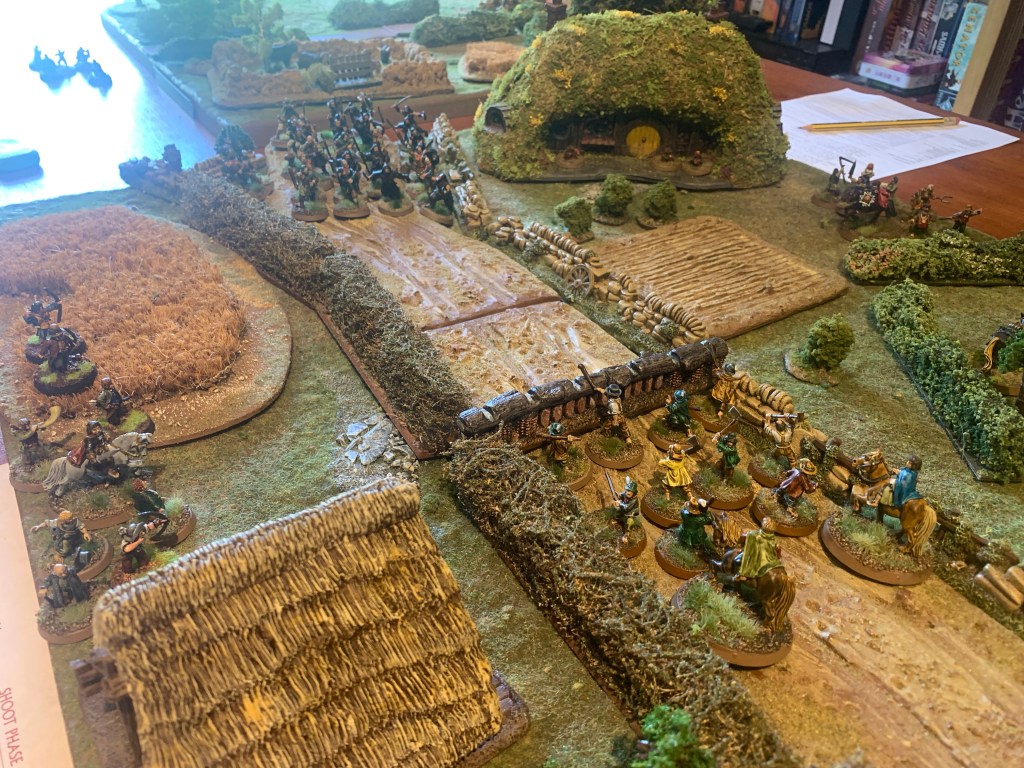
Battle of Bywater
Next it was time for the Battle of Bywater.
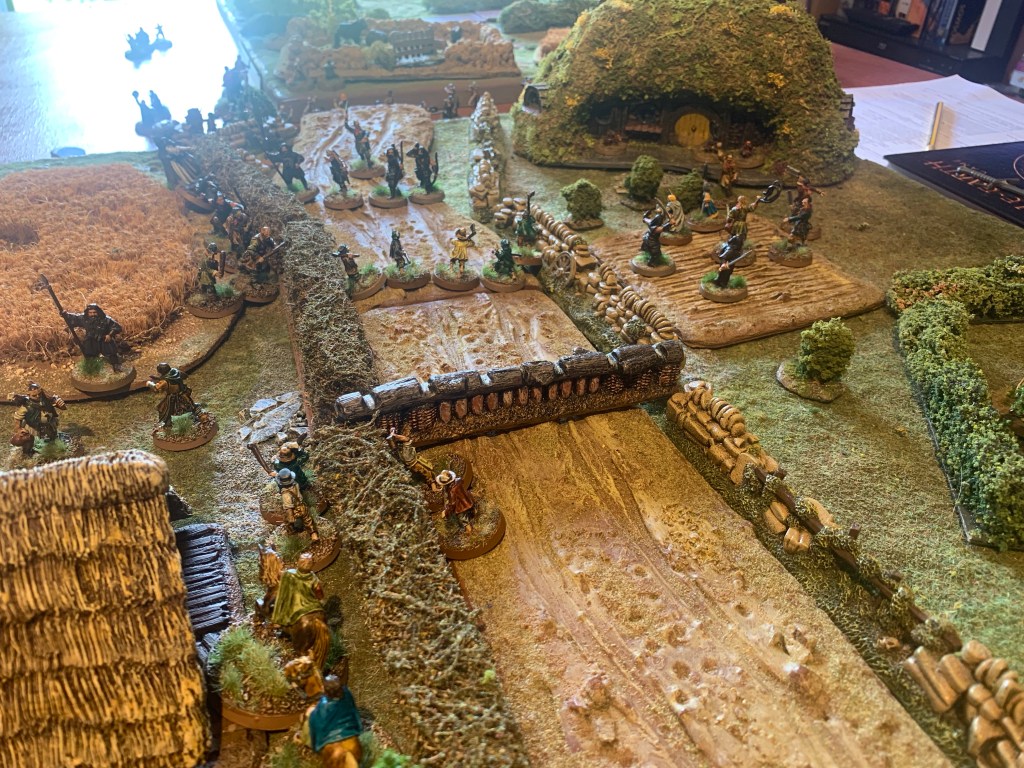
The hobbits deployed their Shiriffs behind the barrier and the other forces led by Merry and Pippin to either side.
The Ruffians began with an attack across the barrier which fared badly. So they gave up on that and jumped over the hedges to either side, leaving it to their archers to pepper the barrier with ineffective archery for the rest of the game.
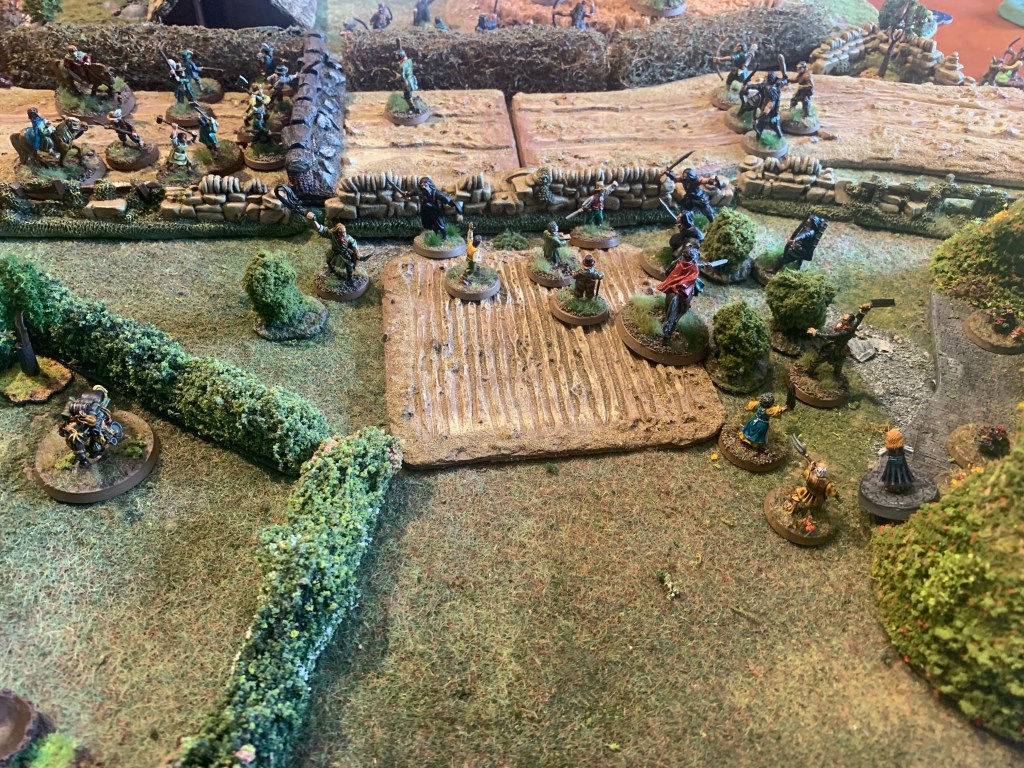
Being mounted only on ponies the hobbit heroes fared badly against the superior Ruffians. The Shiriffs decided to hold behind the barrier until Sharkey arrived.
At this point with Pippin down and Merry struggling the Shiriffs charged and Sam and Frodo snuck over the hedge to the side.
Finally with hobbits all defeated the Ruffians closed in on Sam and Frodo. Another victory for evil as the shire lies under Sharkey’s evil rule.
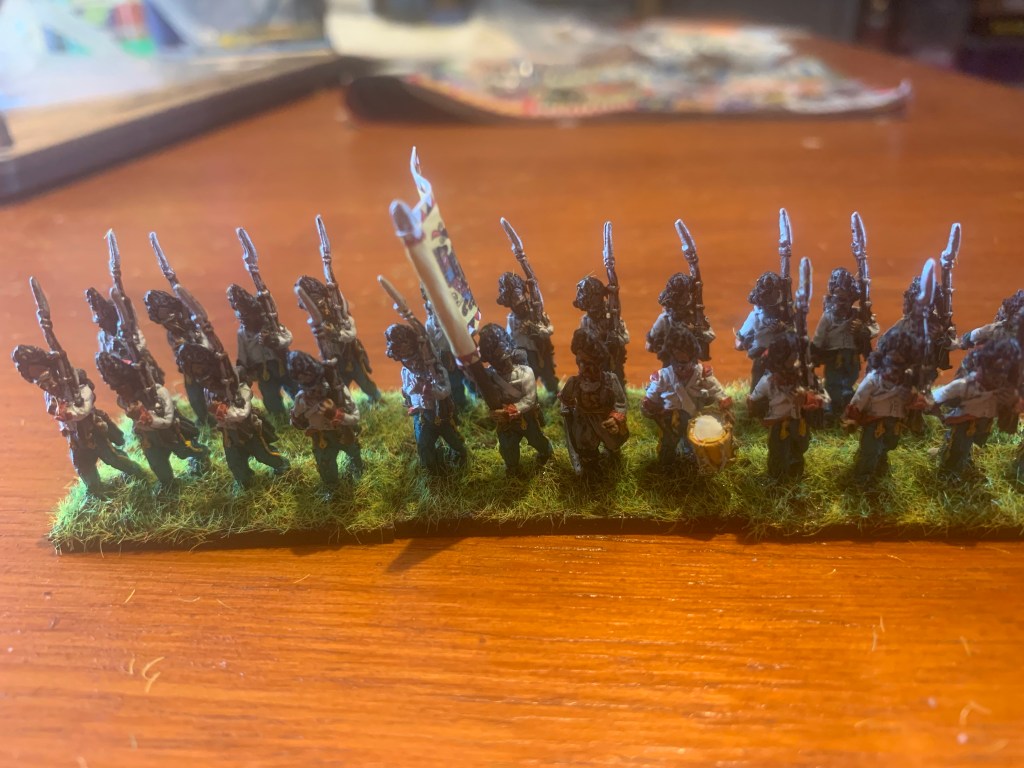
Painted a group of Hungarian grenadiers . Paints were contrast colours highlighted where necessary with GW acrylics. This was the white and metal . Simple bases to match the other units . The flag is GMB and I added similar to my other units .
It was close at times, with two players reaching two corruption and just a few skulls remaining. Nevertheless our heroes managed to defeat Ashstrider and win the day!
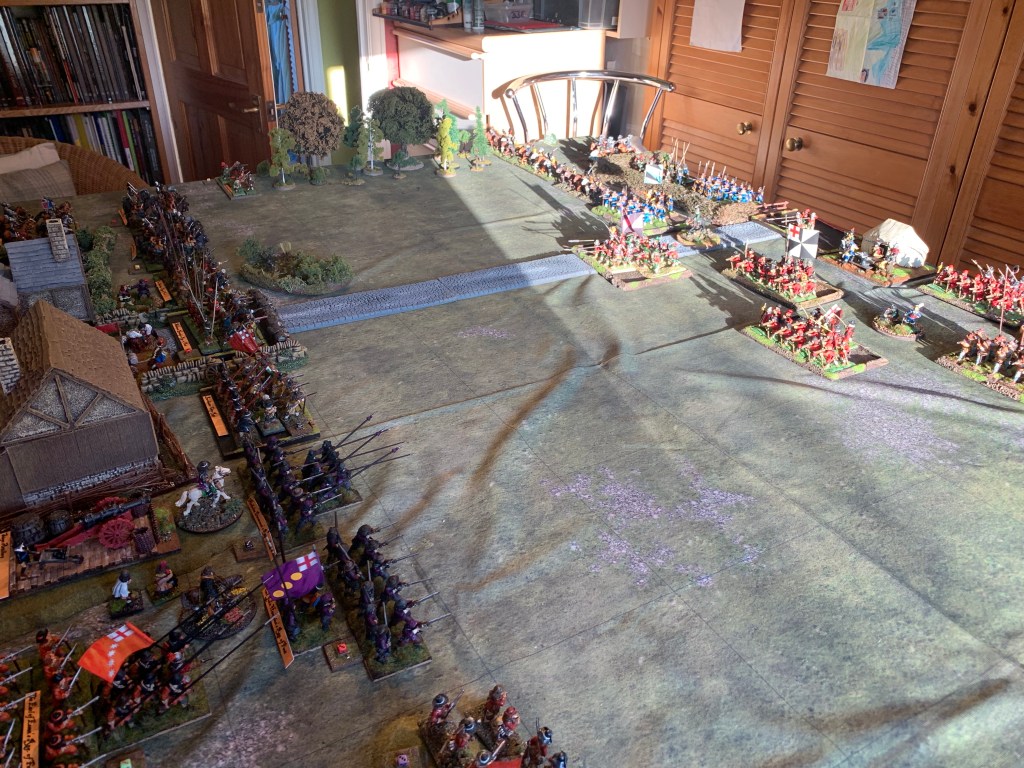
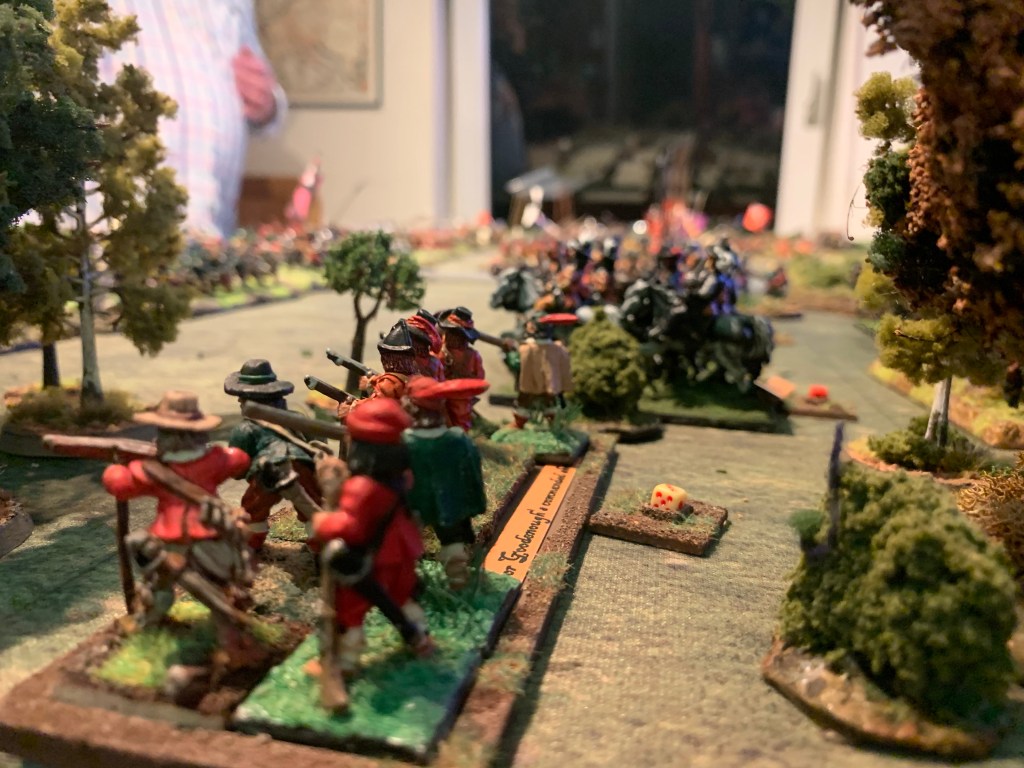
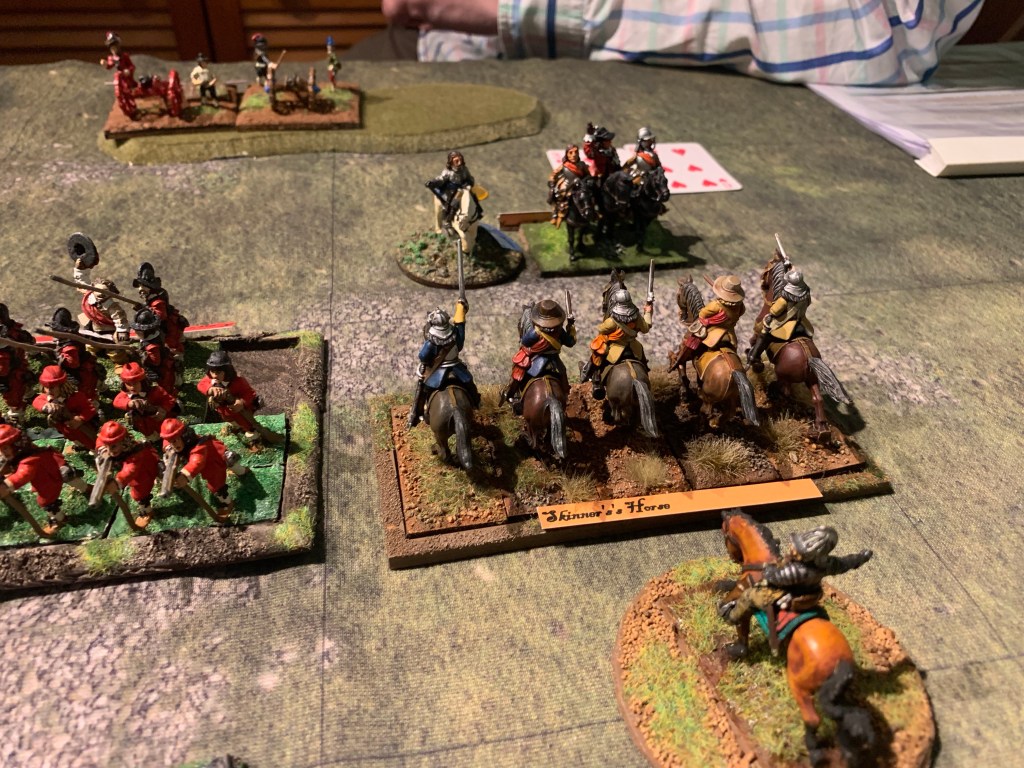
Darryl and Mike’s Royalists took on Bruce and Phil’s Parliamentarians. This is a free to download scenario available on the For King and Parliament to the strongest website.
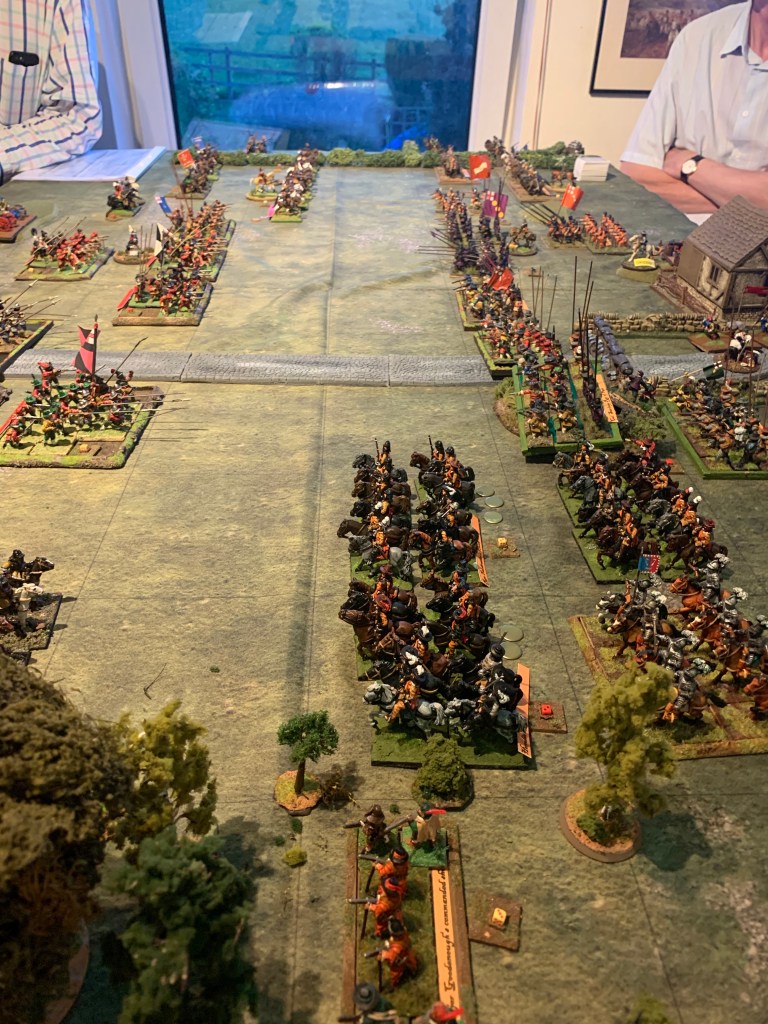
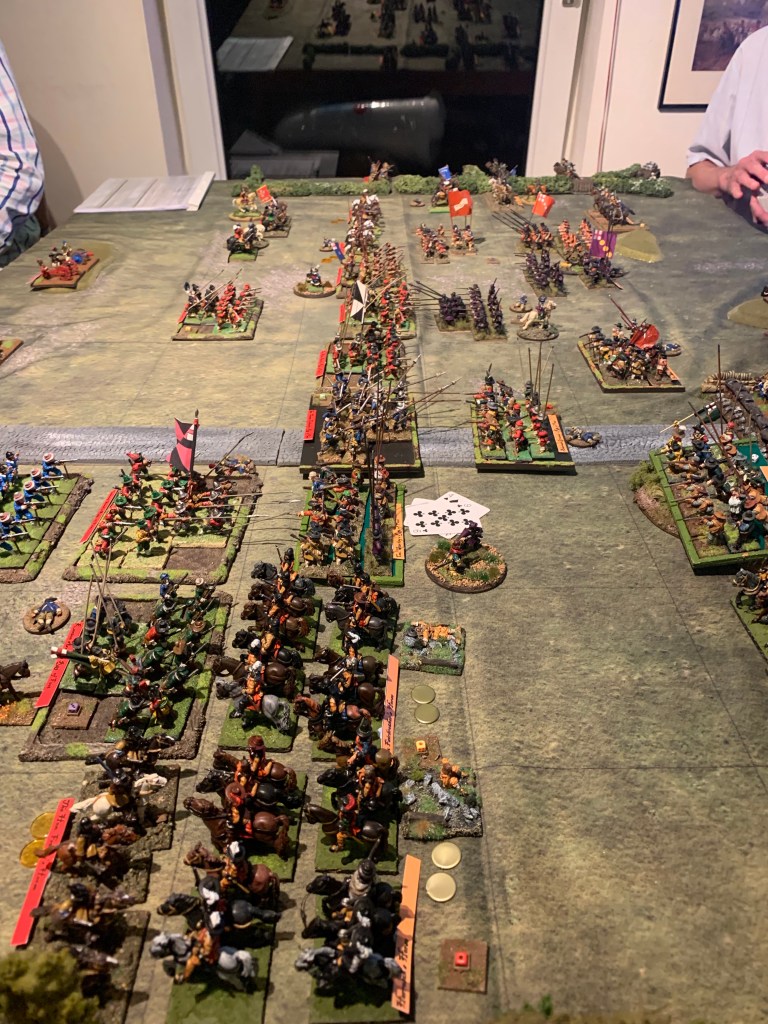
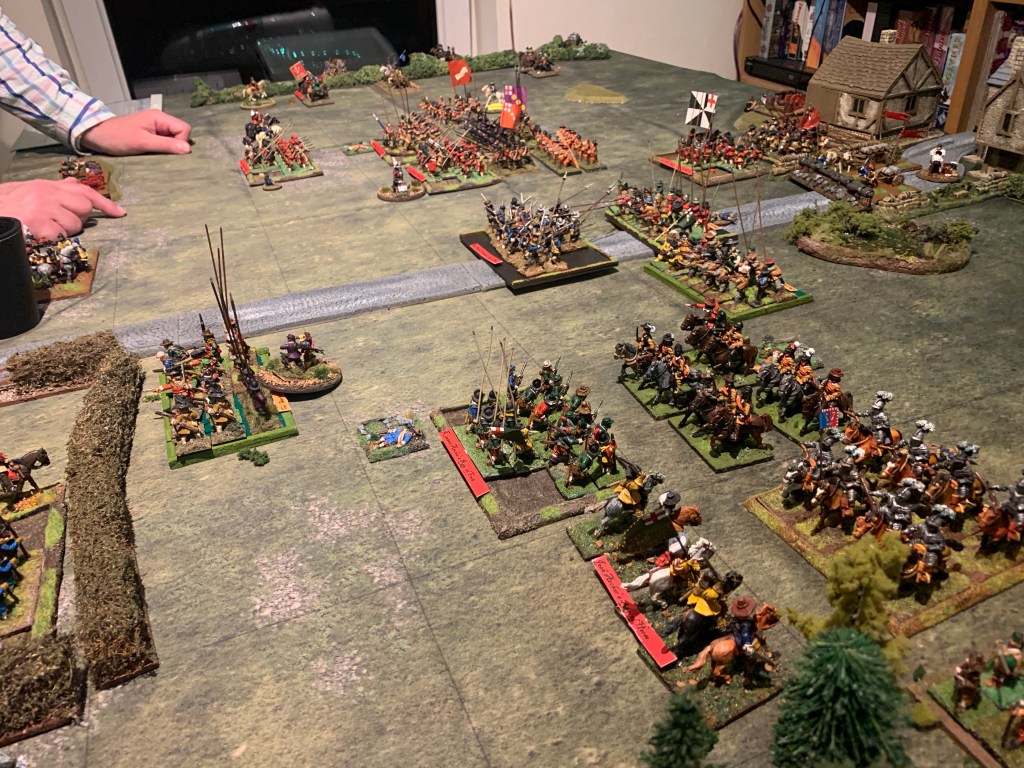
The view from Parliament right flank. After turn one both armies advanced and the artillery had no effect. The forces closeHaselerig’s lobstersCommanded shot sneak through the woodsThe Dutch style horse on the left flank are struggling. To the right flank Cromwell keeps losing his cavalry. Royalist foot are holding the centre. Royalist cavalry are strong on their left flank but falter before the Pike. One of the forward regiments of horse is defeated by the Pike block causing the other to flee in panic. This clears the way for the lobsters to move forward at last. Similarly the Parliament infantry have cleared their foes from near the road but their own Foot are being pushed back in the centre.To the right flank The Roundheads have rallied their infantry and Cromwell has charged forward clearing the way of enemy cavalry caught in the rear towards the King himself.However the K
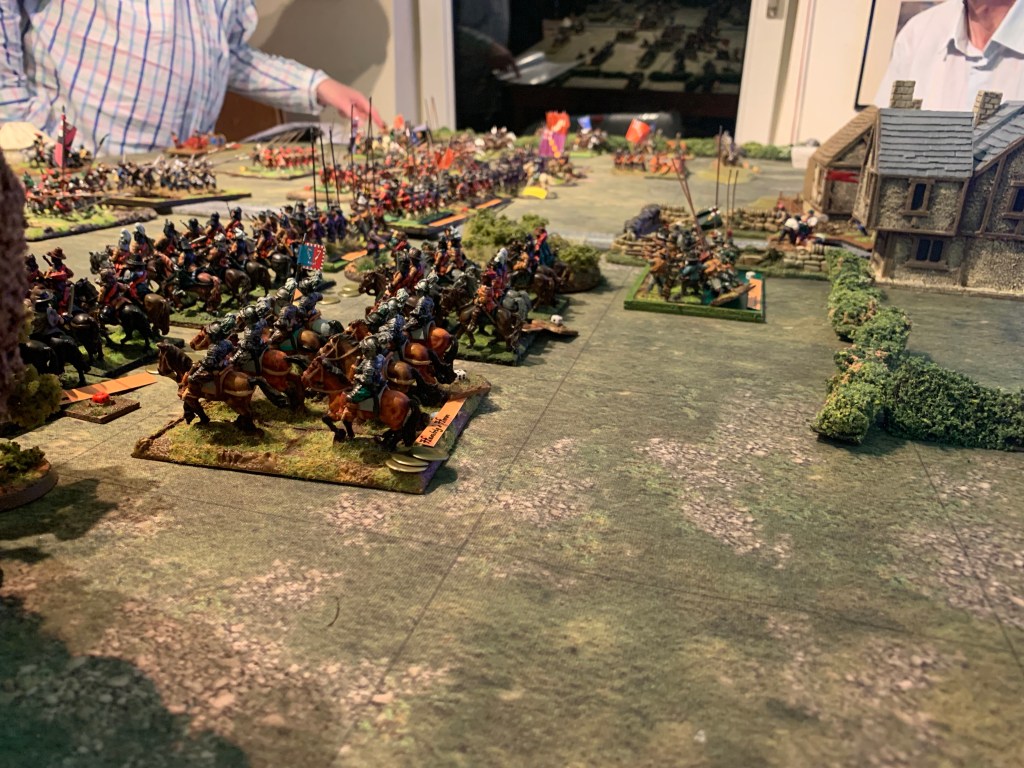
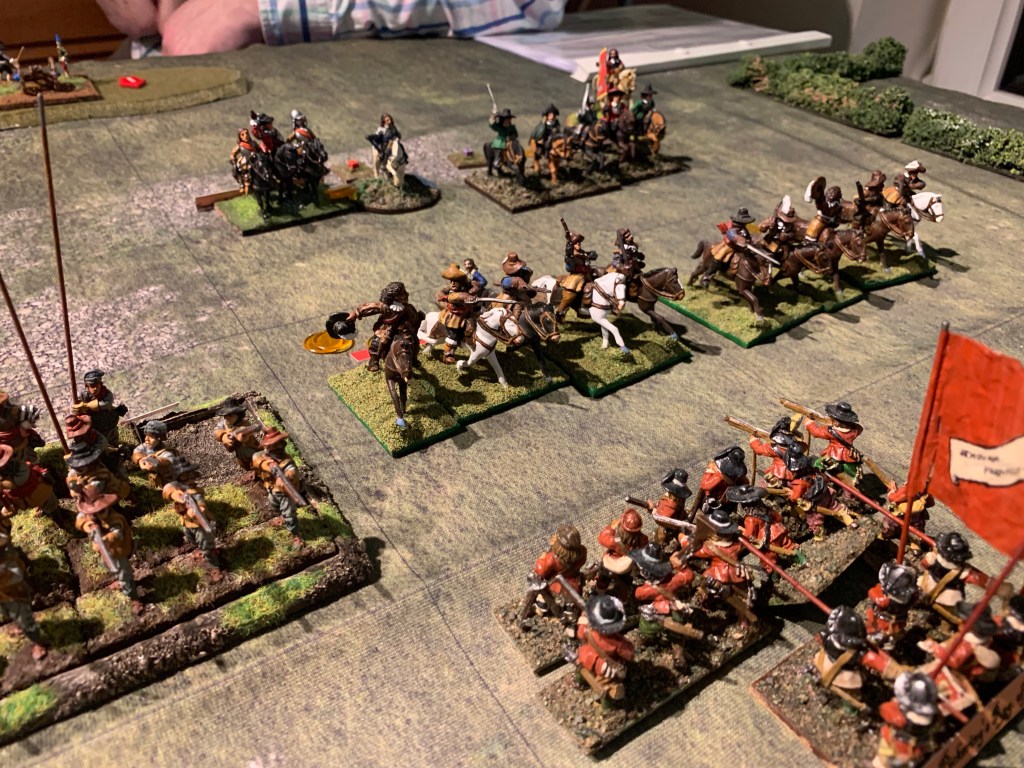
The King deftly turns his gentlemen pensioners around and charges into Cromwell taking him prisoner in the ensuing melee!
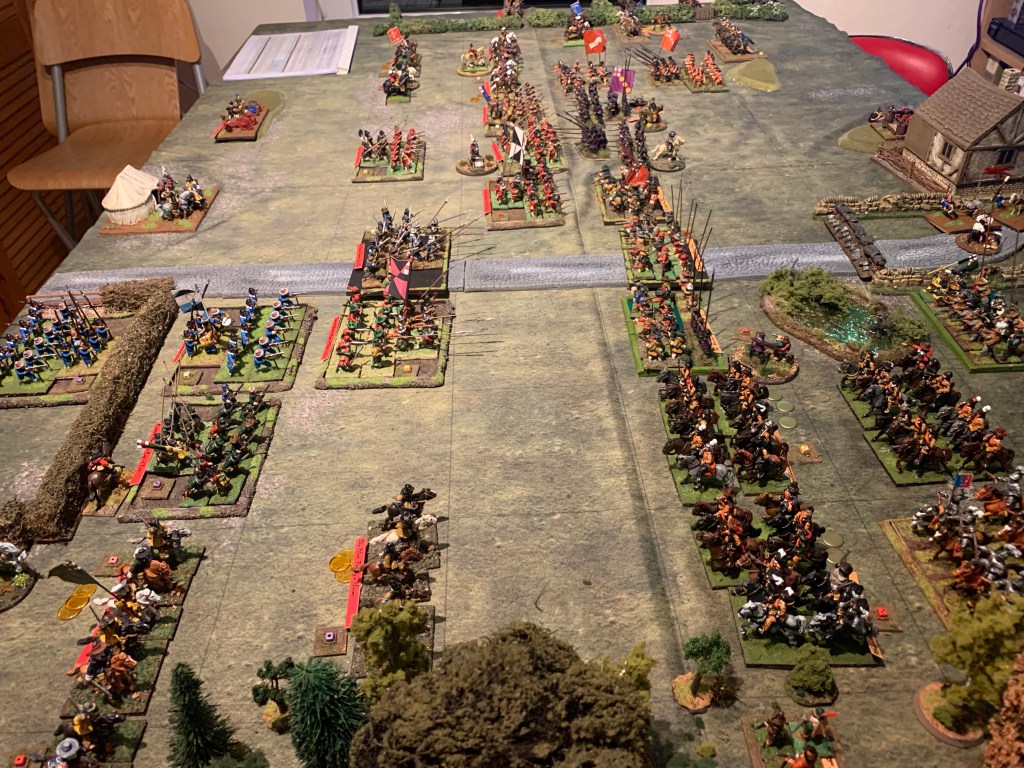
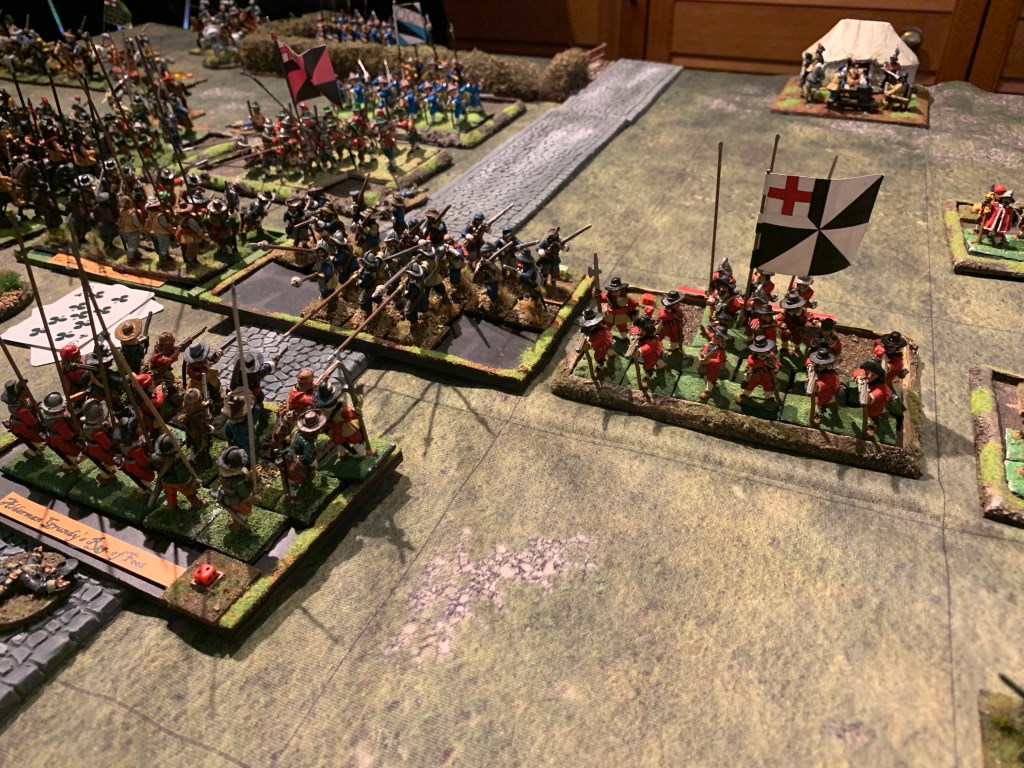
The Roundhead infantry are just about holding in the centre. The Roundhead infantry clear the way towards hedge whilst on the right flank the remaining cavalry are blown but just holding the line.
At this point darkness began to fall and both sides began to withdraw. Victory medals were tallied and Parliament had 9 remaining versus just 8 for the Cavaliers. So a very narrow victory for the Roundheads who had saved the village of Soggy Bottom and driven off the tyranny of King Charles!
What a tough battle of attrition. So many cards drawn in the evening! Quite exhausting but hopefully fun for all and a chance to get all the ECW figures out in their resplendent uniforms.
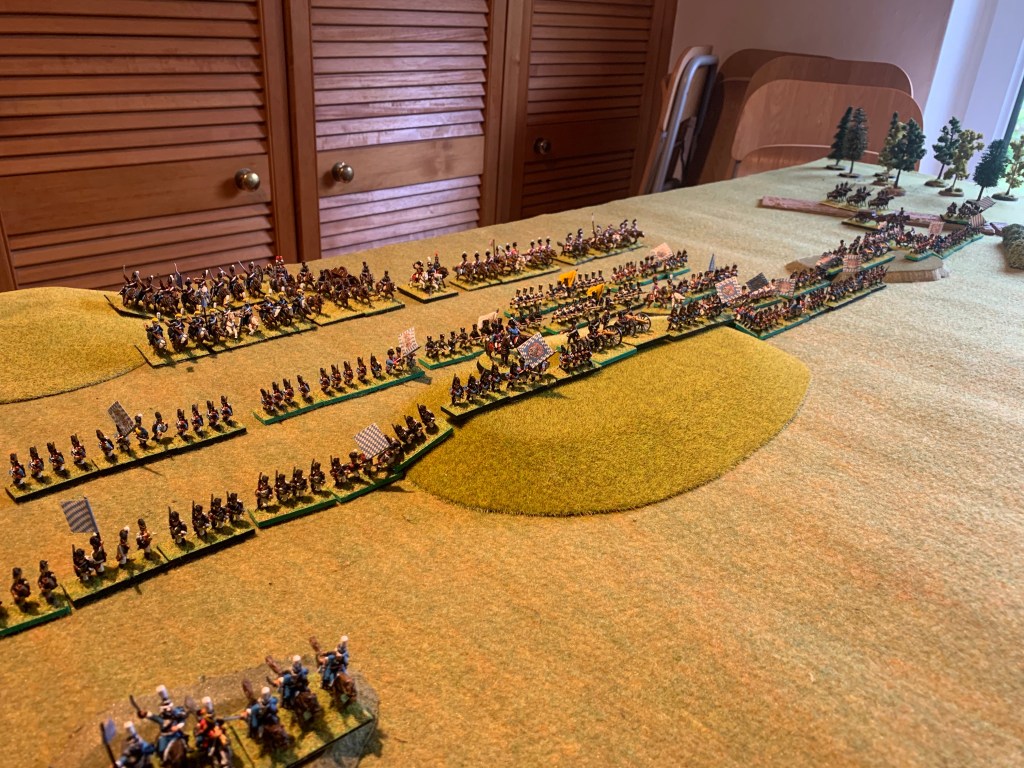
1809 and the Austrians have invaded Bavaria . Marshall LeFevre gathers his Army and meets them outside the village Pfeffenhausen at an important river crossing.
The Austrians in three brigades. Grenadier Brigade in the centre and forward brigade with light troops to the rightAustrian centre with guns on the ridge.
The Bavarians deploy with the mixed brigades to the flanks, central brigade and heavy cavalry reserve in the centre.
The Bavarians.Austrians
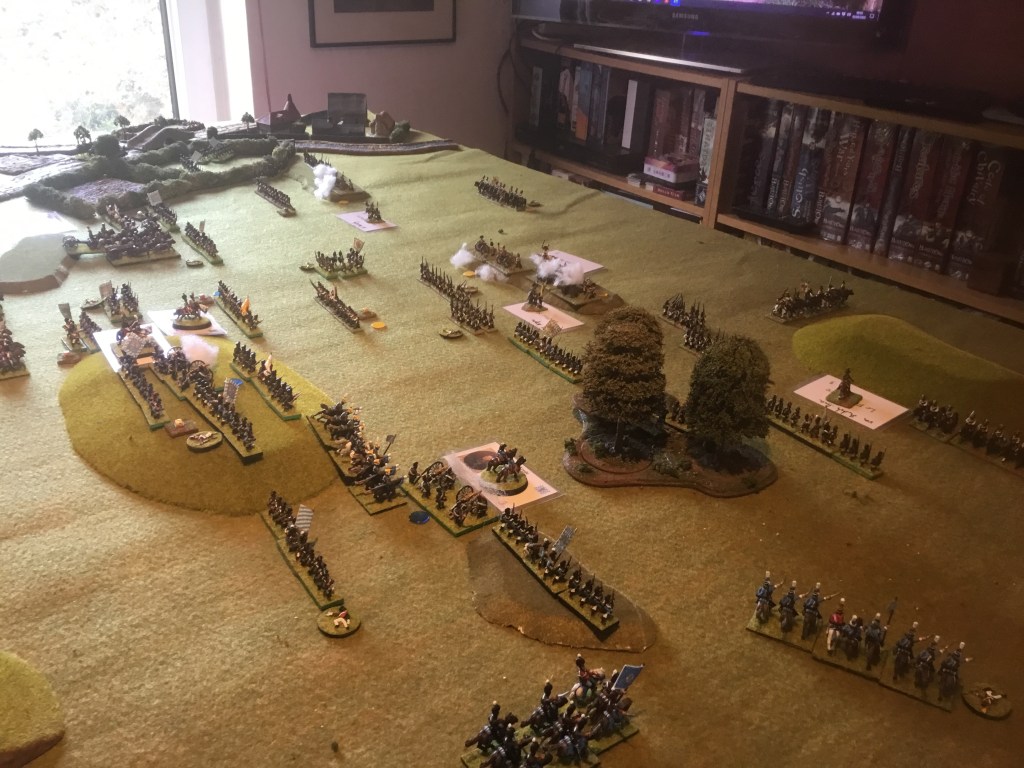
The Bavarians advance across the line and cavalry wide to each side. The line infantry advance into the woods and the Hussars drive away the Austrian Hussars. This forces the Austrians to detach two heavy cavalry from the reserve to counter this threat. To the left flank one of The central line battalions has advanced too far and been caught unsupported when Wrede’s whole division falters entirely.
I have added cards to the commanders to aid in identifying the the brigades and the leader’s quality ratings. The Bavarian advance in the centre has been forced back through artillery fire and musket and bayonet. To the right the Hussars now threaten the Grenzers who have been forced out of the woods in disorder.
Wrede advances his brigade whilst the leader does the same in the centre. The Grenzers form an unsteady square seeing the Hussars wheel about and the heavy cavalry rush to their rescue and drive the Hussars back. Horse artillery and light horse are detached from the reserves to bolster the right
The Austrians counterattack forcing the light infantry back out of the wood land and the forces in the centre back in disarray. The Bavarian lines are too close and they also suffer bounce through from the cannons. When attacked by fusiliers in attack column supported by Grenadiers to each side the Wurtembergers are eliminated.
However on the Austrian right flank each time the Bavarians react before they can advance. Even though they push their foes back at times the cumulative disarray on the rightmost brigade begins to mount and it is shaken. Calculating the disarray plus the losses across the whole Army now at the end of this turn the Austrians are close to their divisional break point.
Can they turn things around before the end of their next turn?
Over the next turn events turned bloody as the Bavarians advanced. Seeing Austrians in disorder the Bavarians advanced in line and caused a rout amongst the green Austrian fusiliers already in disorder. However this opened a gap for the heavy cavalry who smashed into the infantry in line destroying them. In the centre the Bavarians pulled back their disordered units and held their positions when the Austrians counterattacked. They also fired shot at close range inflicting heavy casualties but the Austrian artillery reacting had less effect. To the right wing the Bavarians destroyed the Grenadiers who had faltered under fire from the horse artillery . The Jaegers took the woods but the Grenzers were destroyed when the Bavarian light infantry emerged from the woods. The Hussars failed to advance in support so the light infantry are likely doomed if the heavy cavalry act quickly on the Austrian turn.
The Bavarian position is now looking strongest.
Nevertheless at this point it was clear who the victor would be so it was time to finish.
The rules worked well. For the most part though I enjoyed the game and thought the rules worked well especially with the Song of Drums dice mechanism adding uncertainty and the opportunity to have reactions.