Upgraded my ziterdes marsh board by adding deeper resin.
I think it looks better. It will also be easier to play on which is important.
Upgraded my ziterdes marsh board by adding deeper resin.
I think it looks better. It will also be easier to play on which is important.
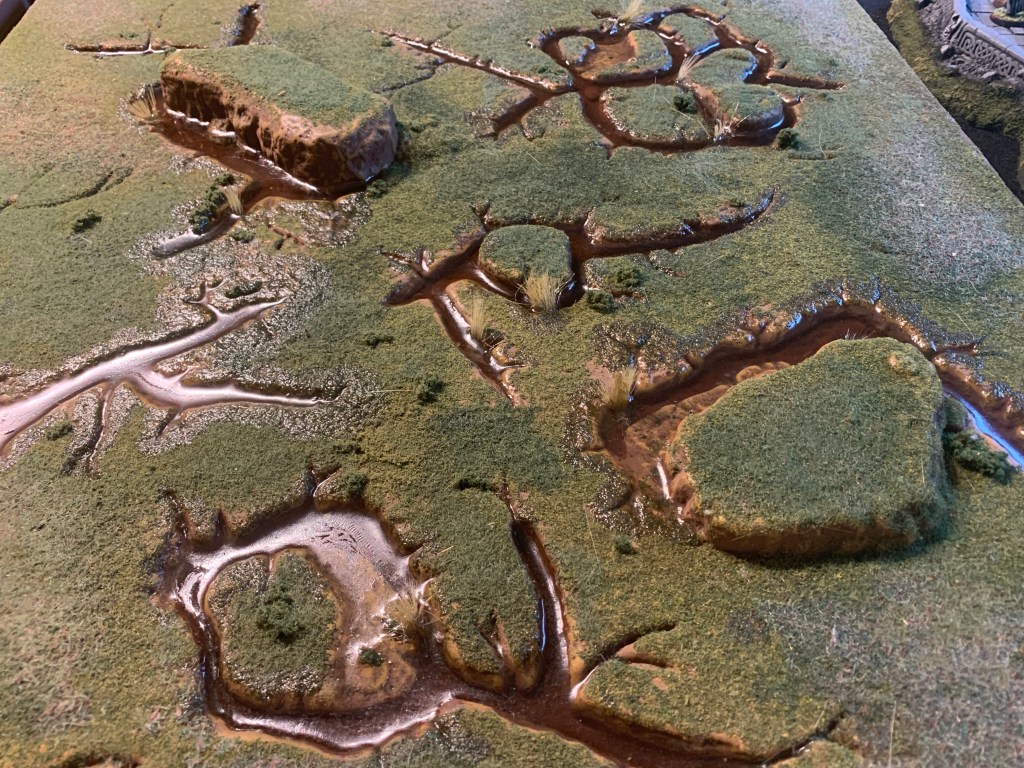
Have painted up two pools/ marshes terrain pieces. This time I used clear epoxy resin which I found easier but stickier to use. Slower to dry but gives a clear finish.

Decided to add some deeper water to my river boards. See the original page.
Used Woodland Scenics EZ Water. Had it for a long time.
Heated it up – tried outside but it really needs a high flame so had to use the stove.
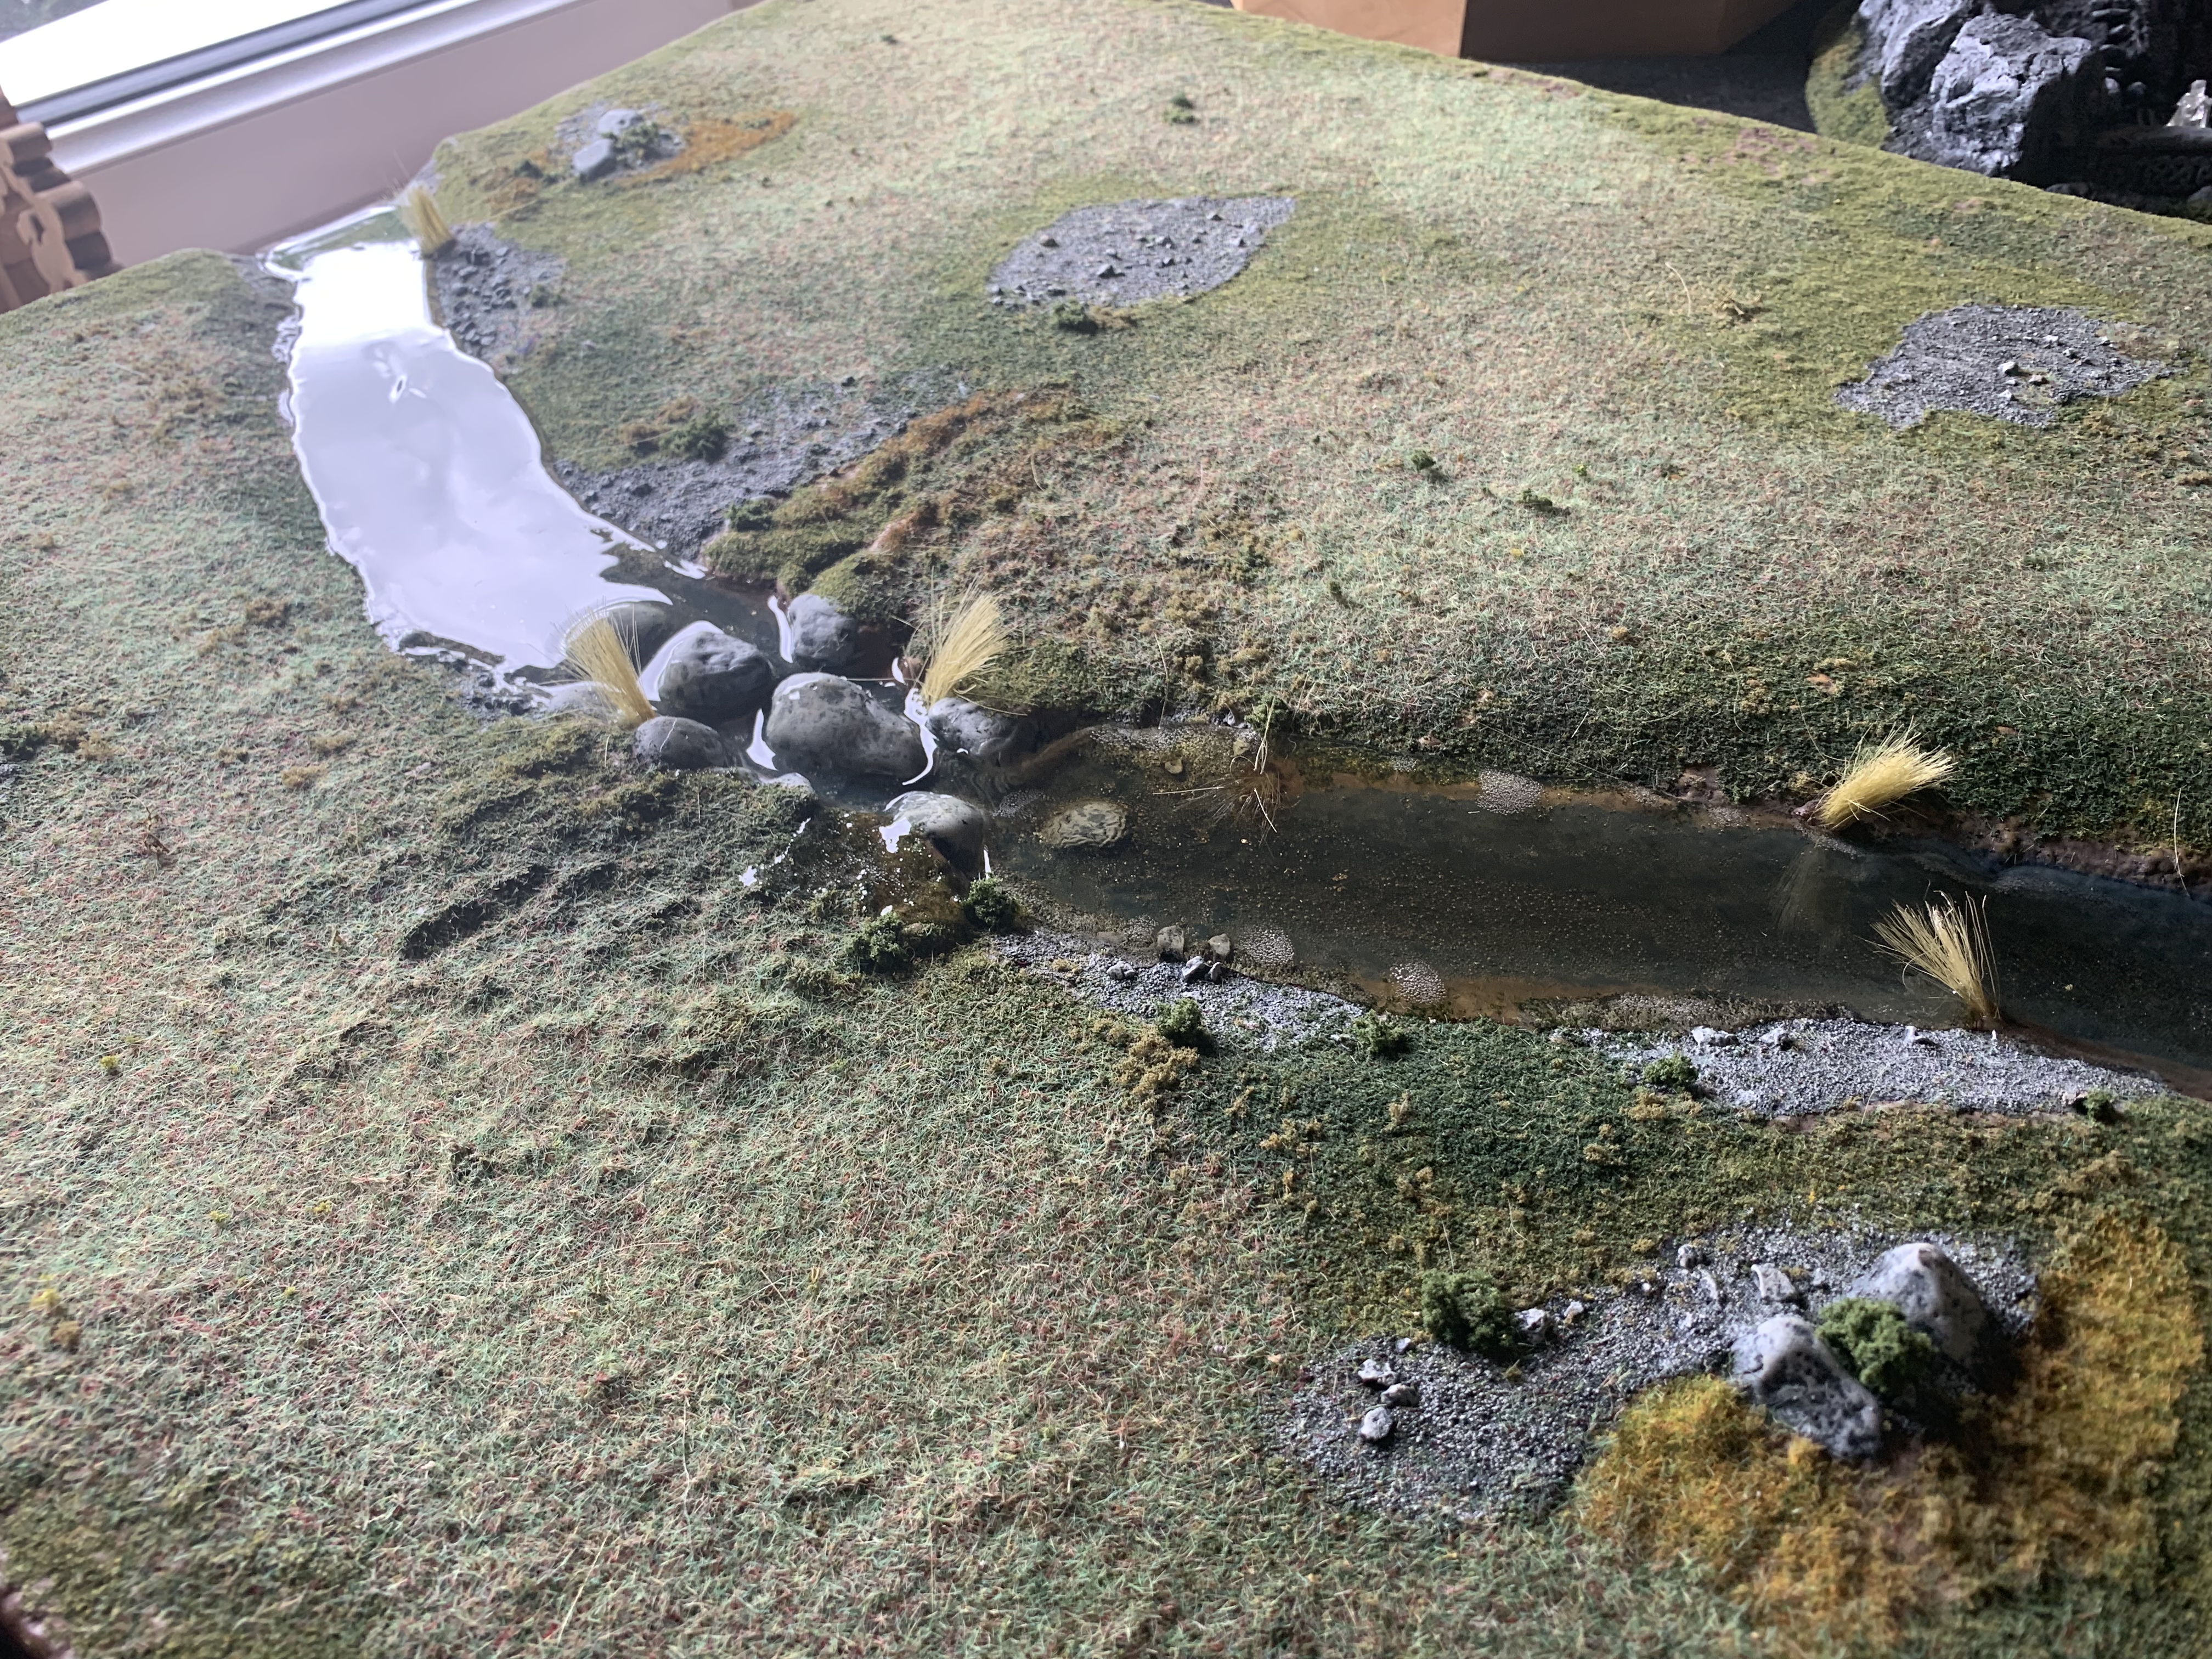
It dried hard and quick but with a yellow tinge I was not expecting. The river is a bit darker I suppose. Certainly my river is now deeper and wider. One thing I did not expect was that it warped my boards. As it dried it twisted the Ziterdes boards. If noticeable I might have to add some batons. Overall I think they do look better.
Have tried with some realistic water effects to see if can lessen the curve at the edge of the water.

Am currently working on some marsh bases. The first time I did these I was unhappy with the final result as the diorama marsh water I tried simply looked like green gloss paint when it dried. Now I have added some epoxy resin having built up the sides. Will see how it goes.
Edit – update the realistic water has still not fully dried after 24 hours.


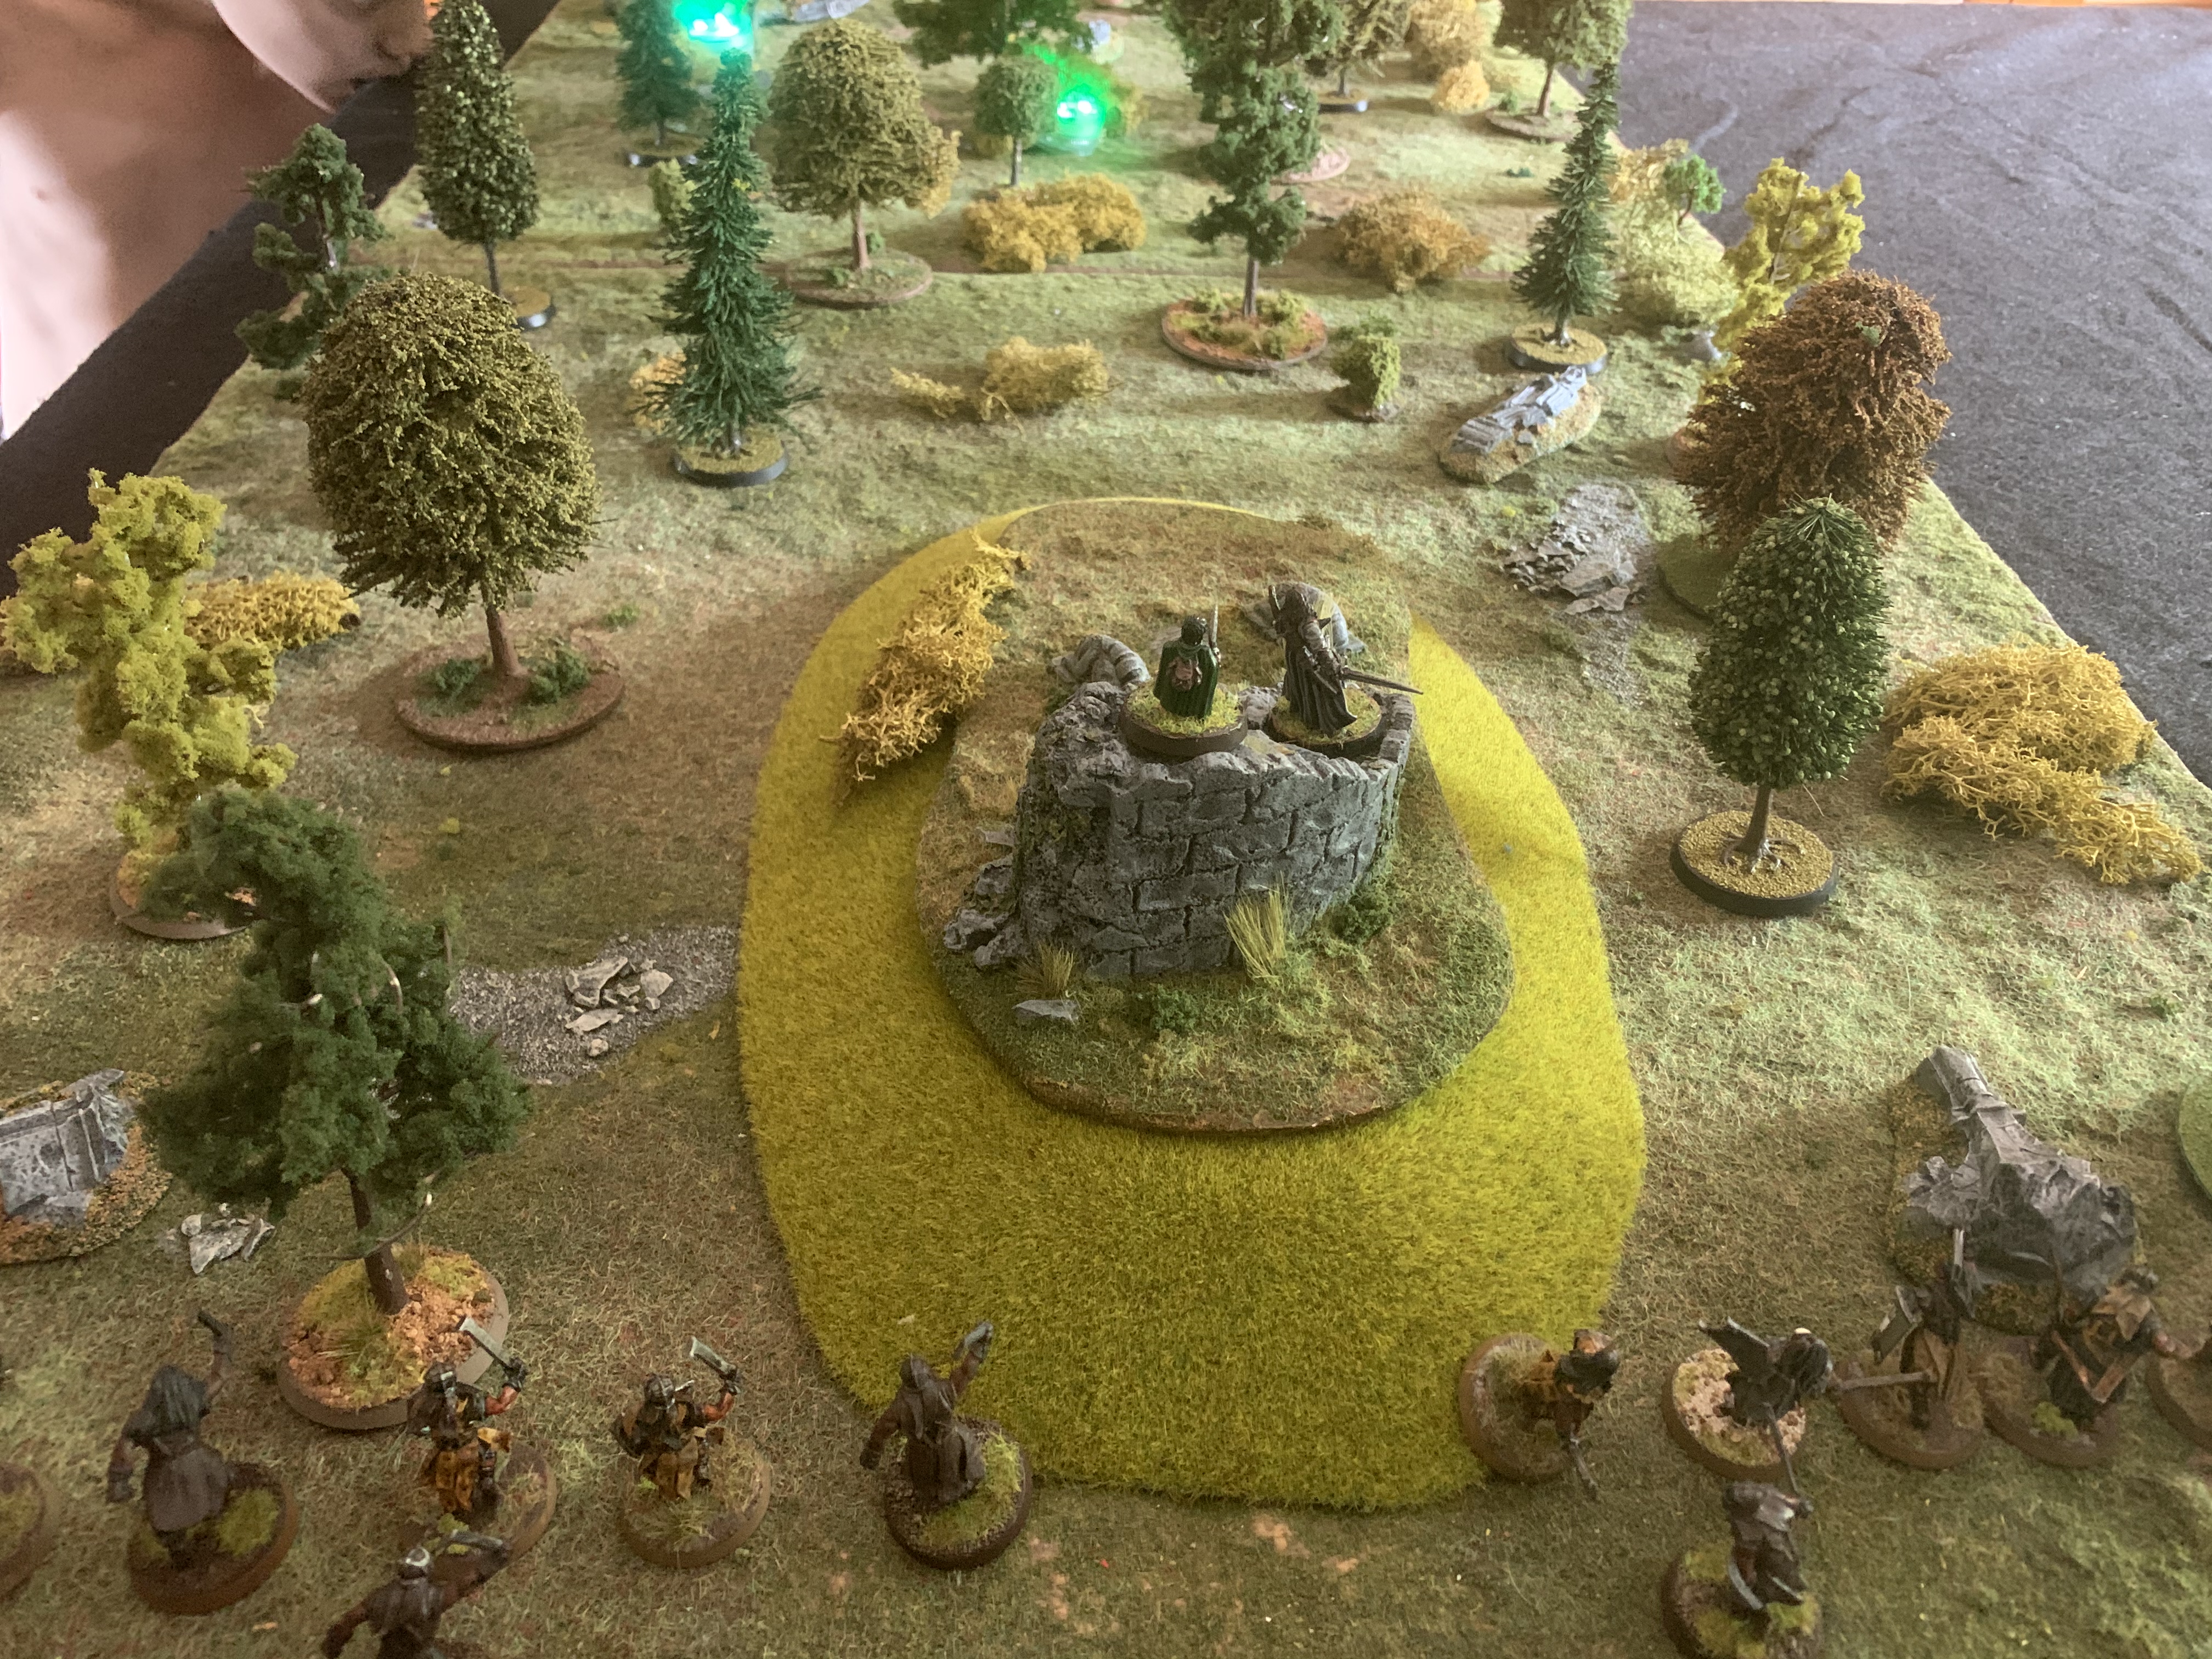
Bormir retreats up the hill fighting his way through any scouts. He kills the Caprtain and then Lurtz. Aragorn watches him fall and then takes out Lurtz as Gimli rushes to his aid. Legolas deals with the archers from cover as he has been heavily injured by arrows early on in the scenario, narrowly surviving when caught out in the open. Victory for Good.
Eventually Boromir has fallen and the halflings taken to Isengard. The Fellowship lies broken but what of the Ringbearer?
Darryl (British), Spain (Phil) vs Mike (North French), Michael (South French)
1st Turn played.
Wow what a tense and difficult game that was! So close and lots of hard fought battles. Now the South French are planning on taking on Wellington with a mega army whilst the North French look to defend France from invasion across the Pyrenees whilst holding on to Madrid! Those Southern Spanish keys look poorly defended too but never underestimate the French who rolled a fantastic reinforcement roll whereas the Brits and Spanish rolled 4 ones for our own between us! War without end meant no peace roll and impossible to conquer Spain at the end of Turn 1.
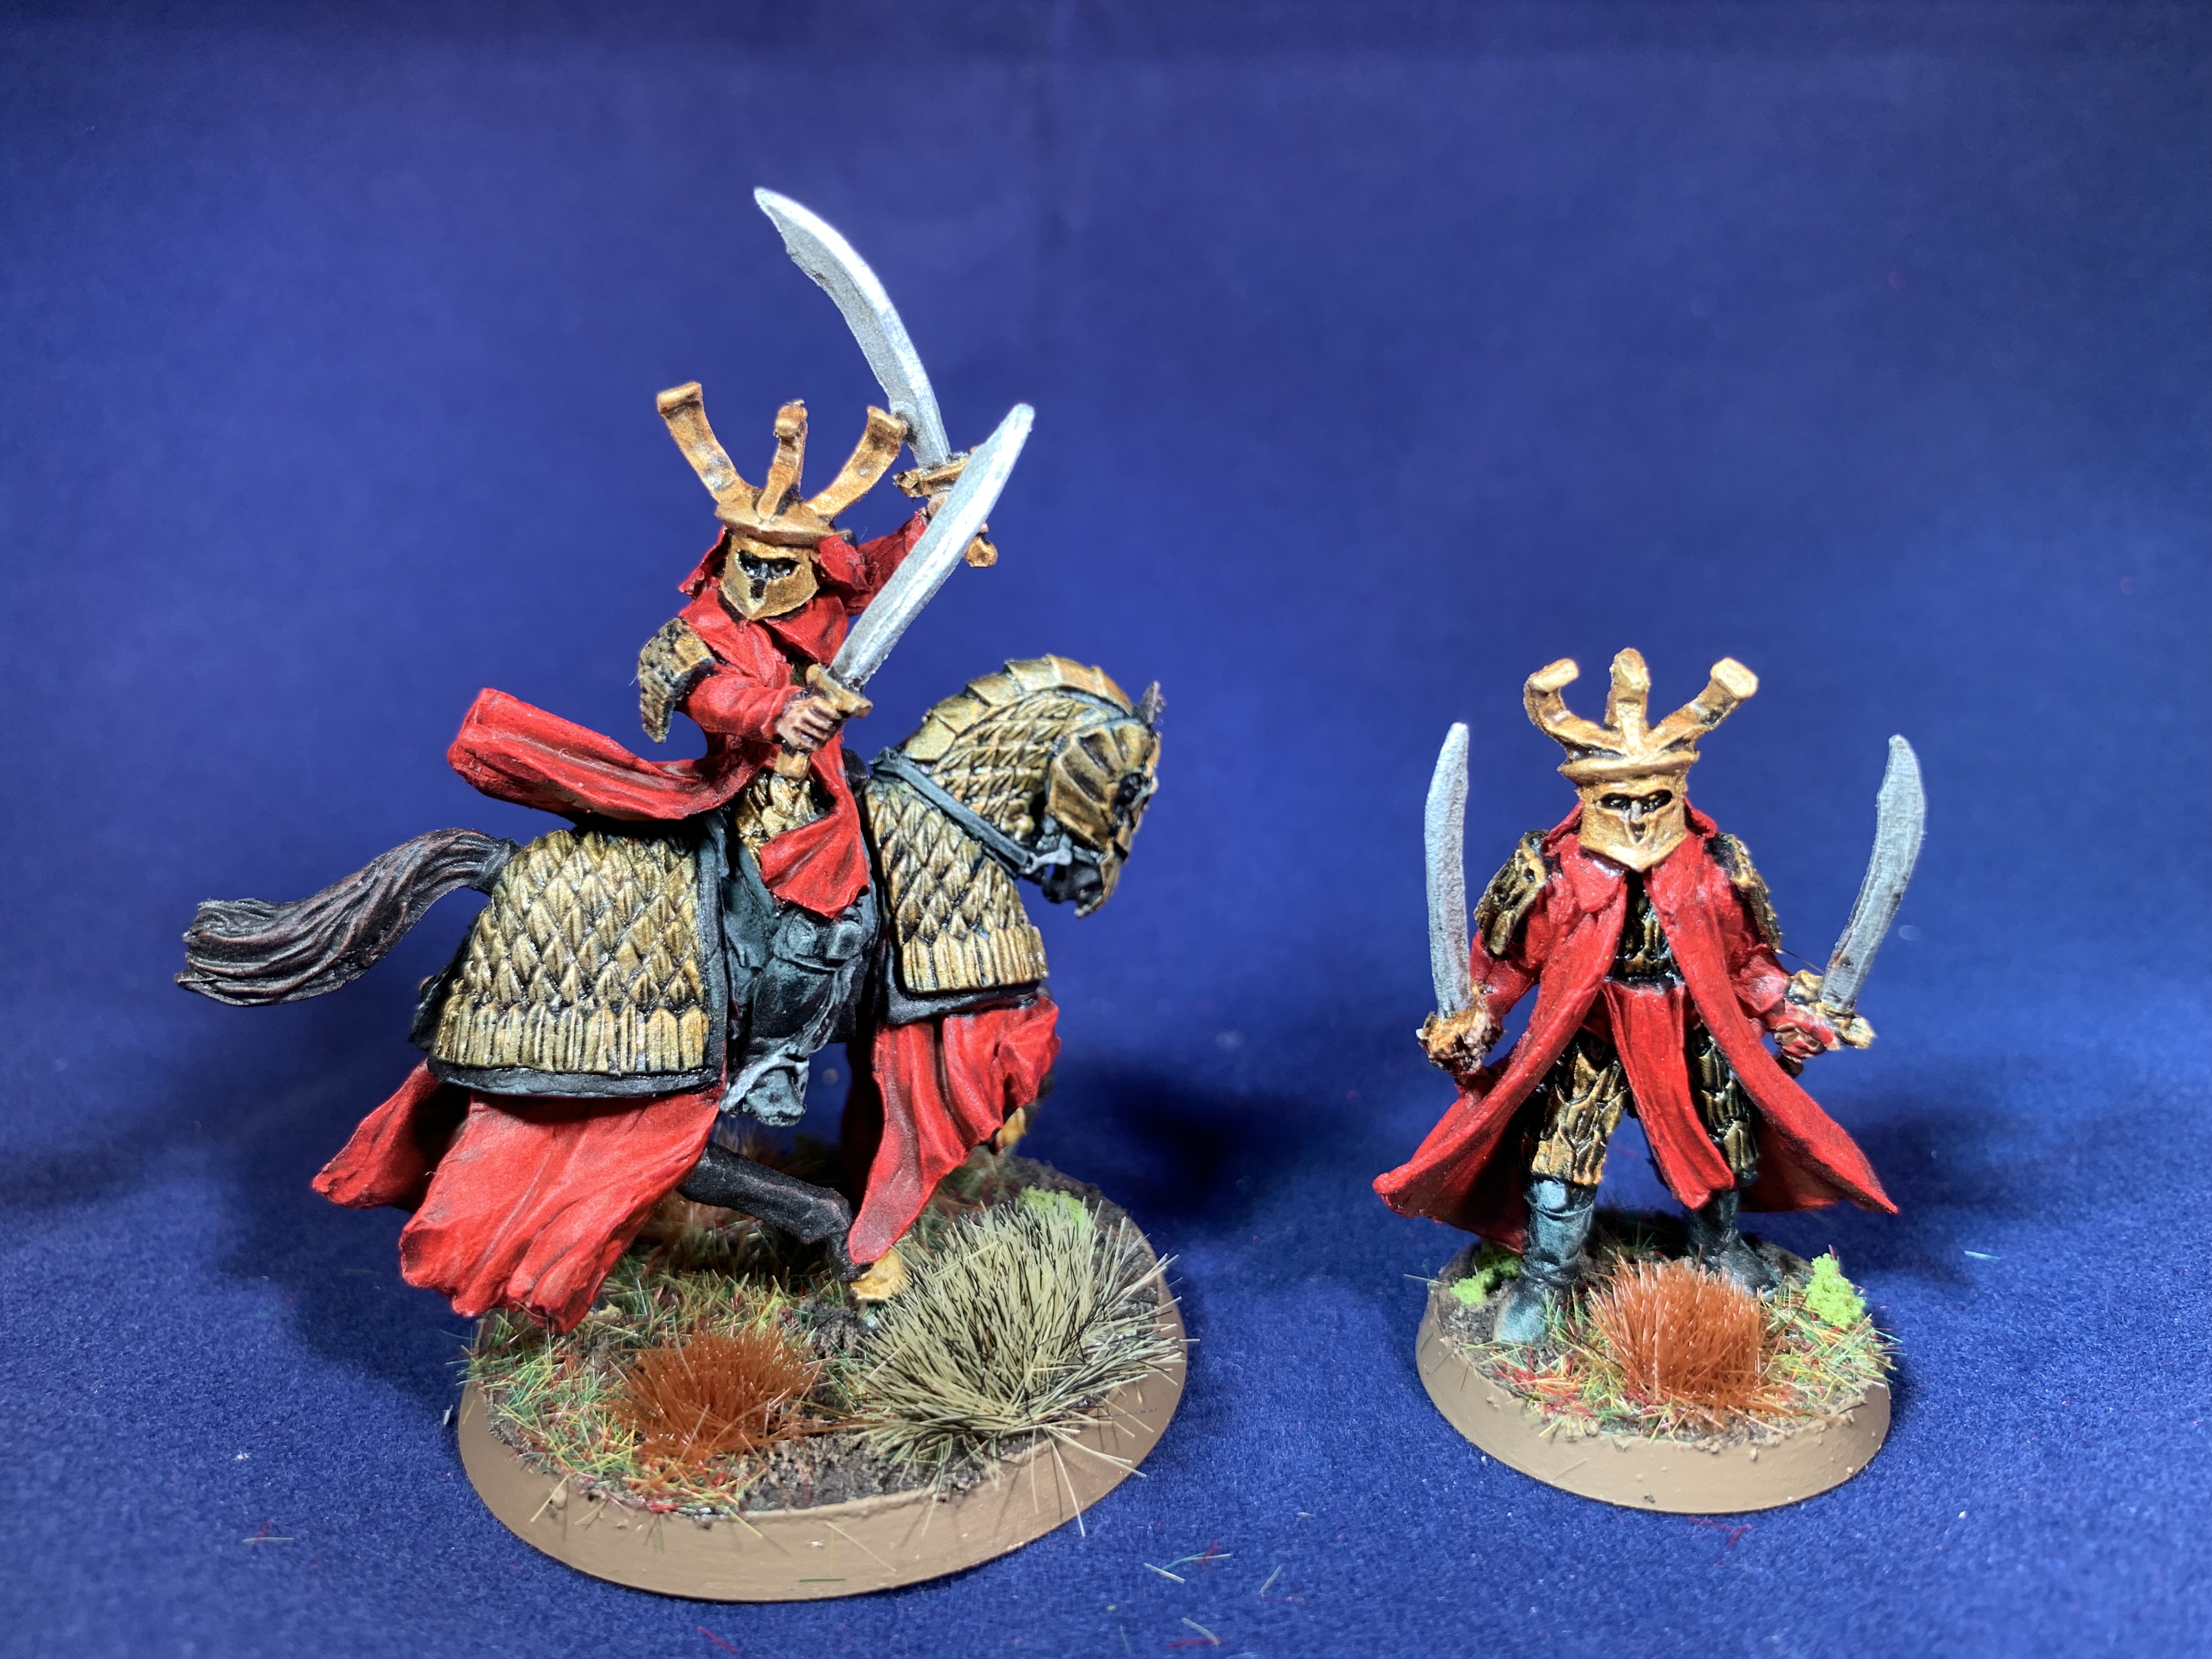
Some commanders to boost my Easterlings ready for War in the North perhaps. Amdur Lord of Blades leads a Dragon Knight Captain. On foot a war priest in service of the Dark Lord with a modified Captain and a Banner Bearer. I modified the Captain so he looked different to my other by moving his Glaive to the front. The figures arrived badly bent but I was able to straighten everything nicely using boiling water. The Captains weapon broke but I was intending to move it around any way and used a rod to fix the weapon head on.
All painted with contrast paints and then the metal added. Nuln oil wash applied after that and some gold highlight in parts.
I also painted a harbour landing quay. No picture until I find a use for it! One day the Corsairs will raid Gondor and need it to dock perhaps.


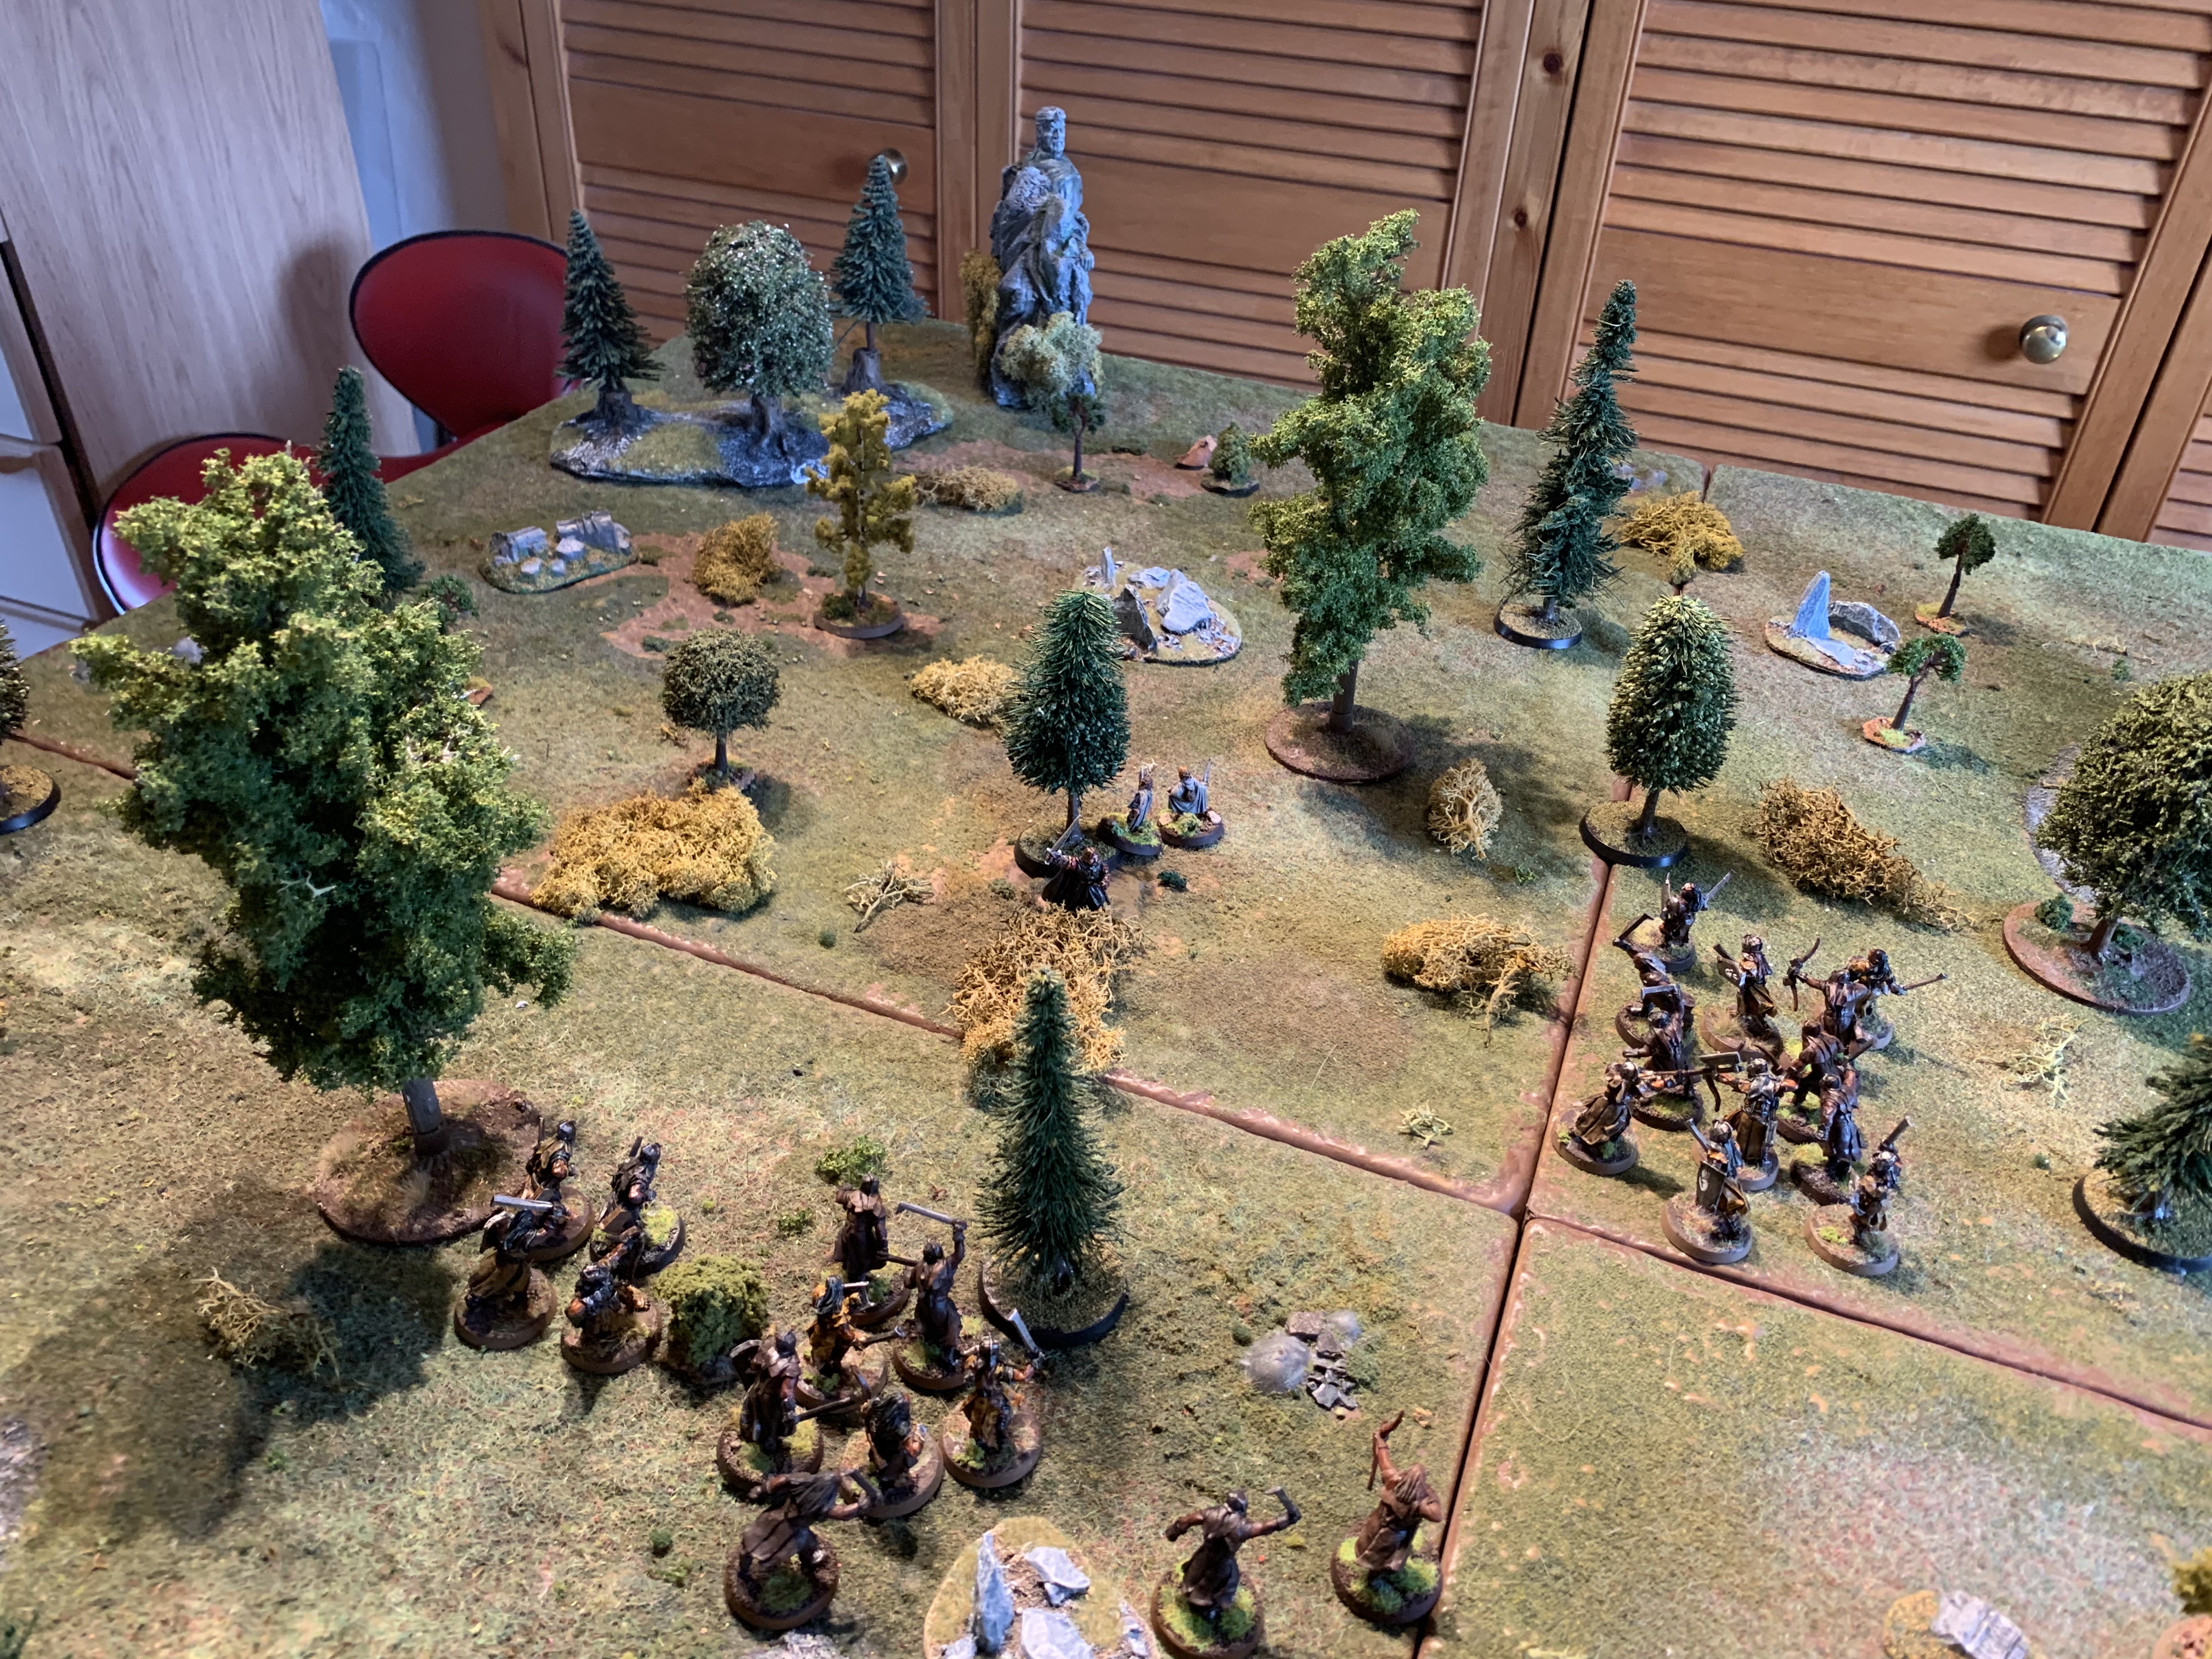
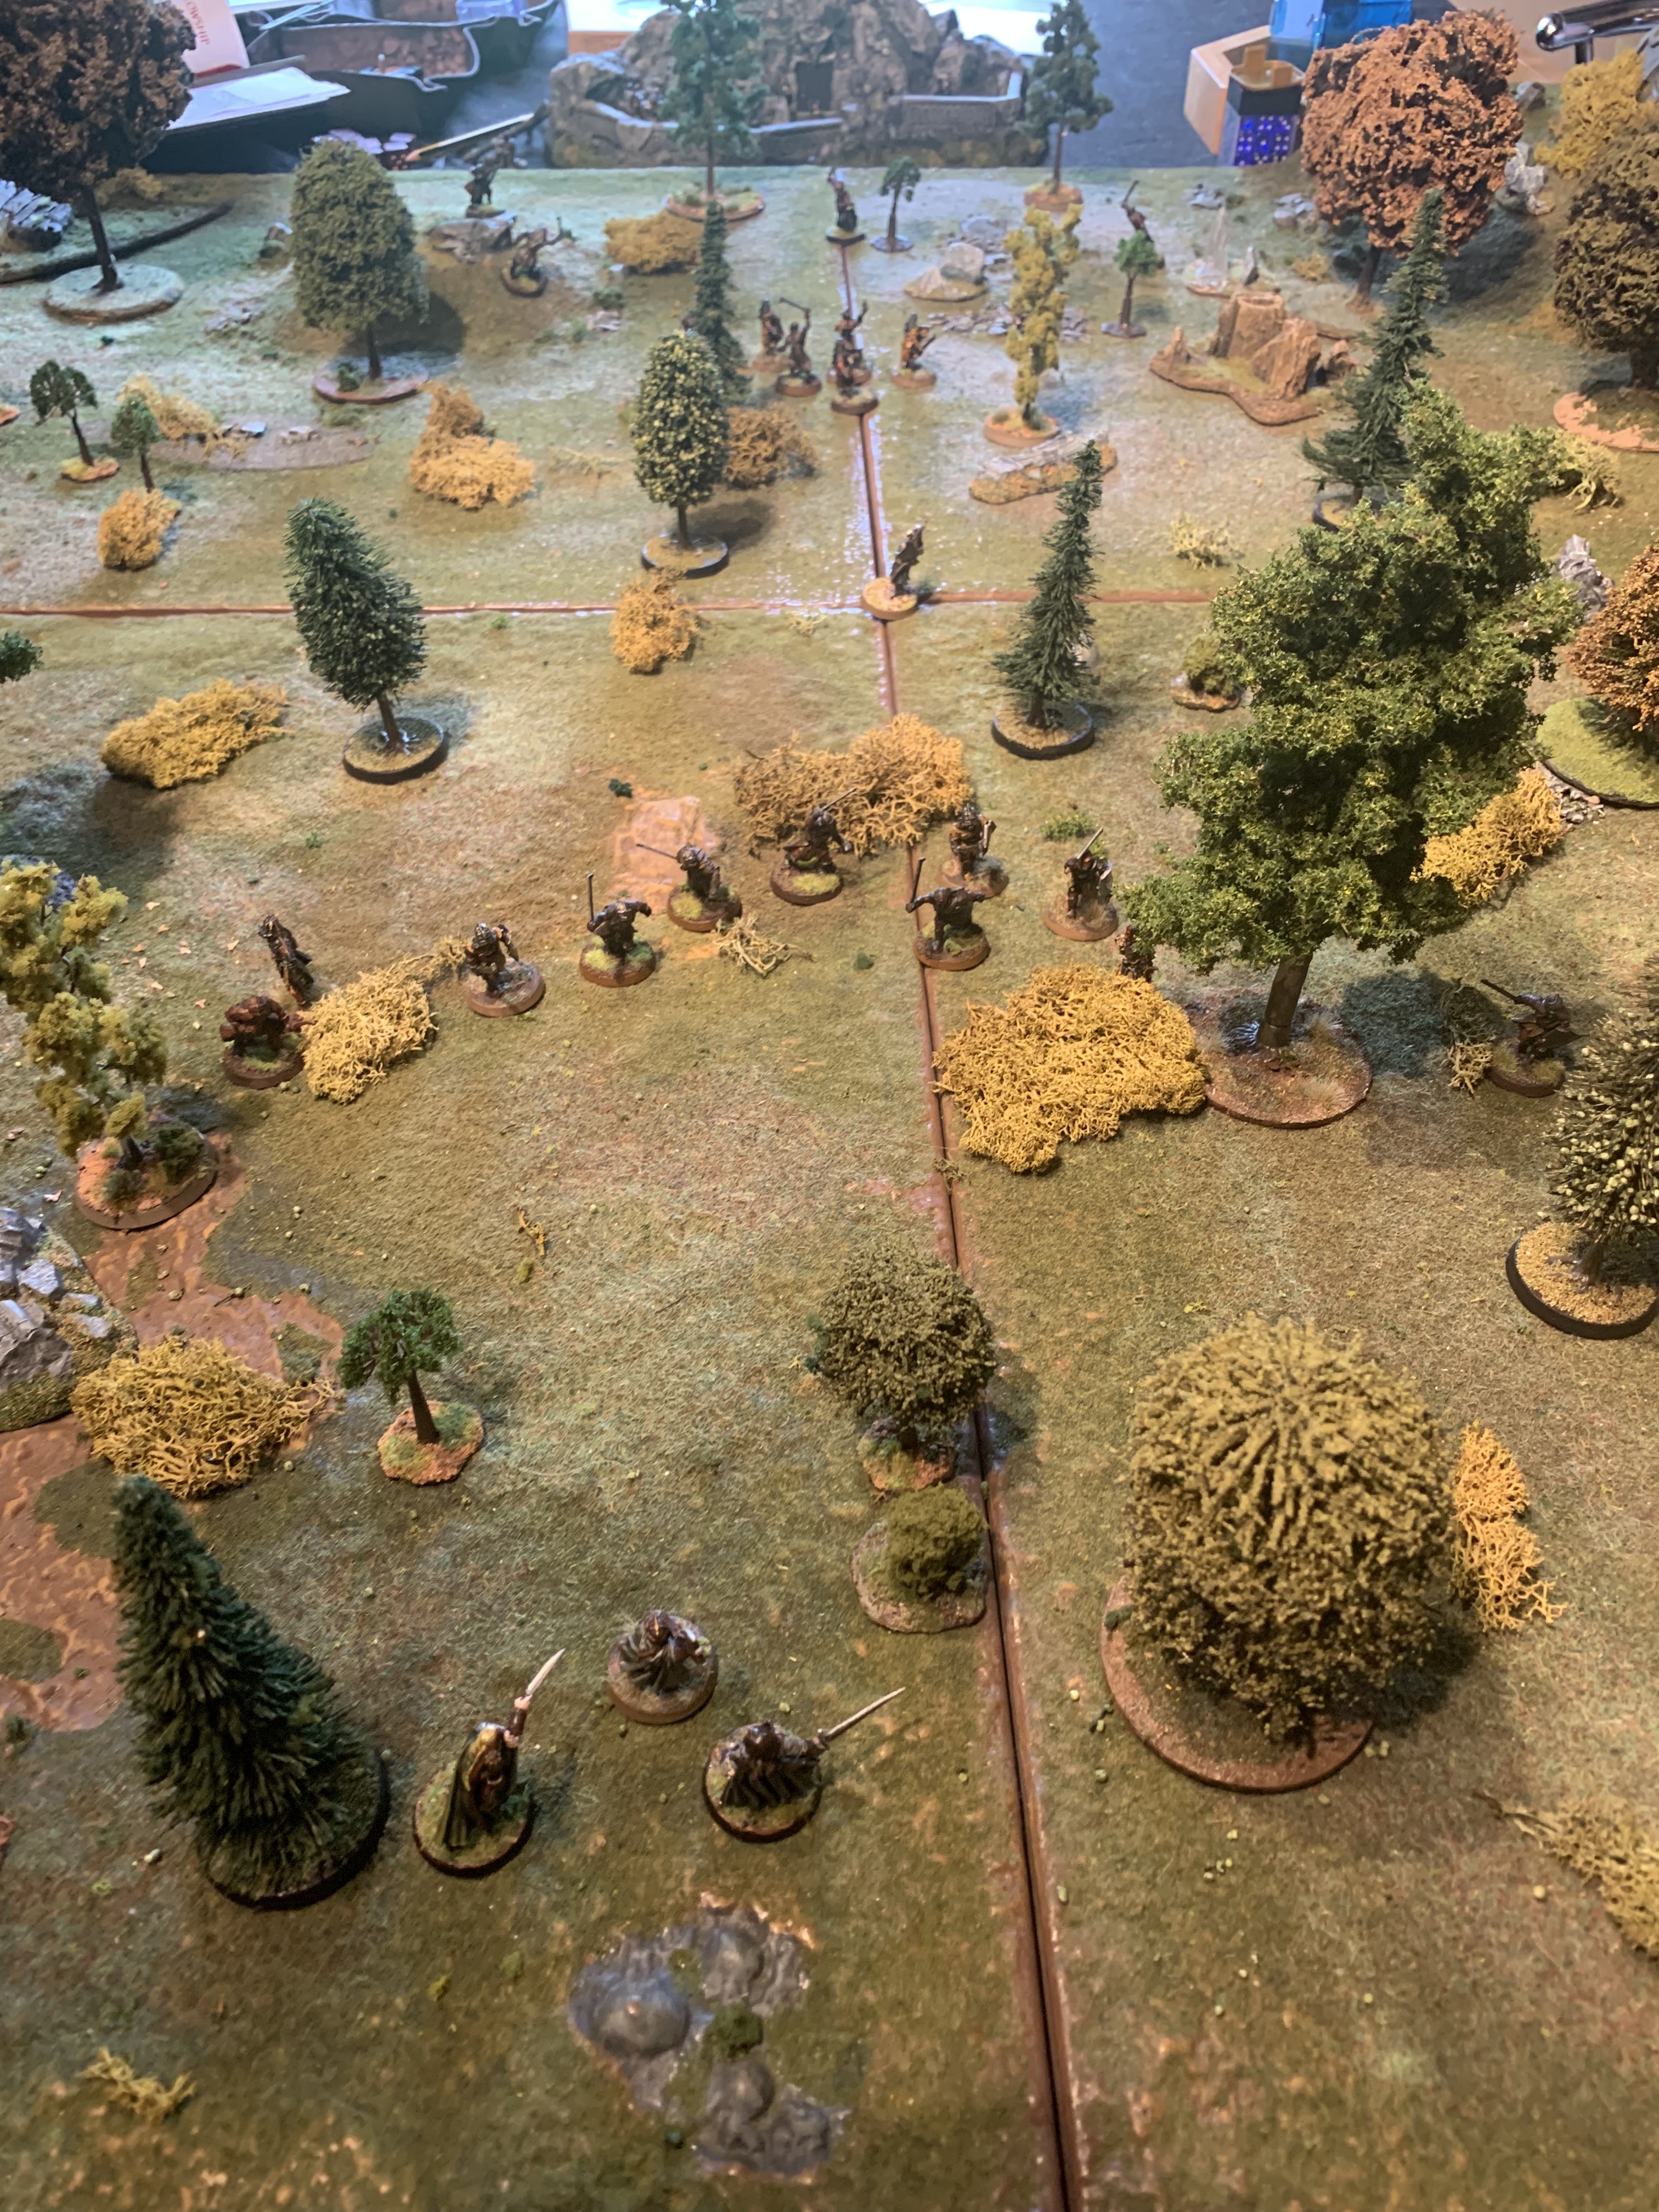
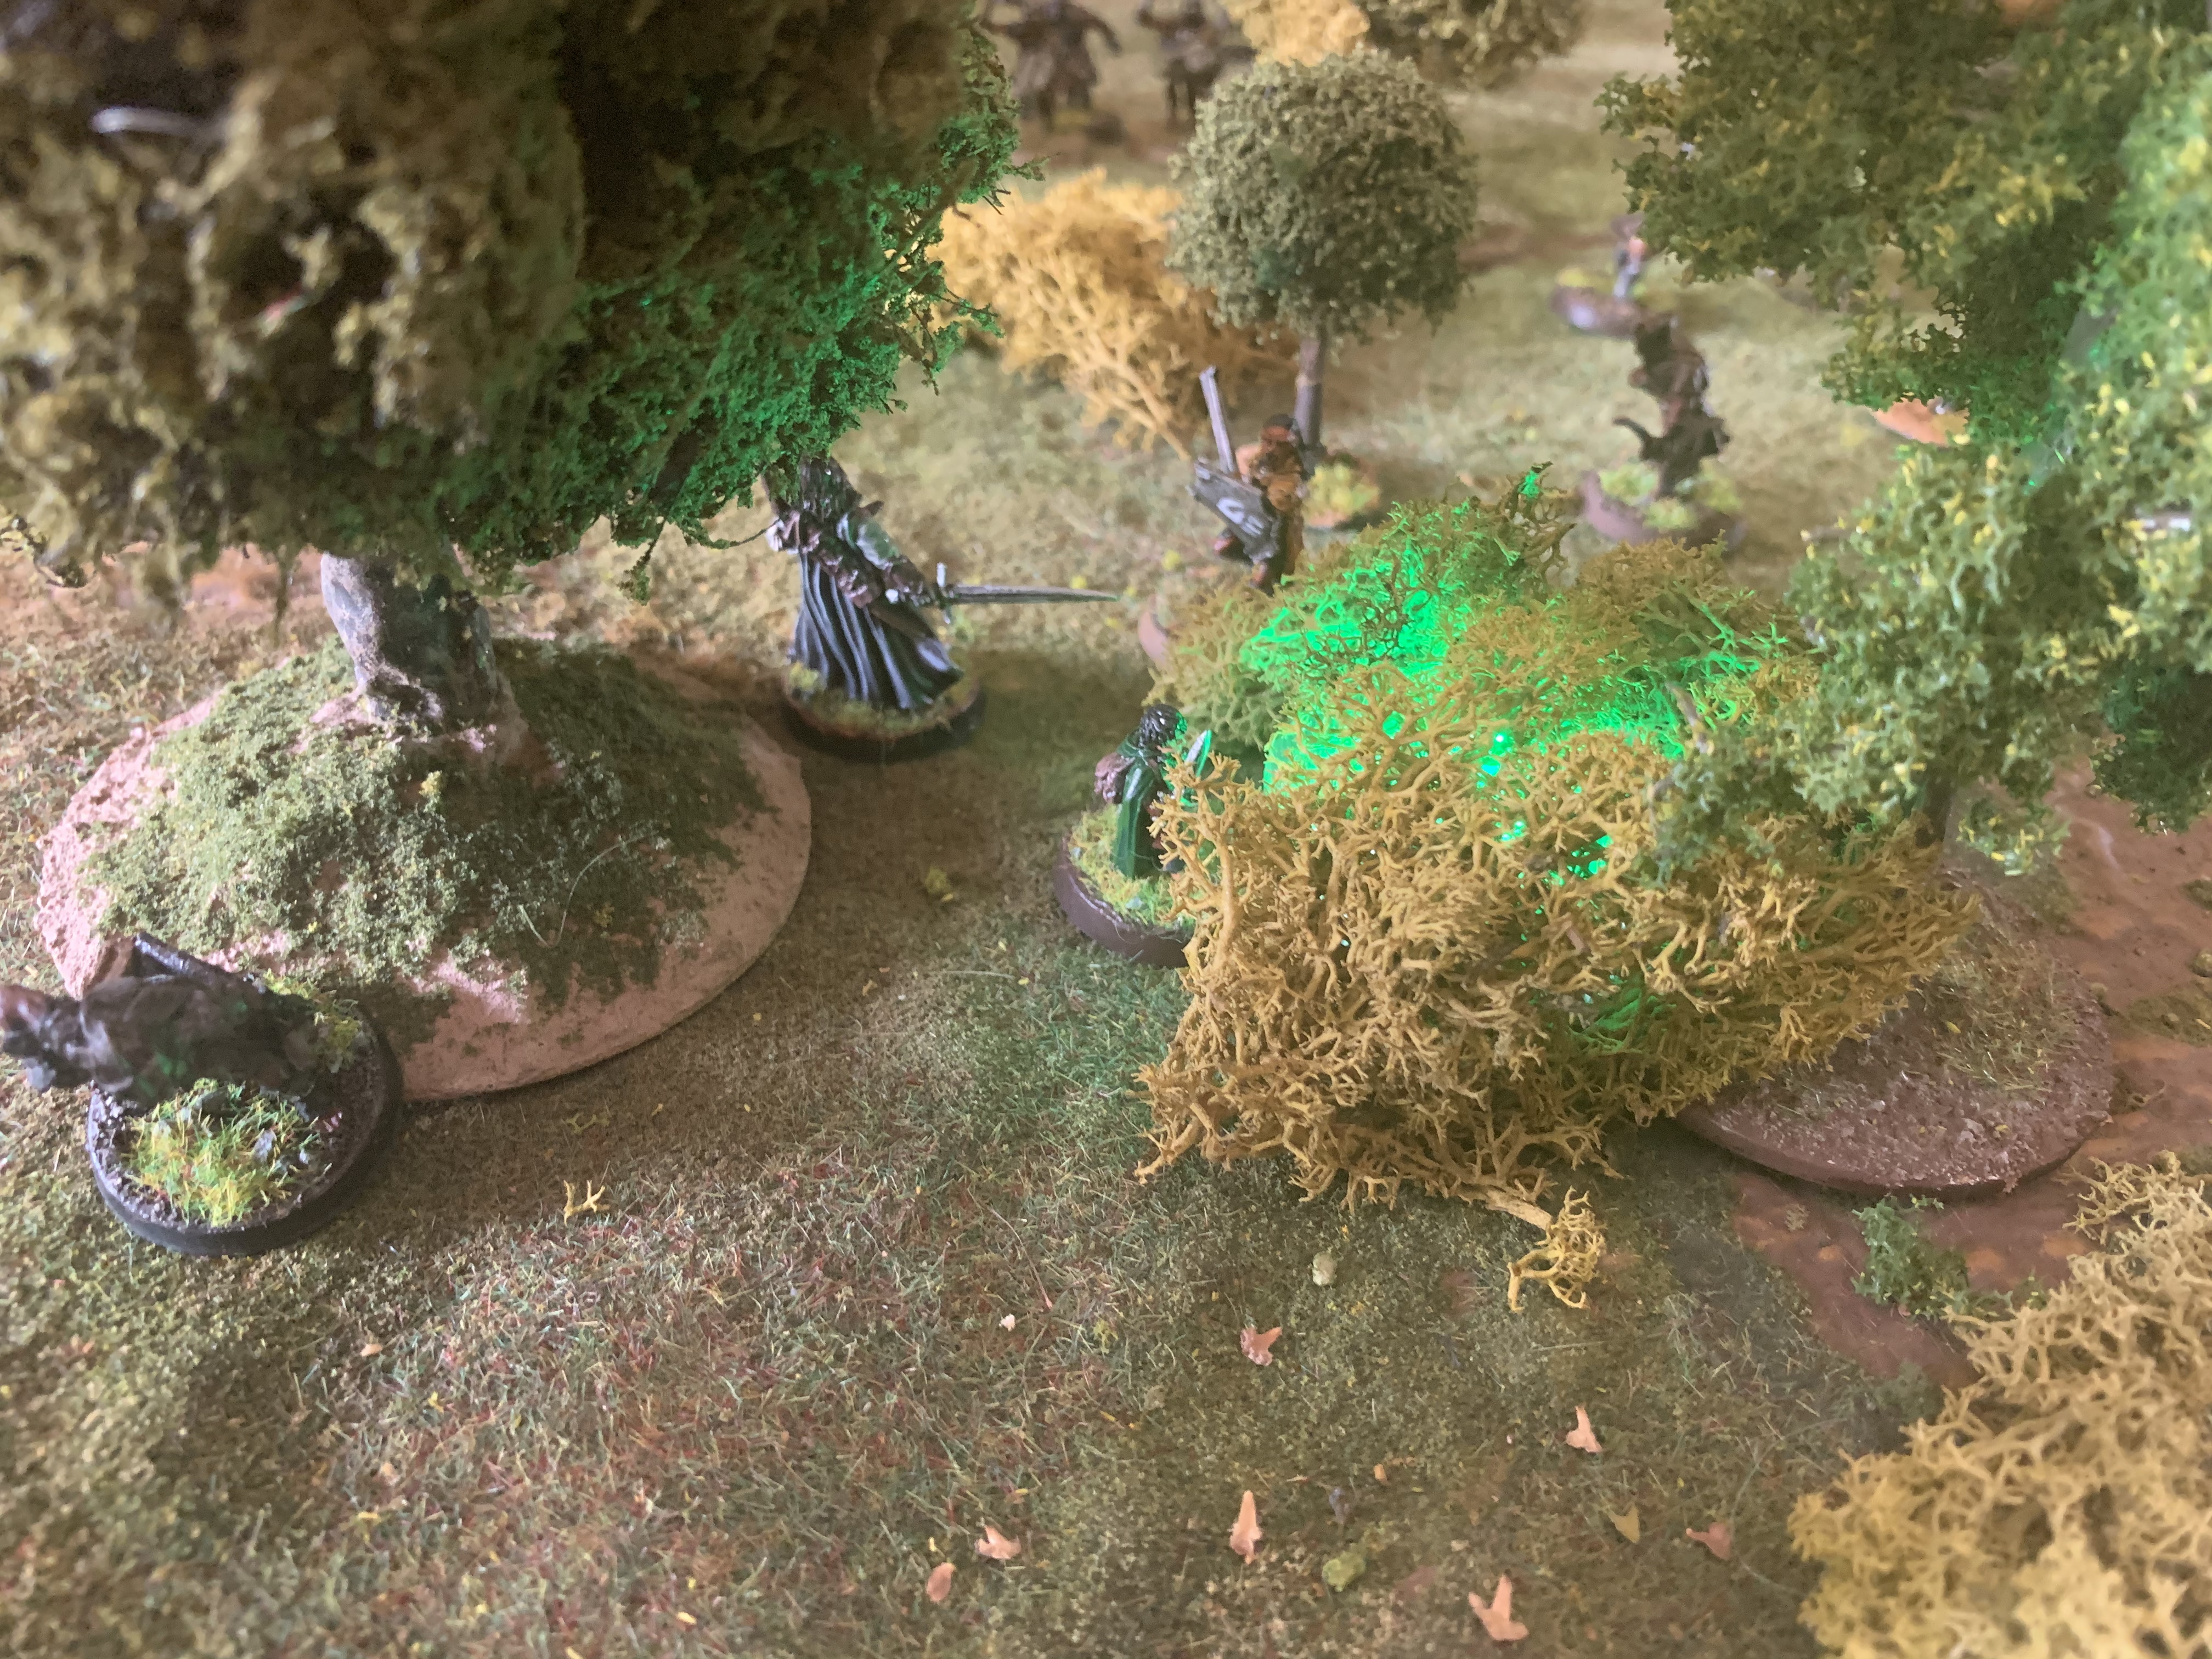
In this scenario Aragorn and Frodo need to escape from Lurtz and his scouts. The initial deployment is a little vague but actually quite important. Lurtz and crew start 3 inches in on the far side of the hill with Amon Hen. Aragorn and Frodo are said to be simply deployed touching Amon Hen. Probably the scenario writers had a nice big official model but I could not find anything, even a 3D print.
Given that both Aragorn and Lurtz can heroic march on turn one, when it comes to turn 2 when evil are likely to get priority as they did in our game Lurtz could, if within 6 inches simply charge, trap our heroes and effectively end the scenario early. So Frodo needs to beat least 8 inches (he can march 7 and Lurtz 9 in turn 1) away from Lurtz deployment line (or at 11 inches). This makes sense if we think of a model that starts at least at 5 inches from the edge and is at least 6 inches in length. Lurtz will have deployed to the side, intending to move around the model in pursuit.
So we set it such that when the scenario started Good were deployed at 11 inches and evil at 3 inches.
For the first few turns Good raced towards the exit. With scouts closing in from the side Aragorn held back to defend Frodo. Then Frodo had to put on the ring to escape further. Scouts failed to pass any courage tests to charge and even though he then rolled a one for the lure of the ring rule Frodo used his only 2 might points to continue his escape.

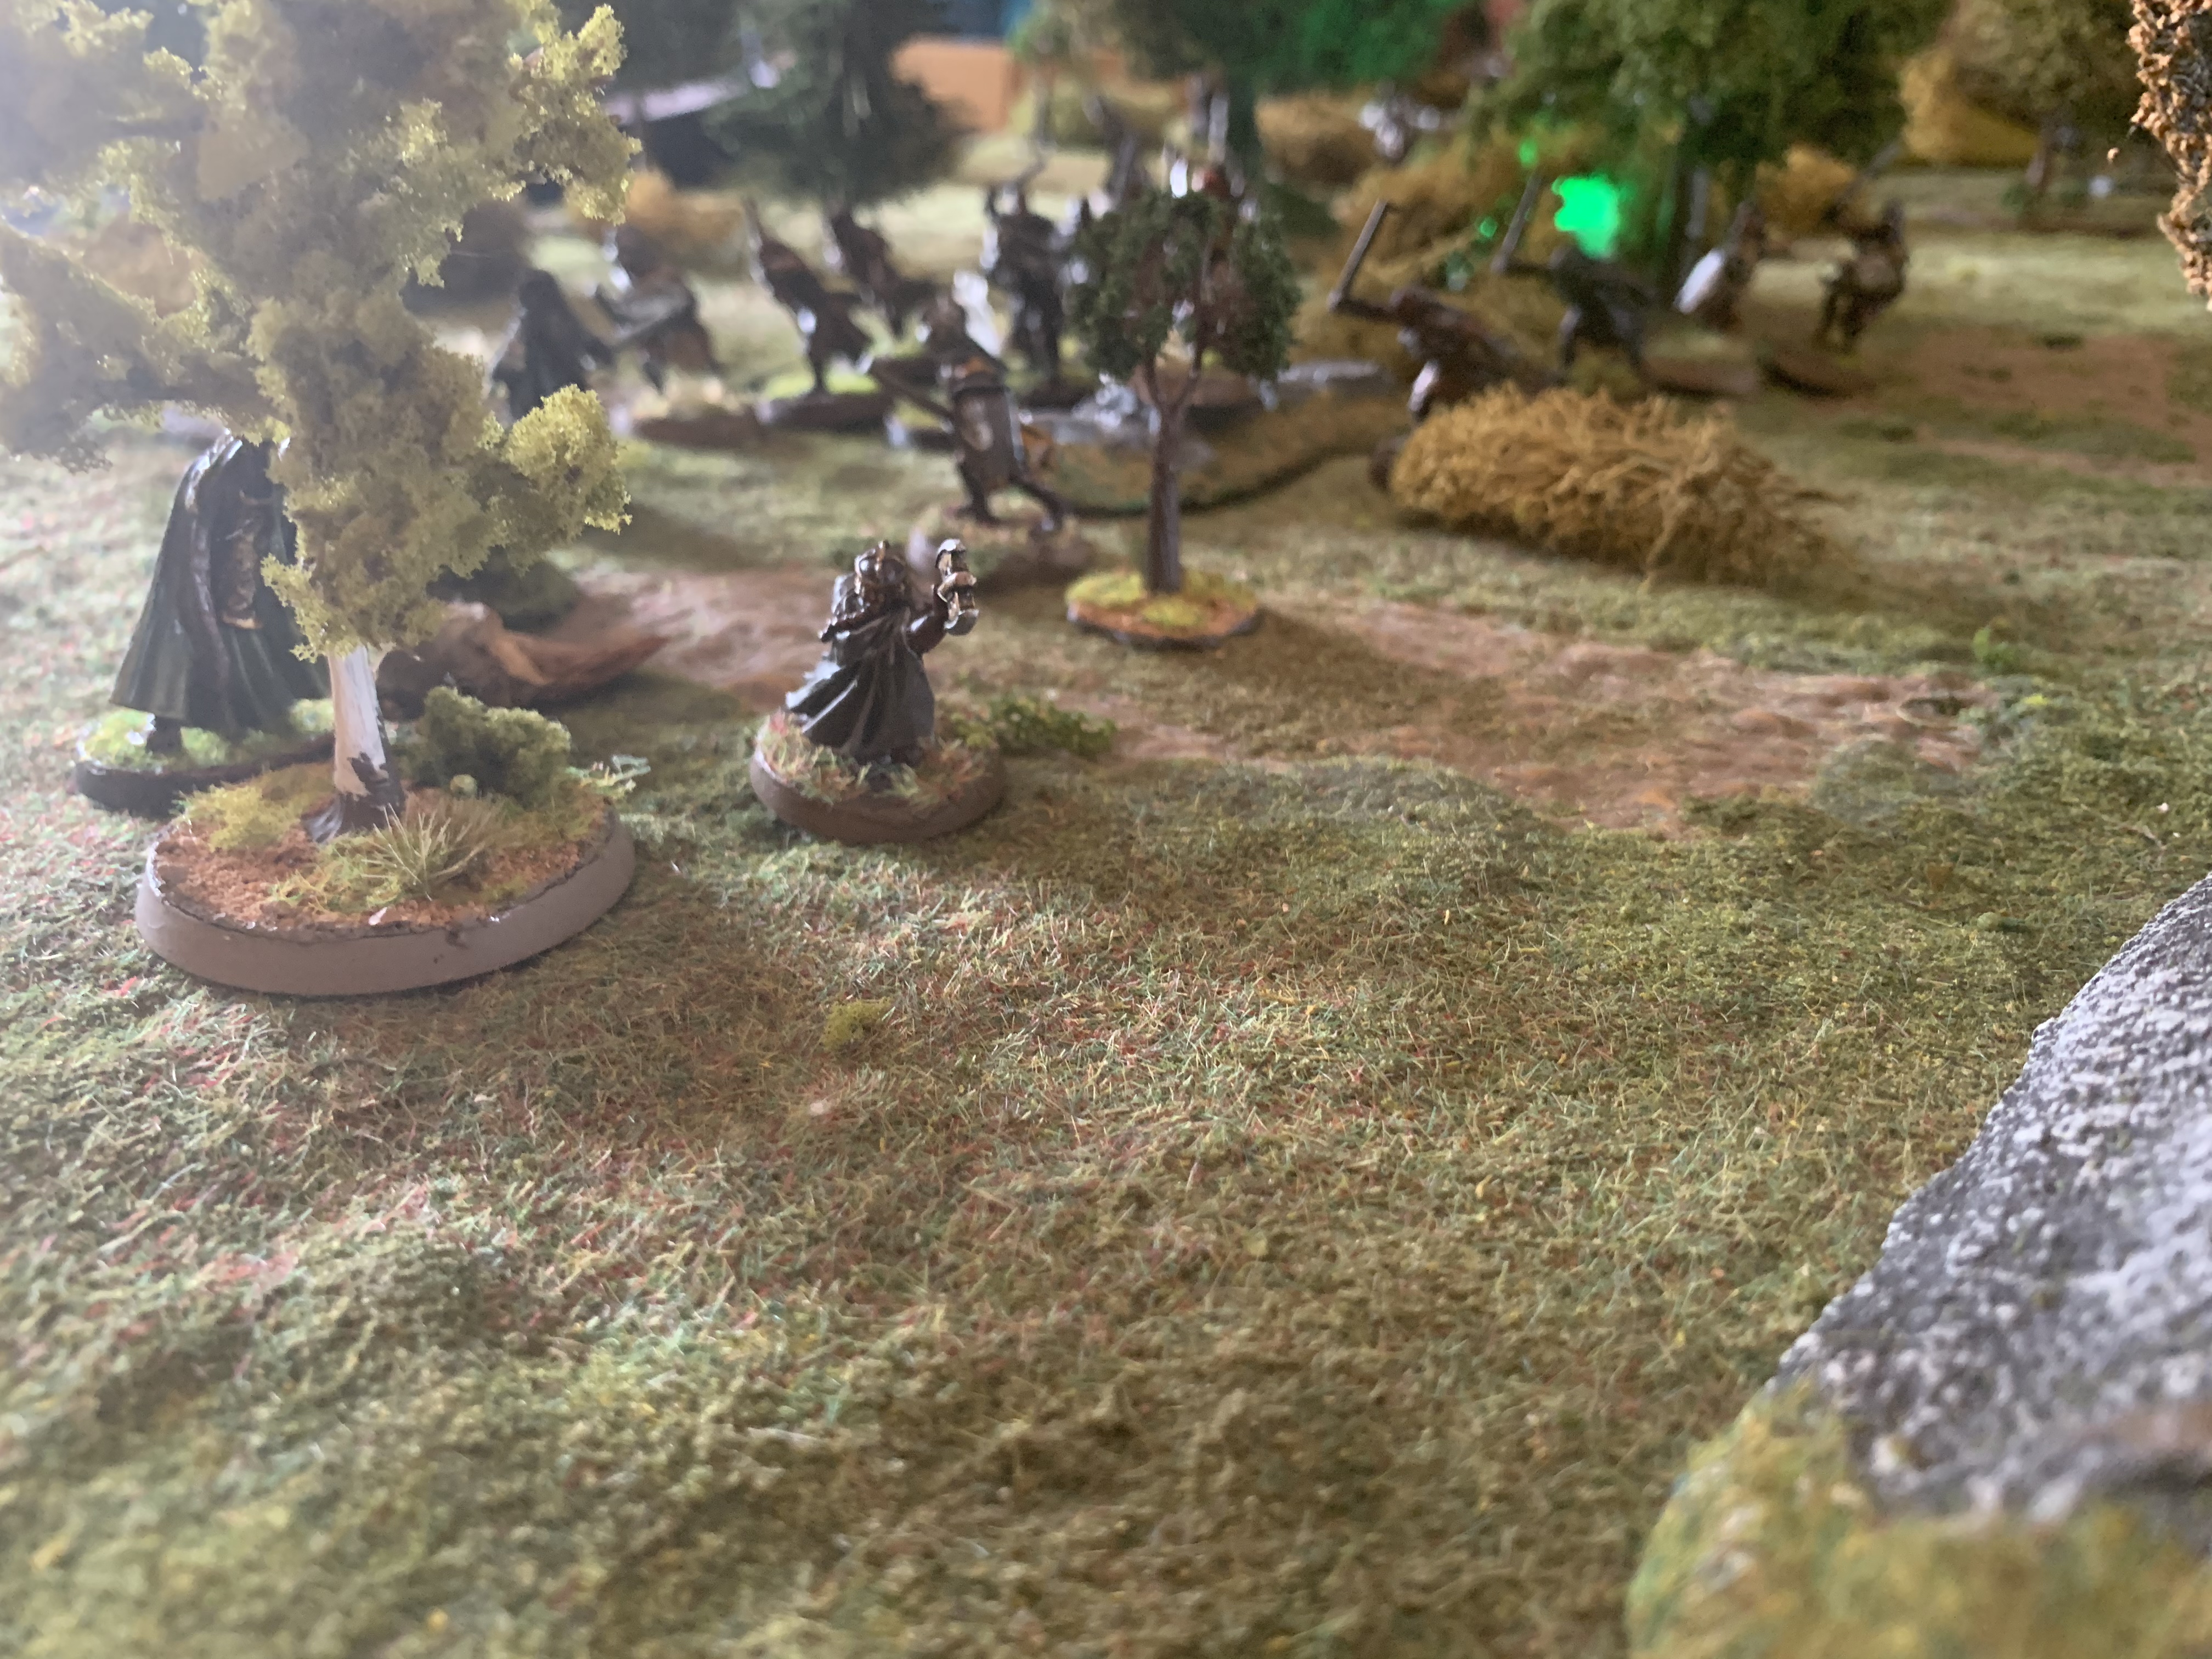
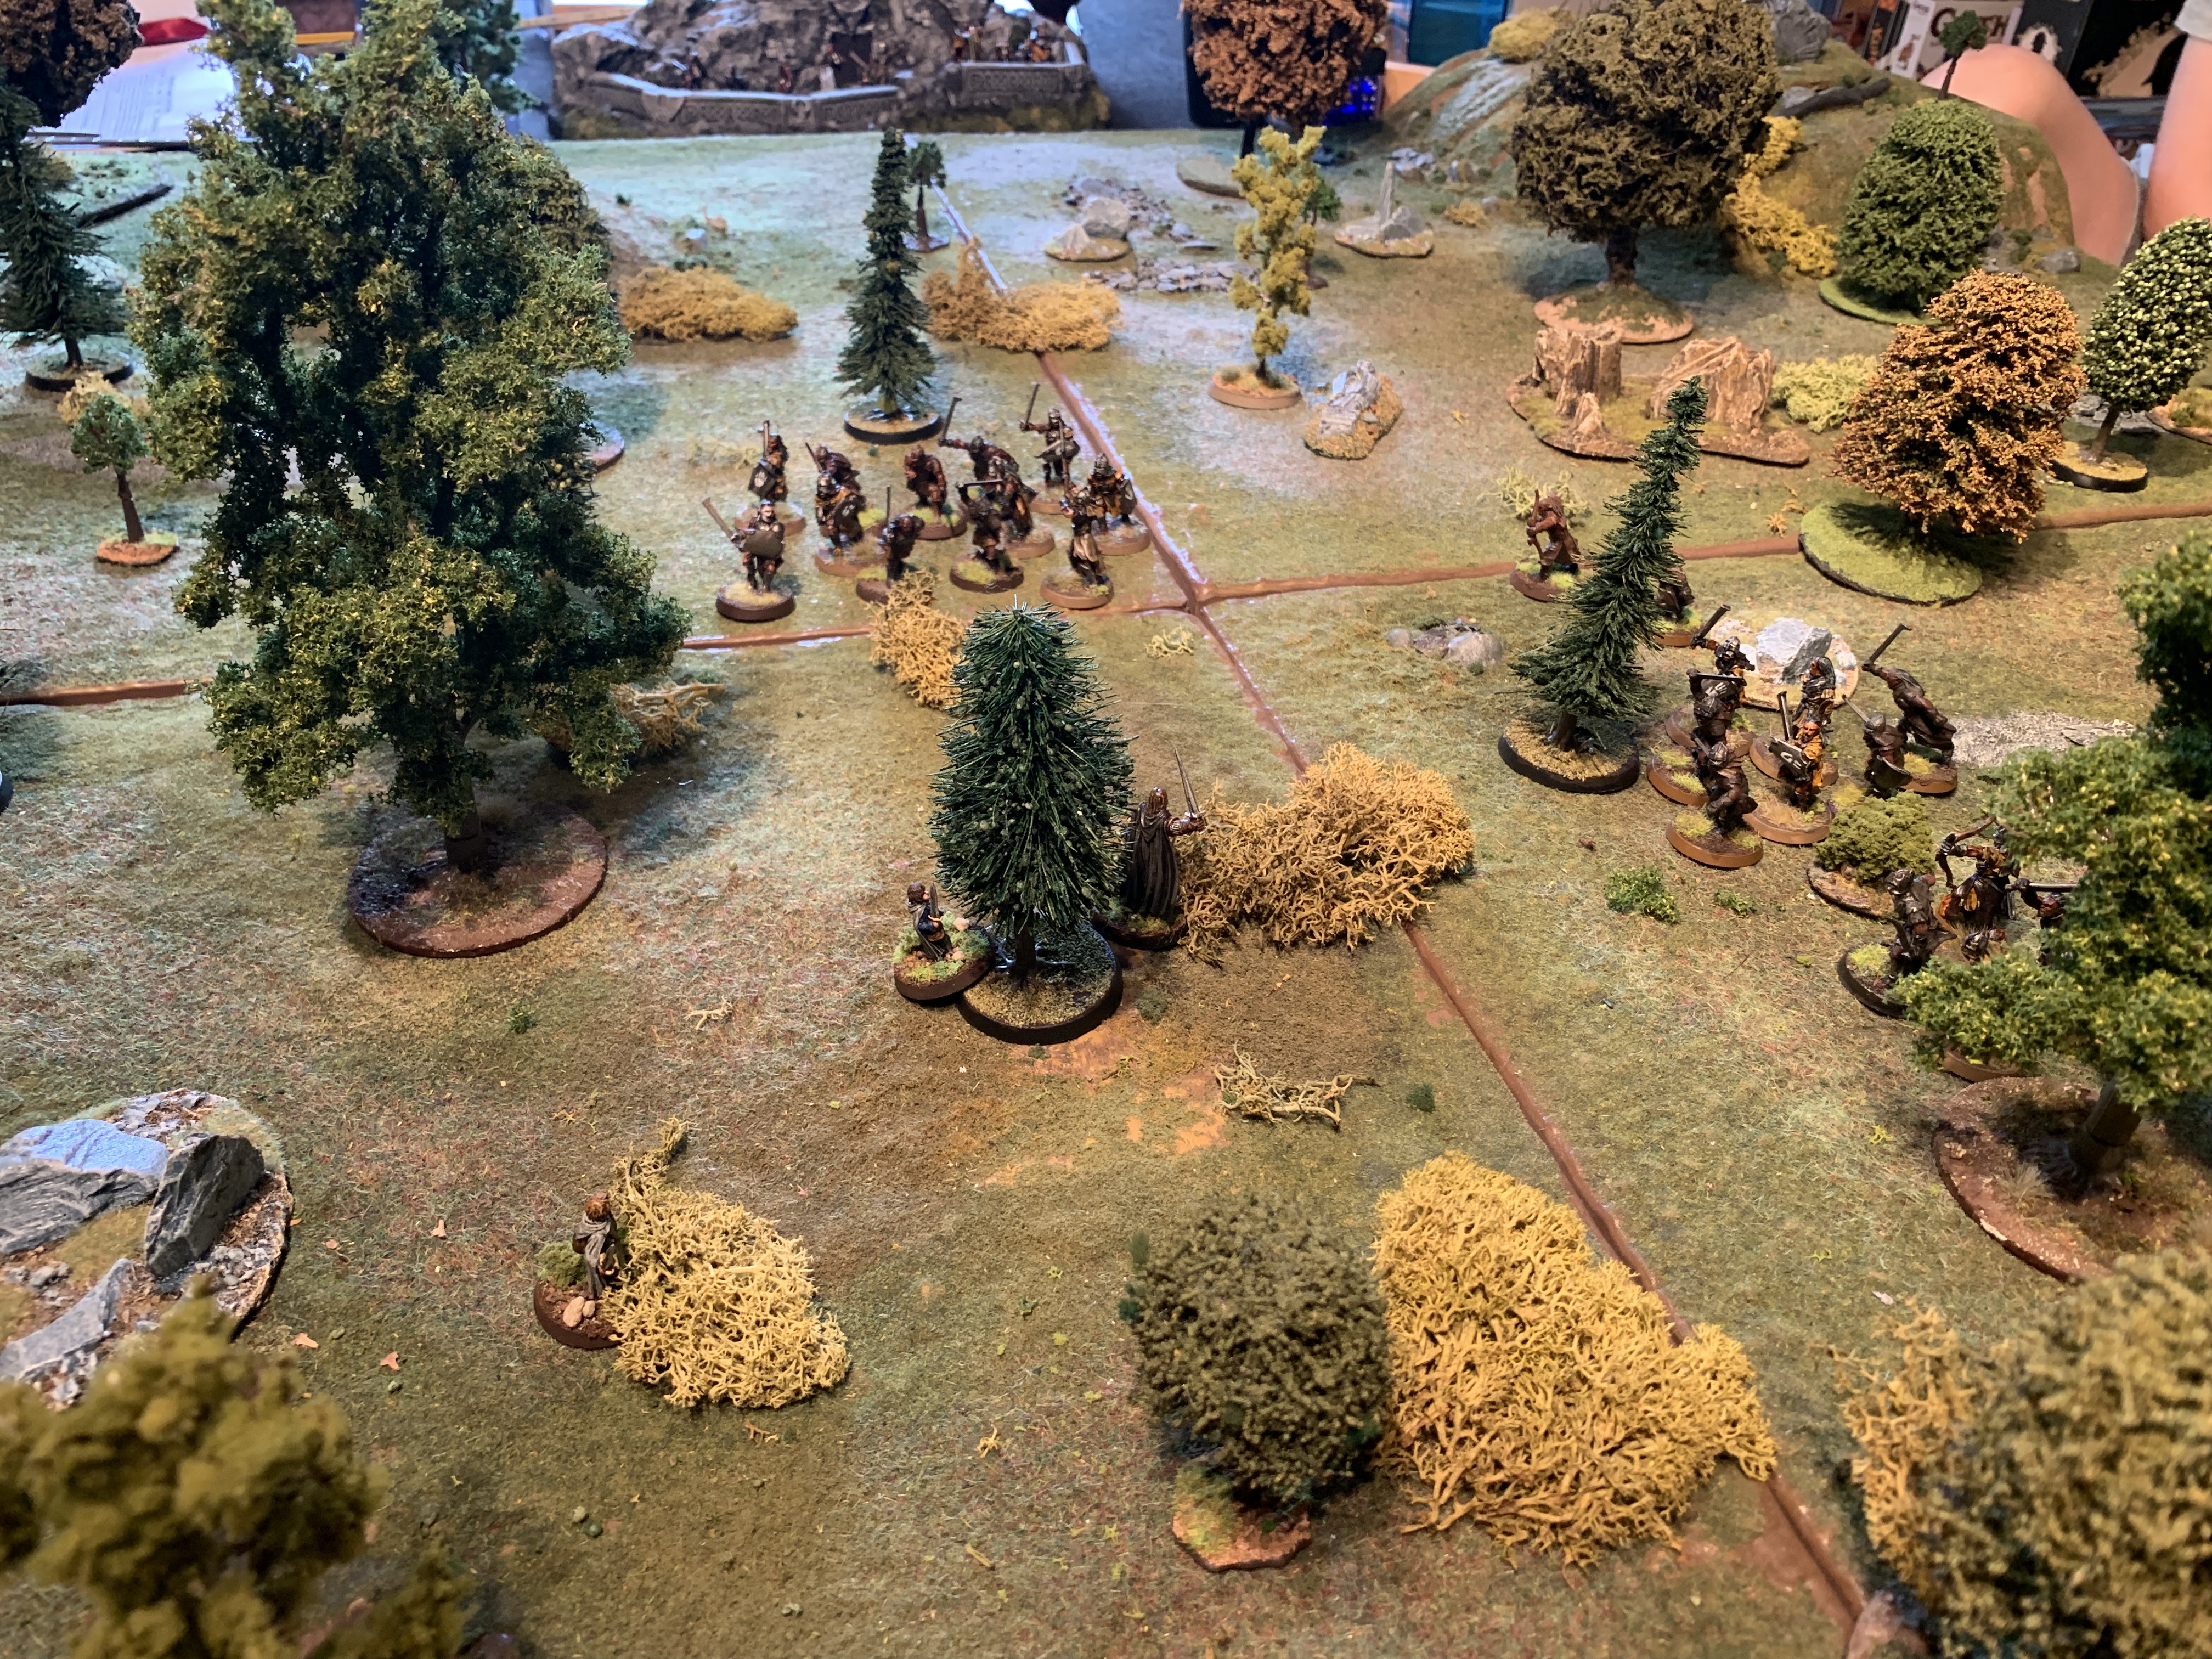
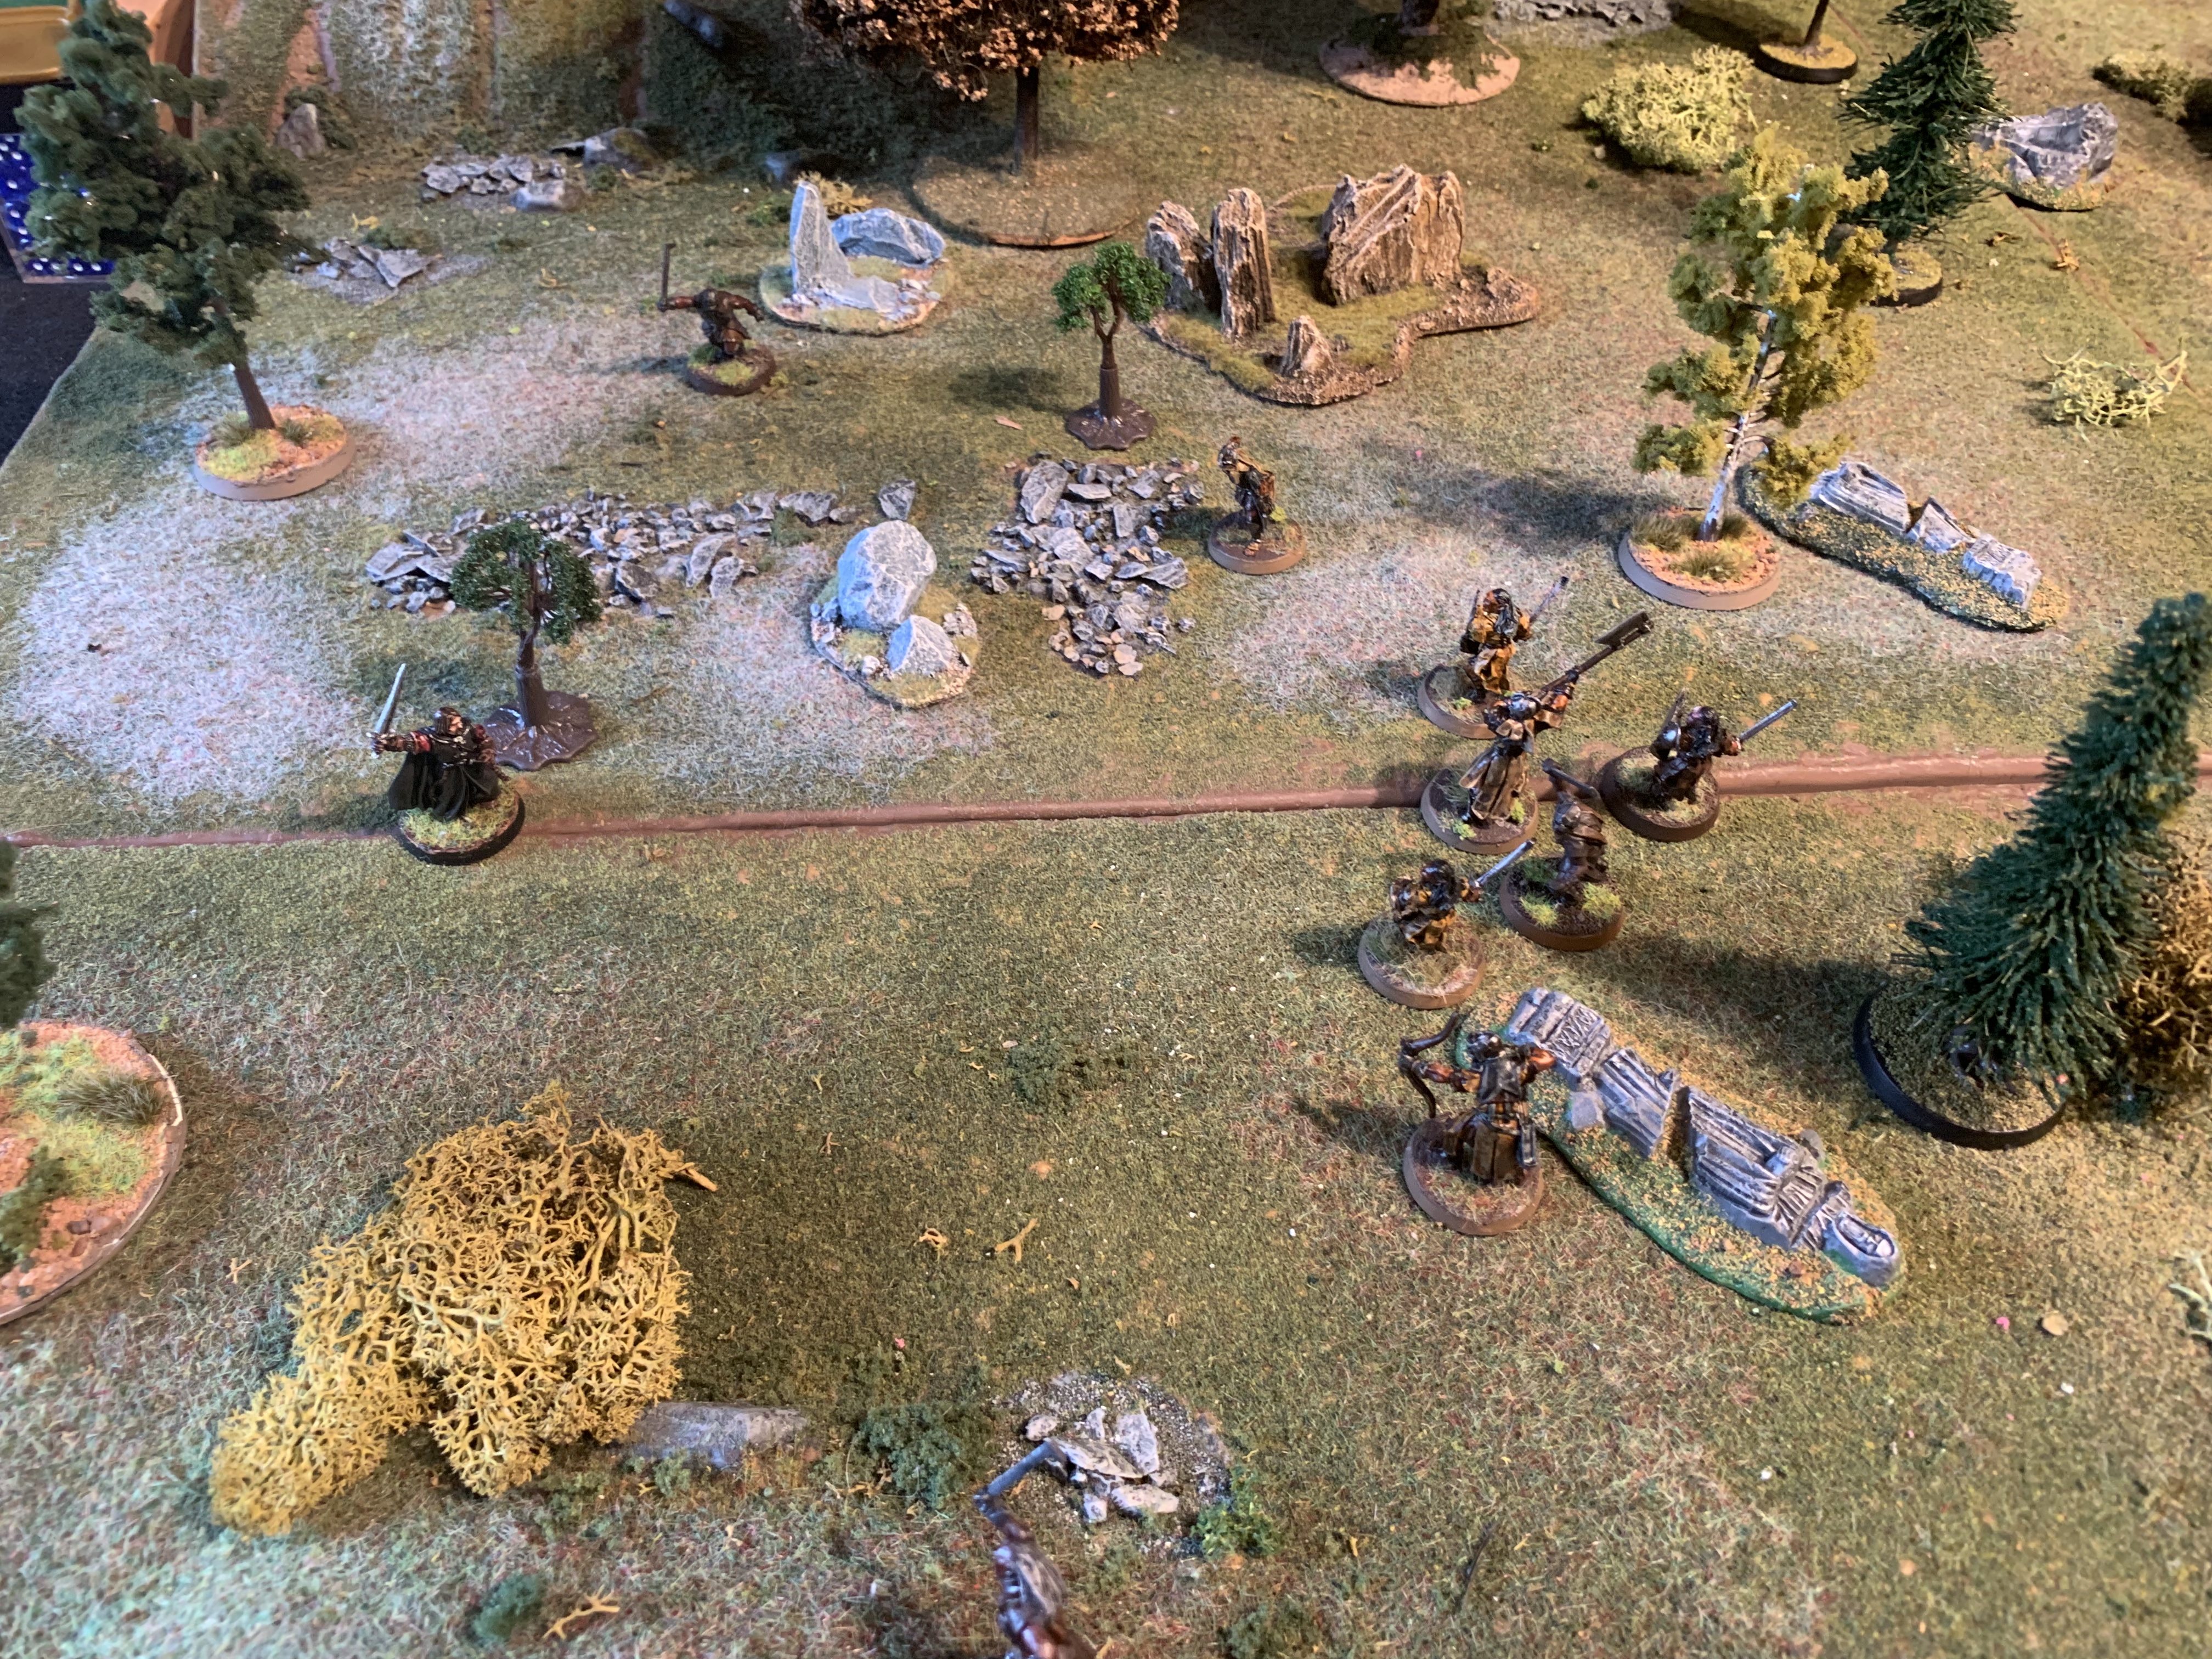
Though they did not arrive on the first turn with a six (turn 4) Gimli and Legolas soon roled a 5 and rushee to the rescue. Legolas fired deadly shots to take out two Scouts that came too close to Frodo. Aragorn fought his way through the captain in just one round and then rushed to safety whilst Gimli and Legolas blocked the way.
Despite Lurtz’s best attempts it was not possible to close the gap and the two heroes got off the map.


Miniature painting, wargaming terrain tutorials, reviews, interviews and painting guides
Wayfaring through Middle-earth and other hobbies
Weekly tabletop miniatures blog.
WW2 Modelling in 1/72 Scale
The Adventures of Sir Thomas Hawksby's Regiment
From the computer to the tabletop, this is all about games. Updated each week-end.
Talk, support and information on Ganesha Games' Flashing Steel
President of Metropolitan Wargamers in Park Slope, Brooklyn, NYC
Thoughts about wargaming, especially 28mm.
Adventures of an historical wargamer in the wilds of Arkansas


