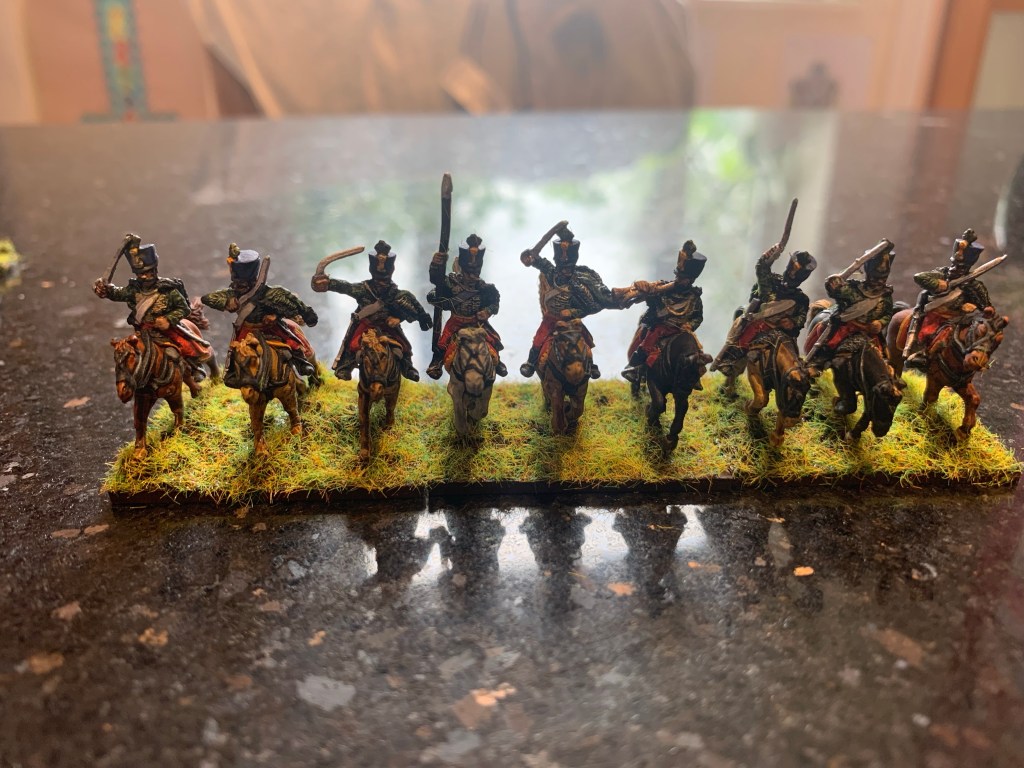
Austrian Hussars . A colourful unit from Hesse Homburg. Chosen because they make a contrast to the other units and this regiment famously hated the Bavarians. Plus two officer bases such as brigadiers and an aide de camp or officer depending on which rules. The grenadier officer base is based on an actual drawing found in my source book from osprey . Essex must have seen it as of course it is from an original when they made the officer figure . In the picture he is next to a grenadier officer in front of the unit of grenadiers .
Contrast paints as usual and the simple basing style to match the other units .
Online gaming with Darryl . We continued our gloomhaven campaign using the new characters from jaws of the lion . Our other team is taking a break .
We played the first two scenarios in the jaws of the lion quest line . They were good . A challenge to use the new characters first time . For example with the void character I focused on curse and heal rather than getting other people to make attacks .
Also playing as a team with hatchet guy was definitely harder because other characters keep attacking or killing the mob with the favourite and then getting in the way so it takes an extra wasted turn to go and retrieve it .
Really enjoyed these two scenarios and our new jaws of the lion characters .
Link and I played a quick grimdark future game from one page rules . Necrons and orks took on the space marines . A video will follow in stop motion once edited! If it can be posted on WordPress !
Did a full solo game of general d armee to learn the rules . Glad I did because there are lots of gaps in them : solved mainly with the FAQ the videos and the forum .
It was 1809 Austrians against Bavarians with a confederation of the Rhine brigade rushed to the battlefield in support .
Link played the Austrians for me and made some pretty crucial decisions and dice rolls acting as the main C in C.
Initially the Austrians suffered heavy casualties and were pushed out of the village to their right flank twice . Even the Grenadier unit could not hold that BUA . The Jägers of the advance guard brigade suffered badly and were wiped out in a hussar charge eventually .
In the centre the Bavarians advanced forwards and made good ground and inflicted heavy casualties .
However they over extended and were struck in the flank by the light cavalry of the left mixed brigade . Probably should have formed square earlier . Attack column is okay against cavalry but not from the flank .
Then the Austrians brought the cuirassier through the gaps in the centre when the Bavarians kept rolling low and becoming hesitant or faltering due to the destiny dice .
Finally the Bavarians started retreat or routs to the rear. This tied up their ADC allowing the Austrian heavy cavalry free rein to batter their cavalry.
Playing the game to learn the rules was vital . These are heavy rules with lots of things to track . Retreat is different to retire which is different to rout. DT can mean discipline test or destiny table . Who can attack and support whom and who can fire when a unit is charged are all important things that benefit from having the FAQ at hand .
I do like these rules though and have created better more sensible brigades for my next battle and am busy painting up skirmish figures .
We played the final scenario our 53rd on our online campaign. We defeated the Gloom and saved the city . Our party was the Soothsinger, the Summoner. The Doomstalker and the Nightshroud .
Basically everyone kept him distracted and everyone alive whilst the Doomstalker peppered him with arrows fuelled by blesses from his friends. Between the Doomstalker and the Nightshroud he took hits rapidly and was only able to take out the summons before he was defeated .
Of course we still have plenty of scenarios to do and hopefully we can start on the Jaws of the Lion quest line and characters.
We continued our campaign with the last two scenarios in the book.
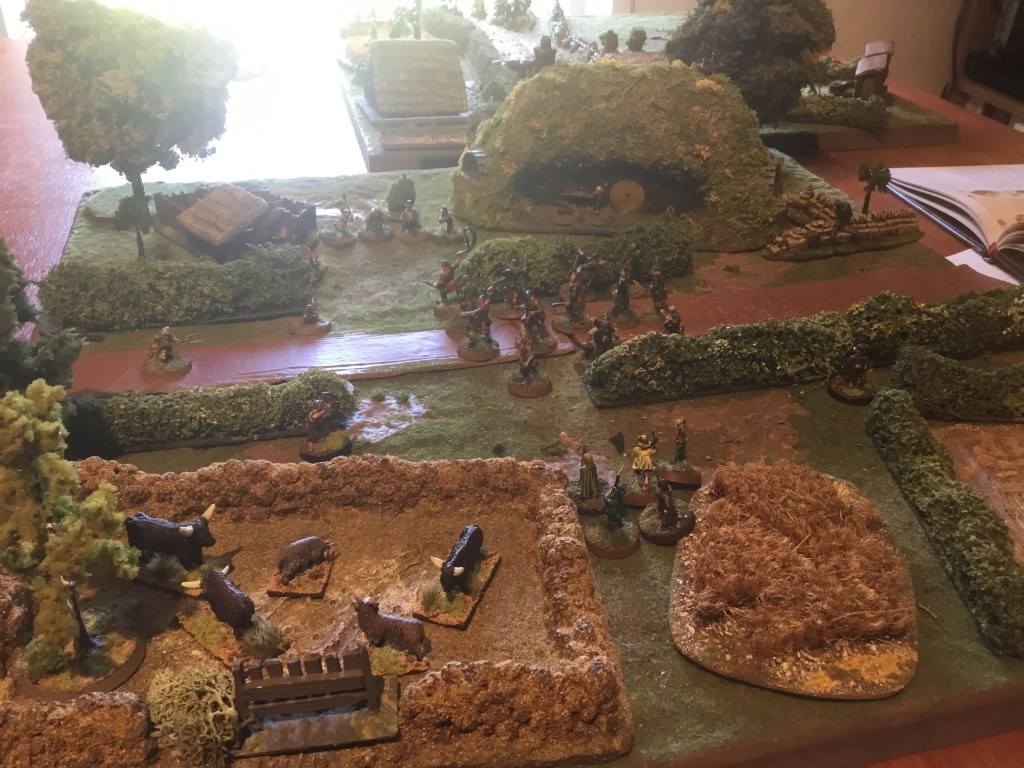
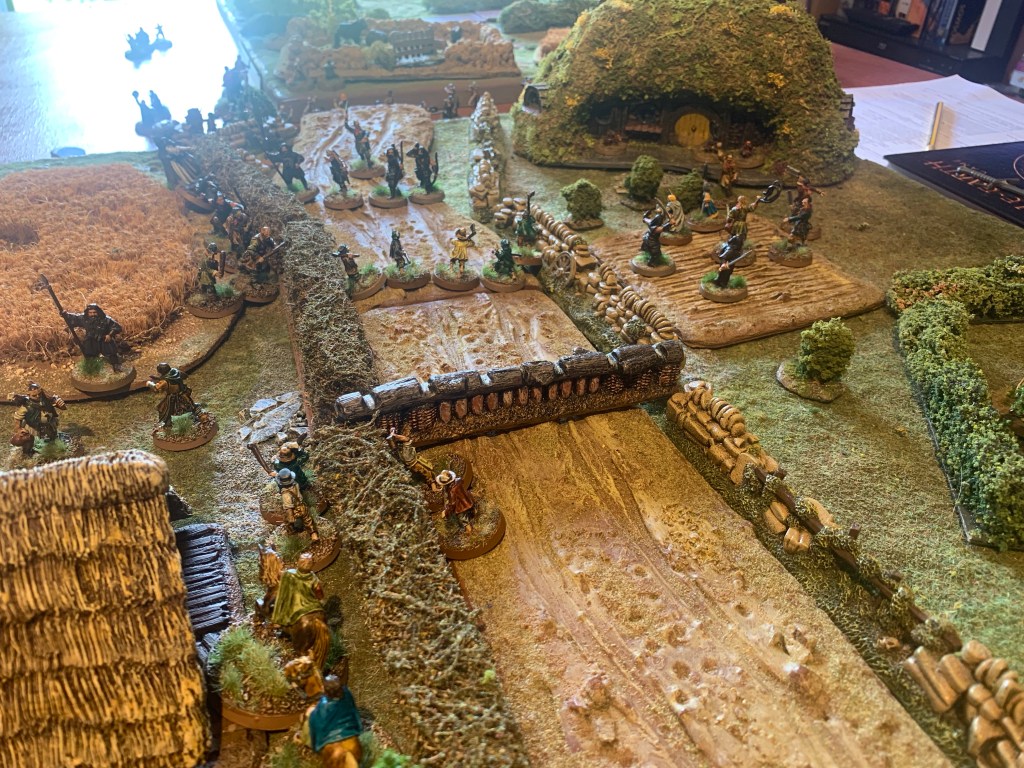
First up was Farmer Cotton’s Farm. The hobbits deploy in ambush.
Gaffer Gamgee was the first to fall. Kerry proved a hard nut to crack with his shield adding to his defence he was able to clear his side of the road. However the Ruffians on the other side were able to defeat Sam being led by their hero whilst Frodo looked on in horror. Finally Cotton fell and with the hobbits losing numbers it was down to just Merry and Frodo alone. Though good had been able to get the Ruffians down to their last five it was not quite enough and when Merry was surrounded and struck from behind it was all over with an evil victory.
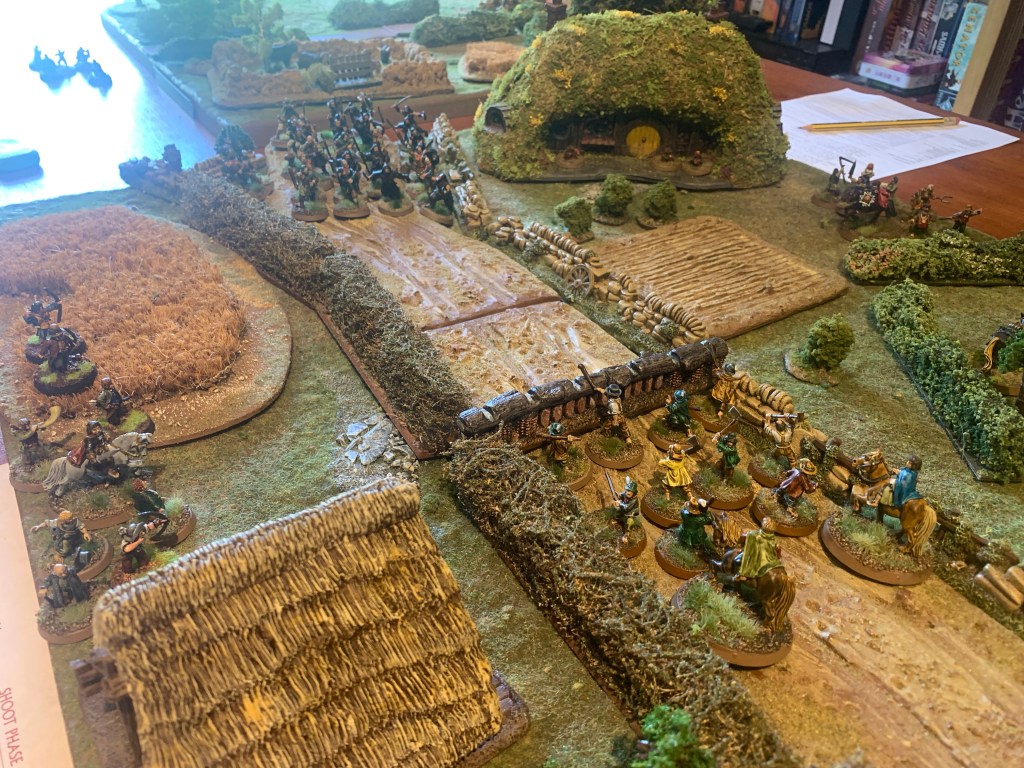
Battle of Bywater
Next it was time for the Battle of Bywater.
The hobbits deployed their Shiriffs behind the barrier and the other forces led by Merry and Pippin to either side.
The Ruffians began with an attack across the barrier which fared badly. So they gave up on that and jumped over the hedges to either side, leaving it to their archers to pepper the barrier with ineffective archery for the rest of the game.
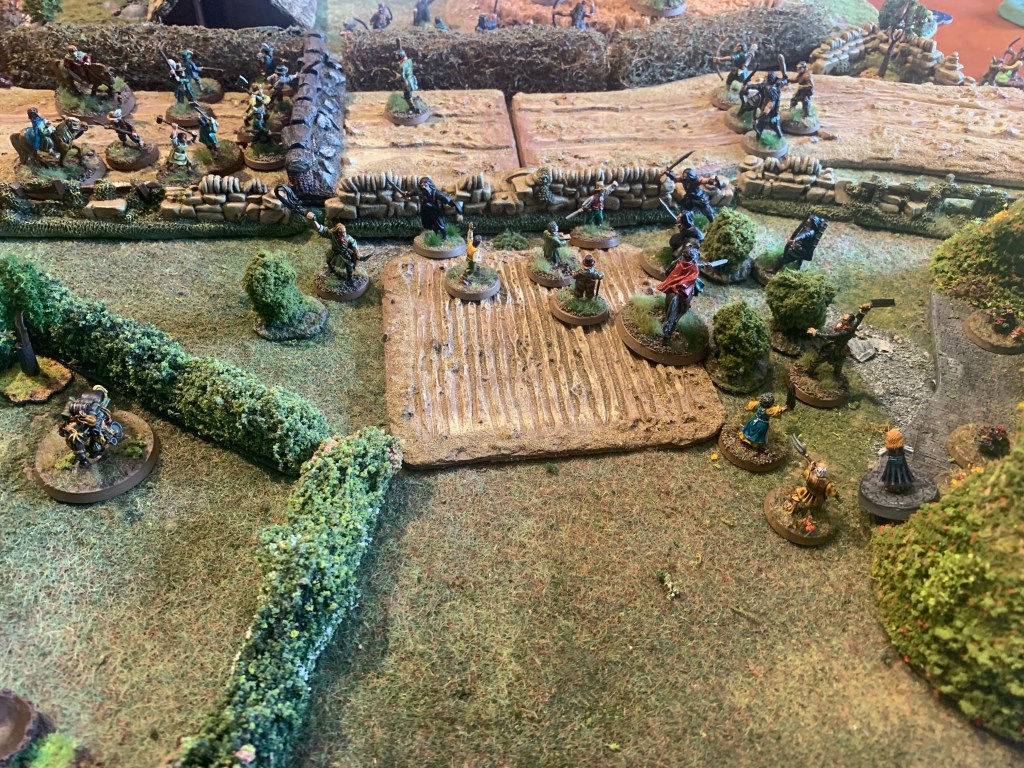
Being mounted only on ponies the hobbit heroes fared badly against the superior Ruffians. The Shiriffs decided to hold behind the barrier until Sharkey arrived.
At this point with Pippin down and Merry struggling the Shiriffs charged and Sam and Frodo snuck over the hedge to the side.
Finally with hobbits all defeated the Ruffians closed in on Sam and Frodo. Another victory for evil as the shire lies under Sharkey’s evil rule.
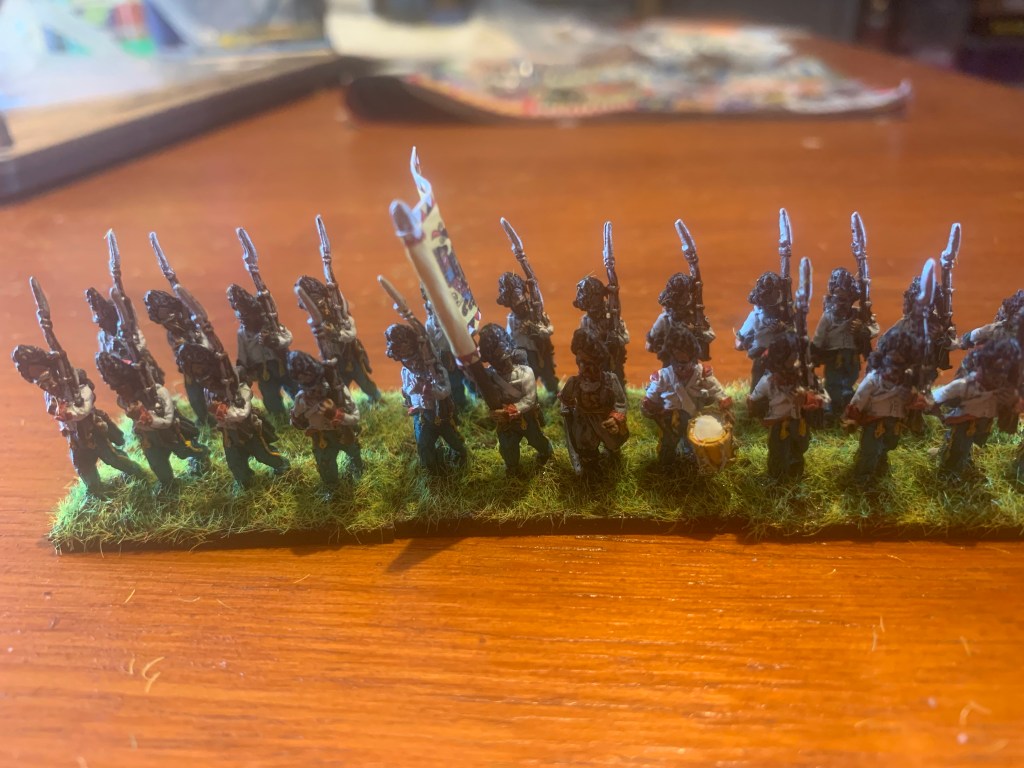
Painted a group of Hungarian grenadiers . Paints were contrast colours highlighted where necessary with GW acrylics. This was the white and metal . Simple bases to match the other units . The flag is GMB and I added similar to my other units .