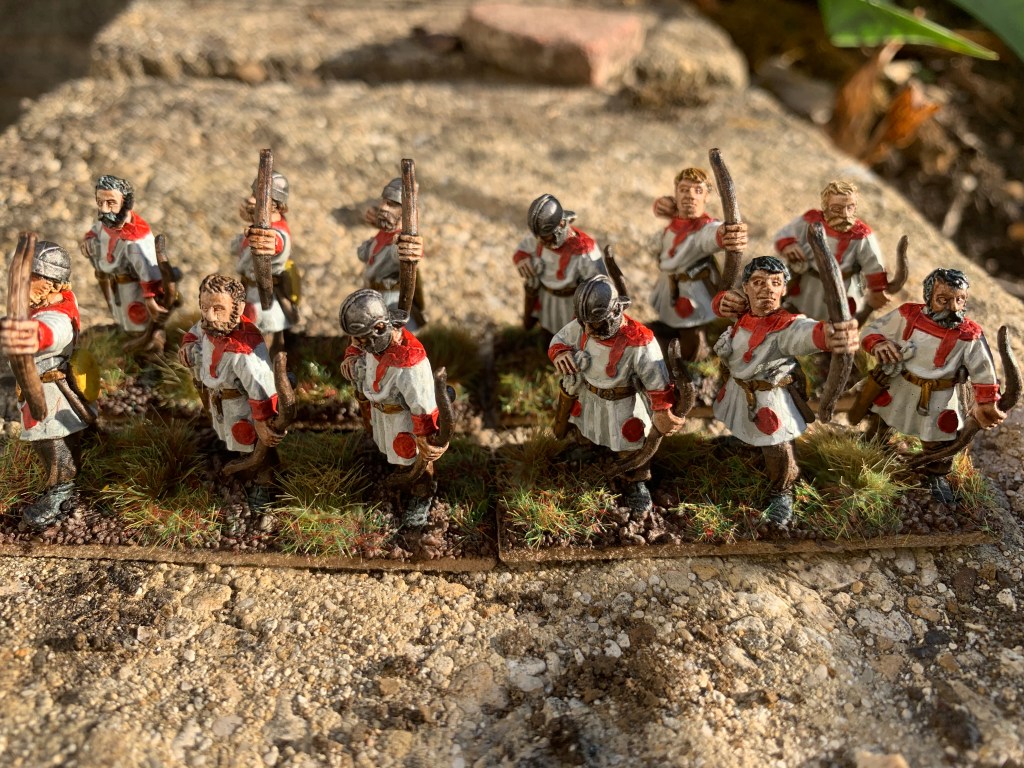
28mm Late Roman Archers by Wargames Foundry. Painted using Citadel Contrast paints.
First wraithbone GW primer applied on painting stick. Then added to 60mm x 20mm bases. Next the basing material (GW scatter sand mix) applied to bases and painted coffee bean brown stained black and highlighted with off white. Important to paint the bases first when using contast paints if you can as otherwise the paint rubs off even after varnishing whilst you hold the head to paint the base.
Begin with Gulliman flesh to the face and hands. Contrast white grey to the tunics and arrows. Wildwood dark brown to the trousers, snakebite leather to the leather belts and quivers. Some skeleton to the hair plus browns and black to hair. Black to helmets and shoes and axes. White highlights to the tunics. Then apply red or purple to the Late Roman applied patches. Finally make any corrections. Grass flock to bases and some grass tufts.
I painted one group of 12 with purple patches and the second with red. That way they can be one unit of 24 or two groups of 12 or back rank archers for mixed spear/ archer units. Also it breaks up the monotony a bit!
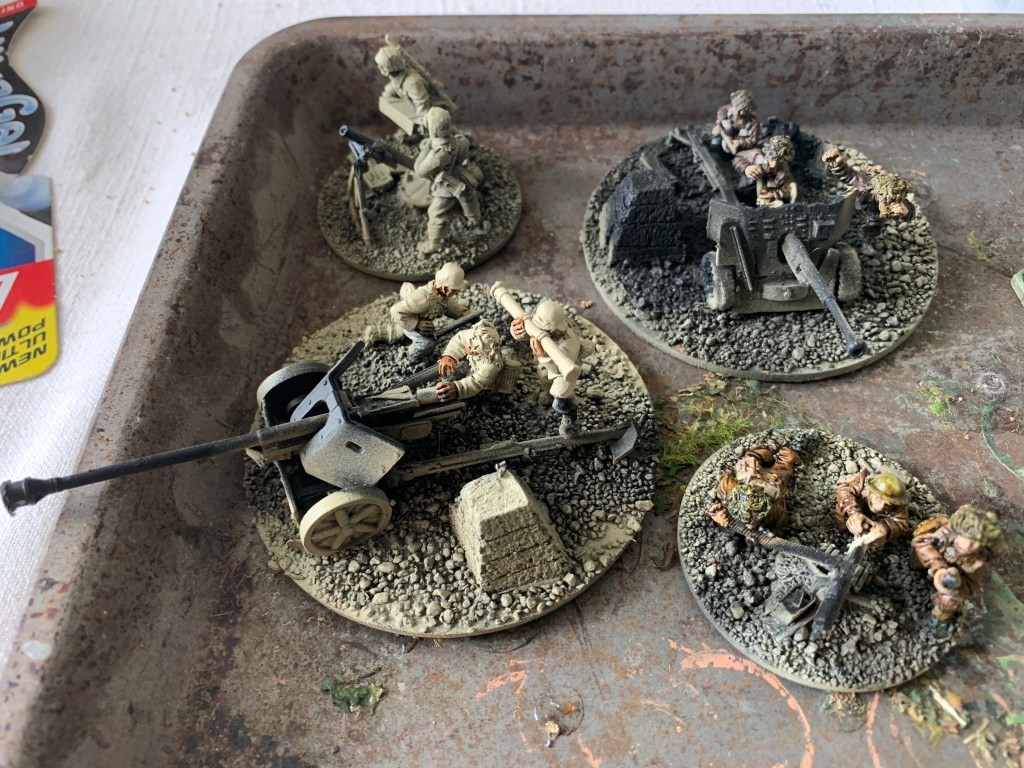
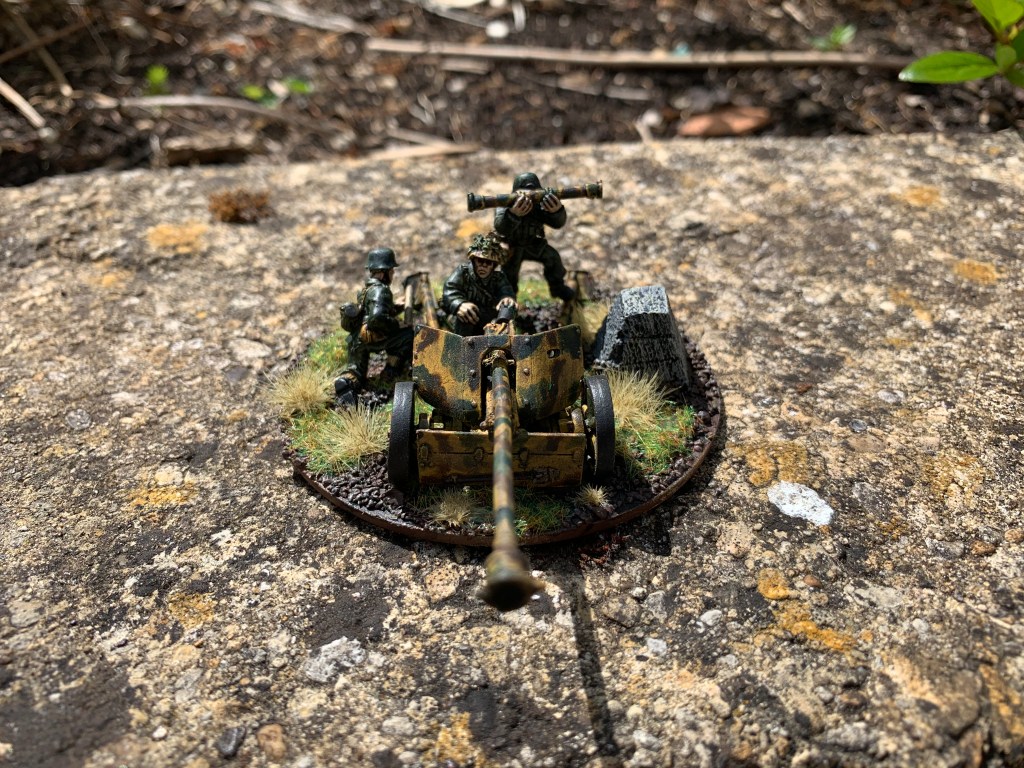
Figures cleaned then stuck to base and ground scatter applied. All sprayed black. Then bone white spray added to figures whilst masking artillery. Contrast paints will not be of use on the flat artillery pieces. These are then painted in German camouflage ochre or Catachan green olive drab. Next they are washed with AP strong tone and weathering powder applied.
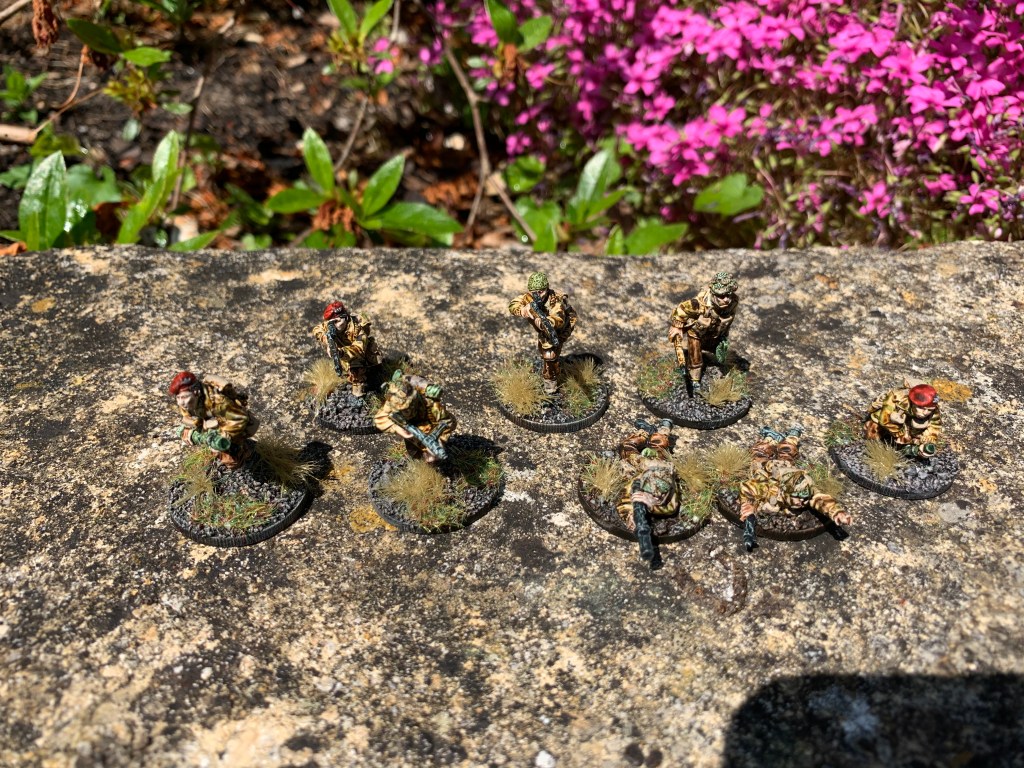
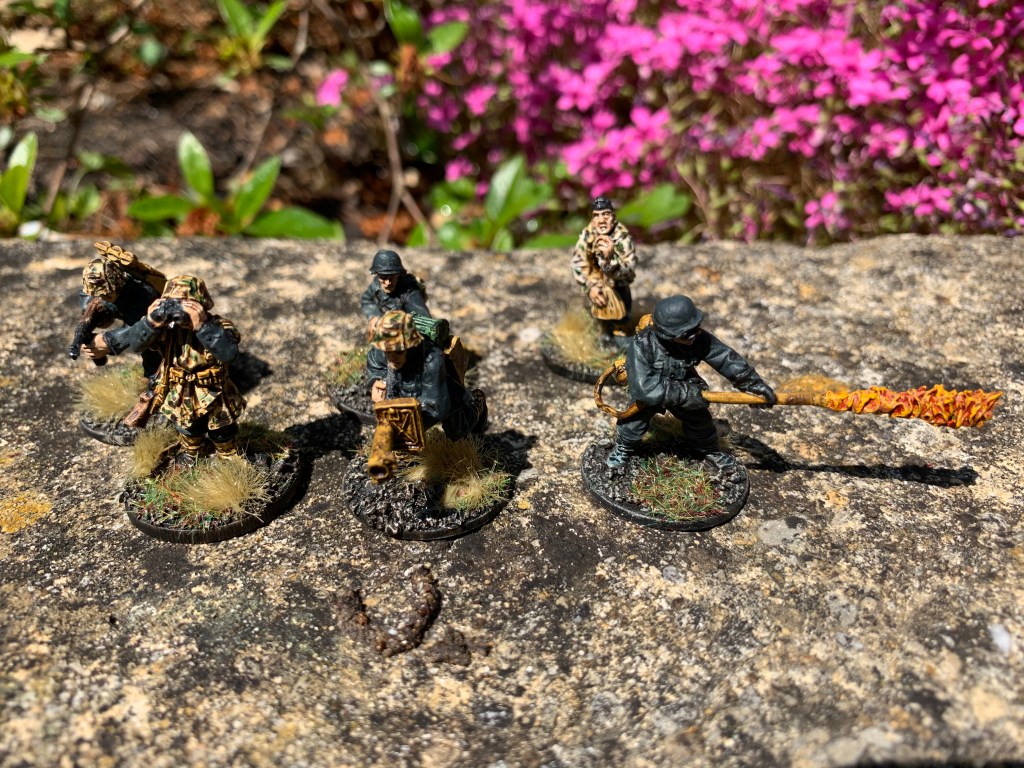
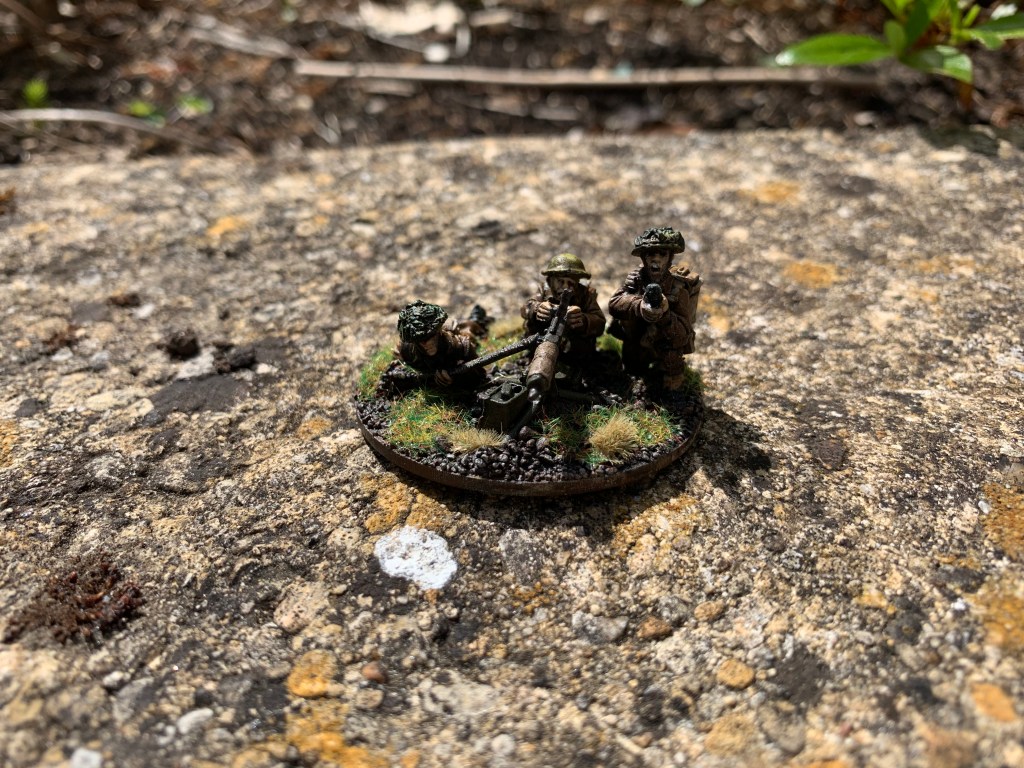
The figures are painted using contrast paints. See earlier post for source of advice on colours, plus the Artizan guides are helpful. Some flesh added at end and commando khaki wet brush used for the British webbing.
Brown paint added to the bases, highlighted with cream after a strong tone wash.
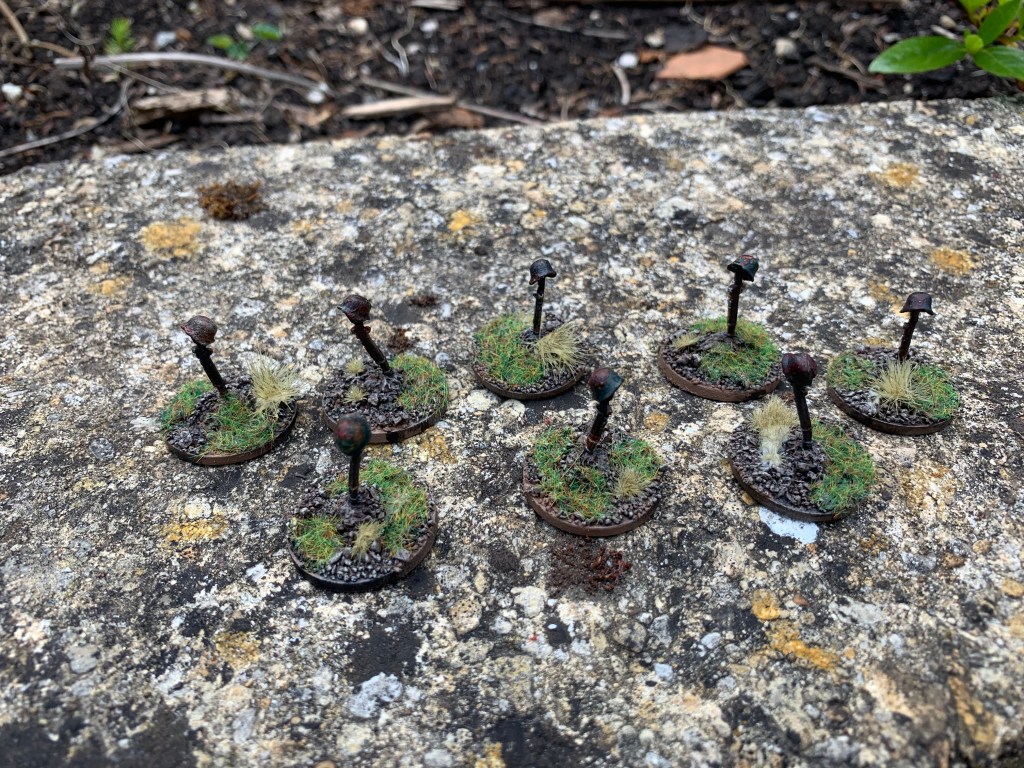
German PAK 40 3 crew British Army Vickers Machine Gun 3 crewGerman Heavy Mortar 2 crew (2 other crew on separate bases to follow).British Army 6 pounder AT gunCasualty or Shock markers etcAn Elven Gazebo
After a sort through the hidden boxes in the gamesroom I have found some forgotten projects to start work on again.
1 MDF Figure storage chests. I use these mainly for my samurai and two fit neatly on my bookshelf which helps. These are a good option for the narrow book shelf where my usual Really useful boxes would not fit.
The above are drying having been put together with wood glue. This is because I am waiting on a delayed UPS paint delivery from GW.
3 Main Project WW2
I have a lot of WW2 stuff waiting for painting. I have started with the Warlord Games stuff which is metal so requires less assembly. That is except for the artillery which does not even come with instructions.
I have stuck them on round bases, sprayed some black after “scattering” the bases and adding Dragon’s teeth to the AT gun bases. I will zenithal spray the black artillery and the others are waiting for the spray to arrive.
I have:
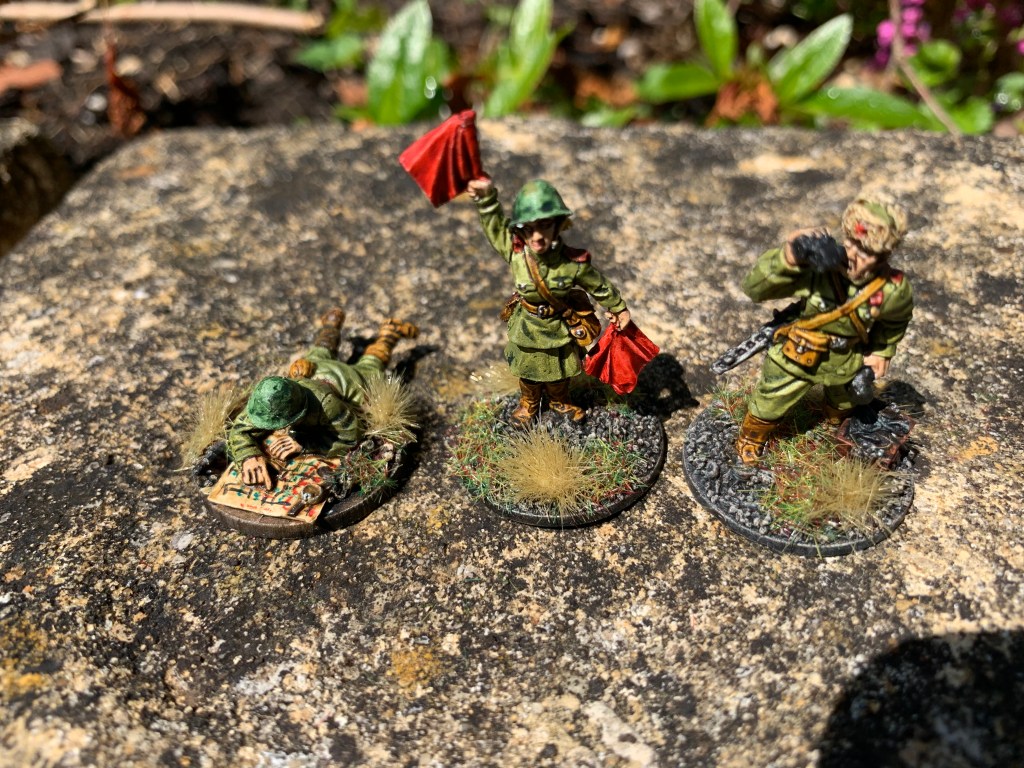
Soviet FOO team. British Para Specialists. German Flamethrowers. German Heer AT Artillery Pak 40 , British Army Vickers Machine Gun and 6 pounder gun (AT).
I still have one box of British and one of German Plastics on the sprues. I already have done at least one German so I suppose the British should be next. I also have the rest of the Ham and Jam stuff to do which is incredibly daunting.
Painting Guide
I found a useful guide for using Citadel paints. Unfortunately I found it after ordering from GW but there you go. Look up the original link so I don’t steal their ideas!
I was planning to use the GW Contast paints to try and make some progress with my WW2 stuff. The author has set out some good ideas of which ones to use for WW2 and I shall certainly follow them. Hopefully this will help me get my WW2 project unstuck once more.
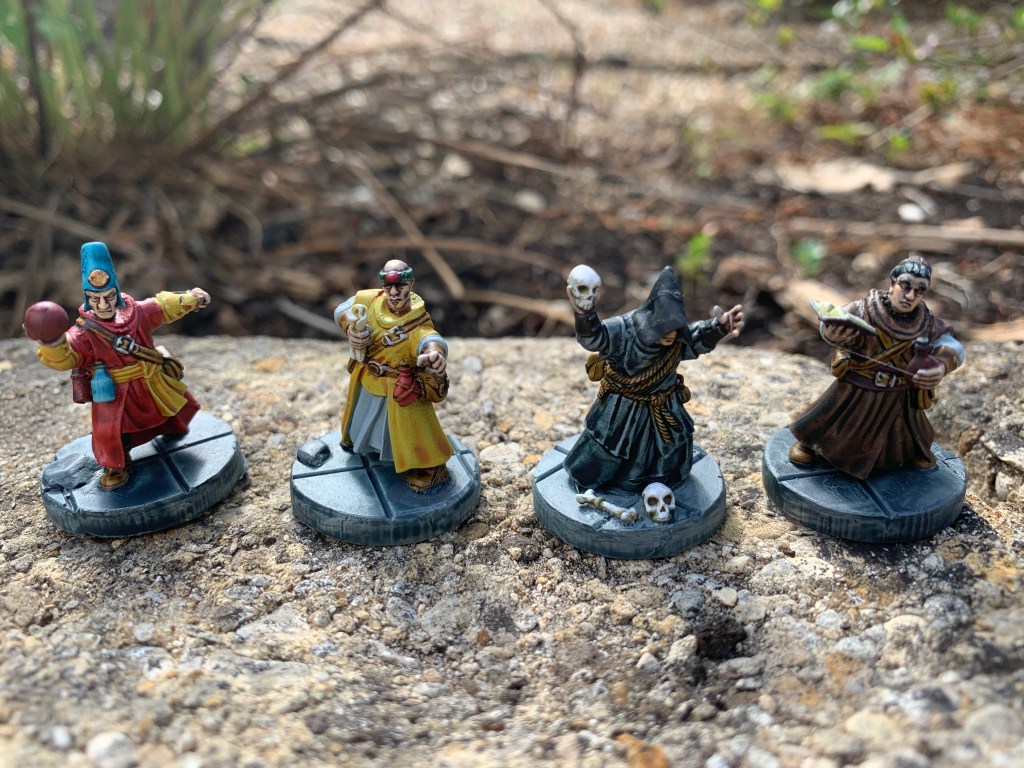
Cut off from stands and glued on resin bases. Spray with grey primer (run out of GW primer). Contrast paints applied in a single coat. Hardly any highlighting except white on beards and a little for scrolls and paper. I mix the grey and yellow contast paints then highlight with cream citadel paint. Wraith bone and white to highlight the skull. Chainmail to the metal.
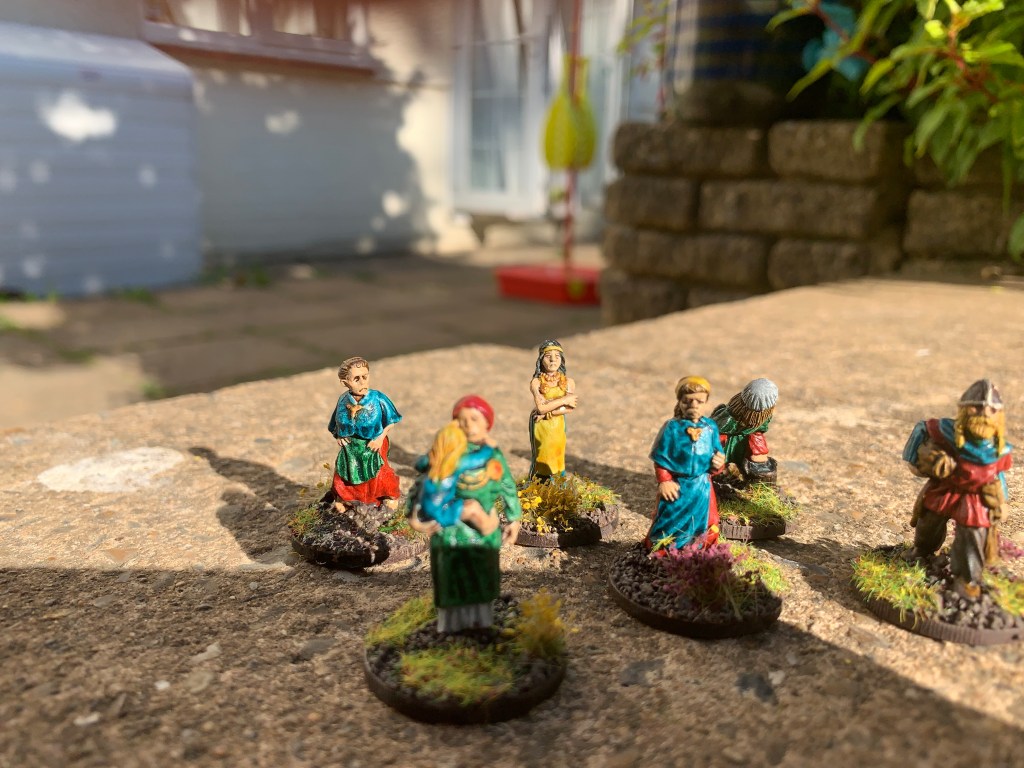
You get lots of choice in the designs when assemble.
16 plastic Saxons. Used citadel contrast paints for the block colours and then added army painter strong tone to darken them up to match my main force. Otherwise they would have been too bright. Then added shield transfers.
We did scenario against the ooze who had been poisoning the water supply . Was a tough one as Alex Sunkeeper had to go in room first and took a battering with lots of ranged monsters. Bear got in next and held off the monsters at the far part of room whilst cragheart and song moved to the near part of the room to ease the pressure and take out the monsters there .
Eventually the wound on the main ooze plus losing its shields as other oozes died plus retaliate began to tell . Also the newly summoned oozes and terrors where dispatched mainly by the bear .
Finally the beast tyrant got a stun on the main ooze whilst cragheart caught up and dealt massive damage to it . It was then soon defeated and two of our heroes levelled with Xp from this and a city event.
This was quite a challenging but fun scenario . Oozes and terrors continually spawning was a nuisance and would have been impossible in a kill all scenario but it was well crafted so you only had to kill the main ooze after dispatching at least four others.