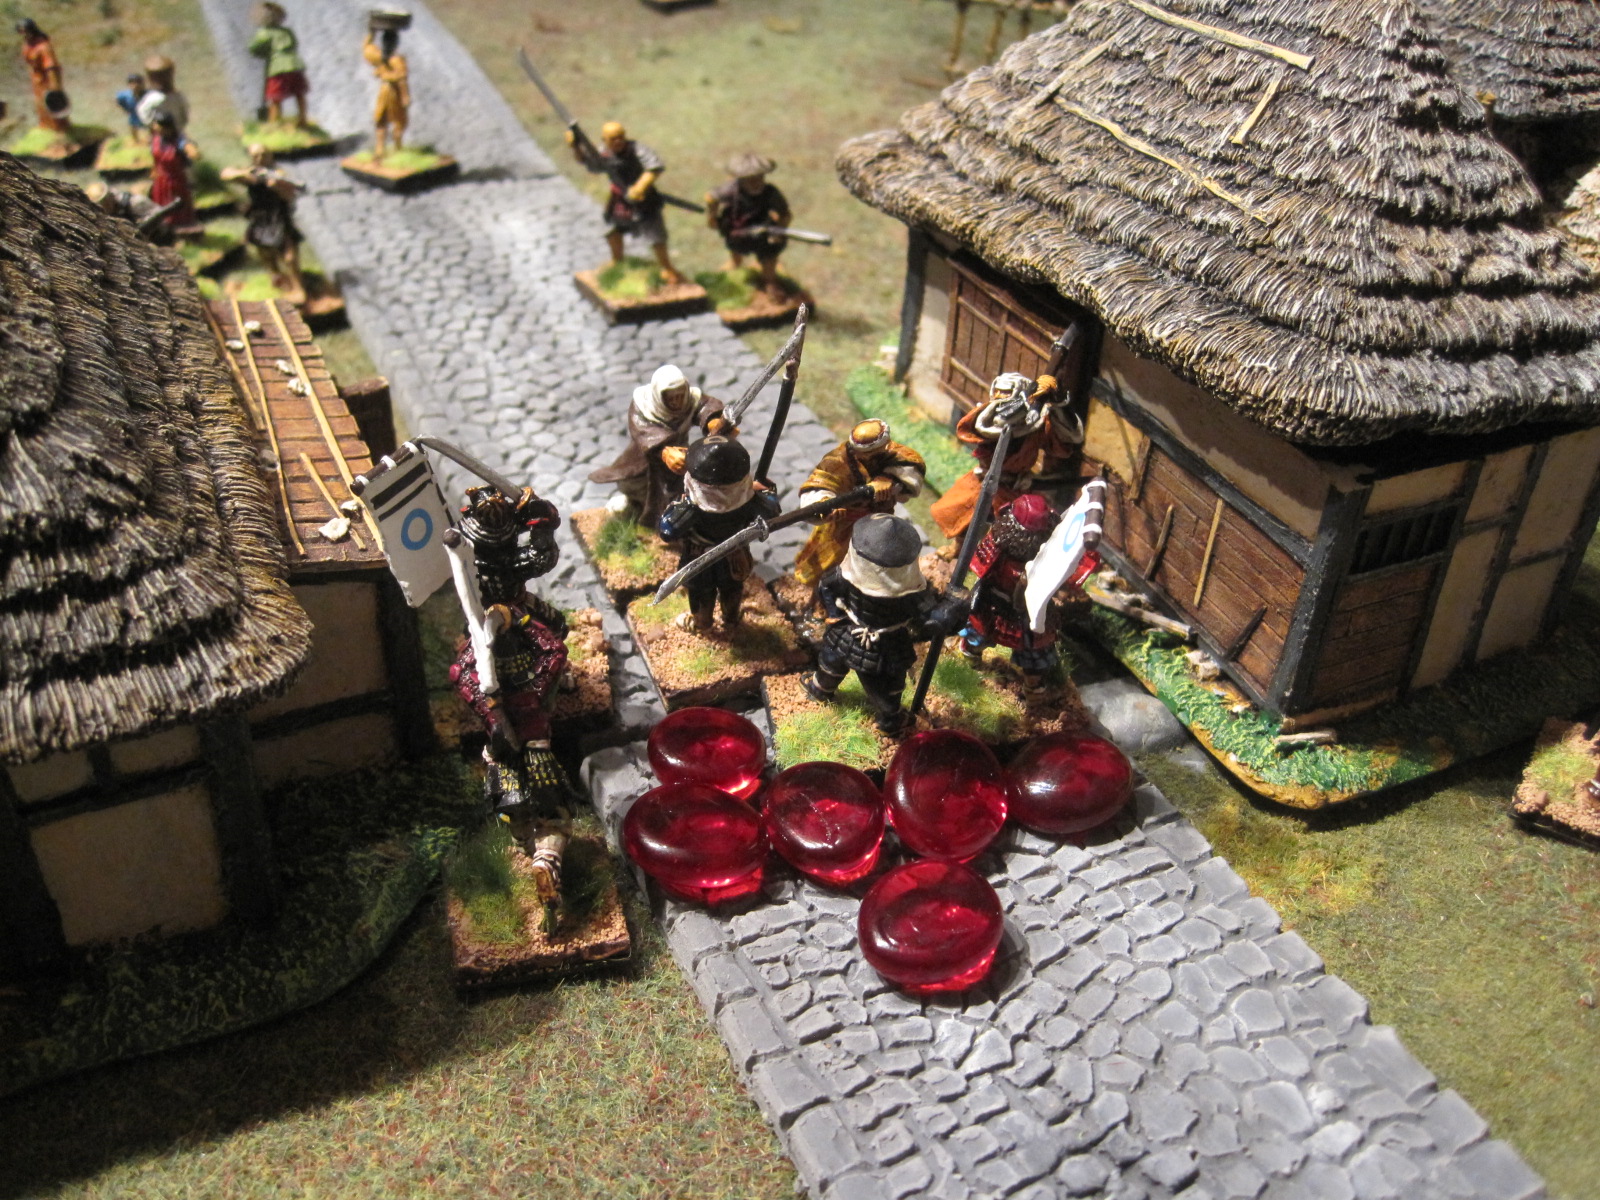
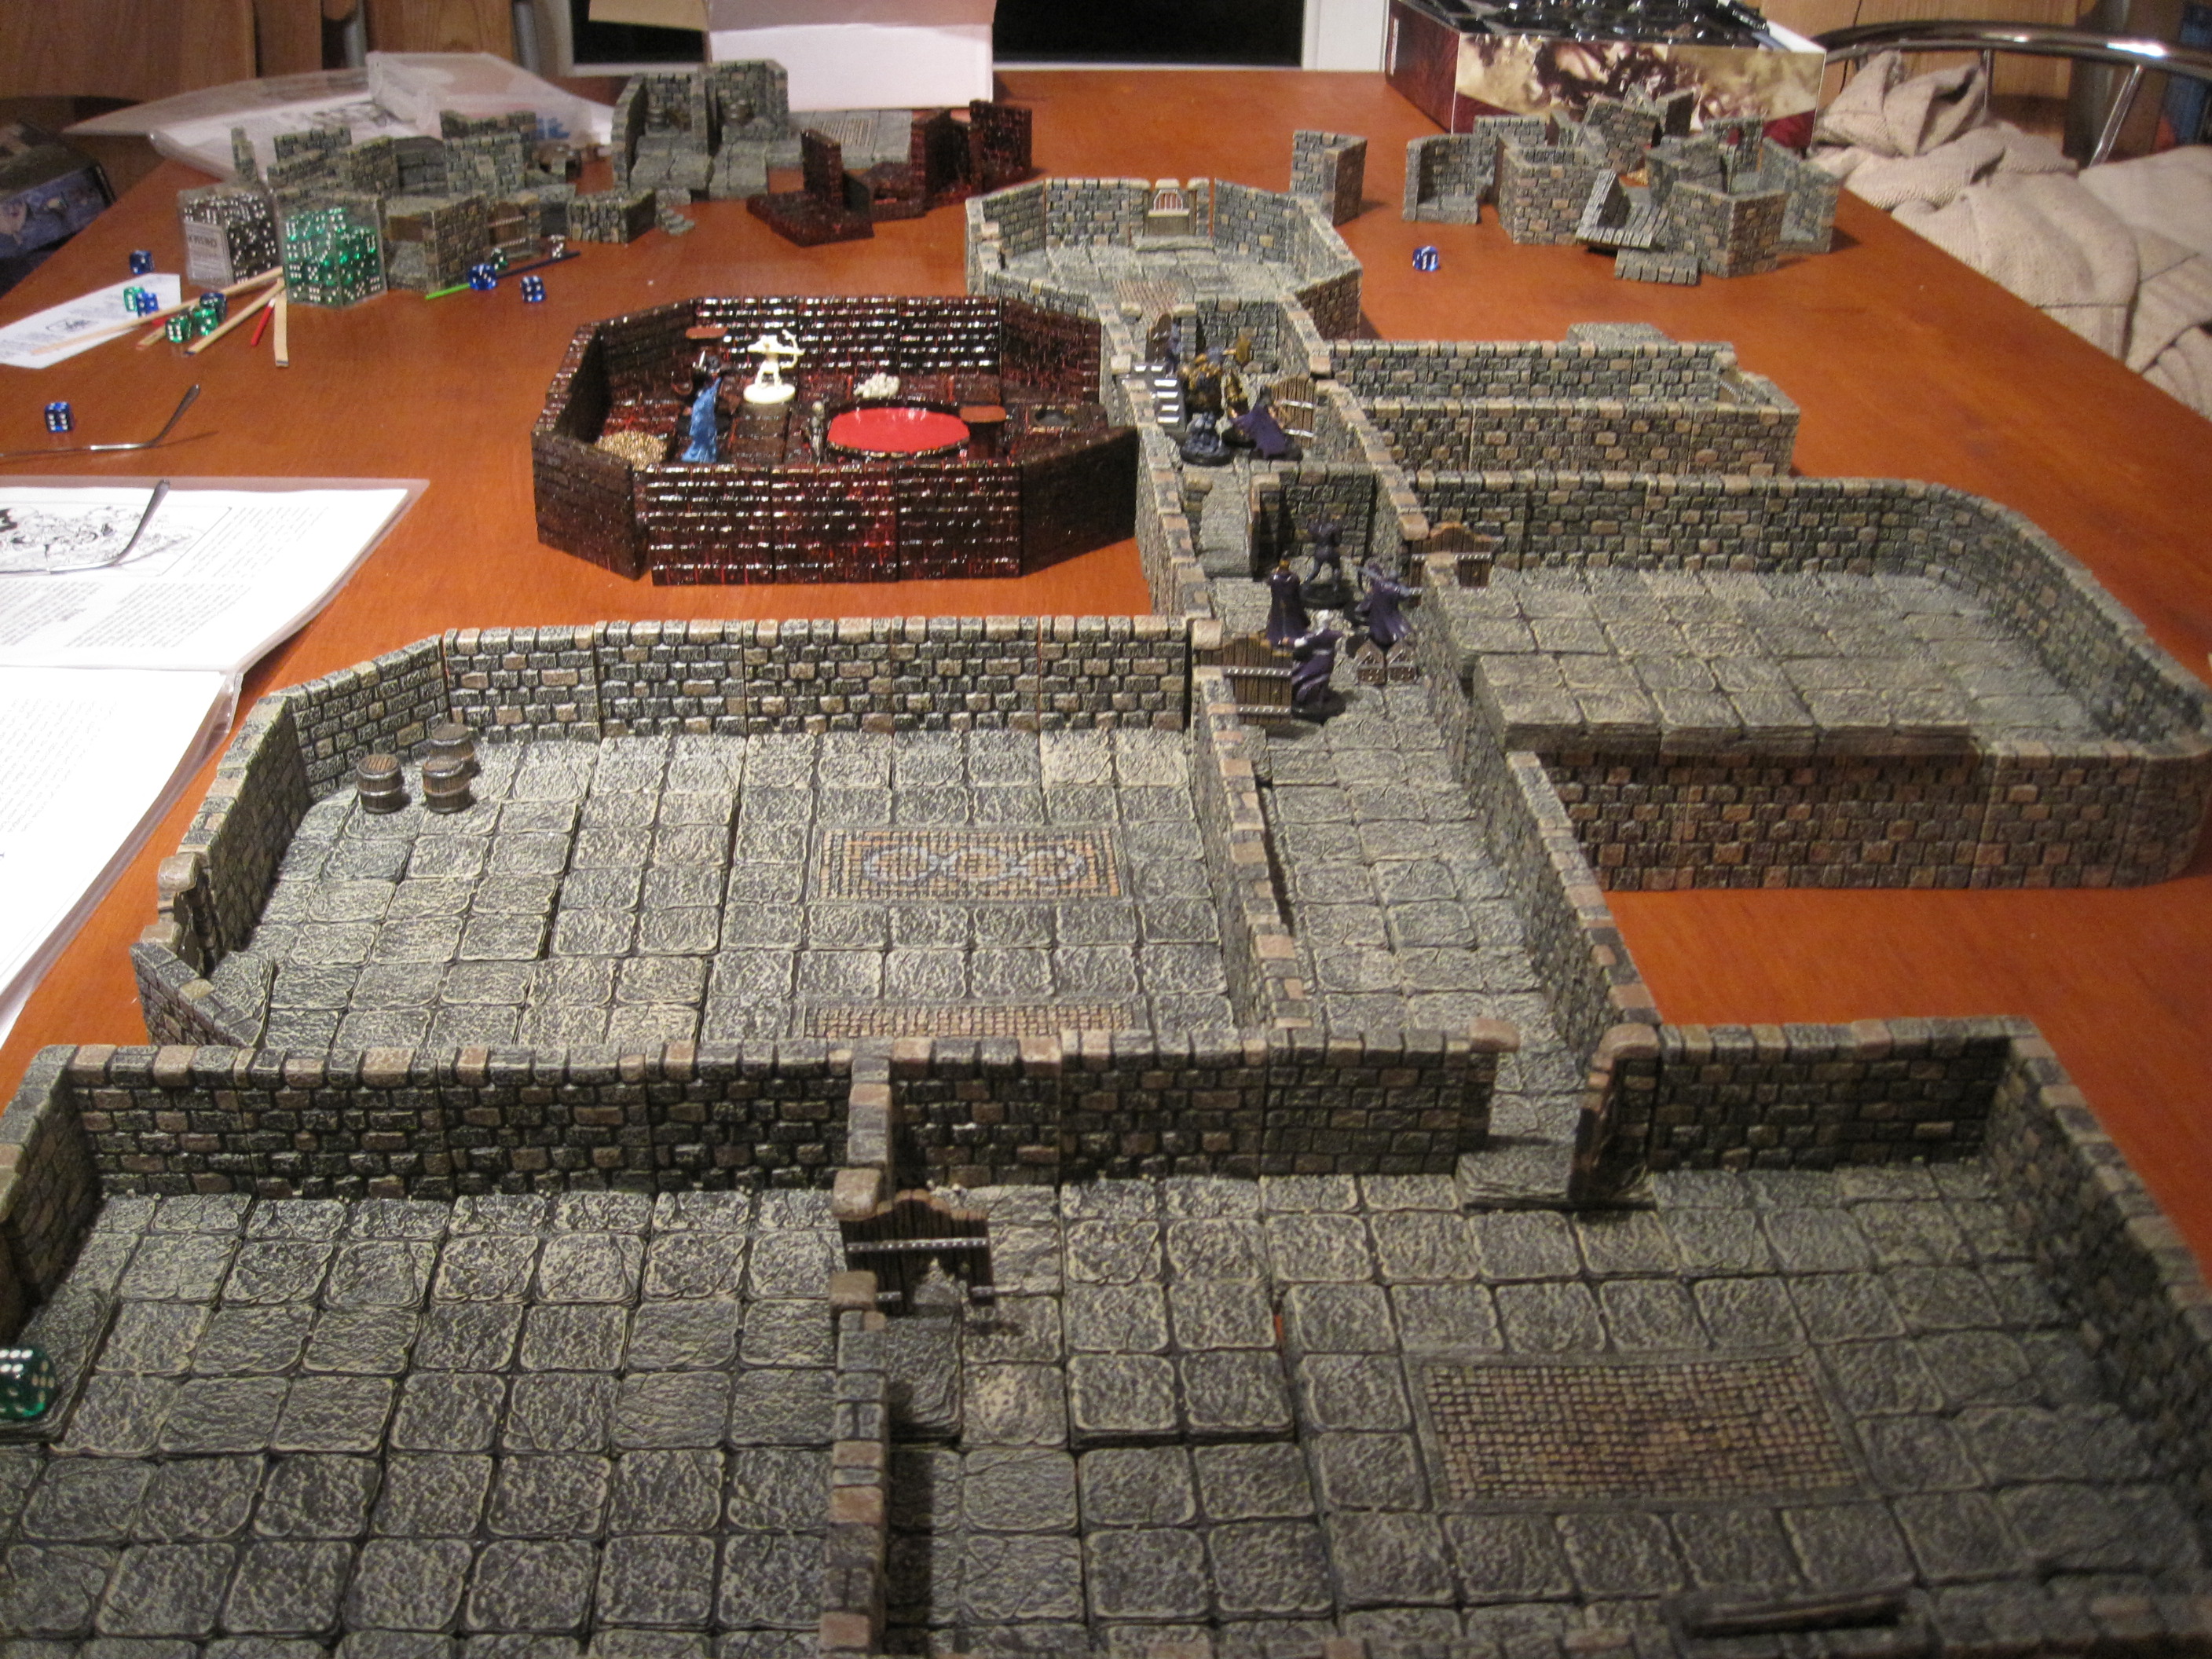
Solo Adventure using Song of Gold and Darkness supplement for Song of Blades and Heroes.
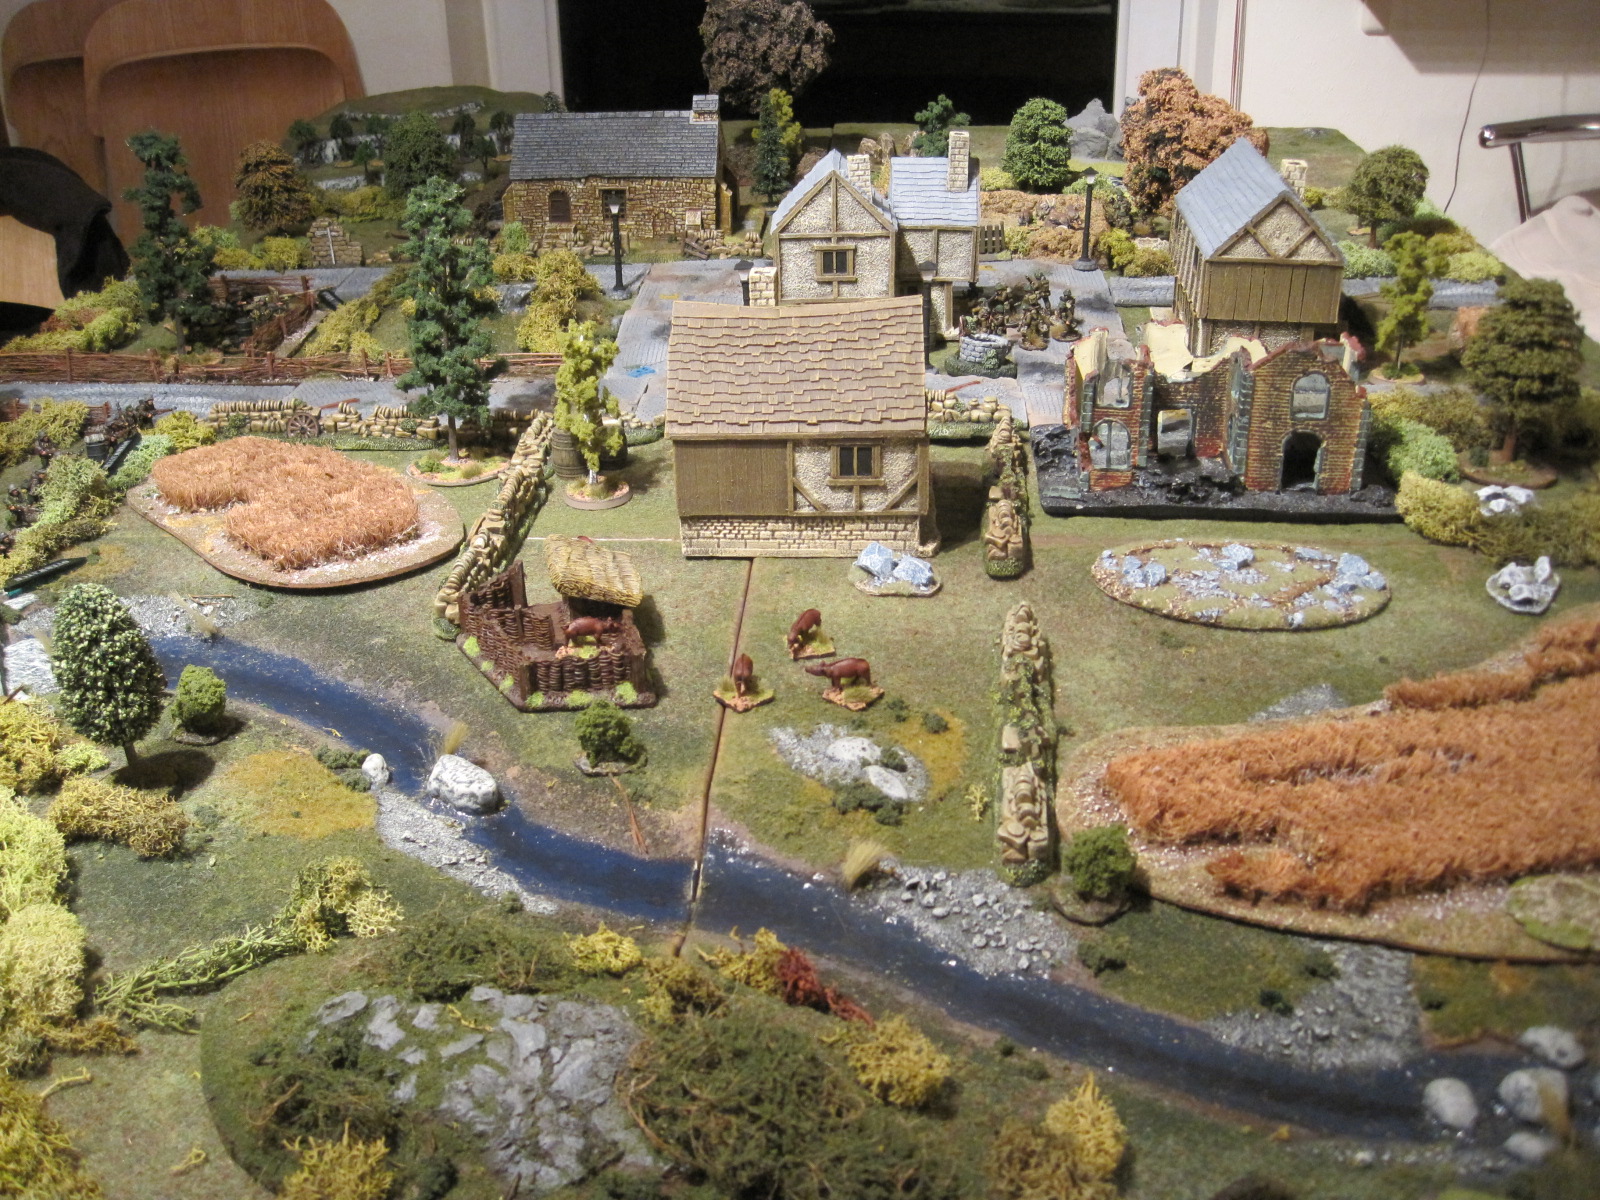
Terrain: Dwarven Forge
Models: Dungeon Command
Adventurers: Heart of Cormyr
Denizens: The Curse of Undeath and Blood of Gruumsh factions.
Scenario:
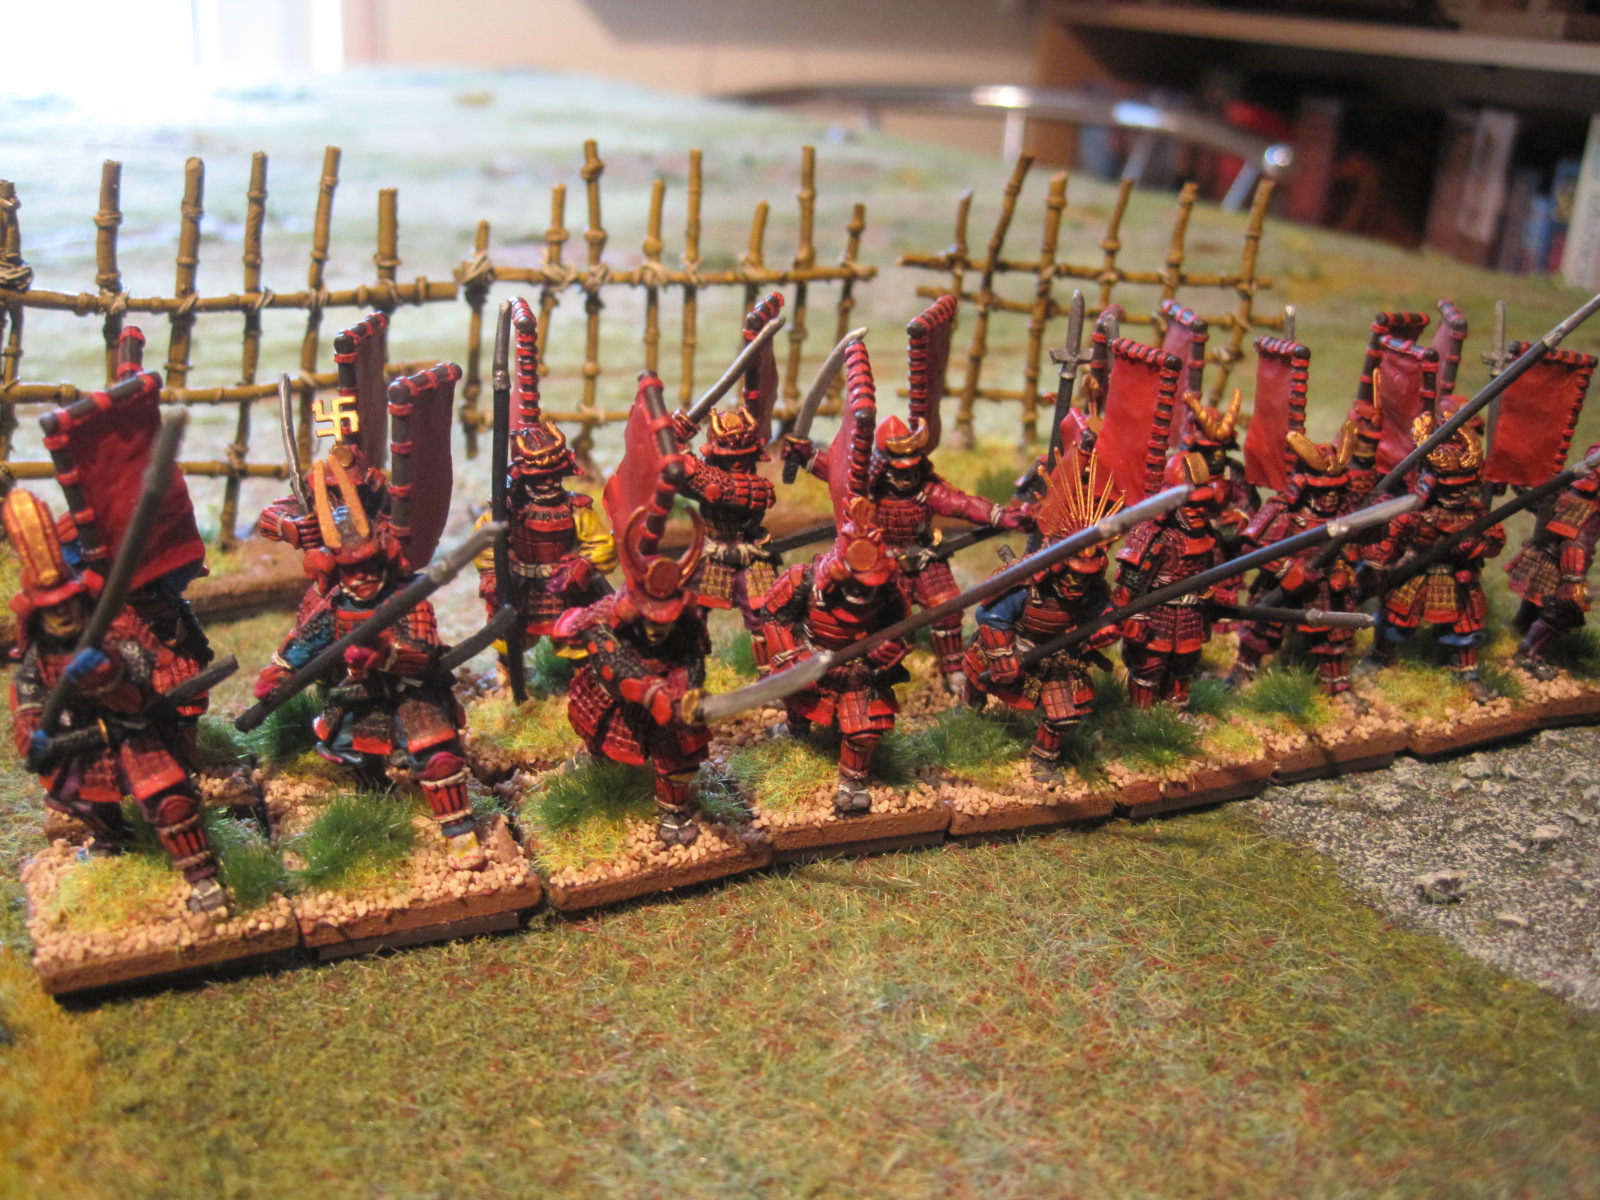
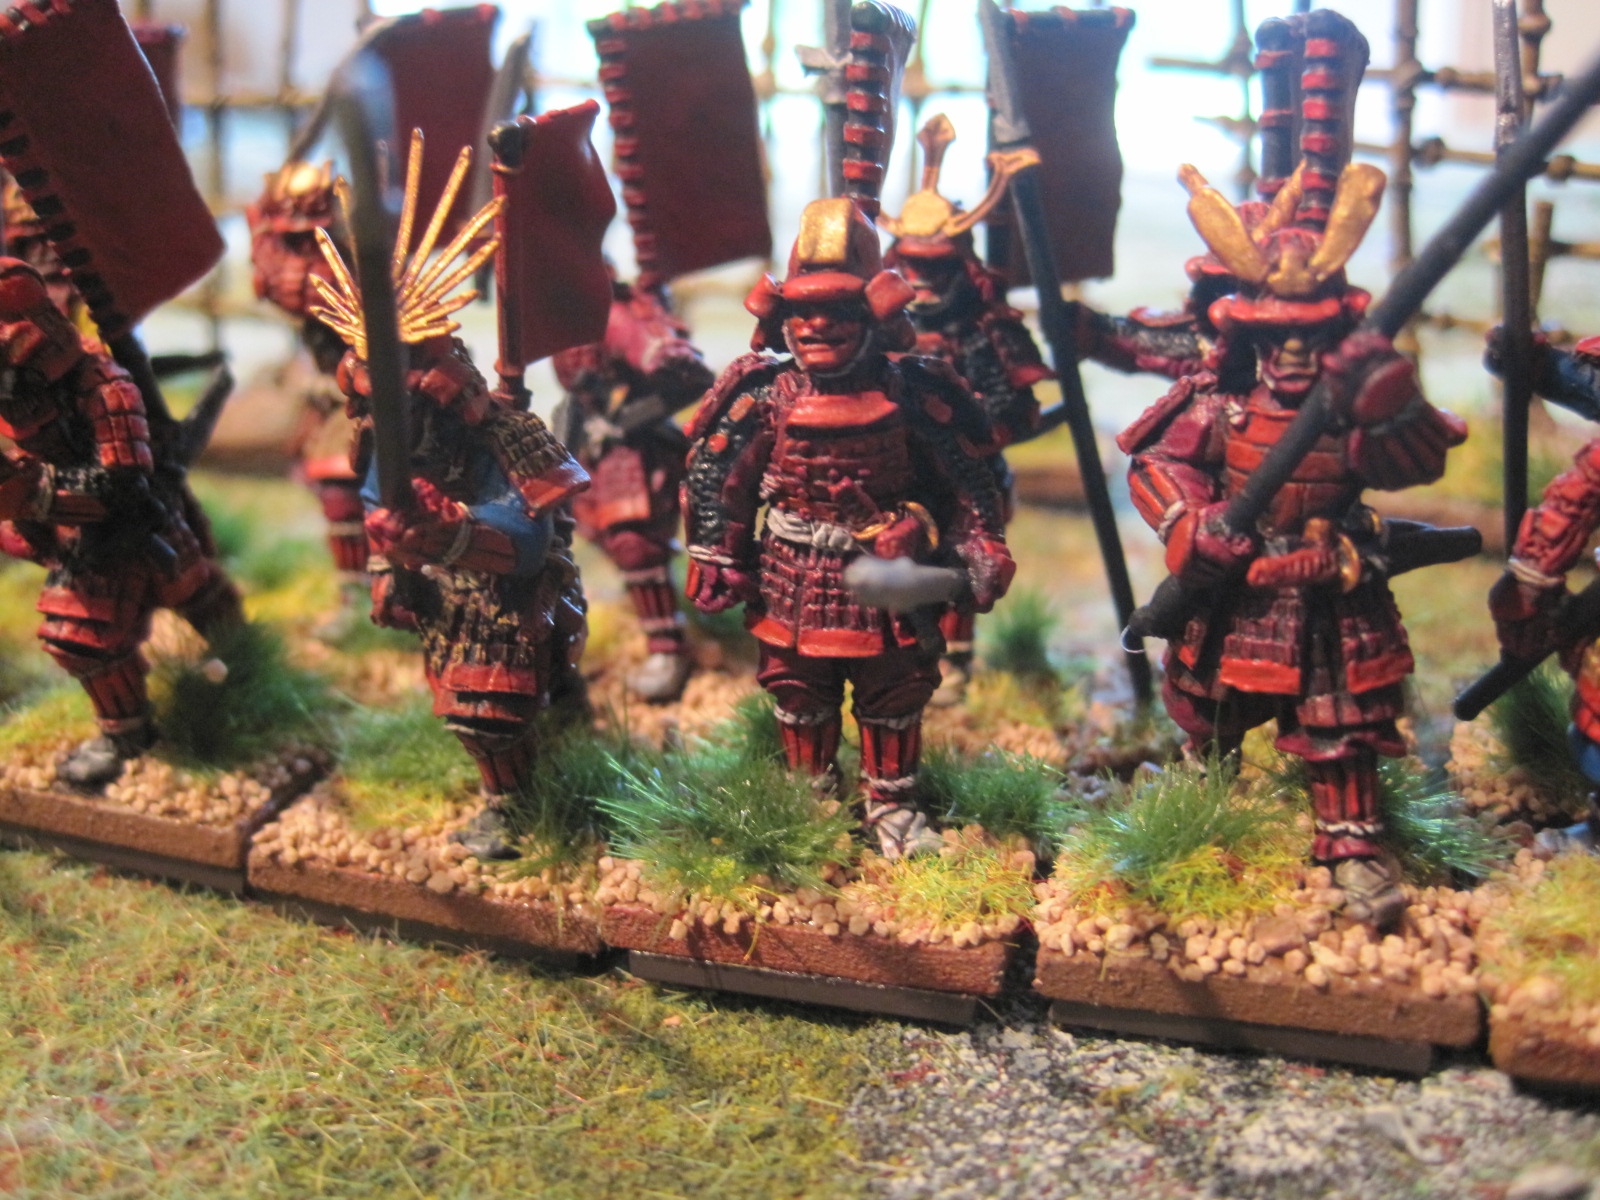
The Dragon Knight has gathered about him a stalwart band of elves (archers), dwarves (warriors and cleric), halfling (thief) and humans (wizard, ranger (plus the dedicated Half-Orc Undead Hunter)). They must put a stop to the Vampire who has been terrorising the villagers and stealing away victims for terrible fates unknown.
The Vampire has founded a Temple of Blood in the Lair of the Lich and gathered about him an army of Undead. Also he has formed a pact with a band of Savage Orcs led by a vicious Chieftain. In exchange for their lives he has allowed them to stay in the Lair and sends them on raids to capture victims for his bloody sacrifices. For their part the Orcs fear the Undead but benefit from the security of the Lair and the assistance of powerful Vampire and Lich; who are easily appeased by regular deliveries of pathetic humans taken from the surrounding villages or travelling the highways.
Can the Dragon Knight and his brave comrades put a stop to this tyranny?
Progress:
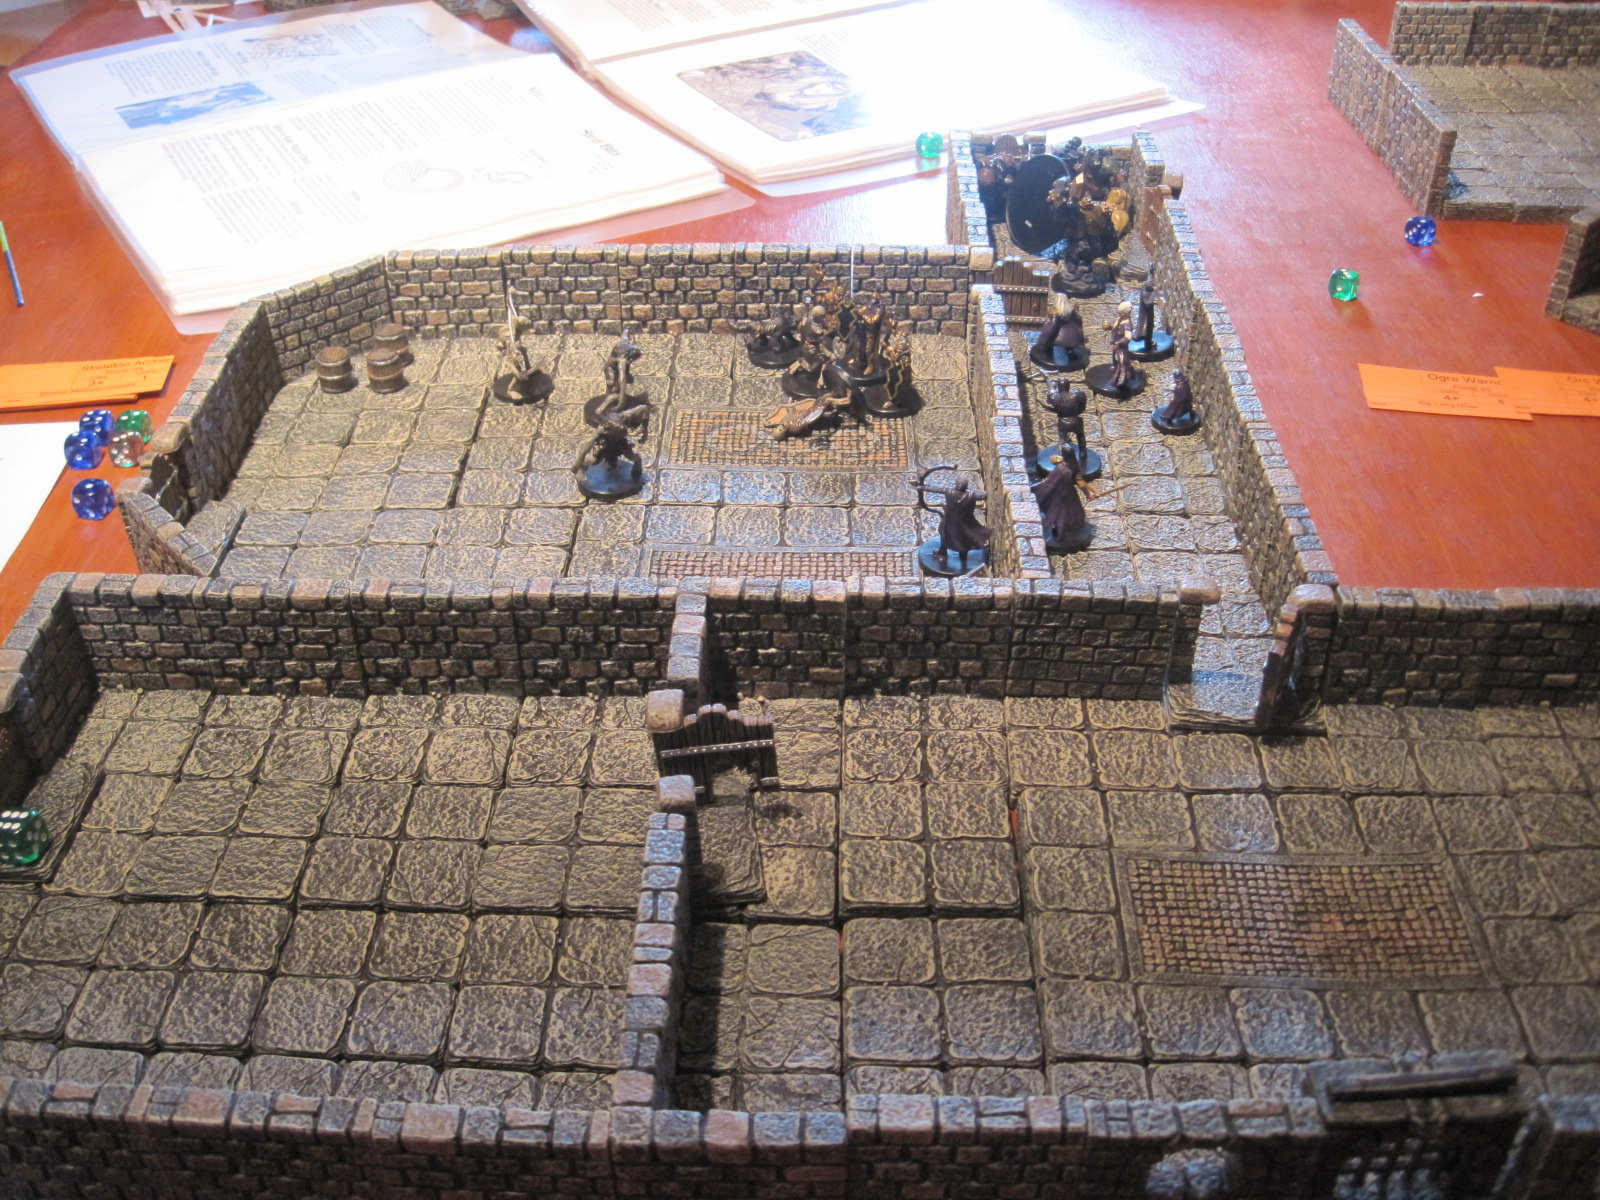
The party arrive in the antechamber (south). To the North is a corridor with 3 doors. An elven archer opens the door to the west on an empty room and finds the door to the North locked (which requires the Halfling Thief to unlock). The Halfling moves to the door but the Earth Guardian simply bashes it open whilst he is looking for his picks. The Archers with their Quality 3 and Medium moves prove useful scouts so head up the long corridor and check the doors finding them locked. The Dragon Knight’s Leadership bonus certainly helps keep the party moving and they soon head into the corridor and move towards the first door as a group.
A dwarf warrior forces his way through the first door and rushes into the room. It is filled with undead; a skeleton guardian and some zombies and skeletons. The party advance into the room but find their elven archers relatively useless against the Undead. However whilst half the party is fighting in the room a Gruumsh patrol appears in the corridor to the North; an Ogre with two Orcs. The Earth elemental advances towards the Ogre who ignores the spells and arrows coming towards him. His Orc minions appear dumbfounded. In the room the Dragon Knight and the Dwarven warriors defend themselves against the skeletons whilst an archer attempts to find a useful firing position heading towards the treasure chest.
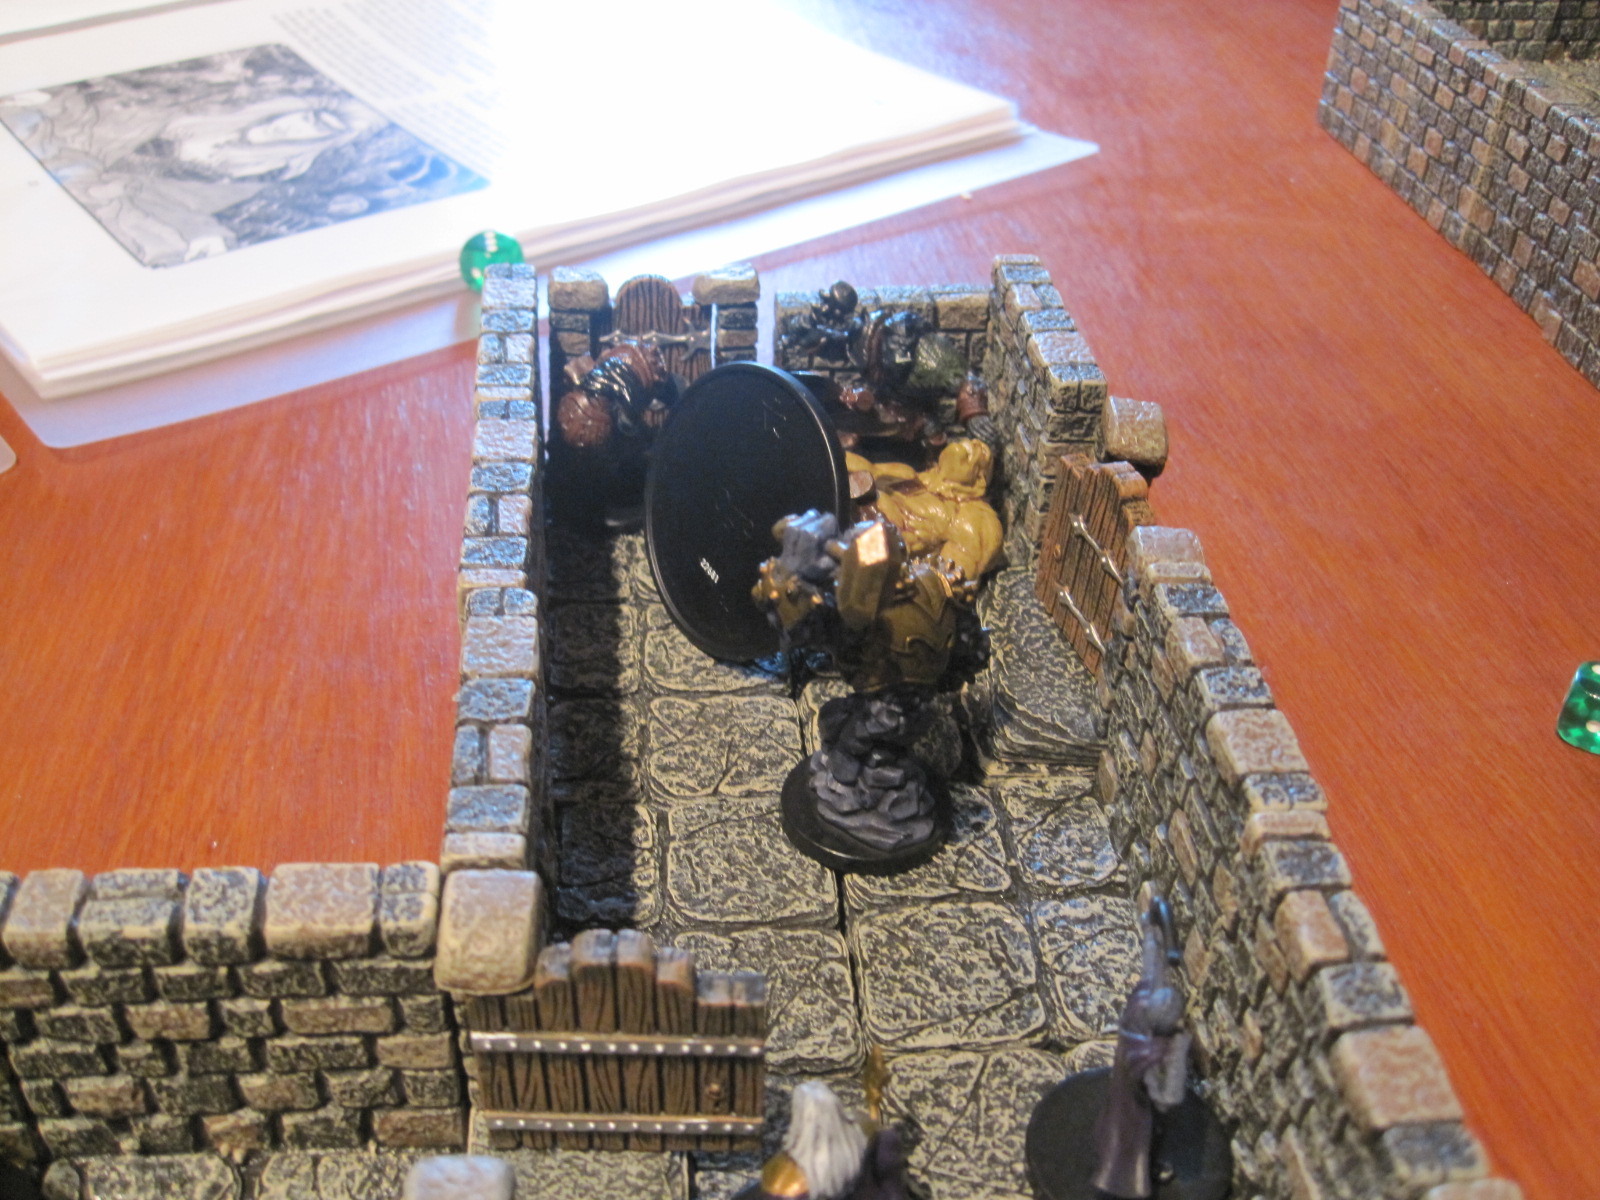


In the corridor the Earth Guardian forces the Ogre to recoil who is then knocked down by the elven archer. Finally he is Transfixed by spells from the Human Wizard and Dwarven Mage. In the room the Elven Archer fired a perfect shot at a skeleton causing a gruesome kill. The burst of psychic energy thus released destroyed the remaining Undead who failed the resulting Morale checks. The treasure proved to be extremely heavy but contained a very useful ring of carrying which the Elven Archer used to carry it.
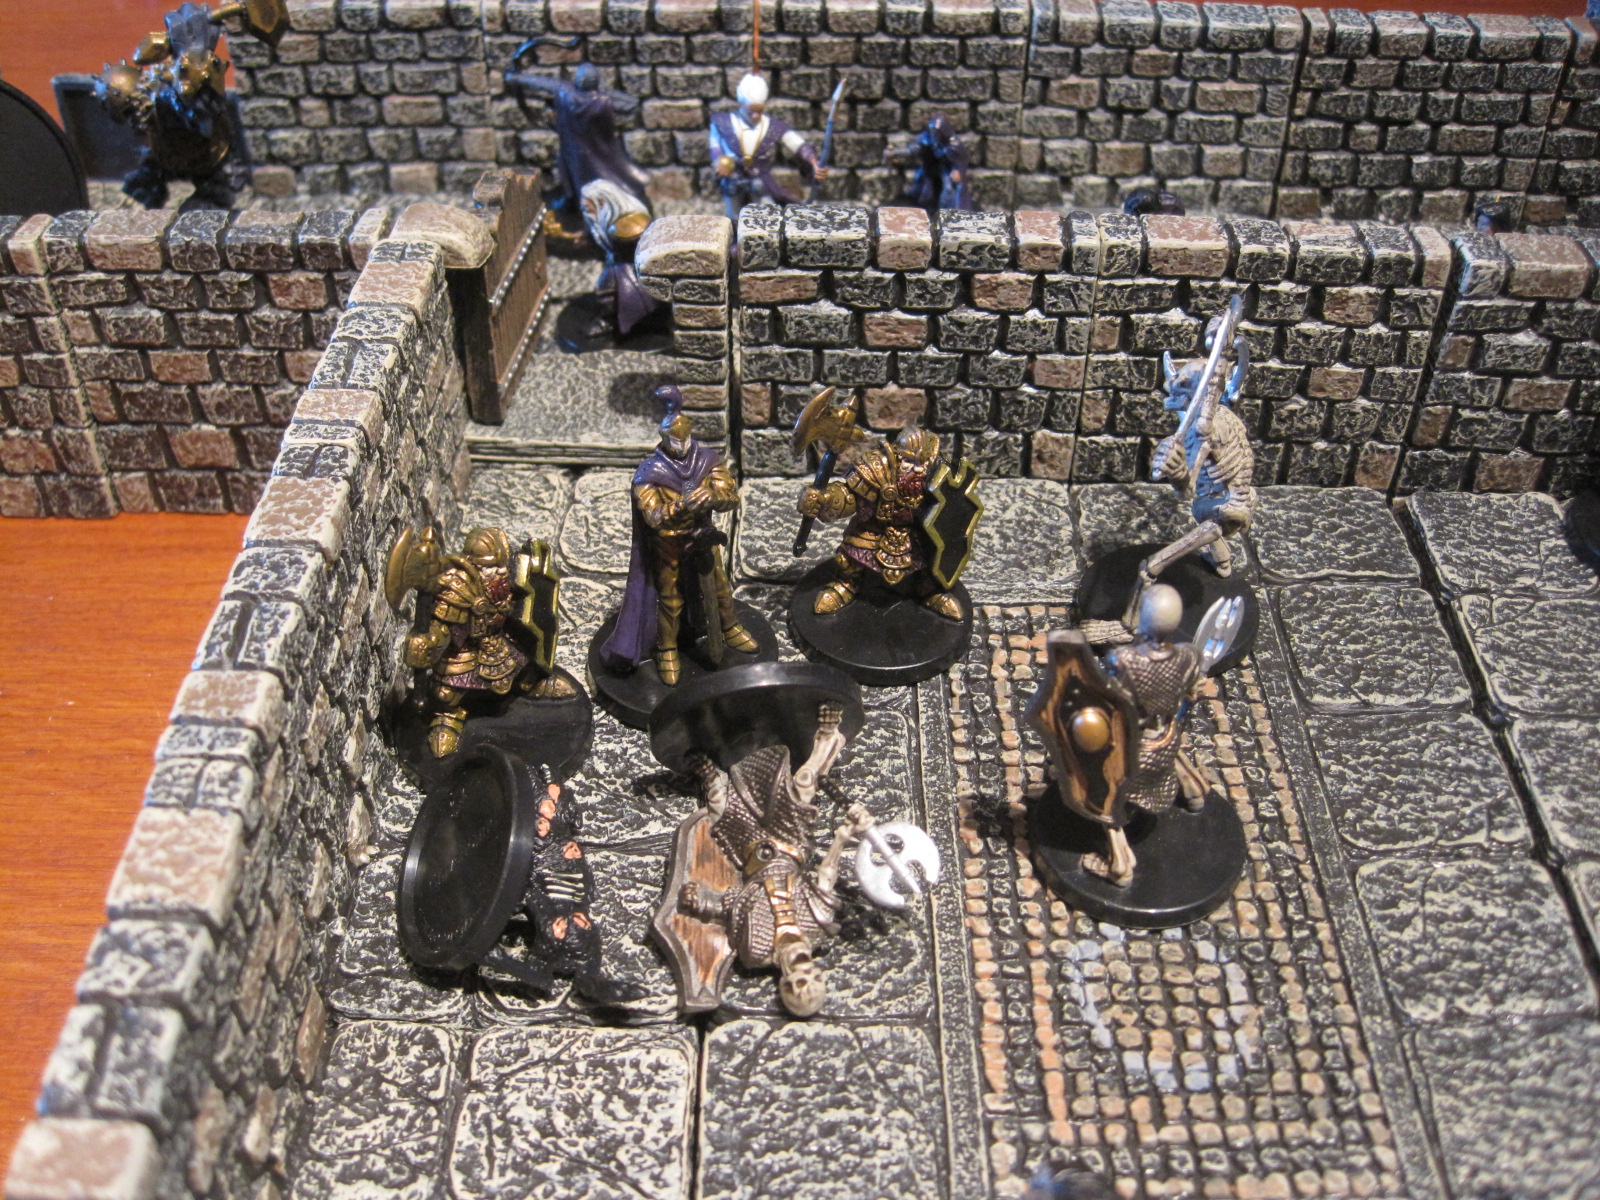
Meanwhile the Earth Guardian and the others dispatched the Ogre and his minions. The other Archer opened the next door and found the Lair of the Lich! A fiendish room with a ramp forcing the party to fight their way through the Dracolich and skeleton warrior before they could reach him and the treasure. Also the heroes would need to slay the Lich (or the Orc Chieftain) before they could find the Final challenge and the Vampire himself. The elven archer found his weapons useless against the Dracolich but the party advanced into the room (the Assassin keeping to the shadows). The Lich cast Transfix spells on the two mages but not before they were able to Transfix the Dracolich. The Undead Hunter then fired his crossbow at the trapped creature and destroyed it. The heroes rushed towards the skeleton who proved tougher than expected managing to kill one of the dwarf warriors. The party soon surrounded the Lich who was powerless in combat and was destroyed. Luckily no wandering monsters appeared. The chest was trapped so whilst the Halfling slowly advanced towards it to disarm it the heroes headed off in search of the Vampire (now they had broken the magic seal to the Temple if they could find it).


The Halfling duly arrived whilst the Archer with the ring of carrying waited patiently and declared the trap impossible to disarm (level 3). So the Archer set it off and fell over. In it was a cloak of flying which the Halfling grabbed to save him the long trip back down the stairs whilst the Archer picked up the heavy chest.
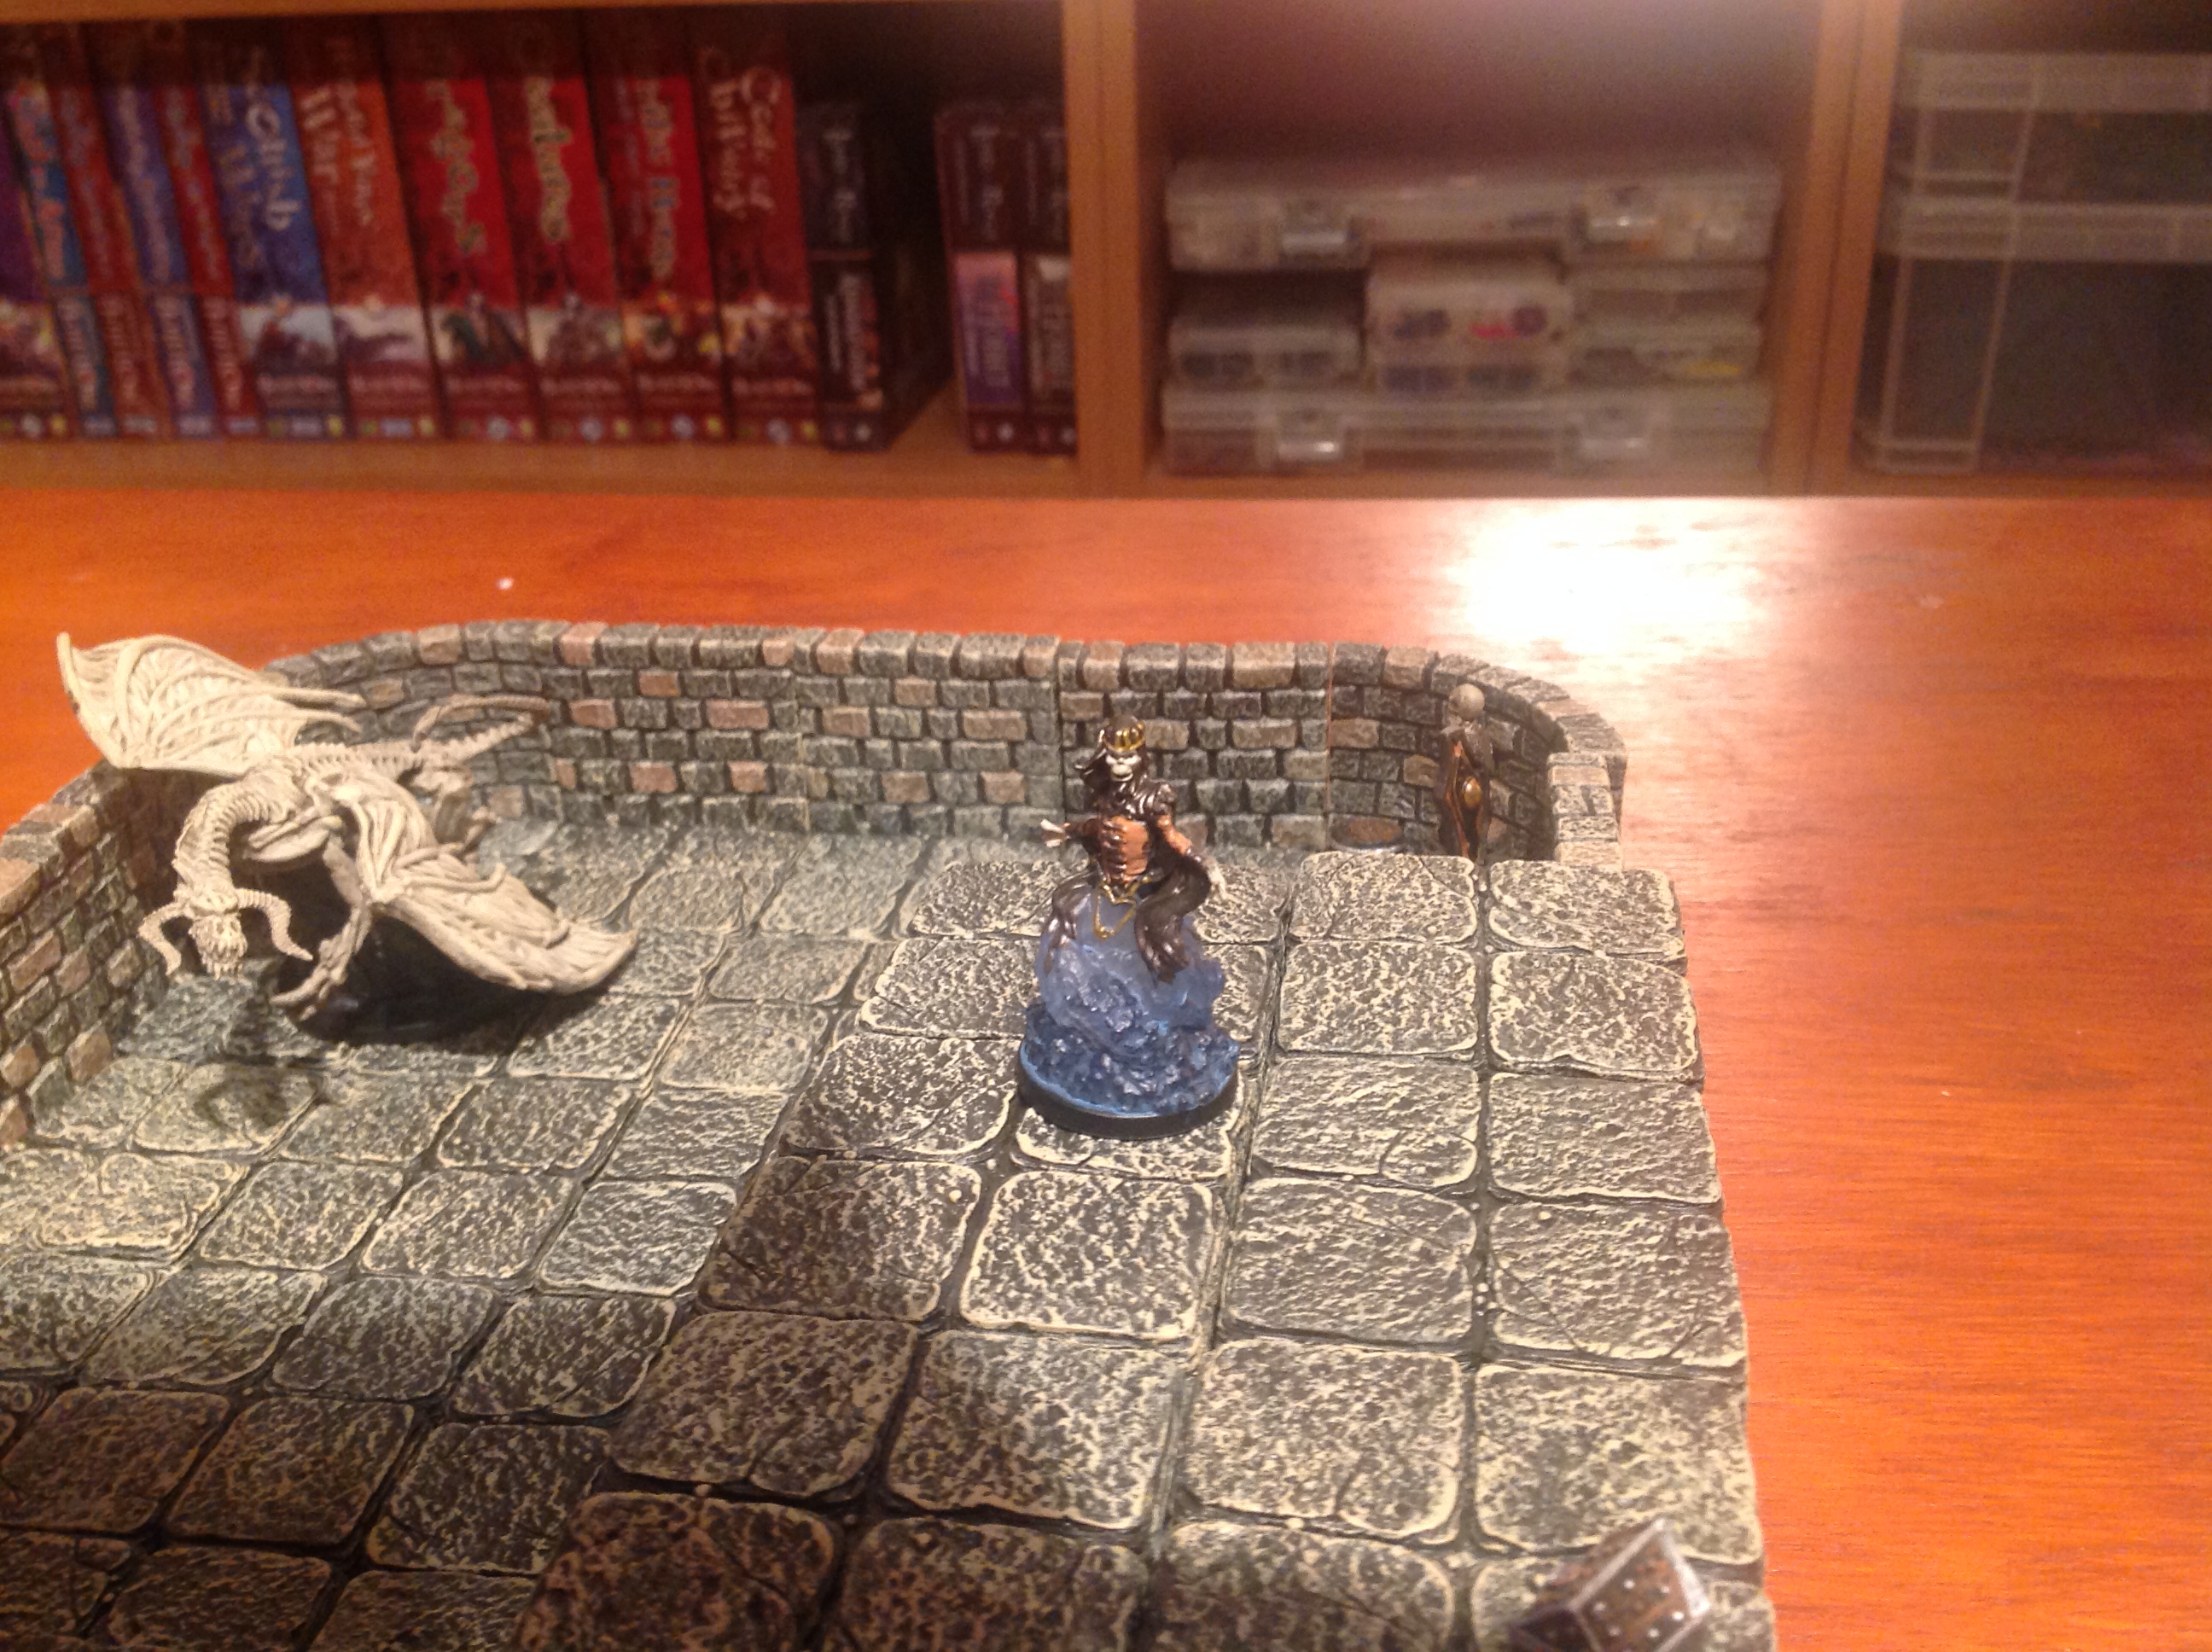
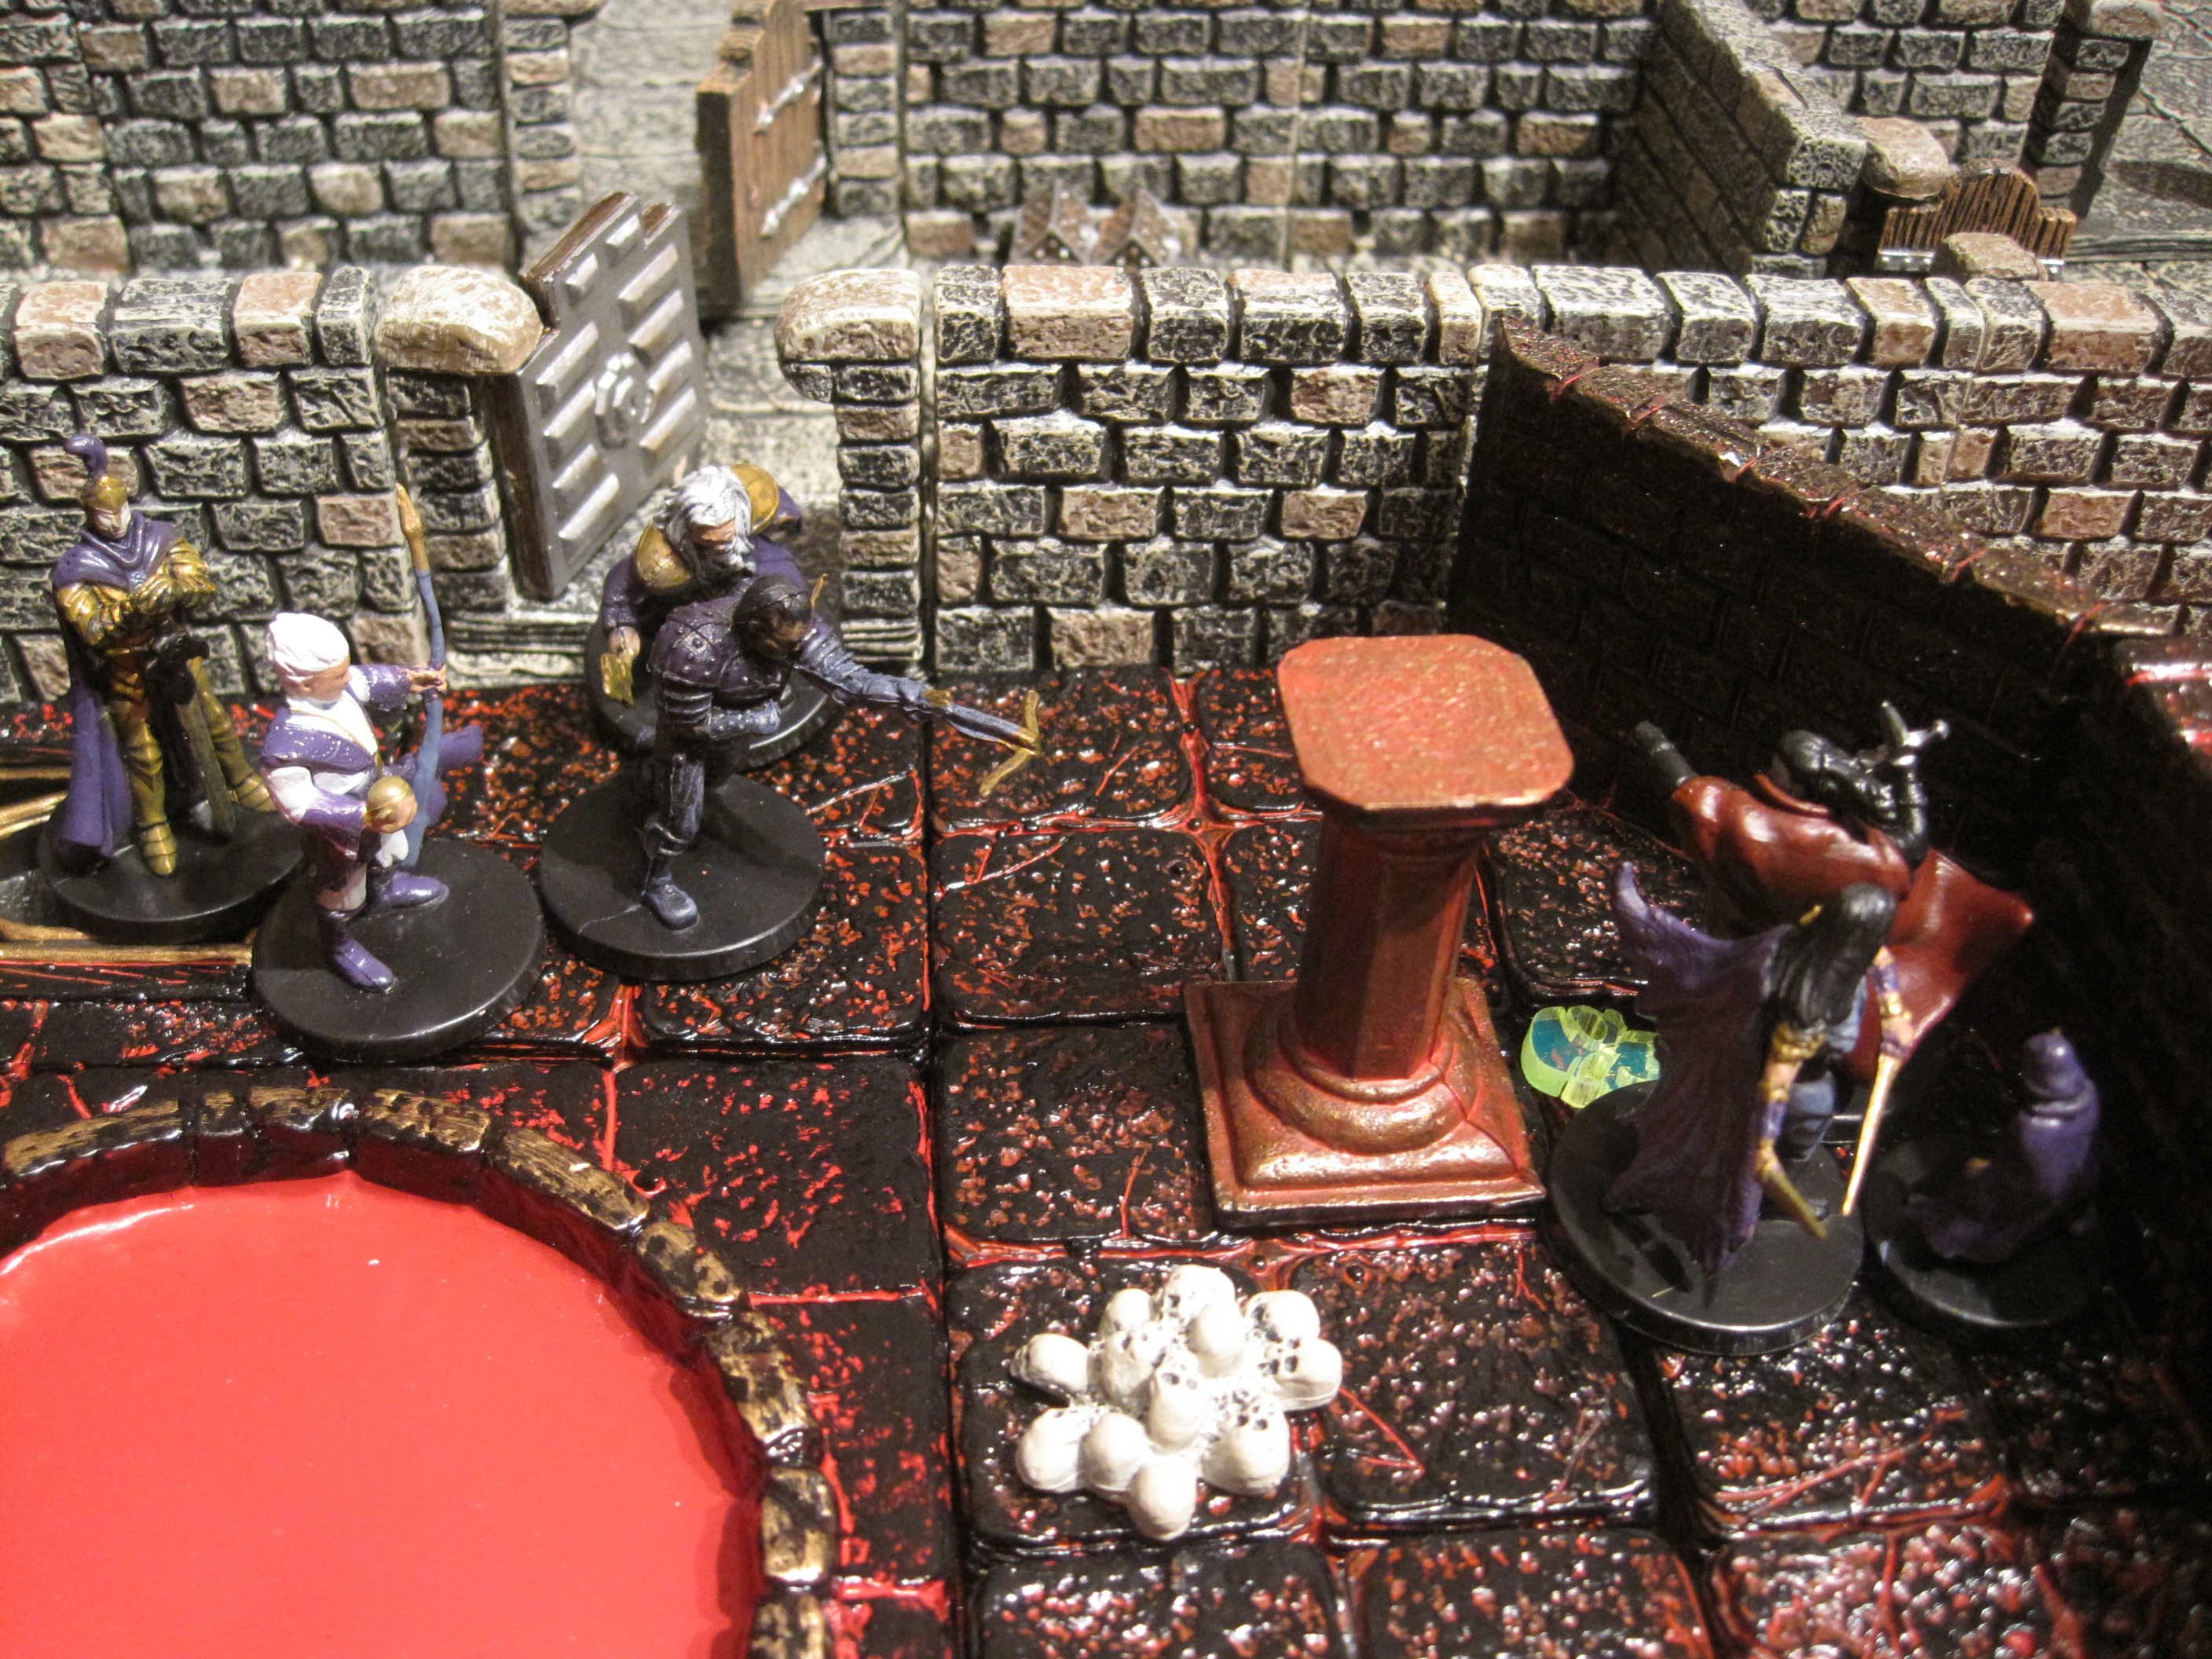
The heroes found an empty corridor with 3 doors and an empty store room. Advancing towards a heavy locked door the Earth Guardian managed to force it open and reveal the Temple of Blood! There was the Vampire with a Ghost and a skeleton archer. A tricky room with a pool, pillars, skulls and a broken grate plus the whole room counted as Vampire soil (which put the heroes at -1 combat). This latter was to prove highly deadly.


Our heroes bravely rushed into the room, again their archery proving useless against the Undead. The room contained a pile of treasure and the Vampire was wearing a necklace of teleportation should he require it. The Earth Guardian and a Dwarf warrior advanced towards the Ghost and the Vampire whilst the Knight and the Assassin moved round the pool towards the skeleton. The others advanced towards the room as fast as they could but were slower than expected due to the fear emanating from the room (bad rolling on activation).


The combination of Terror and Vampire soil proved deadly for the heroes. The dwarf and elven archer soon fell to the deadly blade of the Vampire. Surely the Earth Guardian would do better but it too was smashed to pieces by the powerful vampire. Things looked very bad now as the Undead Hunter fled in panic from the Ghost narrowly escaping with his life. The Assassin choosing discretion also fled the room (claiming she was coming to the aid of the Undead Hunter and Mages outside) whilst the Knight slew the Skeleton. At this point things looked bad for our heroic leader alone in the Temple room but the Vampire failed to activate! The Ghost was dispatched and the mages entered the Temple. The Dragon Knight moved towards them and the Vampire. The Mages successfully Transfixed the Vampire as the Halfling and assassin moved behind him. Finally the Undead Hunter closed and fired his Crossbow and the Dragon Knight moved in. With the Vampire transfixed it was possible to dispatch it and the battle was done.


The Knight, Wizard, Undead Hunter, Mage, Wizard, Assasin and Halfing had survived to fight another day.

Victory Points: 52
Thoughts:
An interesting game. The rules on dungeon exploration for solo games were quite successful. Remembering to roll for wandering monsters was a challenge. Having lots of goons who can respawn certainly makes for a challenge. The Vampire was very tough and on reflection making the entire room count as Vampire soil was hard (next time it will just be the grates). A minus one is a big difference in combat. The treasure weight rules would have been very annoying without the lucky find of the Ring of Carrying ad perhaps don’t work on solo delves. Transfix proved incredibly useful, especially against the Undead who are resistant to missiles from the Elven Archers.
Forces:
SBH_Warband _w_cardscormyr SBH_Warband _w_cardscurse