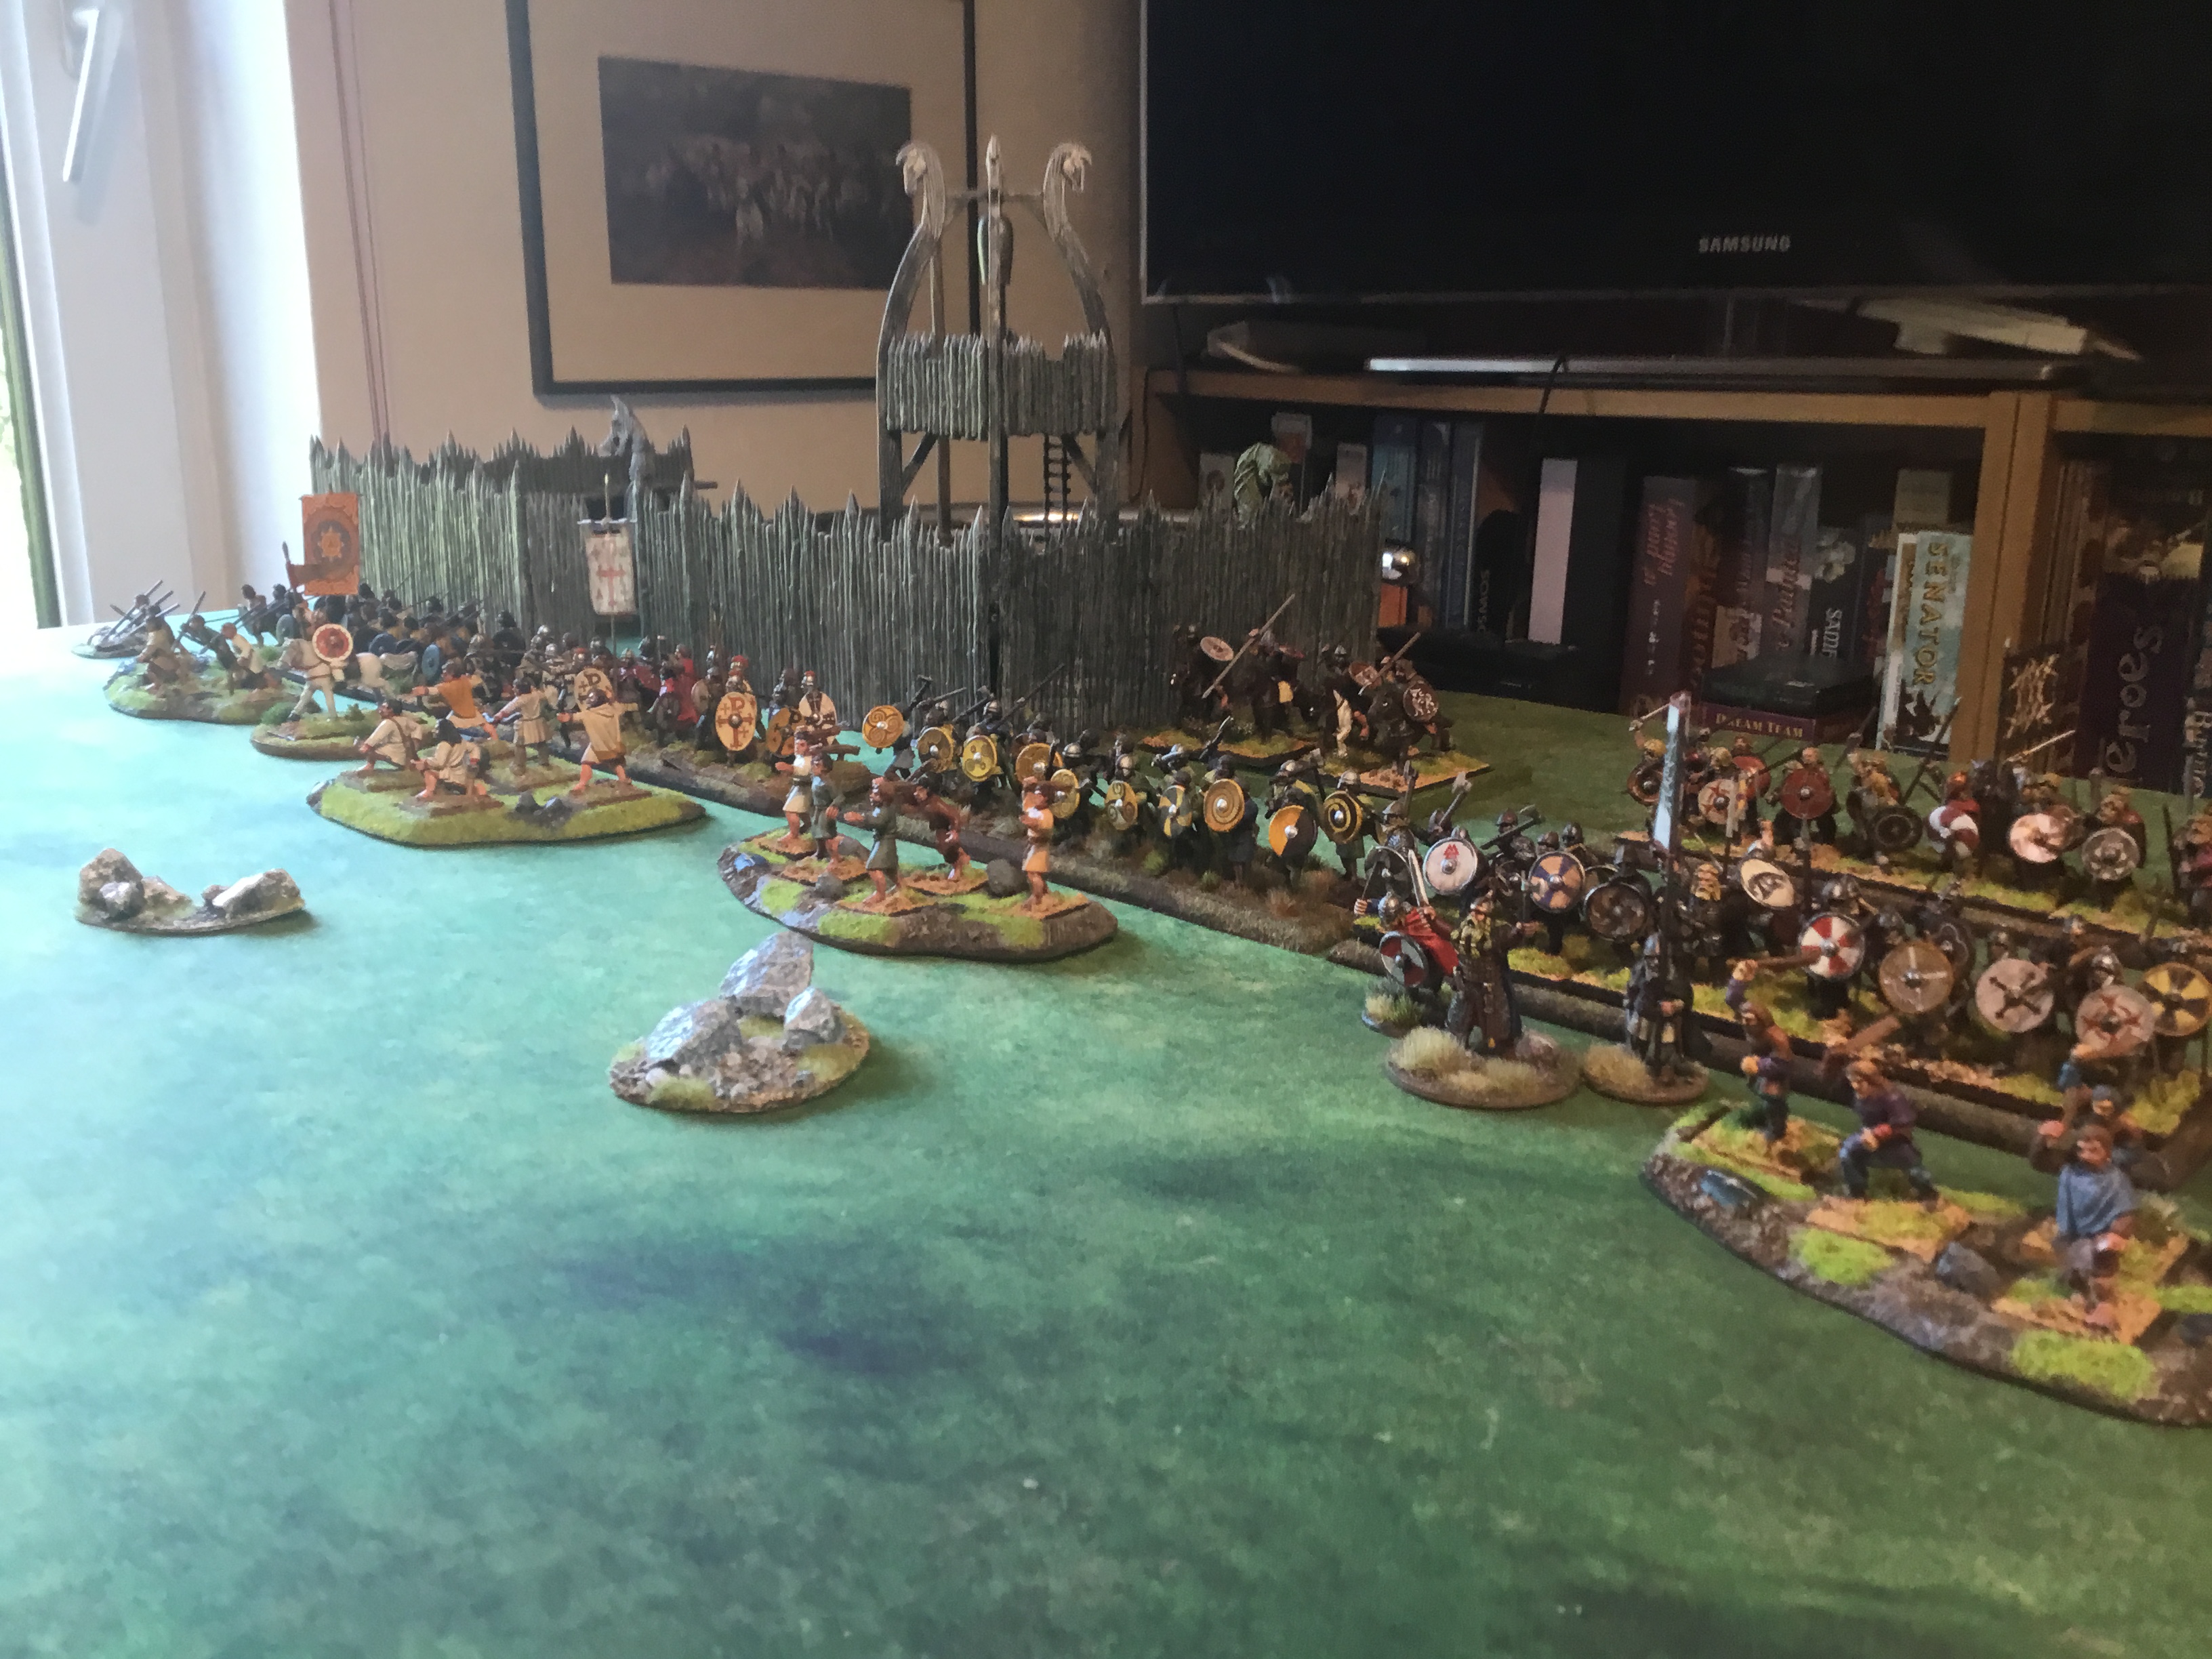
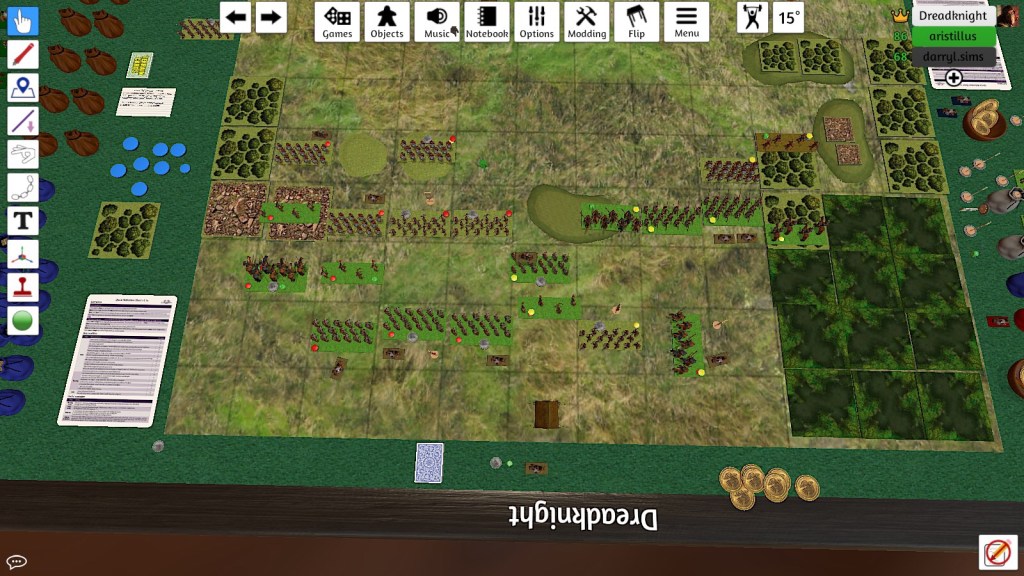
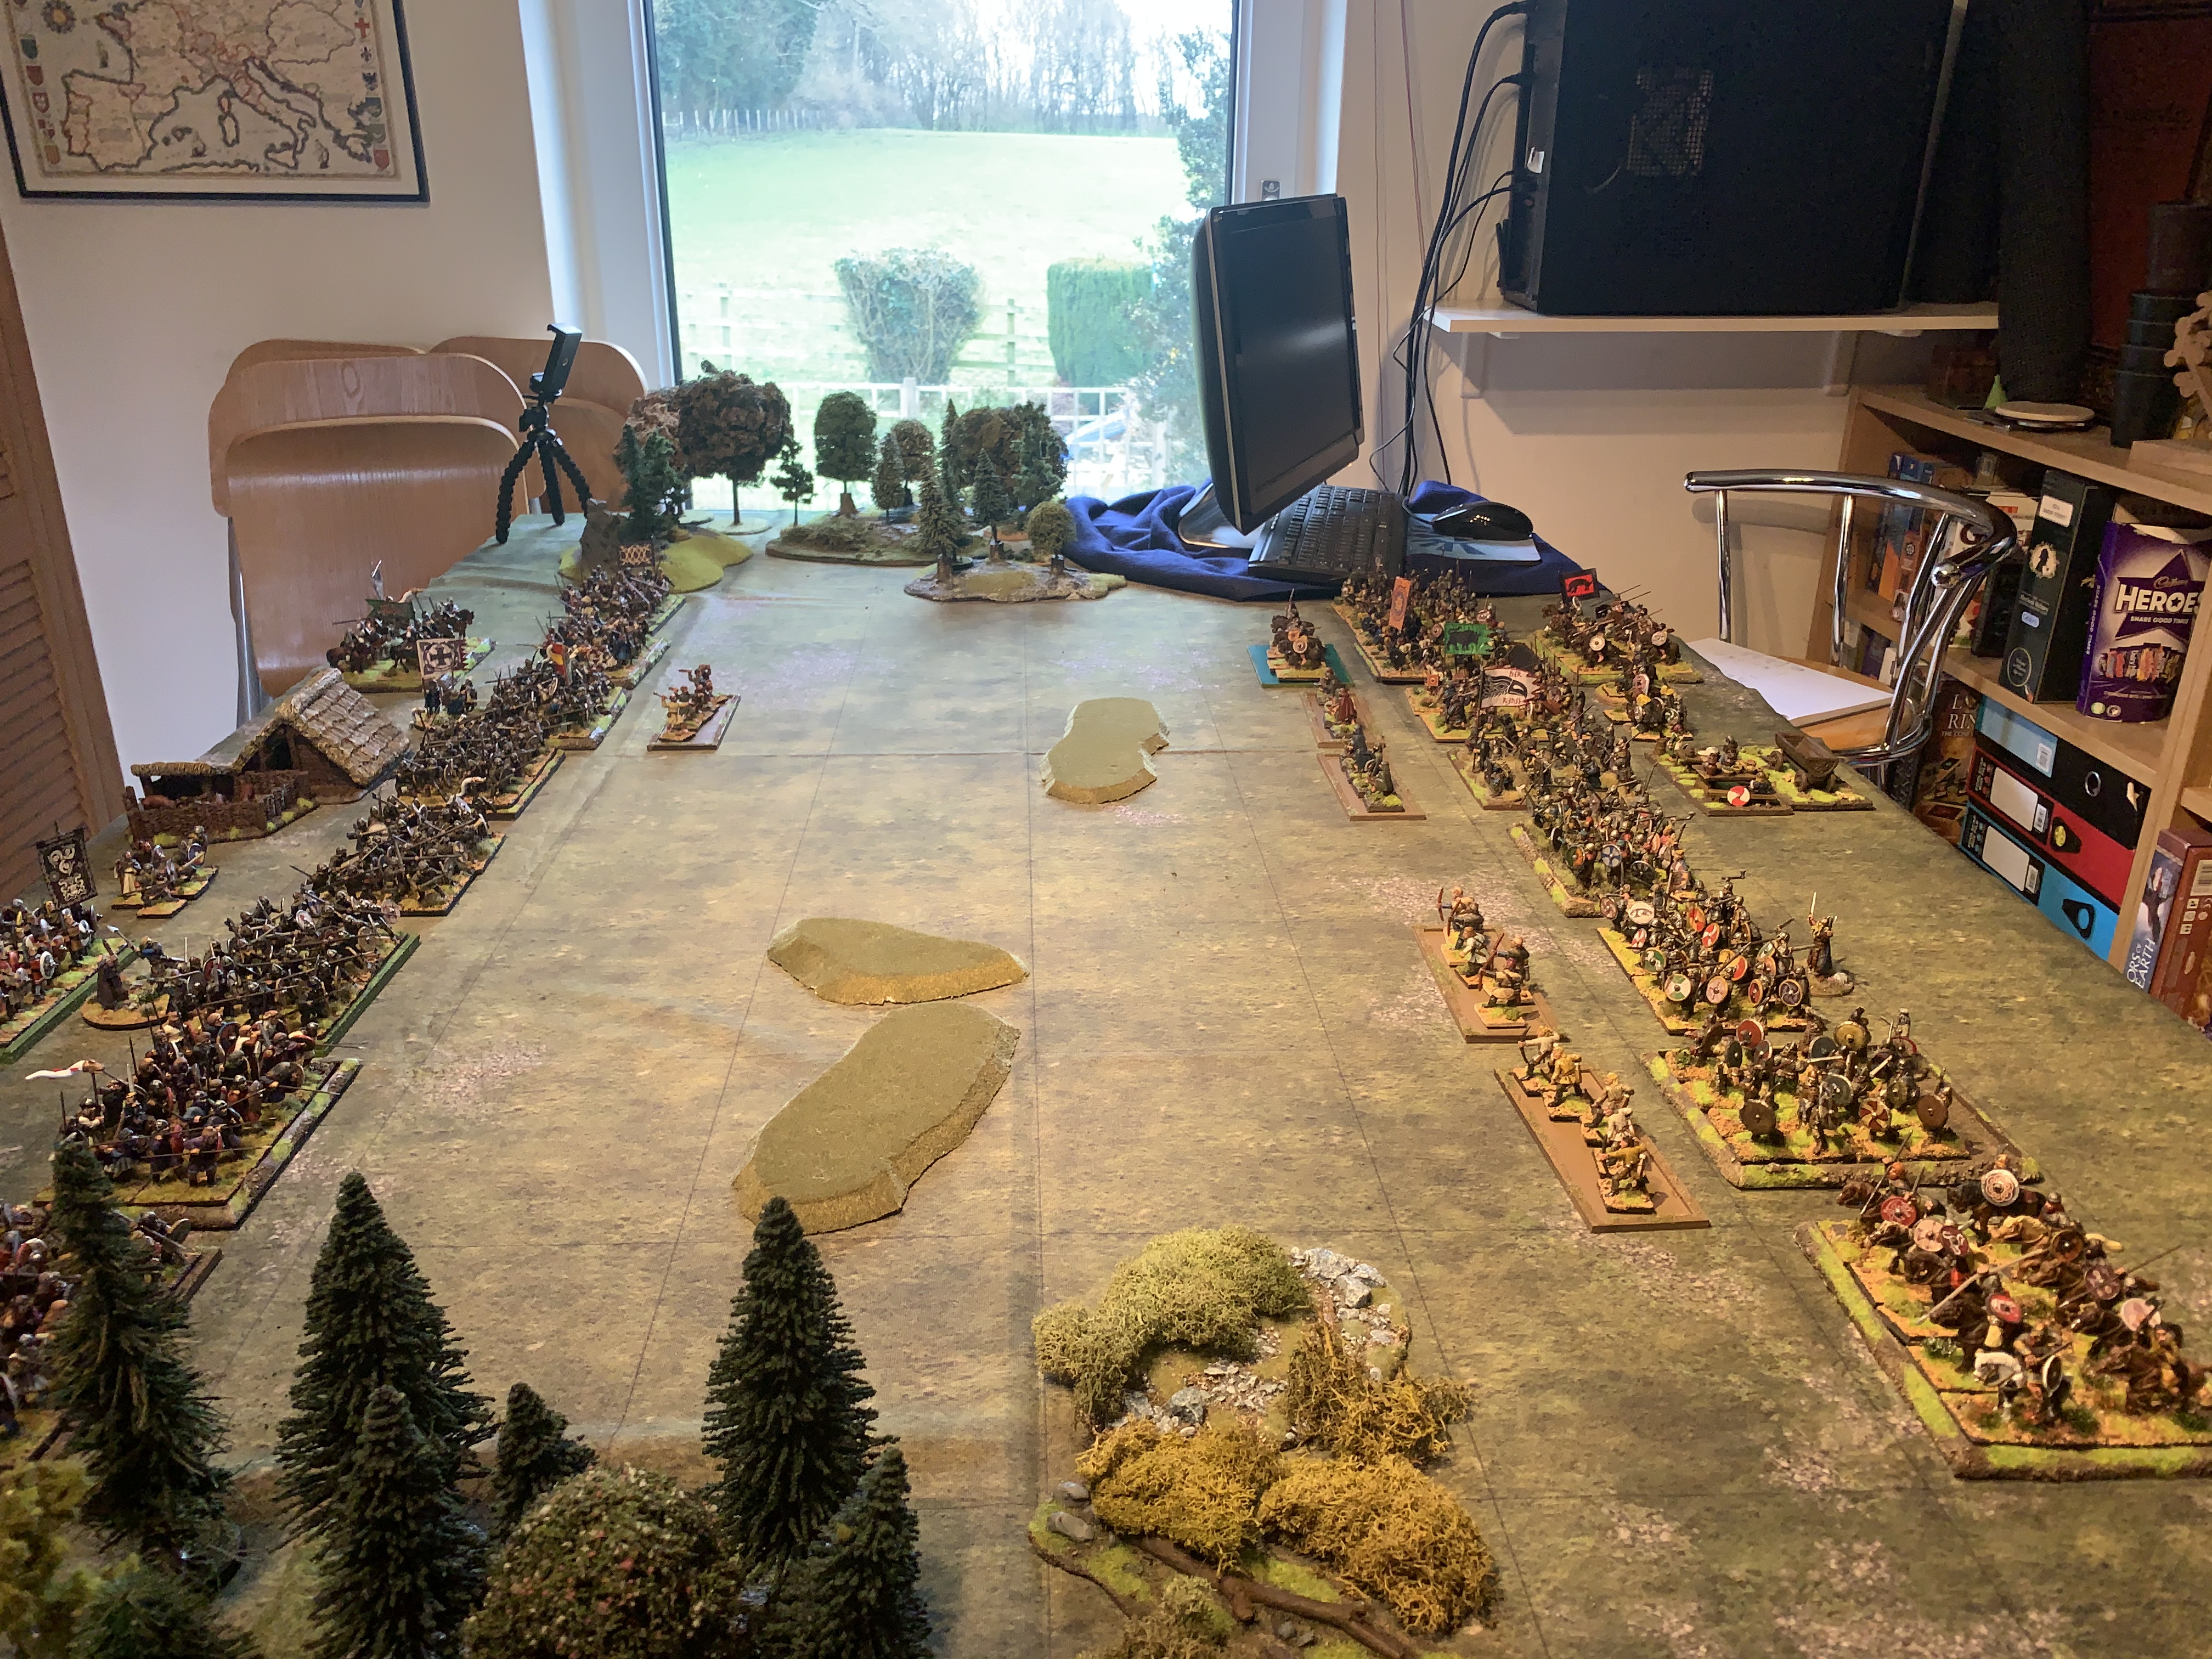
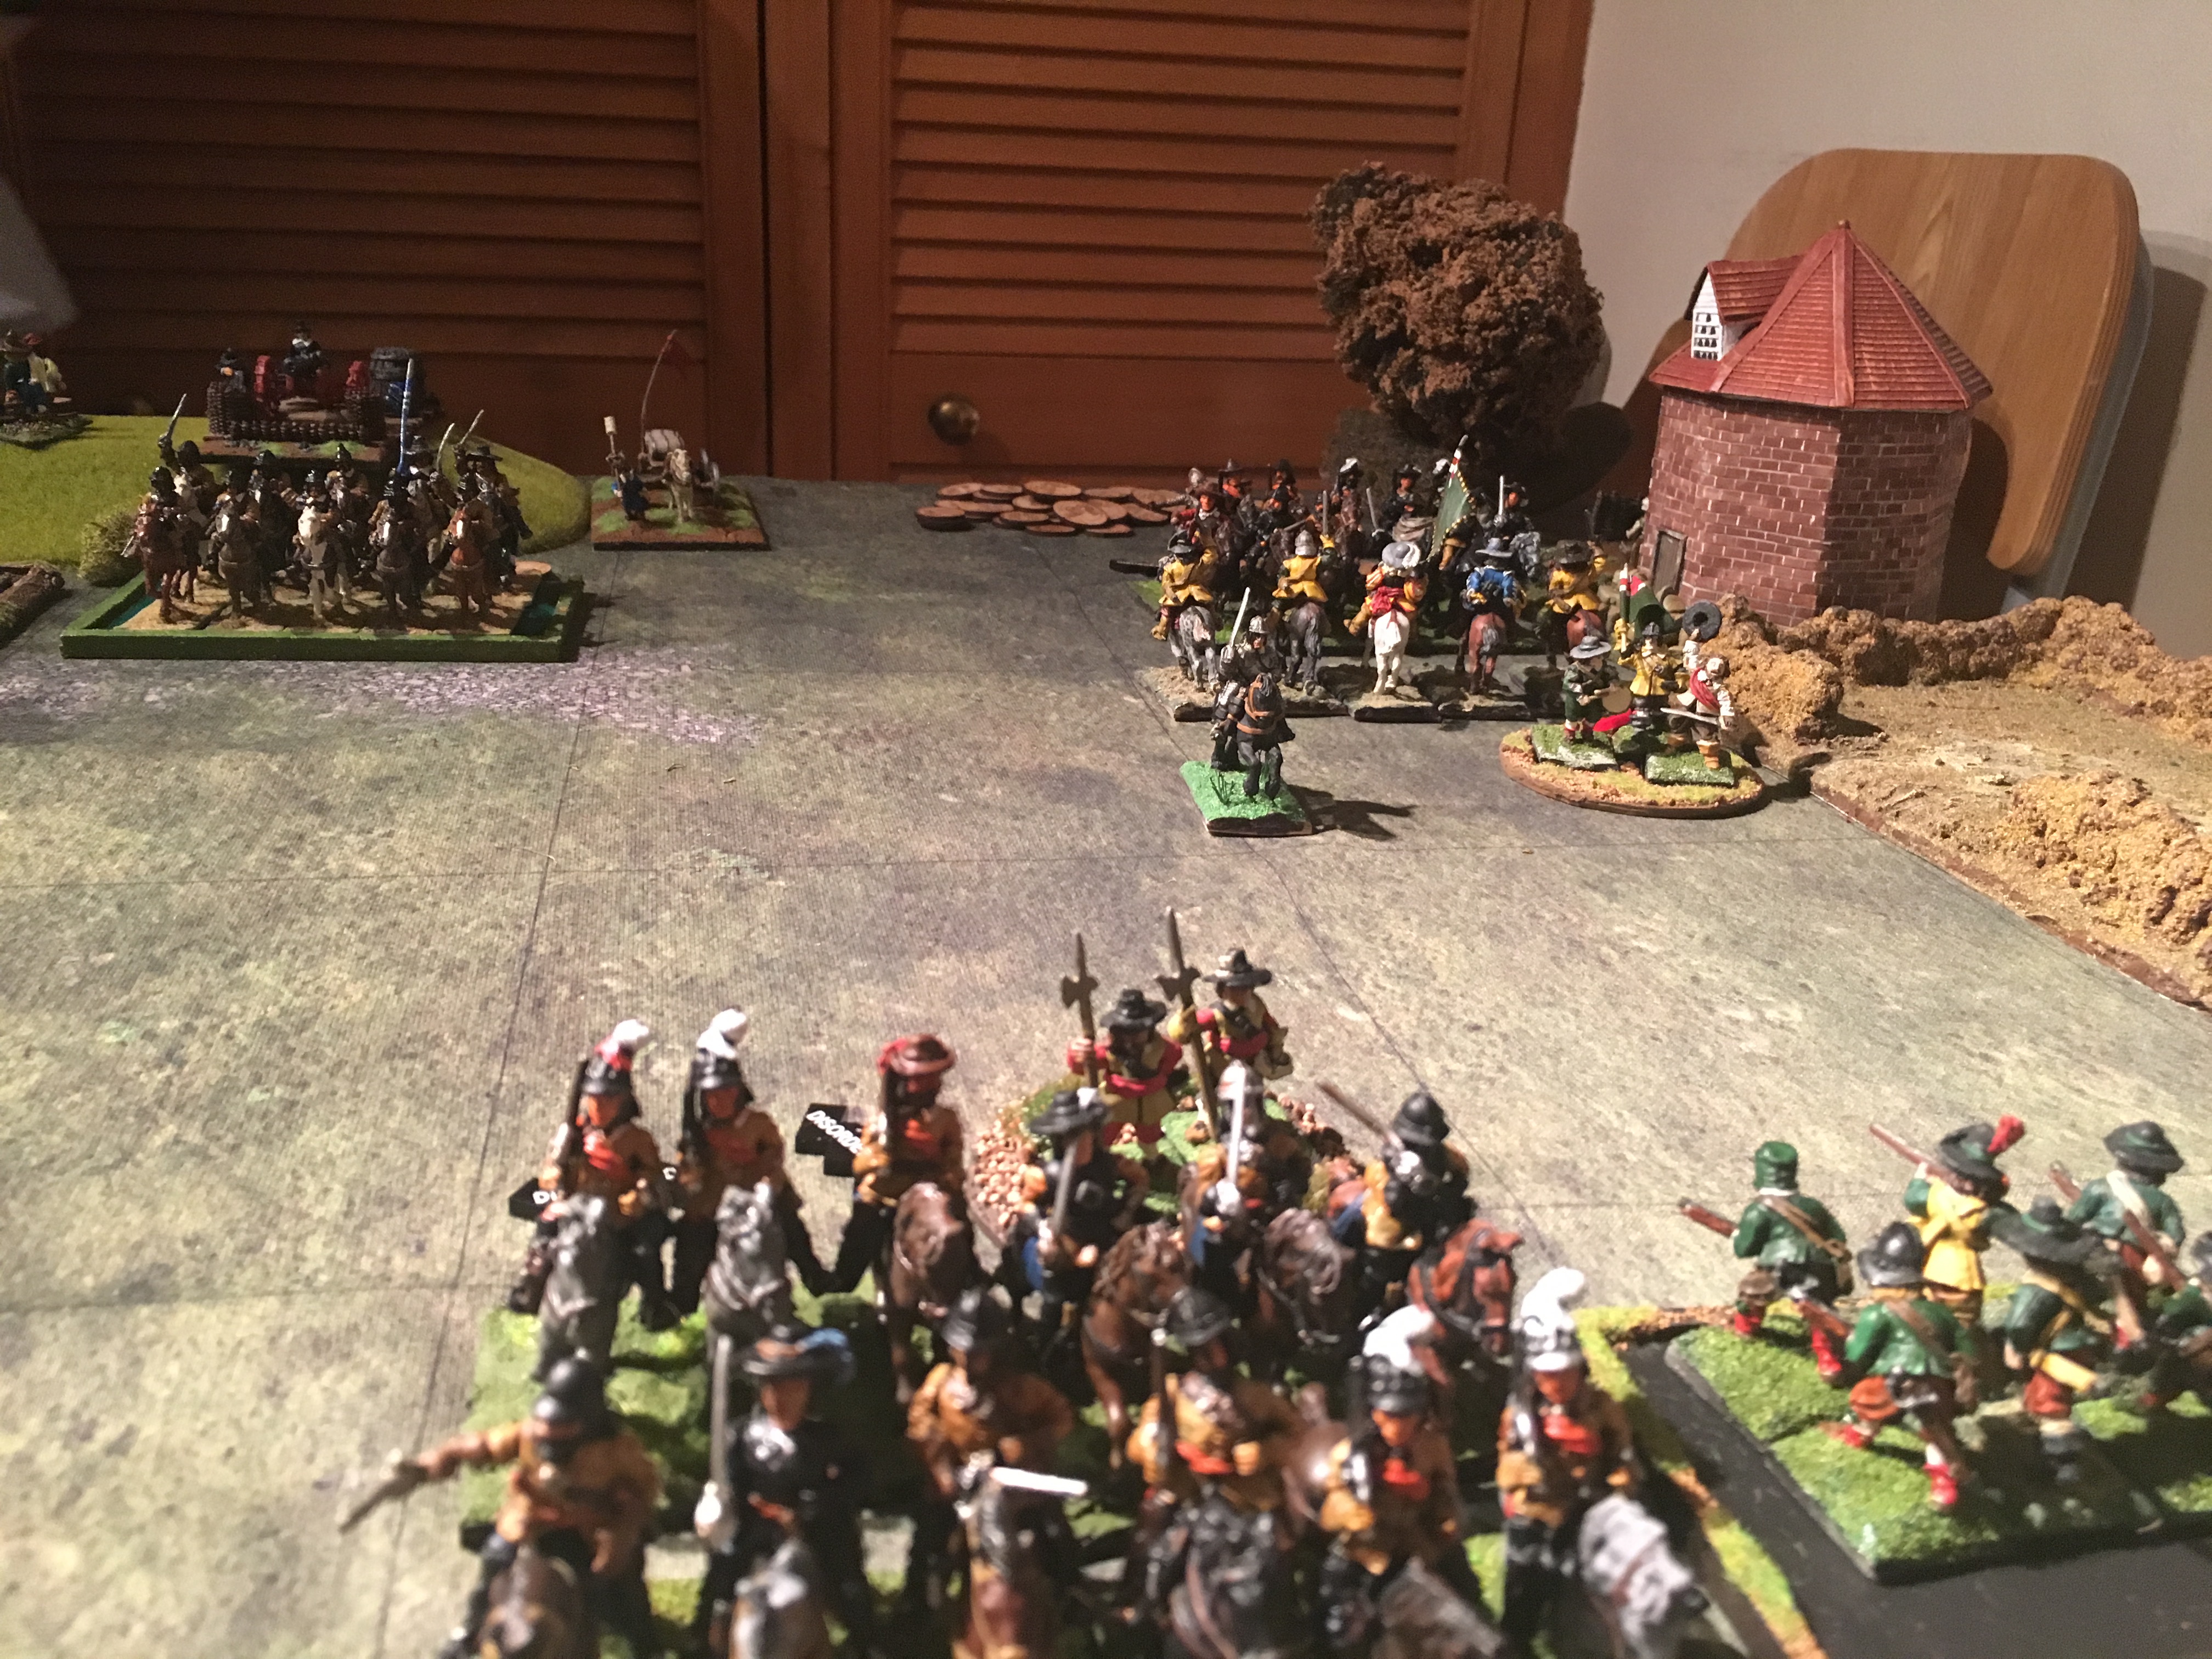
One of the most important battles in British history was fought at Brunanburh in the year 937. I think of this as occurring near Bromborough on the Wirral. This would be a great meeting place at Thingwall on the Wirral with plenty of space on the Dee for the Viking longships. Easily accessed from Dublin where Anlaf or Olaf and his Norse Irish would sail from yet close to Cumbria and Owen’s Strathclyde. Finally Constantine and his Scots could easily travel down the west of the pennines with his allies, the Strathclyde British. One can imagine Vikings from all around the British Isles being told to join their King at the recognised meeting place high on the Wirral peninsula, a site well known to them all with safe secure access by sea.
This meeting place would be close to York and the Kingdom of Northumbria which the allies doubtless intended to secure and split between them. Aethelstan and the English of Wessex and Mercia could gather at Chester, serving as a secure and well fortified base. The roman walls still stand today. From there they would march quickly to the Wirral and prepare for battle. Here they would unfurl their dragon banners. Fully intending to drive these invaders from Dublin and the North back into the sea or their northern mountains.
” Never has there been greater slaughter “since the Angles and Saxons came here from the east…seized the country”.
Aethelstan presenting a book to Saint Cuthbert.
The battle is well attested in many various sources so we can be sure it happened and the result.
I walked the land around the River Dee to get an idea of how the battle may have looked. Obviously the land will have changed with farming and population over time. However the estuary, beach and the Dee would be similar, though one can no longer sail to Chester.
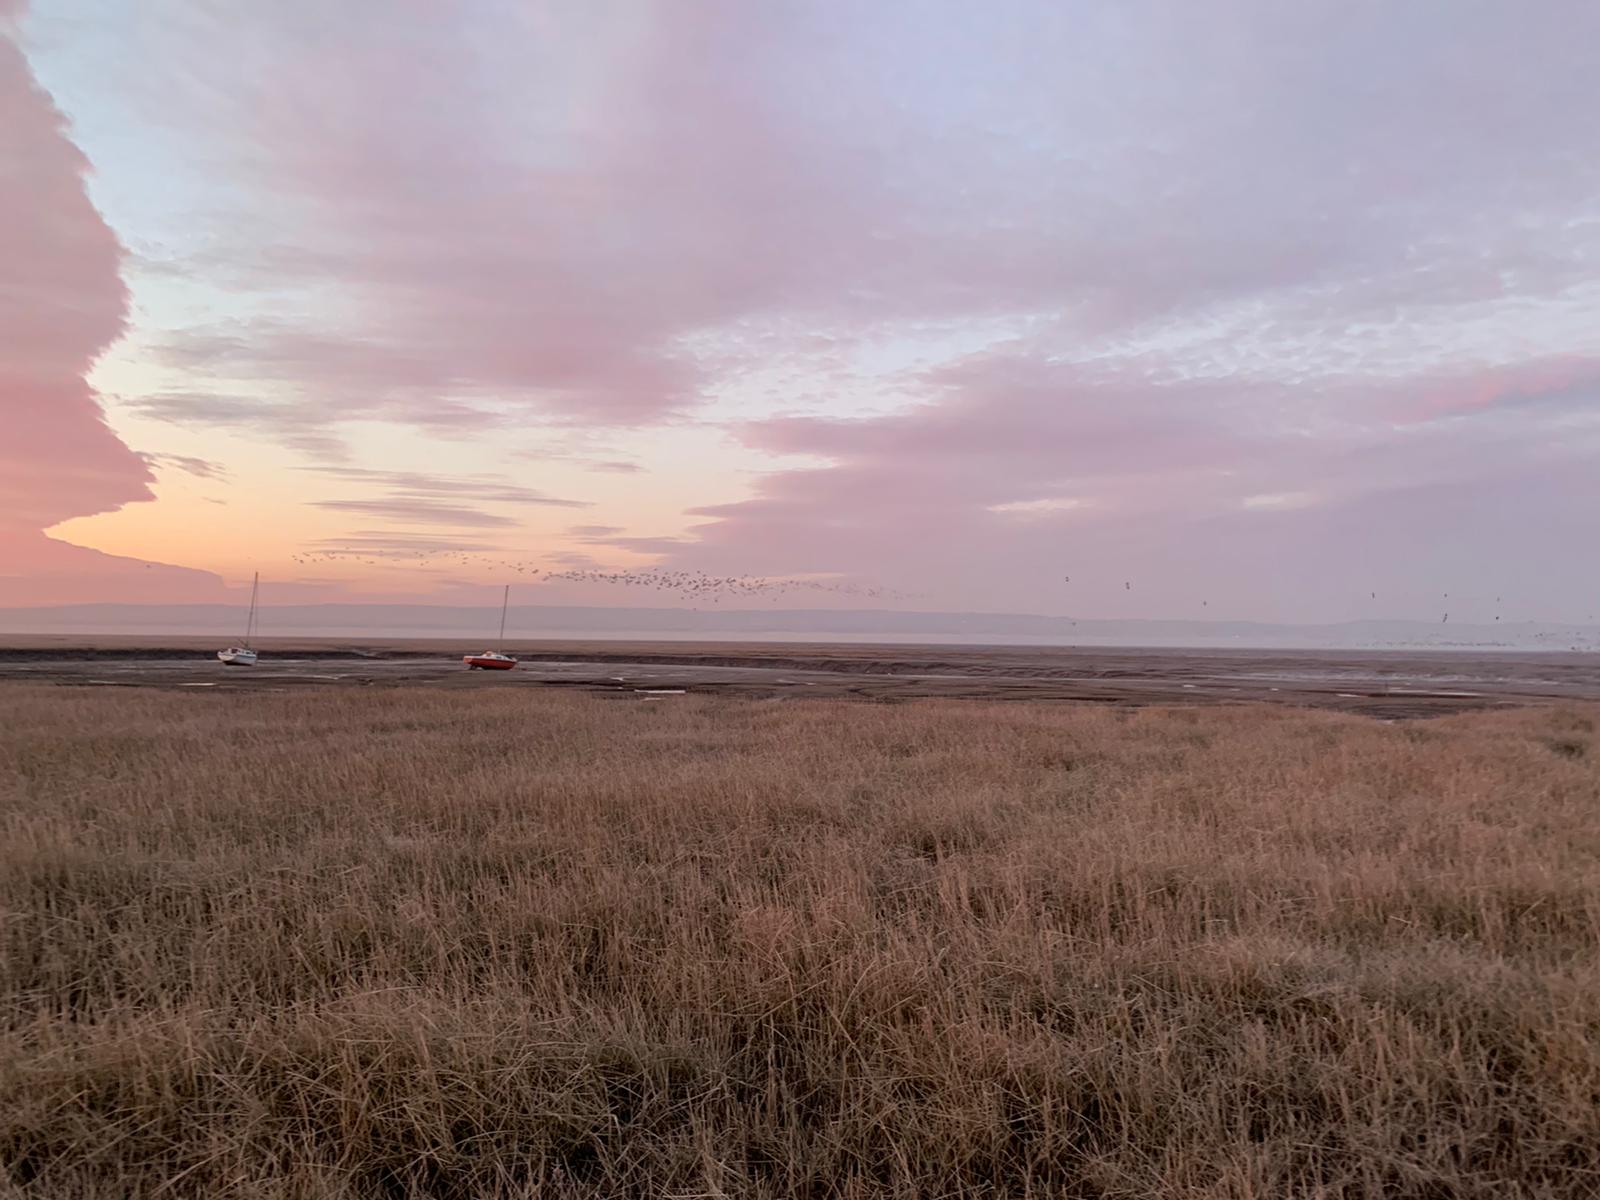
A red dawn rises over the Wirral.
Viking longships moored on the River Dee
Anglo-Saxon Army
Wessex First Division Huscarl Heavy Infantry Egil’s Icelandic Viking Mercenaries Thegn Heavy Infantry Thegn Heavy Infantry Ceorl Medium Infantry Ceorl Medium Infantry Infantry Skirmishers Infantry Skirmishers
Mercian Second Division Huscarl Heavy Infantry Thegn Heavy Infantry Thegn Heavy Infantry Ceorl Medium Infantry Ceorl Medium Infantry Ceorl Medium Infantry Infantry Skirmishers Infantry Skirmishers
Saxon Third Reserve Division Thegn Medium Cavalry Thegn Medium Cavalry Thegn Medium Cavalry
Commanders Aethelstan, King of England Edmund, Prince of England Ealdorman Cynwulf
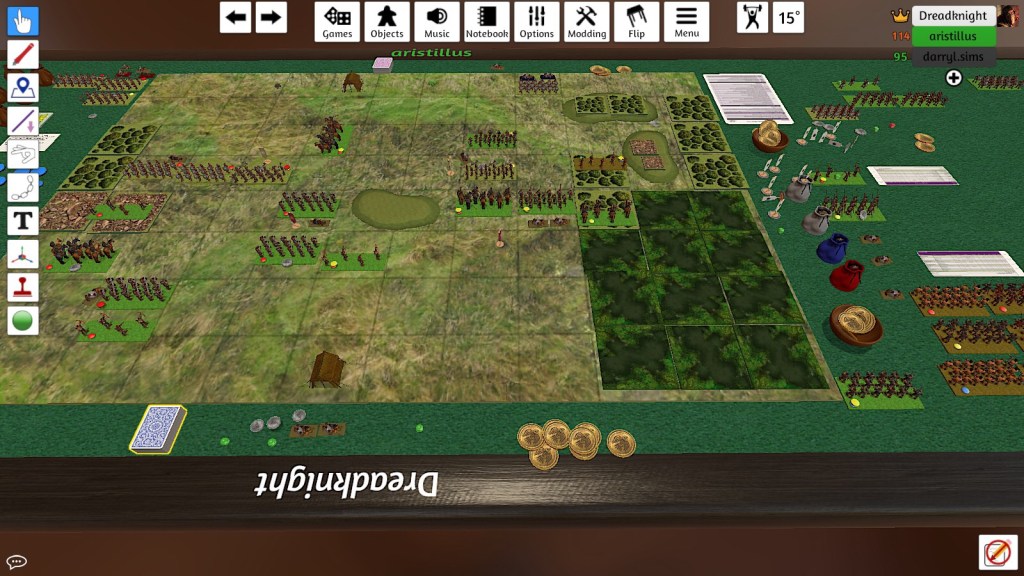
Pictish Second Division Royal Troop Medium Cavalry Pictish Light Cavalry Pictish Medium Infantry Pictish Medium Infantry Infantry Skirmishers (Pict)
Strathclyde Third Division Teulu Medium Infantry Teulu Medium Infantry Fianna Black Shields Warband Theog Infantry Skirmishers Theog Infantry Skirmishers Theog Infantry Skirmishers
Commanders Olaf/ Anlaf Guthfrithson Norse Irish Constantine, King of Scotland Owen, King of Strathclyde
The armies are taken from the Hail Caesar shieldwall supplement and come out at about 425 points aside.
So with the forces equal can the English still win the day! Presumably historically the English held an advantage in numbers.
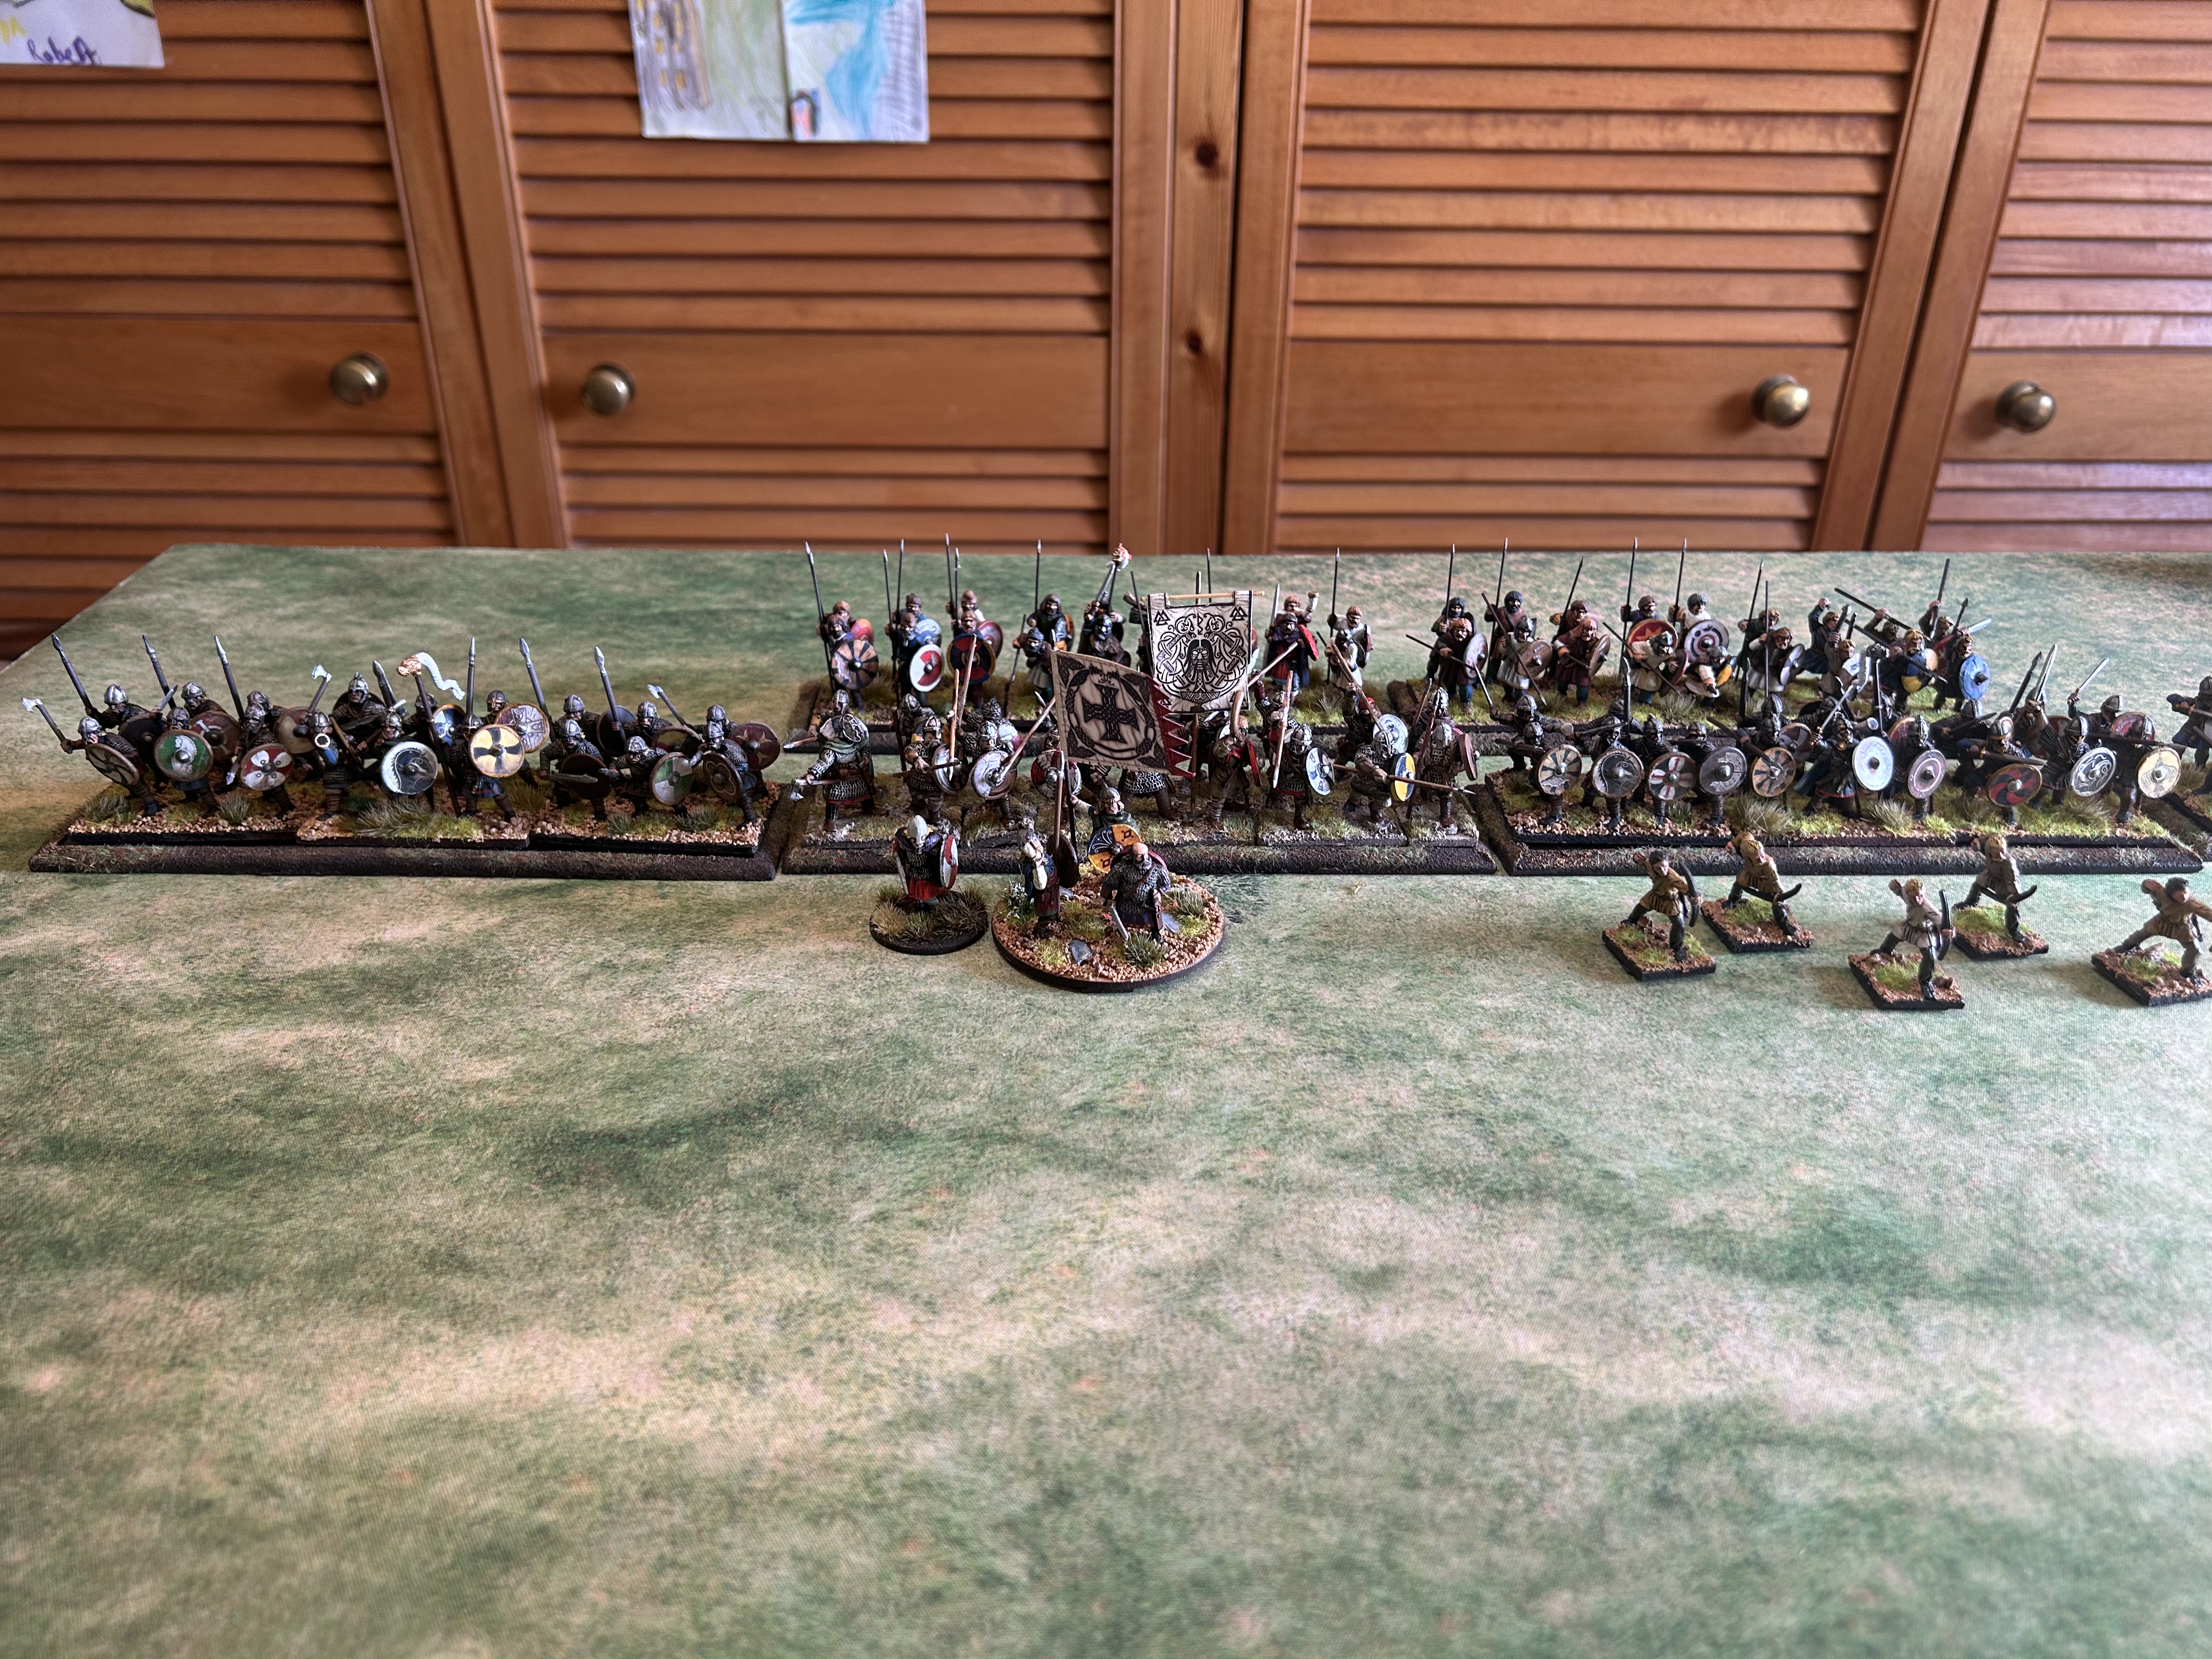
The Wessex Camp and King.
Facing them the Viking Camp and the Northern British and the Dublin Vikings.
The Raven standard unfurled against the Holy Cross.
British spearmen.
The Picts.
The Mercians.
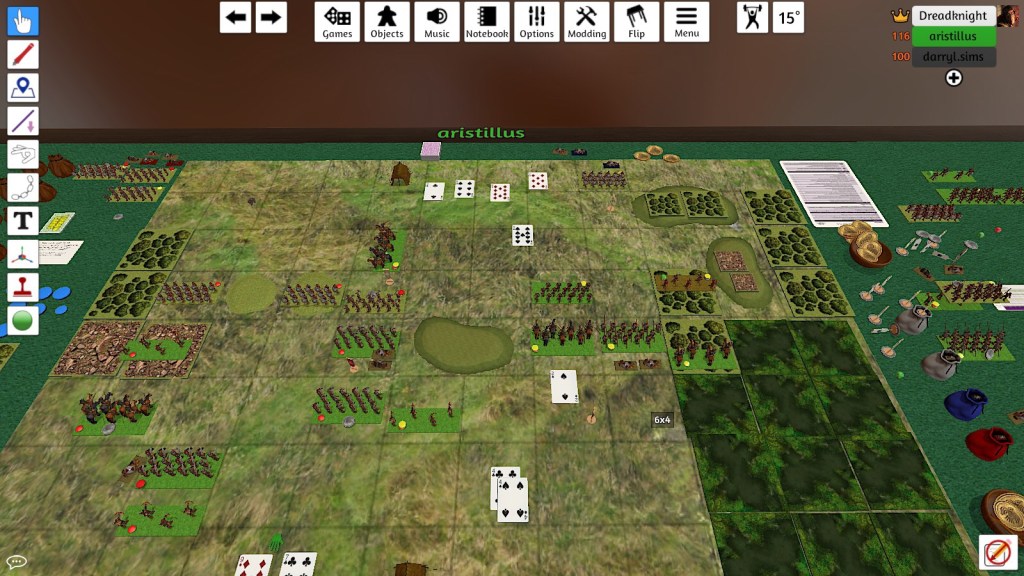
The Battle was long fought and ended in chaos. Mike played the Saxons and Darryl the invaders. The Saxons failed to close so were charged by the Vikings and the berserkers. The British held their ground.
The Saxons were pushed back in the centre and right. To their left they were repulsed by the British wall of shields and long spears.
Finally the Saxon cavalry tried to move forward and threaten flanks but the small units were vulnerable to the excellent Welsh skirmishers and fell into disorder.
The Vikings and Saxon Lords ground each other into a stalemate. However too many Saxon thegns had been pushed back or broken by their opponents. So as night fell the Saxons had to retire back to Chester leaving the Vikings and their allies the victors!
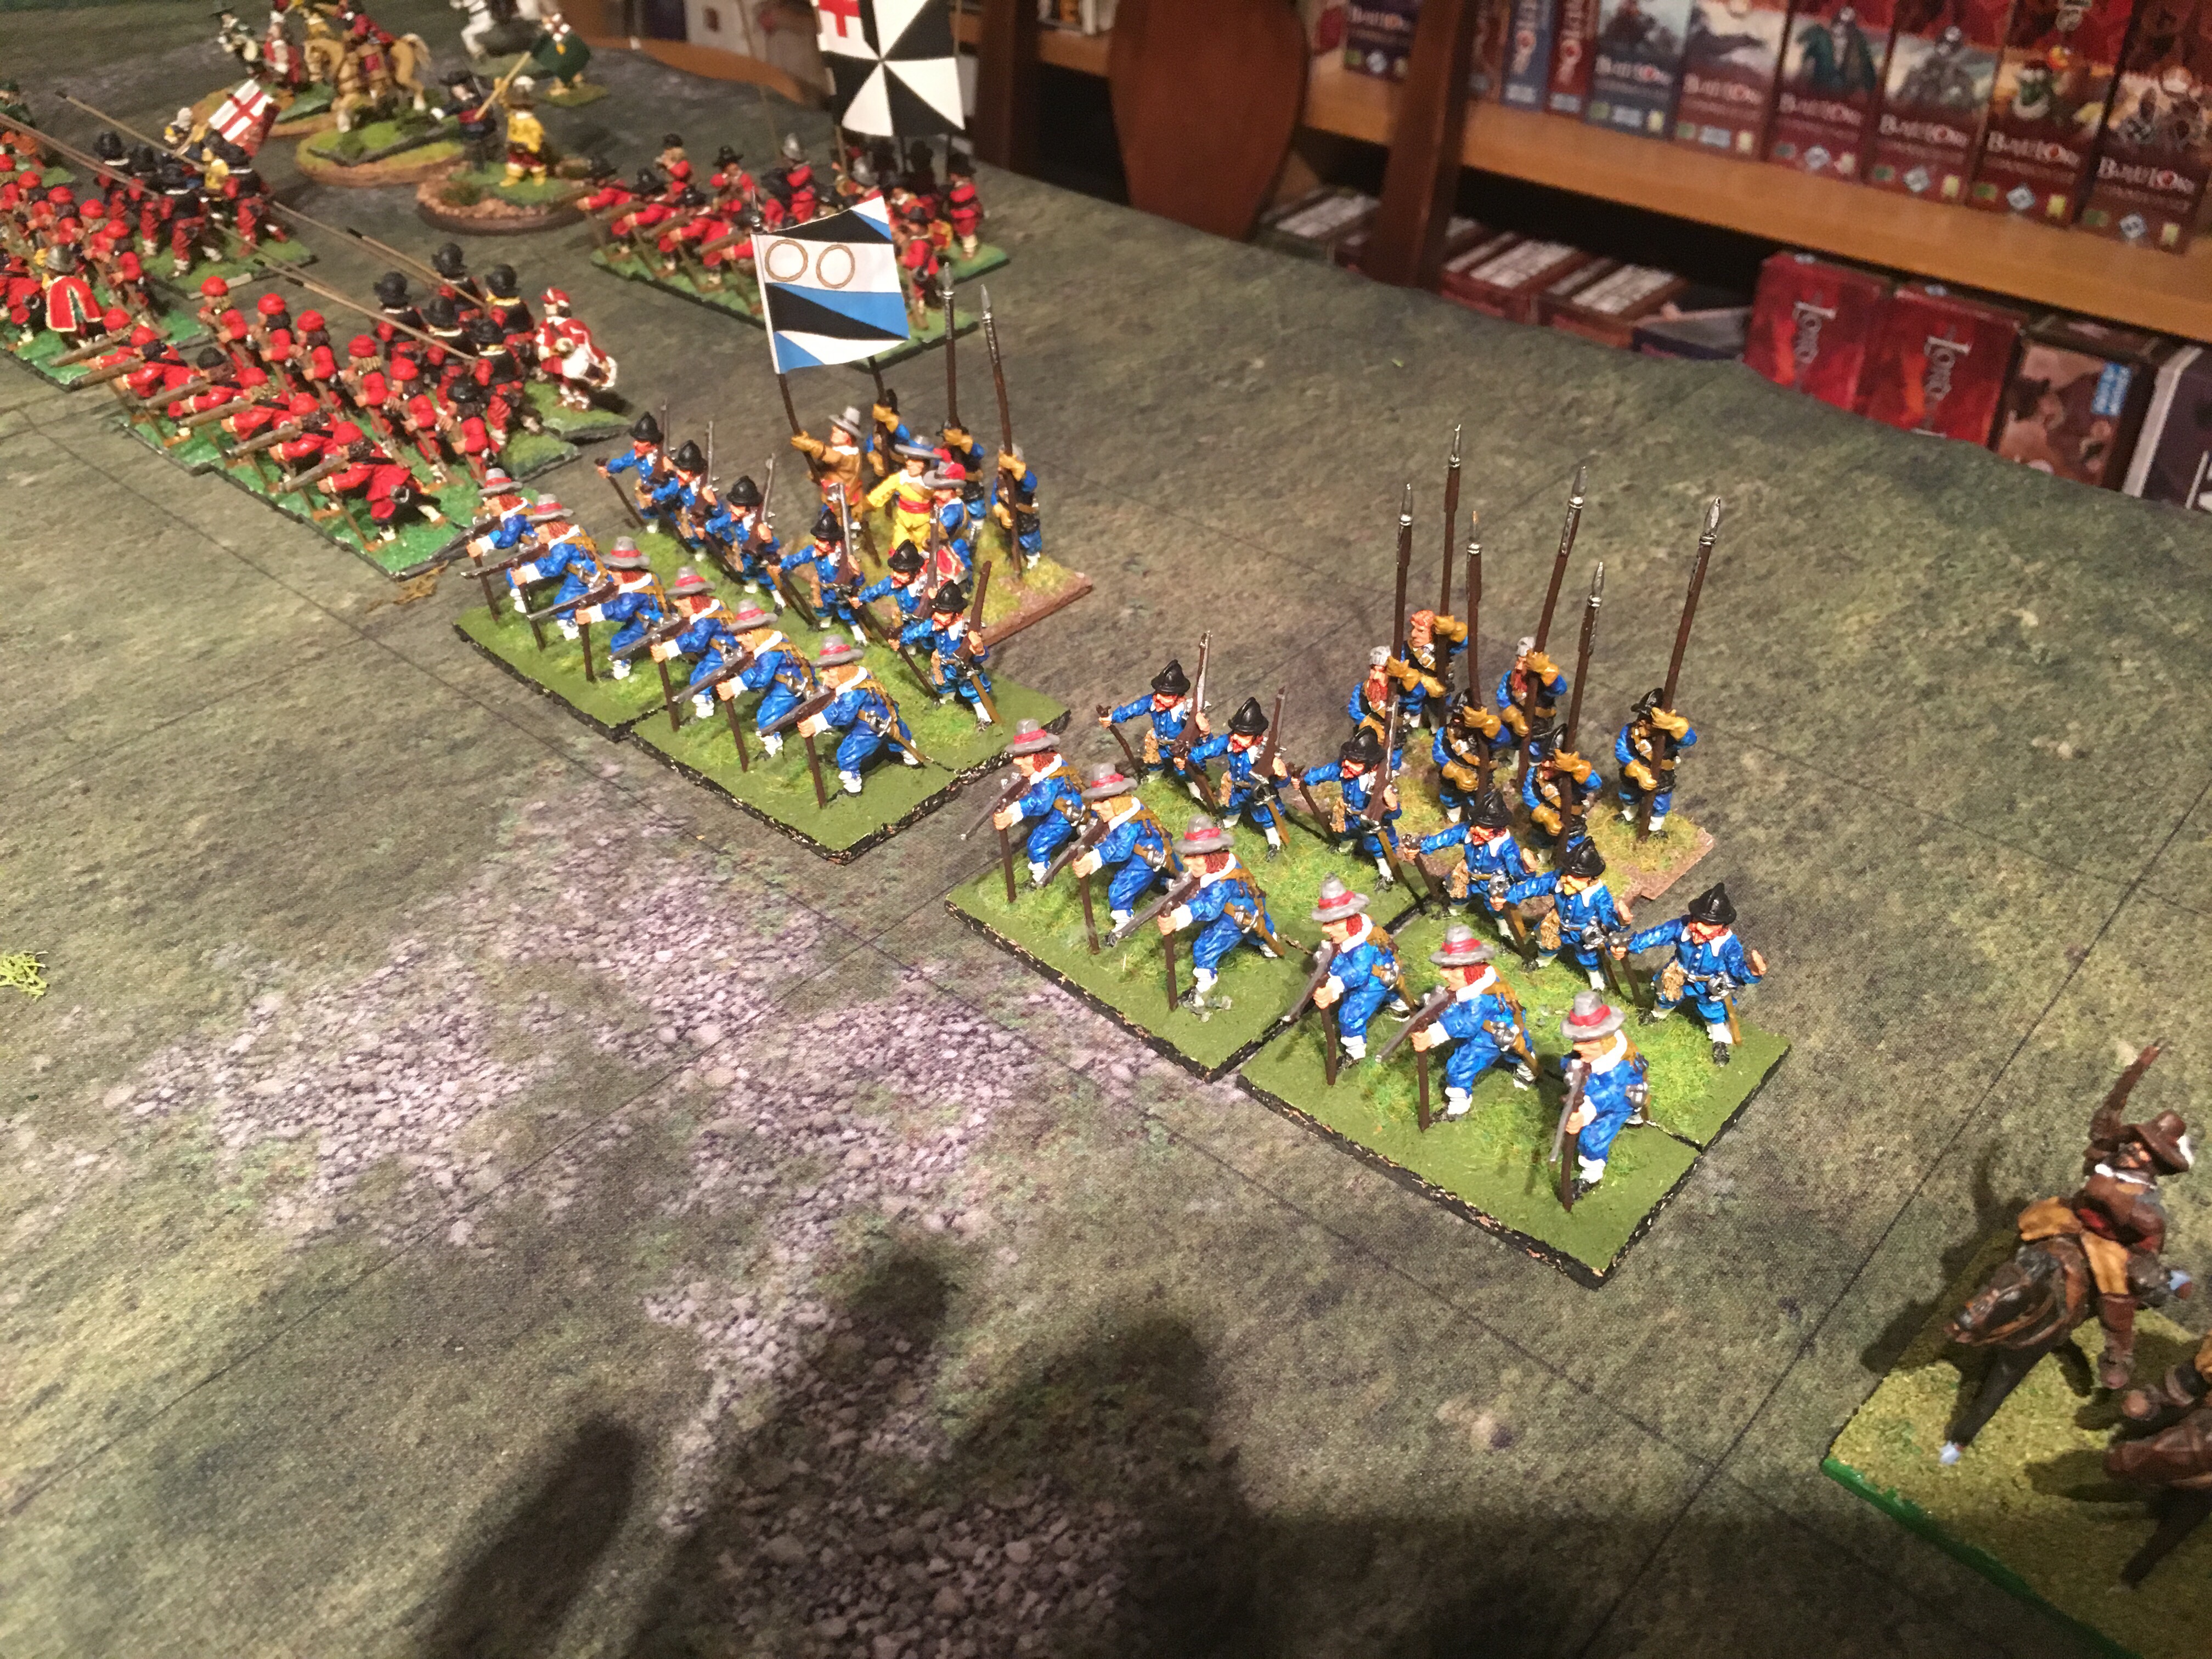
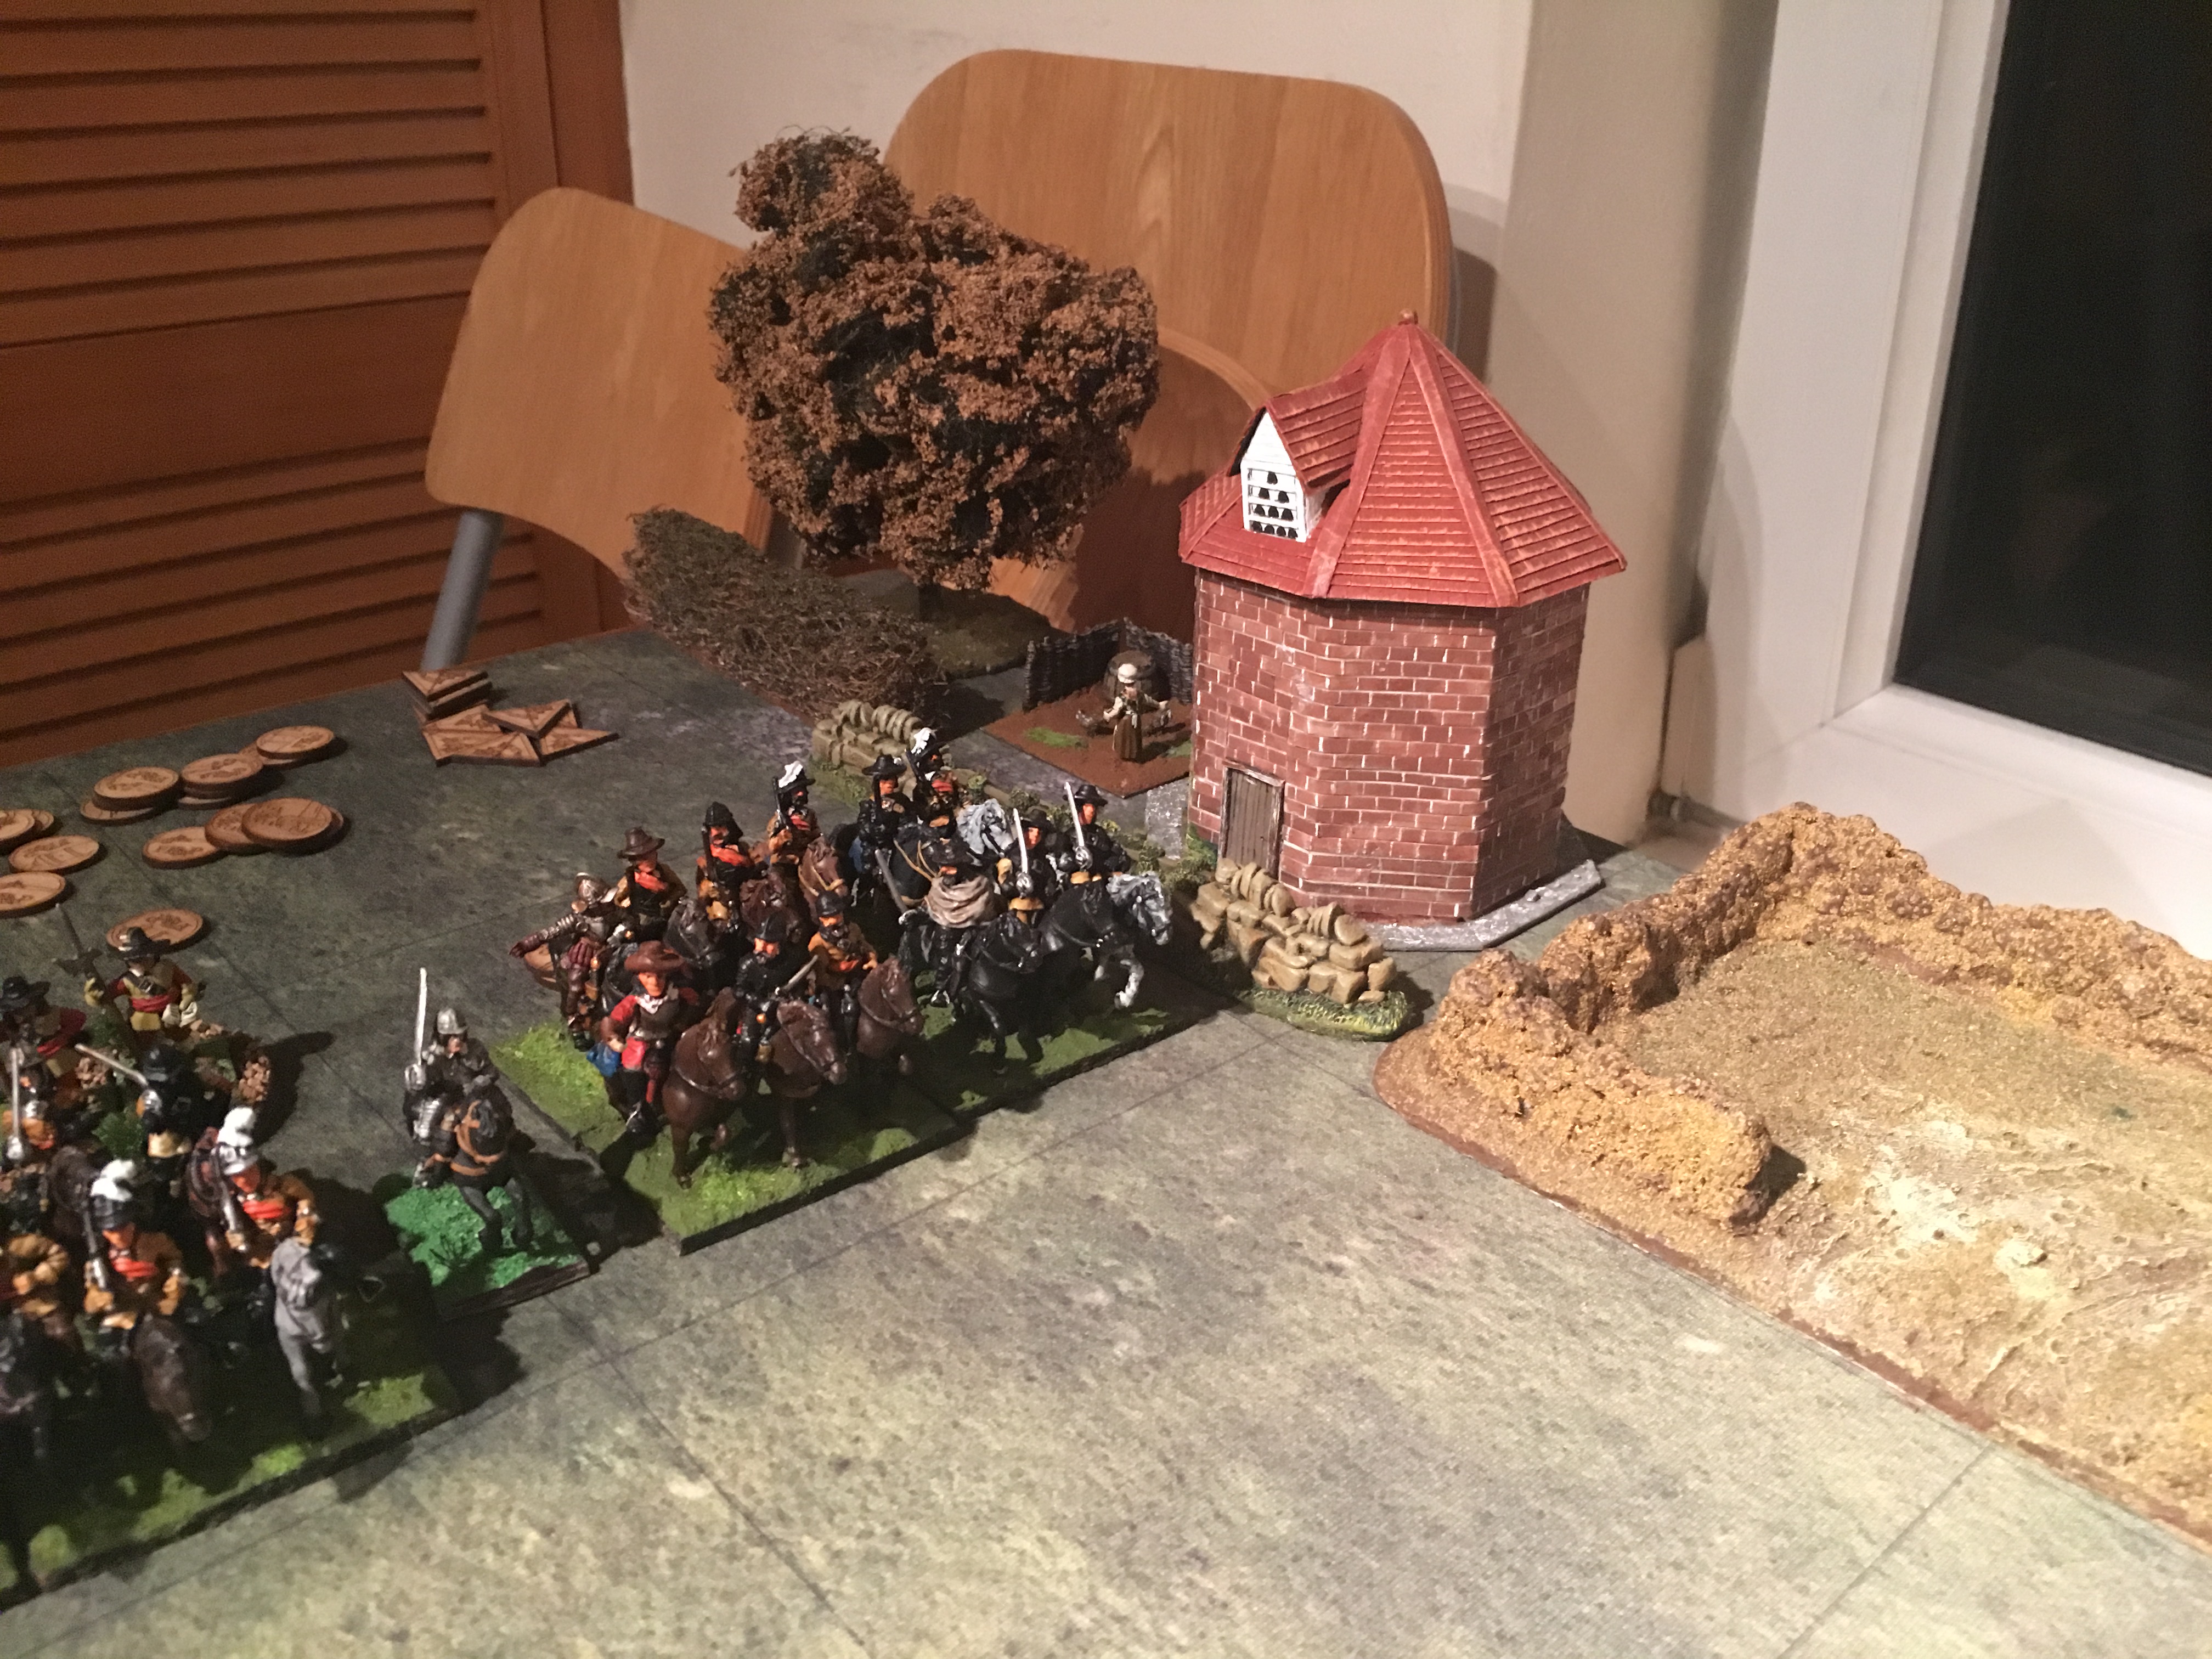
For King and Parliament are the TTS version for ECW.
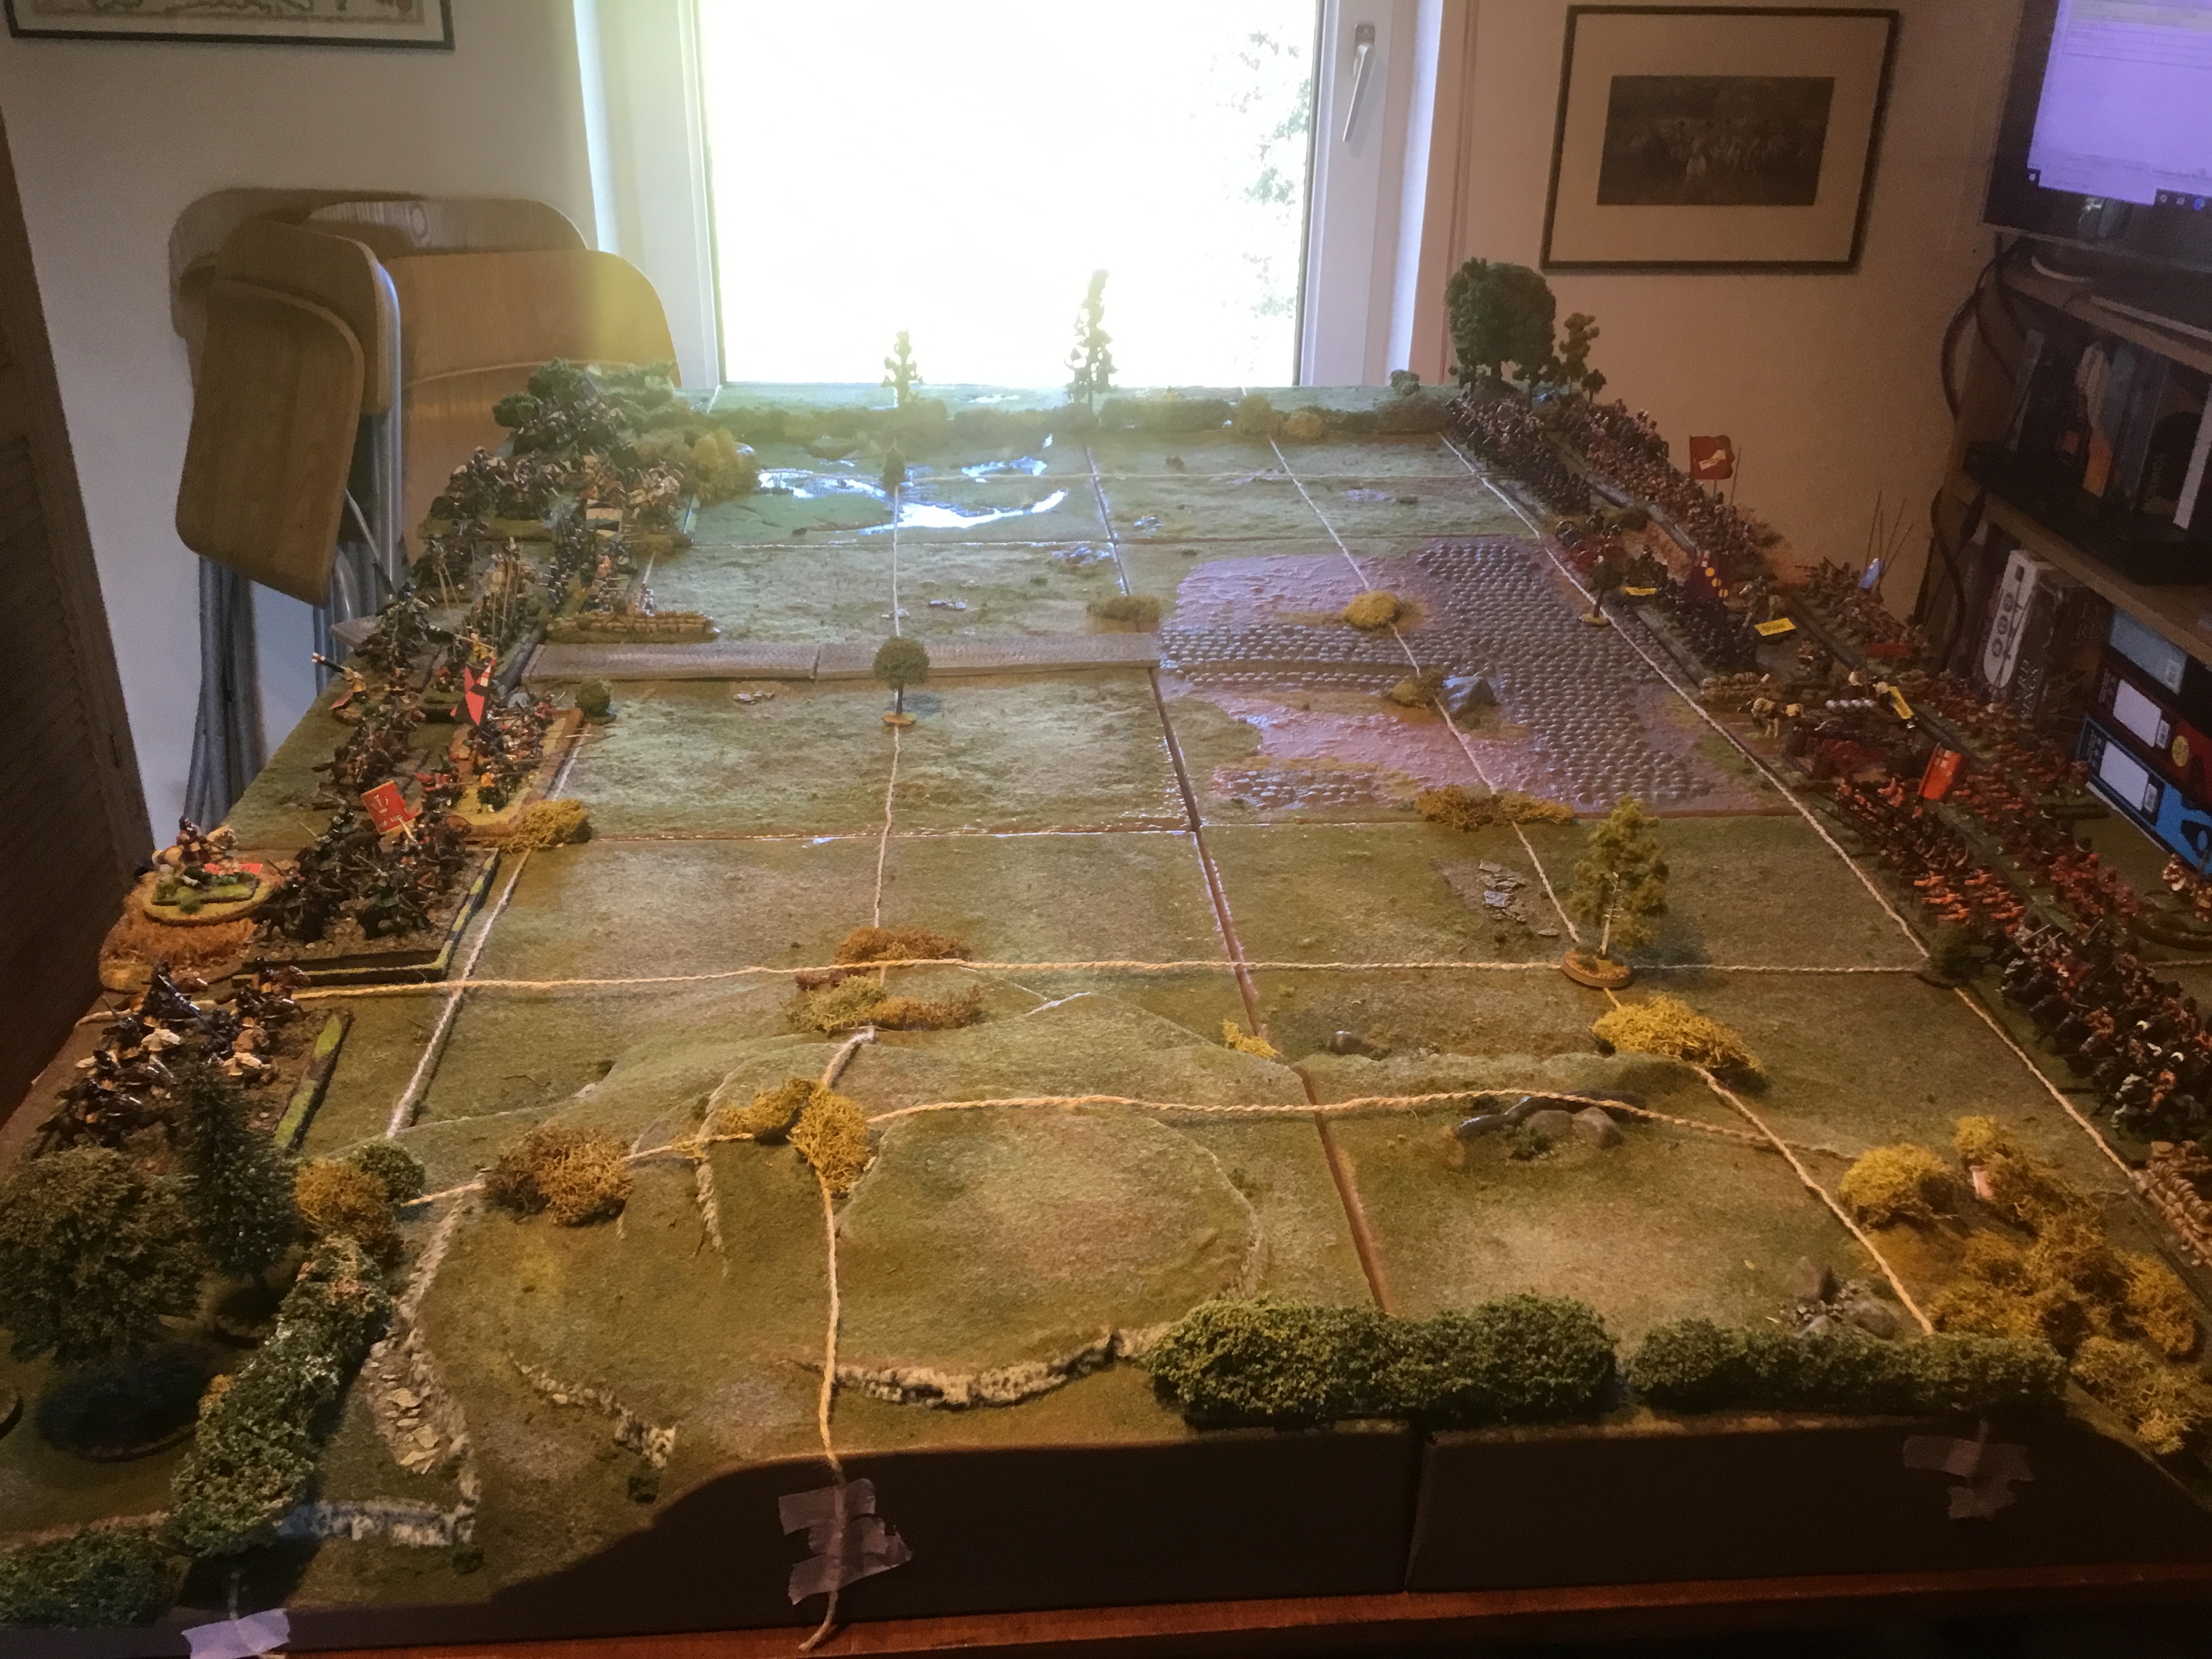
Using a scenario book have prepared forces for Dunsmore Heath. A stronger Parliamentarian force must drive off the Royalists who are attempting to block their way to Coventry at Dunsmore Heath.
The Battlefield set out in 20cm squares for FKaPThe RoyalistsParliament
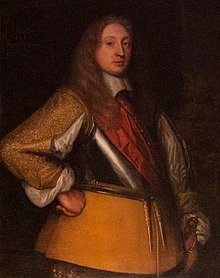
Spencer Compton, 2nd Earl of Northampton
An incredibly wealthy Royalist, with land in eleven counties and a close friend and advisor of King Charles. On the outbreak of the English Civil War, Northampton as Lord Lieutenant of Gloucestershire and Lord Lieutenant of Warwickshire was entrusted with the execution of the Commission of Array in Warwickshire.
You are leading a strong force of cavalry supported by your own Regiment of Foot. Unfortunately, you lost your artillery in an earlier skirmish as your outnumbered infantry fled the field dropping many of their muskets in their haste. Nevertheless, your Cavaliers are made of sterner stuff and once again you have deployed your forces across the road at Dunsmore Heath near Rugby. Your aim is to block your local Rival, Lord Brook – that detestable base born religious fanatic and affront to the King in the House of Lords for many years past. Your small army numbers about 700 foot and 1000 horse and dragoons.
Your orders are to prevent the Parliamentarians from crossing the field of battle to march on Coventry. If you can do this whilst sustaining only half their casualties (VP coins), then that would be a Major victory for the cause. However, if your force is losing the day then if you could safely withdraw 75% of your cavalry that would deny Parliament a Major Victory. Your cavalry force is actually most of the Cavalry available to the King at this time, early in the war.
Robert Greville, 2nd Baron Brooke
A radical Puritan activist and leading member of the opposition to Charles I of England prior to the outbreak of the First English Civil War in August 1642. Appointed Parliamentarian commander in Staffordshire and Warwickshire.
You have been readying for this war for some time, purchasing and storing weapons at Warwick Castle. You have recruited many good men of similar mind to your regiment, for example the Leveller, Freeborn John Lilburne (whose writings are said to have later inspired the US Constitution). Your soldiers are full of righteous passion for the cause and well equipped but lack even basic training as yet. Strong in infantry and with artillery captured from the Royalists at an earlier skirmish your army is numbering about 3500.
Your orders are to link up with and relieve the Parliamentarian forces besieged at Coventry. You find the road blocked by the forces of the Earl of Northampton, your rival in Warwickshire at Dunsmore Heath near Rugby.
In order to do so you must rout the Royalists whilst sustaining only half as many casualties (VP coins). Parliament will require your forces for later battles especially once they have had time to learn some drill.
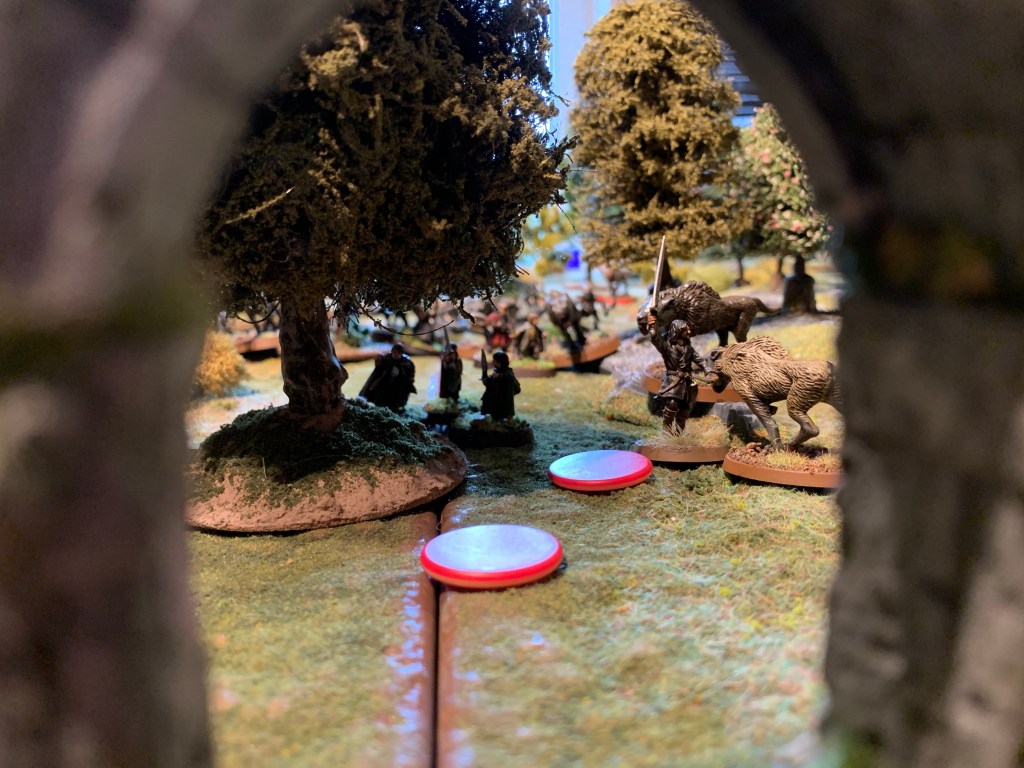
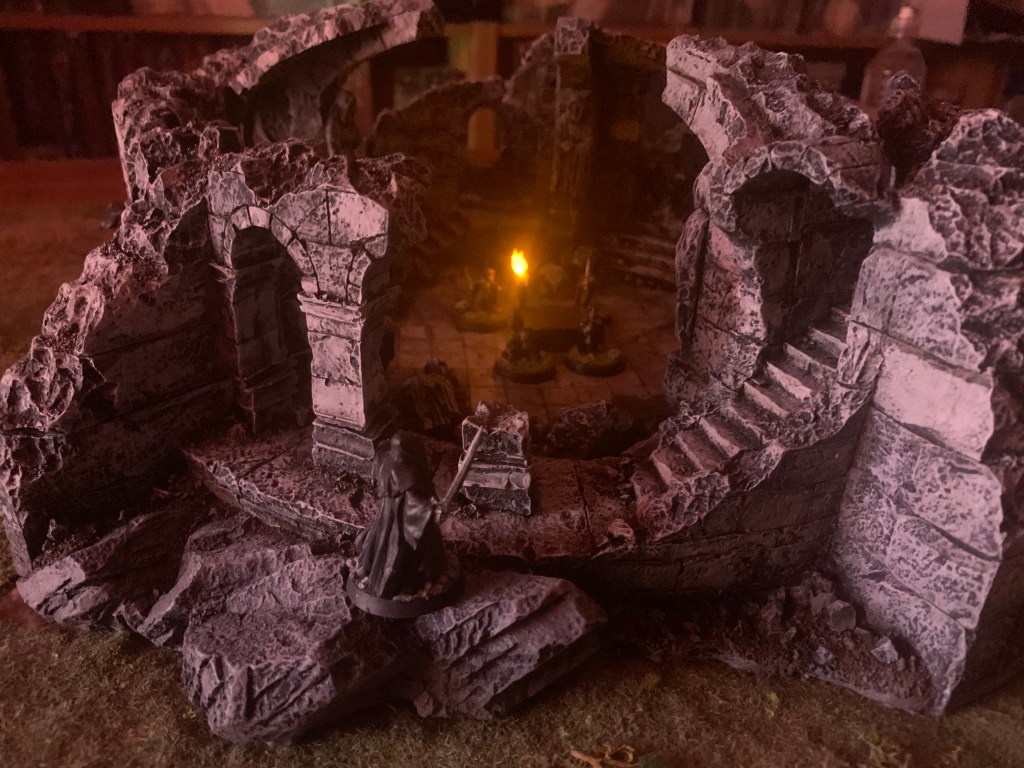
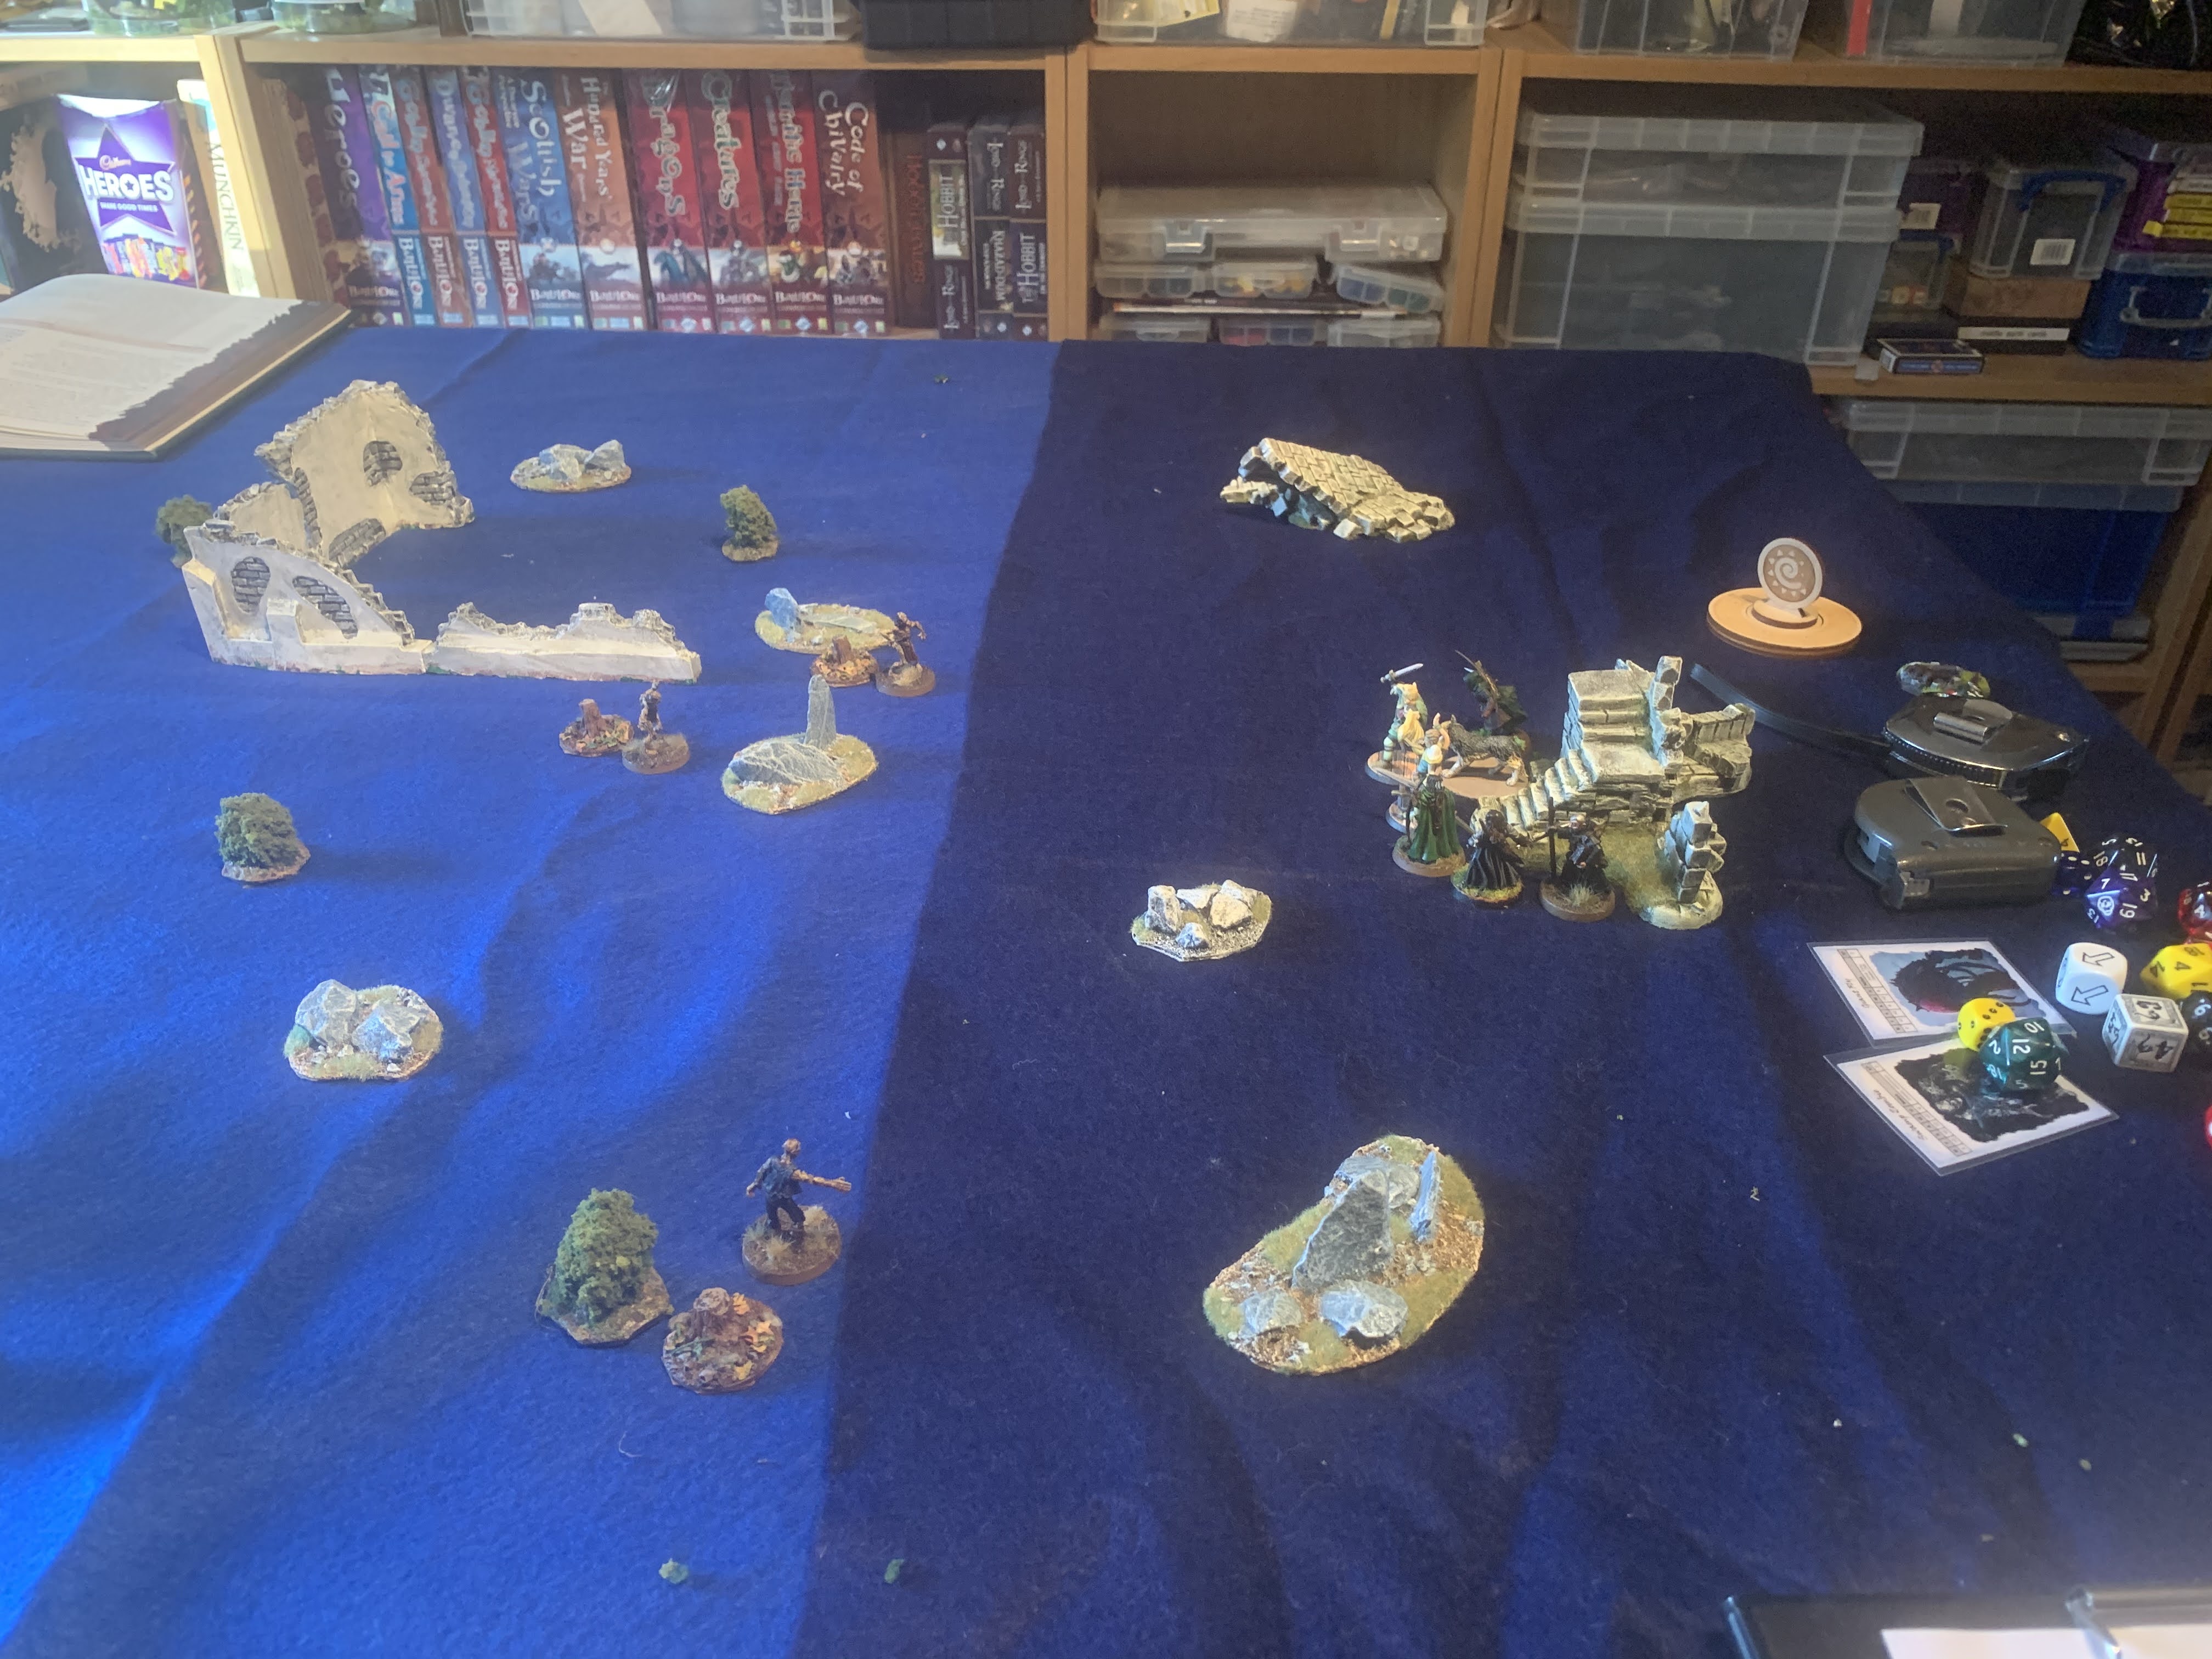
Balin and his kin have entered the Long Dark of Moria. They pour out into the Darrowdelf, the ancient plaza and living quarters of Khazad Dum. Across the chasm lie the mine workings and rising to the Sound of the Drums in the Deep come the Goblins.
This battle will be fought using the MESBG rules and is taken from an old source book Shadow and Flame. It is the second in the campaign. I have substituted the chasm with a lava flow and a roaring icy stream, which meet underneath the bridge in a crashing roaring fall, mixing far in the depths below.
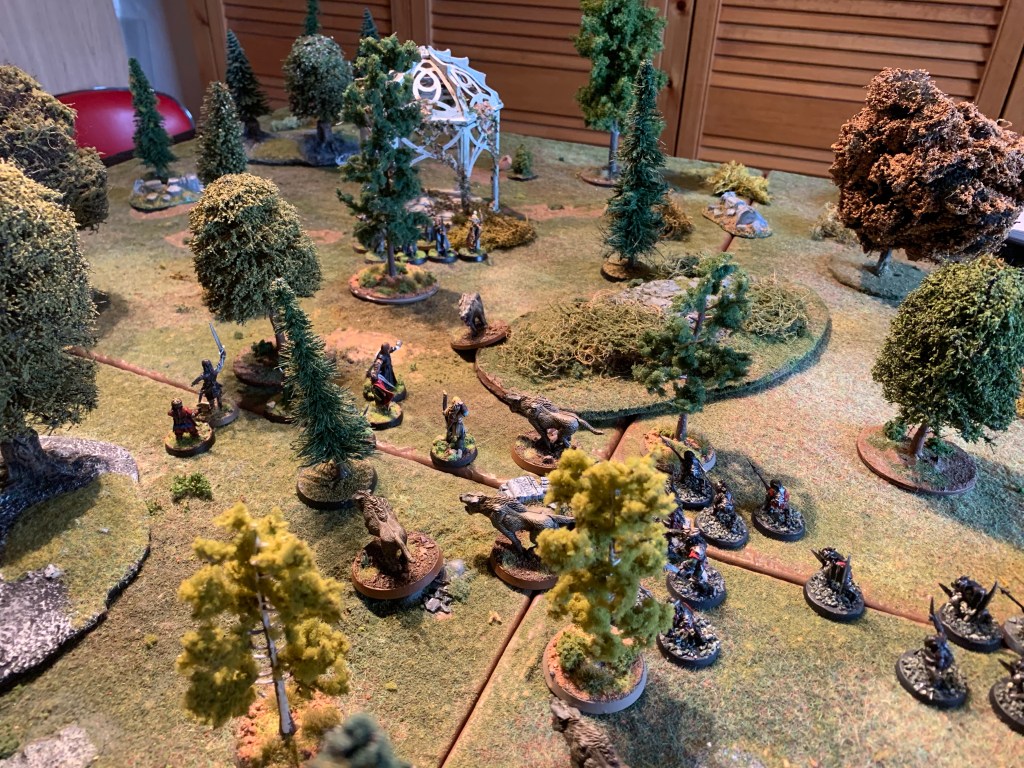
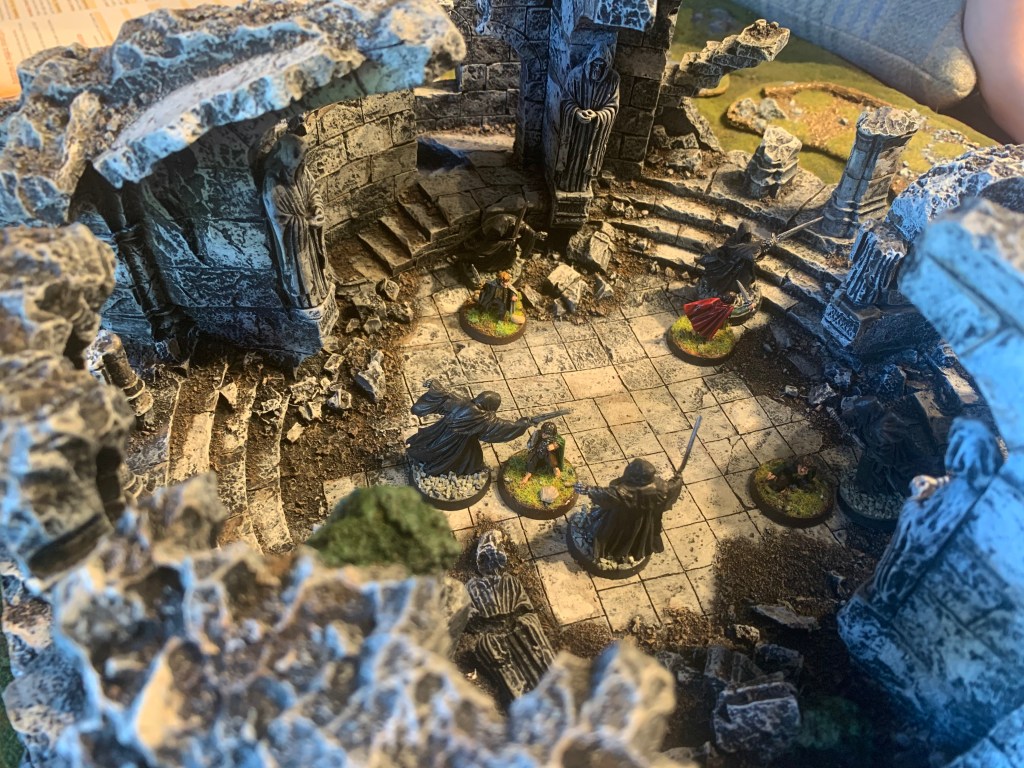
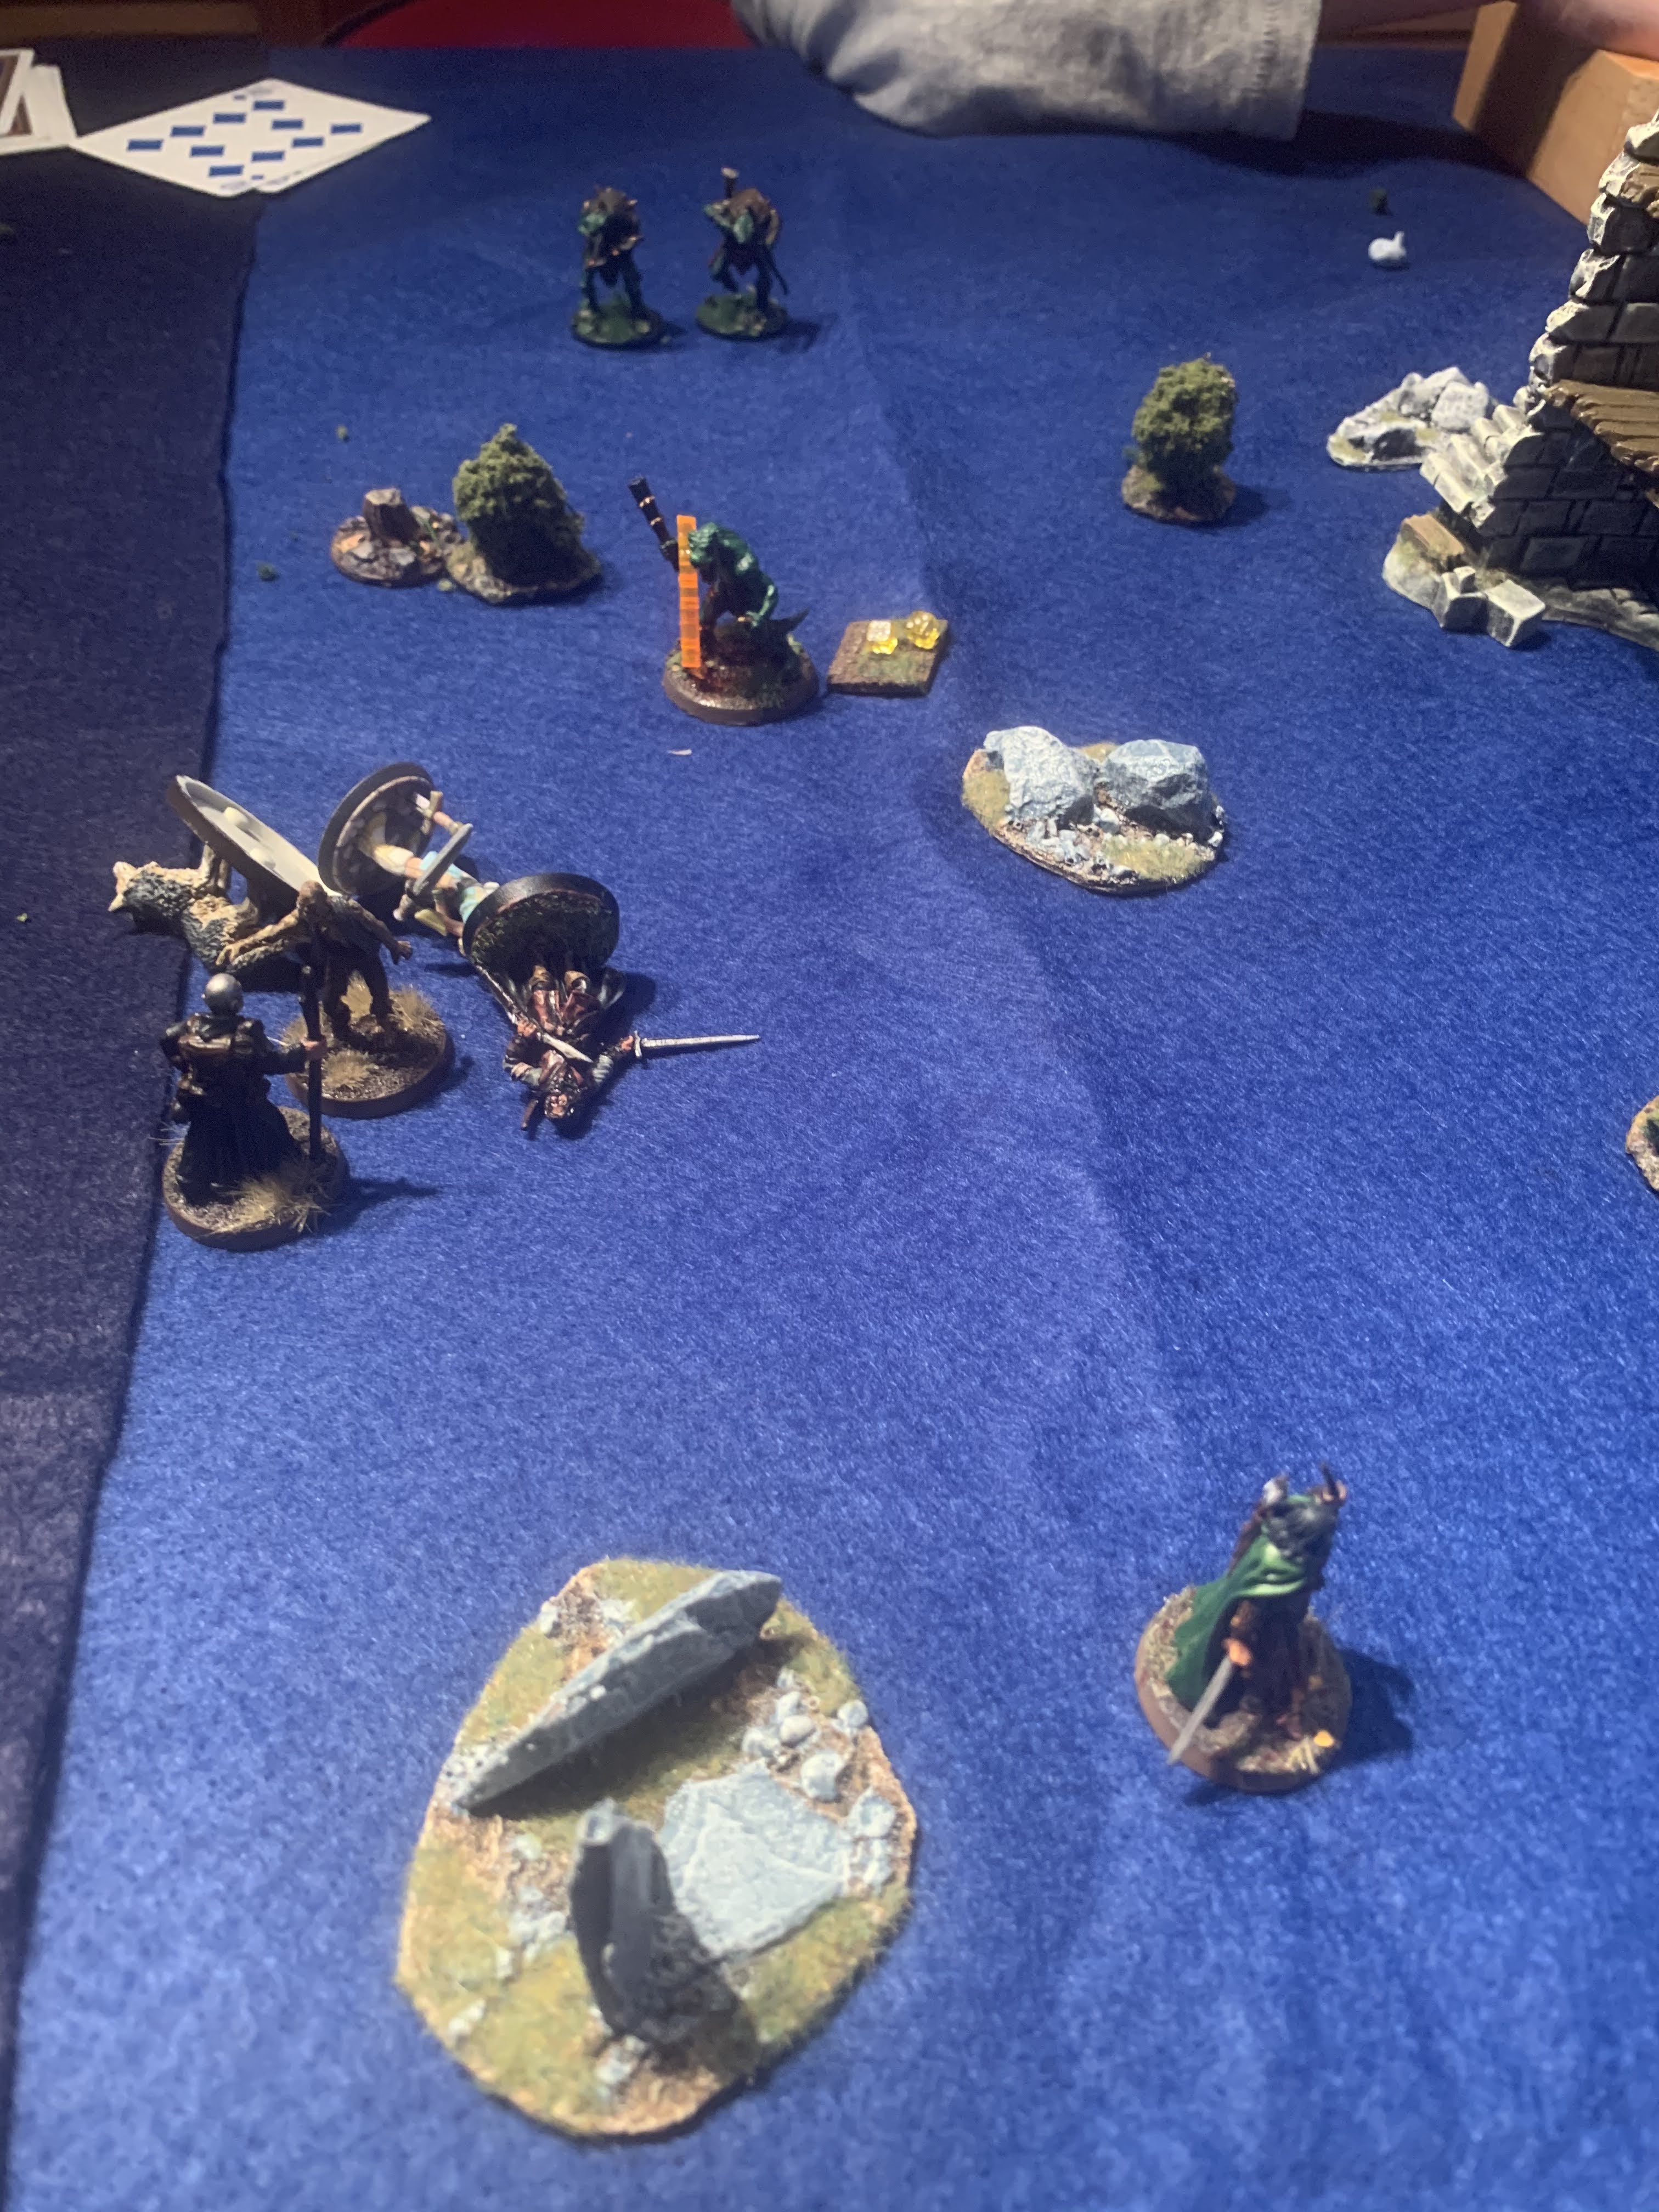
Pursued by yet more Goblins the Fellowship hurry across the elven bridge into the woods of Lothlorien With the howls of the Wargs coming from all sides Strider races the hobbits away from the goblins. Legolas is trapped but pushes his foes back . Then the terrible Warg chieftain arrived and readies his pack for the kill. However at this point a patrol of wood elves led by the heroic Haldir emerges from the Gazebo. Together they pour all their shots into the hapless warg chieftain and slay him ! Amazing it was a one in 6 chance they a ppear right by the chieftain and good rolled it !
With the mighty Strider clearing the way ahead and the deadly Gimli and Boromir defending the rear it was soon possible for the hobbits to escape. Haldir and his wood elves attacked the Wargs thus saving the beleaguered Legolas too. Well done good player.
Leaving strict instructions to the Hobbits not to light a fire Aragorn has left the halflings hiding in the ancient hilltop ruin Weathertop.
Of course they light a fire and start cooking some sausages.
The evil player moved his Nazgul forward and tried to cast some spells. Drain courage, sap will, black dart. All resisted or failed to wound.
On the second turn Aragorn promptly arrived whilst the Nazgul closed in. More spells were resisted and the Nazgul were driven back by the hobbits bearing flaming brands. Merry threw a rock hitting the witch king . He rolled a six to wound but the second roll failed against such a high defence.
At this point two Nazgul were able to close in against Frodo. Instill fear, immobilise and black darts were all once again resisted by the hobbits though Sam did lose a point of courage. Frodo of course beat all his foes and pushed them back.
Meanwhile Aragorn defeated the Witch King in a duel.
Soon Aragorn was able to rescue a beleaguered Frodo and the Nazgul faded from lack of will. However Frodo had lost some points that he was unable to regain before the next scenario. Due to his heroic performance Aragorn regained all his points.
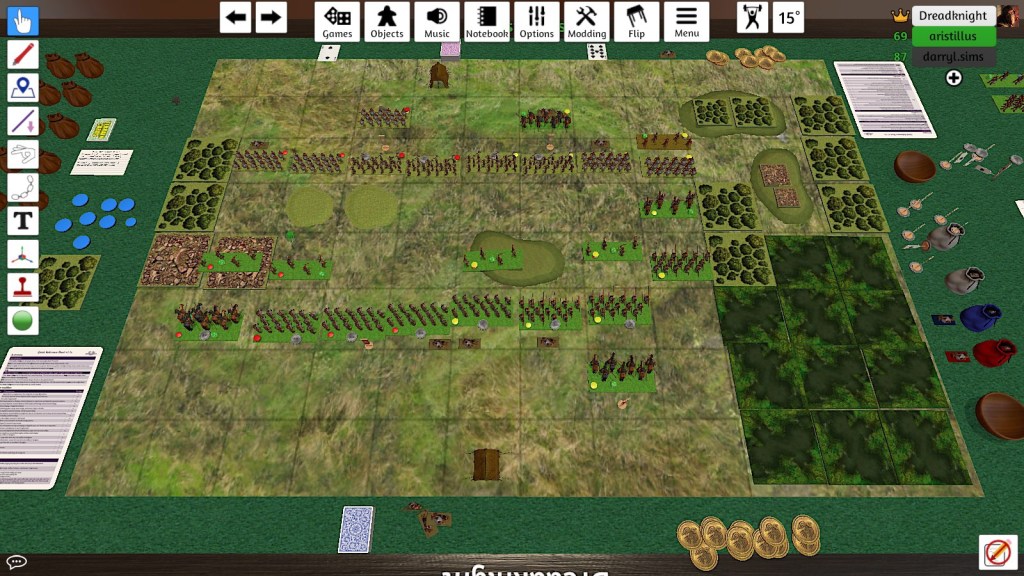
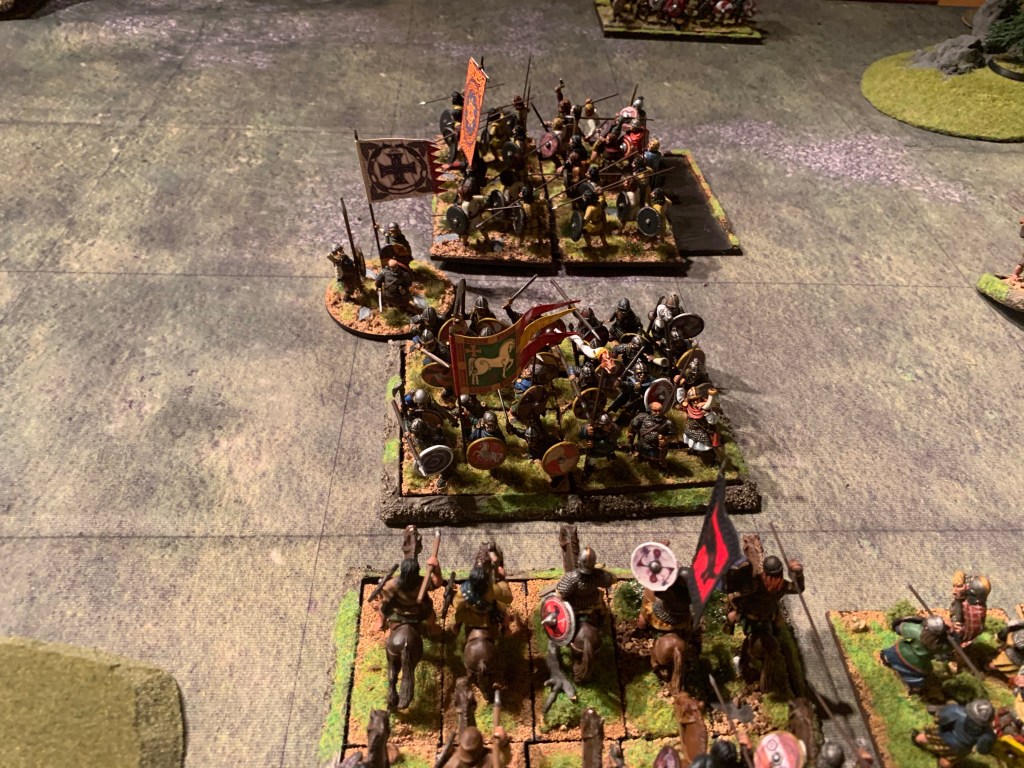
Scots Norse played by Phil at the bottom of the screen with the Scots to the right flank and the Norsemen to the left. Opposite are the Anglo Saxons of Bernicia. Mike as King Ecberht opposing the Scots and Darryl as Leofwine of Dun Holme opposite the Norse.The armies meet in the mist. Panic sets in amongst the Scots Norse as both armies make for the high ground in the centre. The scots spearman on the right advance behind the light cavalry. The Saxons claim all the high ground. The Scots remain disordered in parts of their line. The battlefield set out with miniatures mirroring the action on TTS is streamed live to the players on Skype.The Anglo Saxons charge furiously down from the hills and force their foes back in disorder.Now the Scots line is split . Constantine turns his cavalry to flank King Ecberht hearth guard. The Norsemen have been pushed back in disorder. However the cavalry on the far left and the skirmishes in the rough ground deter a wider Saxon advance. Things are looking bad for the Scots but the galwegians have split the Saxon line and the King is feeling exposed. Ecberht begins to pull his force back rather than risk being outflanked whilst the Scots horse are struck by very poor mobility for the next few turns. The spearman on the right flank are close to collapse. The Norse under Ragnar regain their order for the most part. Ragnar advances aggressively.King Ecberht returns to his line on the hill whilst Constantine finally manages to turn his cavalry to face. Ragnar and the Galeegians pressure the Saxon centre but the Norse behind Ragnar will fail to move for the next few turns. The battle appears to be turning. What had loooked like certain defeat for the Scots Norse now lies in the balance.The battle has moved to the centre and even the Saxon camp is threatened. The Saxon left flank is pushed back and the centre weakens. Ragnar though struggles to bring his troops forward in support of his own advance.The Scots spearman turn to face the Saxon cavalry and charge forward. The cavalry evade which is perfect for them as they are now far away and flank the Glaswegians who had thought they had a clear run at the camp! Drawing a perfect run of activations and good attack cards the cavalry destroy the Glaswegians before they know what has hit them. Finally the now deserted King Ecberht finds himself surrounded. With Constantine and his brave cavalry attacking from his front he is struck by the spearman to his rear. His hearth-troops destroyed and he flees towards the faltering Ford to his rear. At this point the Saxons call it a day having saved their camp they retire from the battlefield. The Scots and Norse can hardly believe they have turned things around from what seemed certain defeat earlier in the day!
A great game fought in a good spirit. Some amazing twists and turns. Fighting the battle using miniatures was good fun. Glad to get the soldiers back out of the box after so long and still play with real opponents. Thanks all.
King Ecberht finds himself surrounded when his cavalry evade the spearmen’s charge.
Preparing for a To The Strongest Miniatures Battle to be played online live with miniatures and table top simulator.
The Battle of Lindismere. It is the 9th century and the Kingdom of Bernicia is buckling under pressure from the Vikings and the Scots. Attacked from the South by the Great Heathen Army from Jorvik the Kingdom of Northumbria has fallen but Bernicia still holds strong. Now a force of Scots and Norsemen come from the North. The two armies stumble across each other in the mist. Near the Lindismere marshlands and forests they are forced together meeting in a narrow hill valley.
Can the Christians prevail over the Heathen Vikings and their Scots allies? King Ecgberht stands ready to defend the cross as the enemy emerge from the mist.
The camera’s view from the end of the table for live streaming of the action. The set up of the table. Recently moved the PC to the table as not so much space in the games room. For other battles would probably need to move it off the table to allow more deployment space.
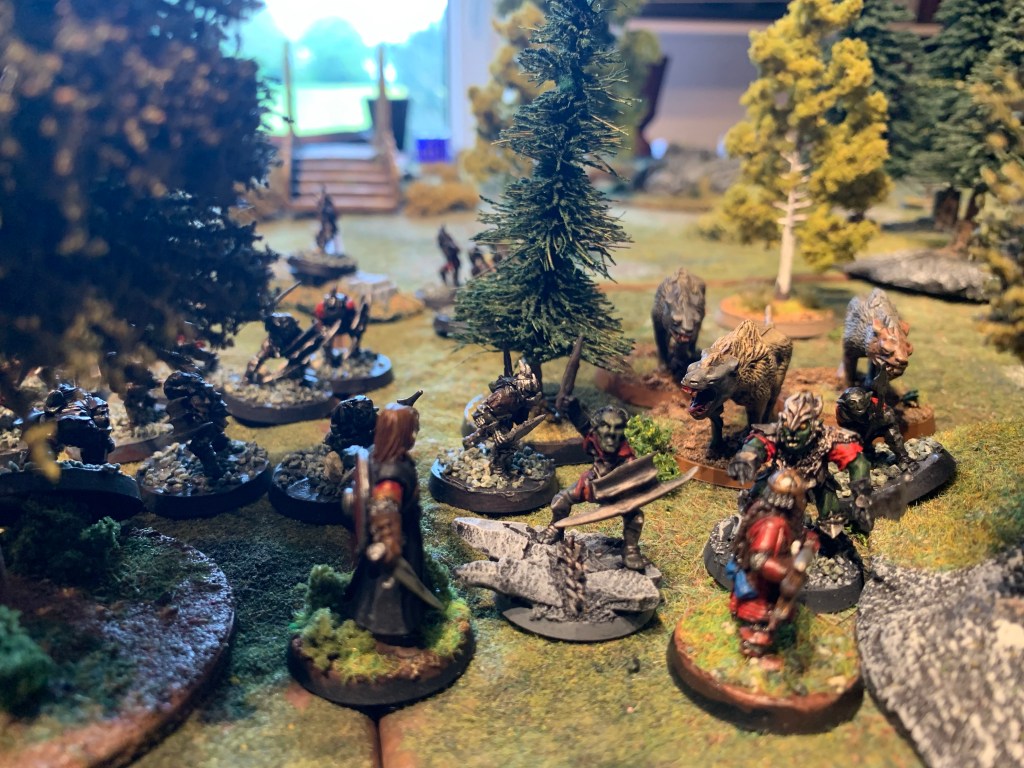
Gwalchmai and Link have descended the steps with their companions only to find themselves literally in deep water. Forced to swim they head towards relatively drier but still flooded land. A ruined village inhabited by dreaded swamp zombies lies ahead. Bat swarms follow from behind so there is no choice but to push on.
Dark vapours rise from the swamp. The rangers cover their faces with scarves to resist but the warhound takes damage. Gwalchmai slips and weighed down by his light armour struggles in the deep water for the first two turns taking damage as result. Link, being a strong swimmer forges ahead with the others. Dark Tom releases a fireball to clear the way and follows behind.
Link and the Warhound strugle against a zombie whilst Tom gets out of the deep water into the shallows only to be beset by another. Recruit Bobby and Man at Arms Birdo head to the right but Birdo gets entangled in vines in the deep and with his heavy armour and shield is trapped and struggling badly. Finally Gwalchmai catches his breath and with his head above water is able to Teleport onto the dry land of rocks ahead. Recruit pushes forward and finds the Bone Blade!
Dark Tom is badly wounded but just survives thanks to his staff. Steel Blaze the Swordsman rushes to his aid but once again is knocked out. Just then a Group of Lizardmen appear. Two archers and a warrior! The archers are clearly deadly shots and with their movement impeded by the flood the heroes struggle to close the distance. Gwalchmai finds and deciphers some arcane runes, learning a new spell for the heroes to choose in a future scenario. Heavy rain falls and offers some respite reducing visibility and the effectiveness of ranged shots.
Gwalchmai weakens the warrior who is then defeated by Link but Link takes heavy damage once again from archery, dodging the first he is felled by the next. Wielding the Bone Blade, Bobby the Recruit sets about the last of the zombies and tackles the first archer whilst Tom finds some useful flowers. Gwalchmai makes little headway with archery but with Bobby and Tom’s aid is eventually able to clear the last of the archers in melee. Our heroes head towards the exit as more zombies appear to block their way and Bats follow rapidly from behind.
Each Zombie is felled by the mighty Recruit and the Bone Blade and they make it off the edge in the final turn!
Our heroes amassed another 50xp in this very difficult scenario and all recover fully, except Dark tom who caught a nasty disease in his prolonged fight against a swamp zombie. The Lizardmen archers proved especially deadly foes.
Next they head towards a ruined farm-temple complex and find some allies sorely in need of rescue. Dark Tom prepares a Burning Rune in readiness using the new spell they have learnt.
Our Heroes Link (Robert) and Gwalchmai (Phil) have been tasked with scouting out the Shadow deep. Having lit the beacon fire they have now crossed by a secret mountain pass and must descend the steep and treacherous path to reach the road below.
To each side of the treacherous path dark cave entrances lead to the homes of evil flying giant bats. To one side of the path an abandoned camp site might be worth investigating. Our heroes must reach the end of the path with their companions intact. Each turn there is a chance more bats will come out of the caves.
Heroes moving off the path or moving quickly risk falling unless they are good at climbing.
Gwalchmai quickly fires teleports down the mountain side whilst Link climbs to the side. Link plans to seal off the first cave hole and Gwalchmai seeks to investigate the camp site. Meanwhile the companions move slowly down the path.
Link soon takes out the bats on his side of the path whilst Gwalchmai uses archery to clear his side and move back onto the path having grabbed a backpack from the camp site. It would later turn out to contain valuable gems.
Gwalchmai moves the companions down the path but Link is set on making the path secure for future Rangers. Leaping from stone to stone he rushes over to each cave hole and seals it. He despatches any intercepting bats with mighty blows of his 2 handed sword.
Dark Tom assists with a fireball and rushes down hill accompanied by Steel Blaze. He joined the group after the last mission in the dark tower. He had been controlled by the dark powers having been captured and trained as a cultist with dark magical powers. Rescued and healed back in the Kingdom he has broken free of the evil influence of his former gaolers but retains his magical powers.
However Bobby the Recruit is caught in the open by two giant bats and falls over defeated.
Our heroes rush back to grab Bobby and defeat the bats. With the final hole sealed Link and Birdo come rushing down the path and take out the bats whilst Gwalchmai and the others pick up Bobby and move down the path once more.
As they leave Gwalchmai takes the opportunity to successfully draw the pass into his mapbook which will prove useful to future rangers.
Thanks to defeating many bats and closing all the cave holes our heroes amassed some good xp and some companions became stronger. Fortunately Bobby was only dazed and has come back even better and ready for the fight.
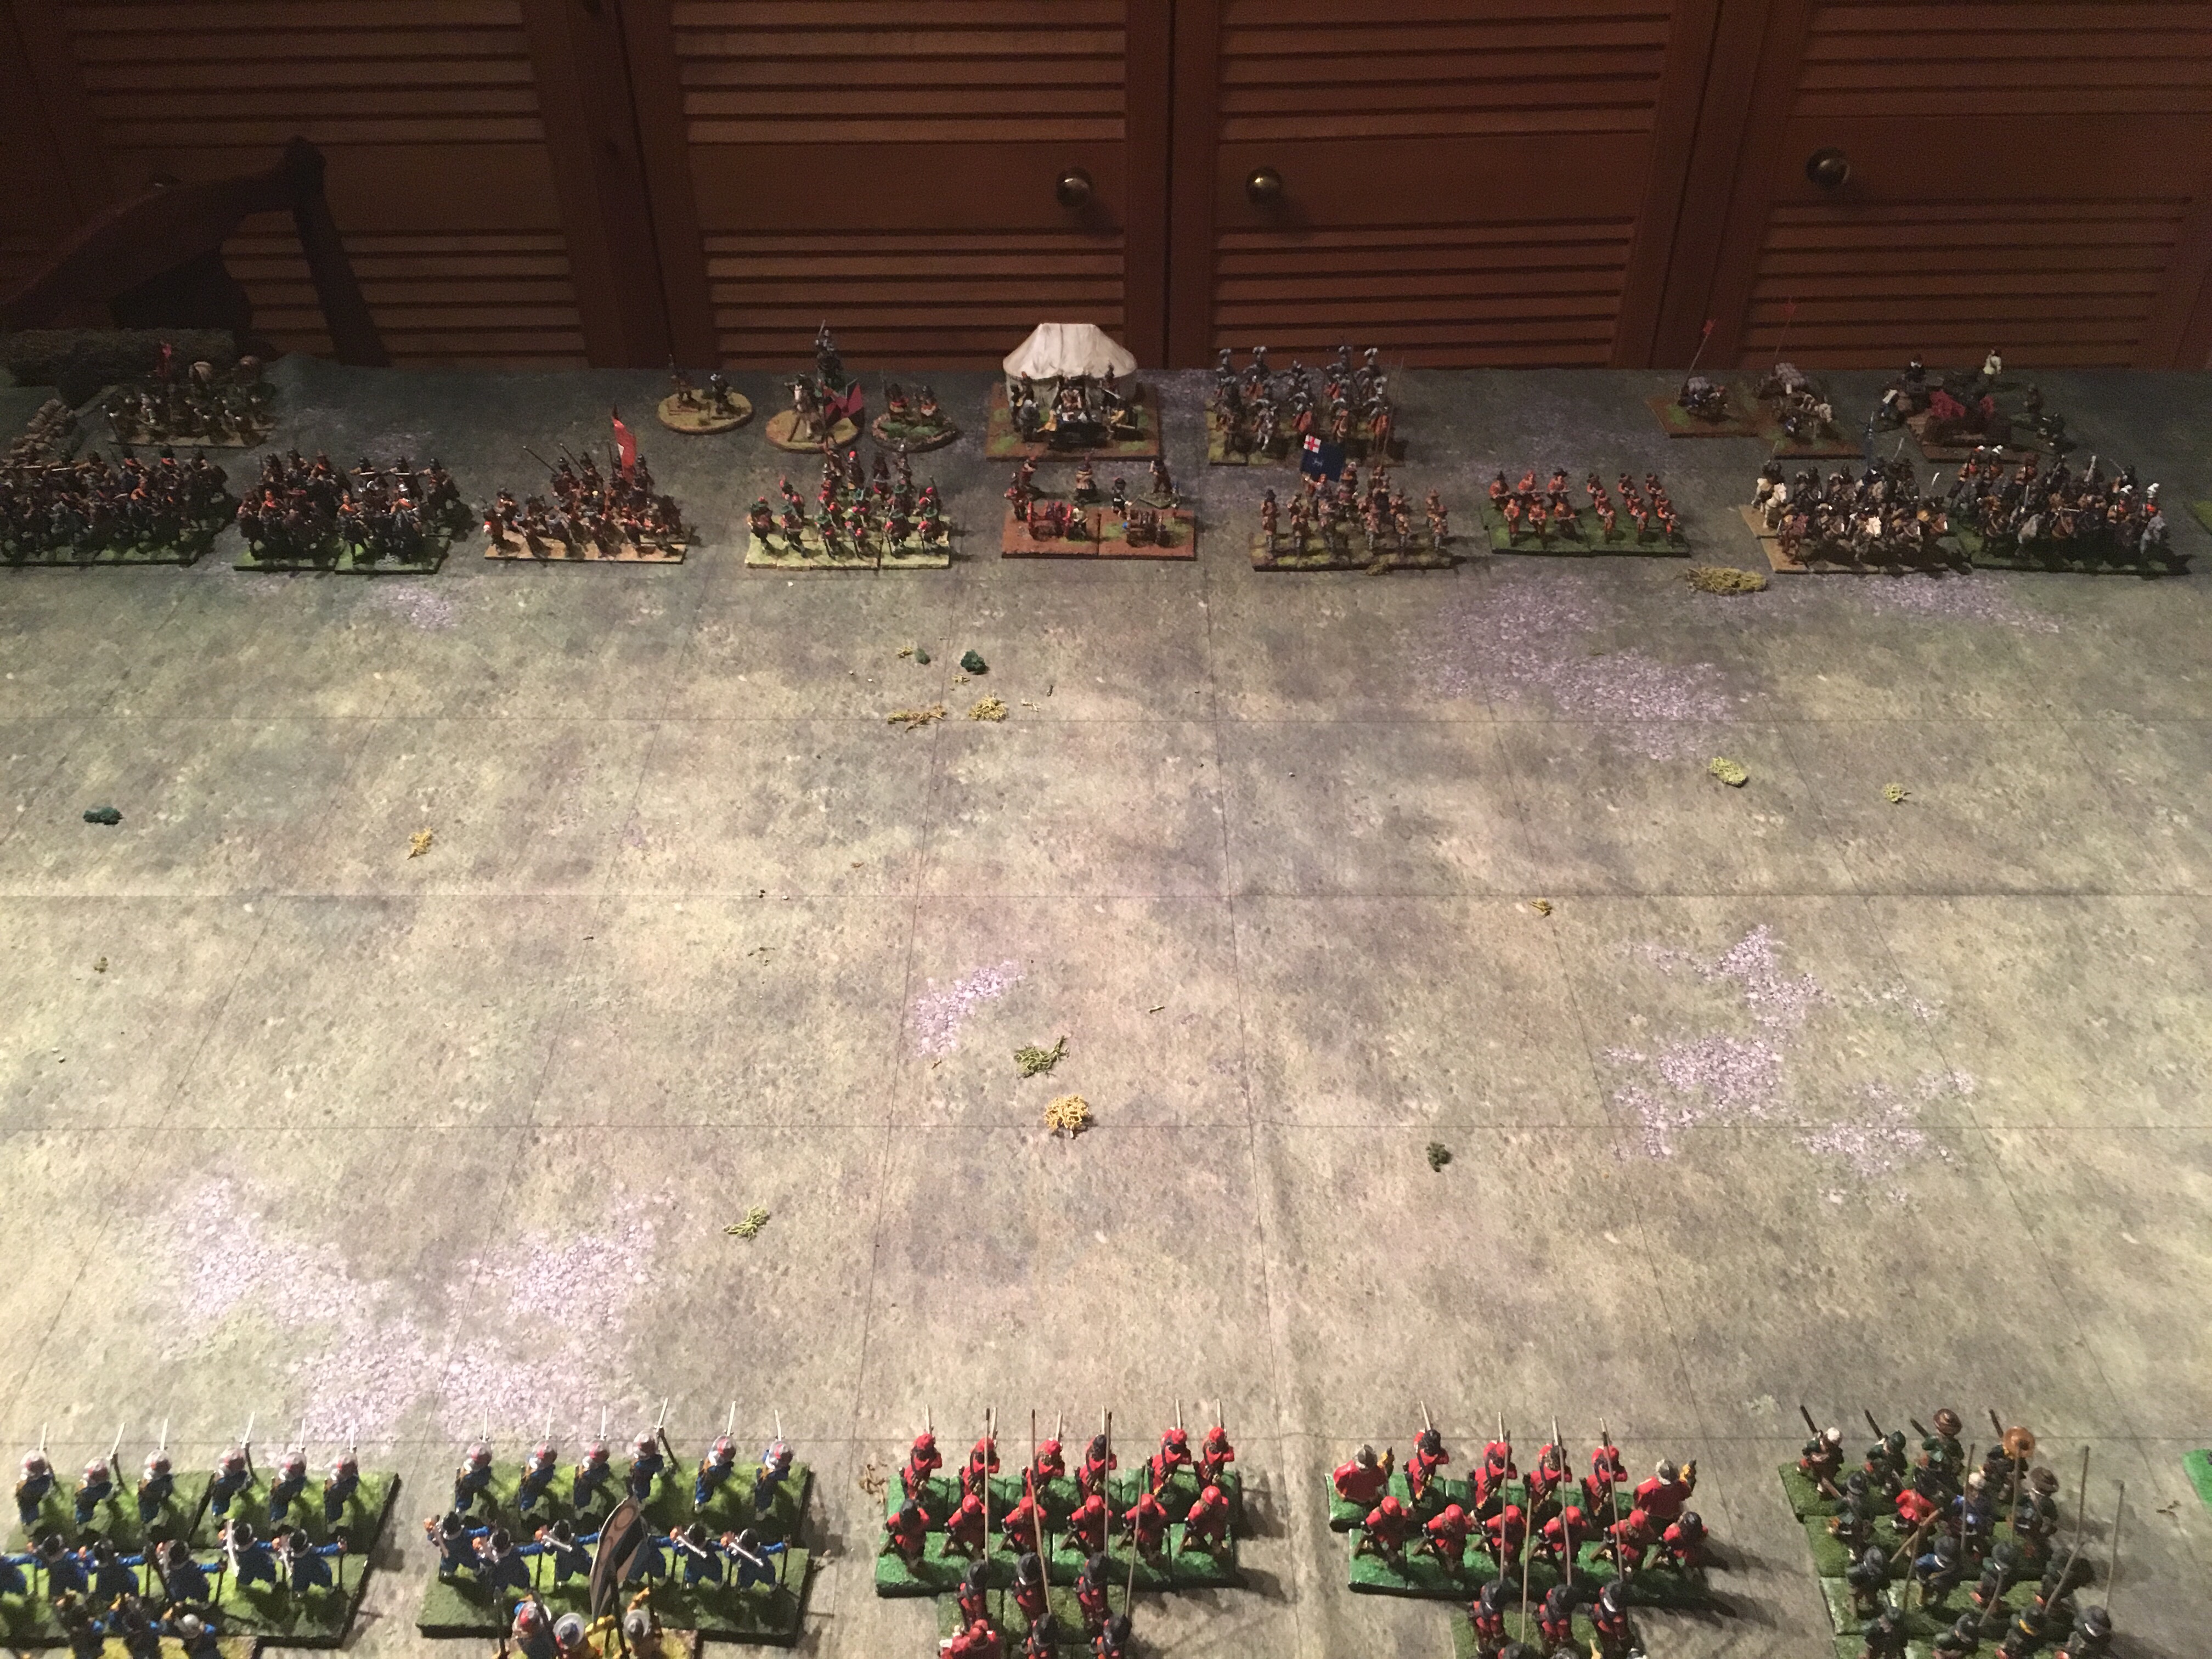
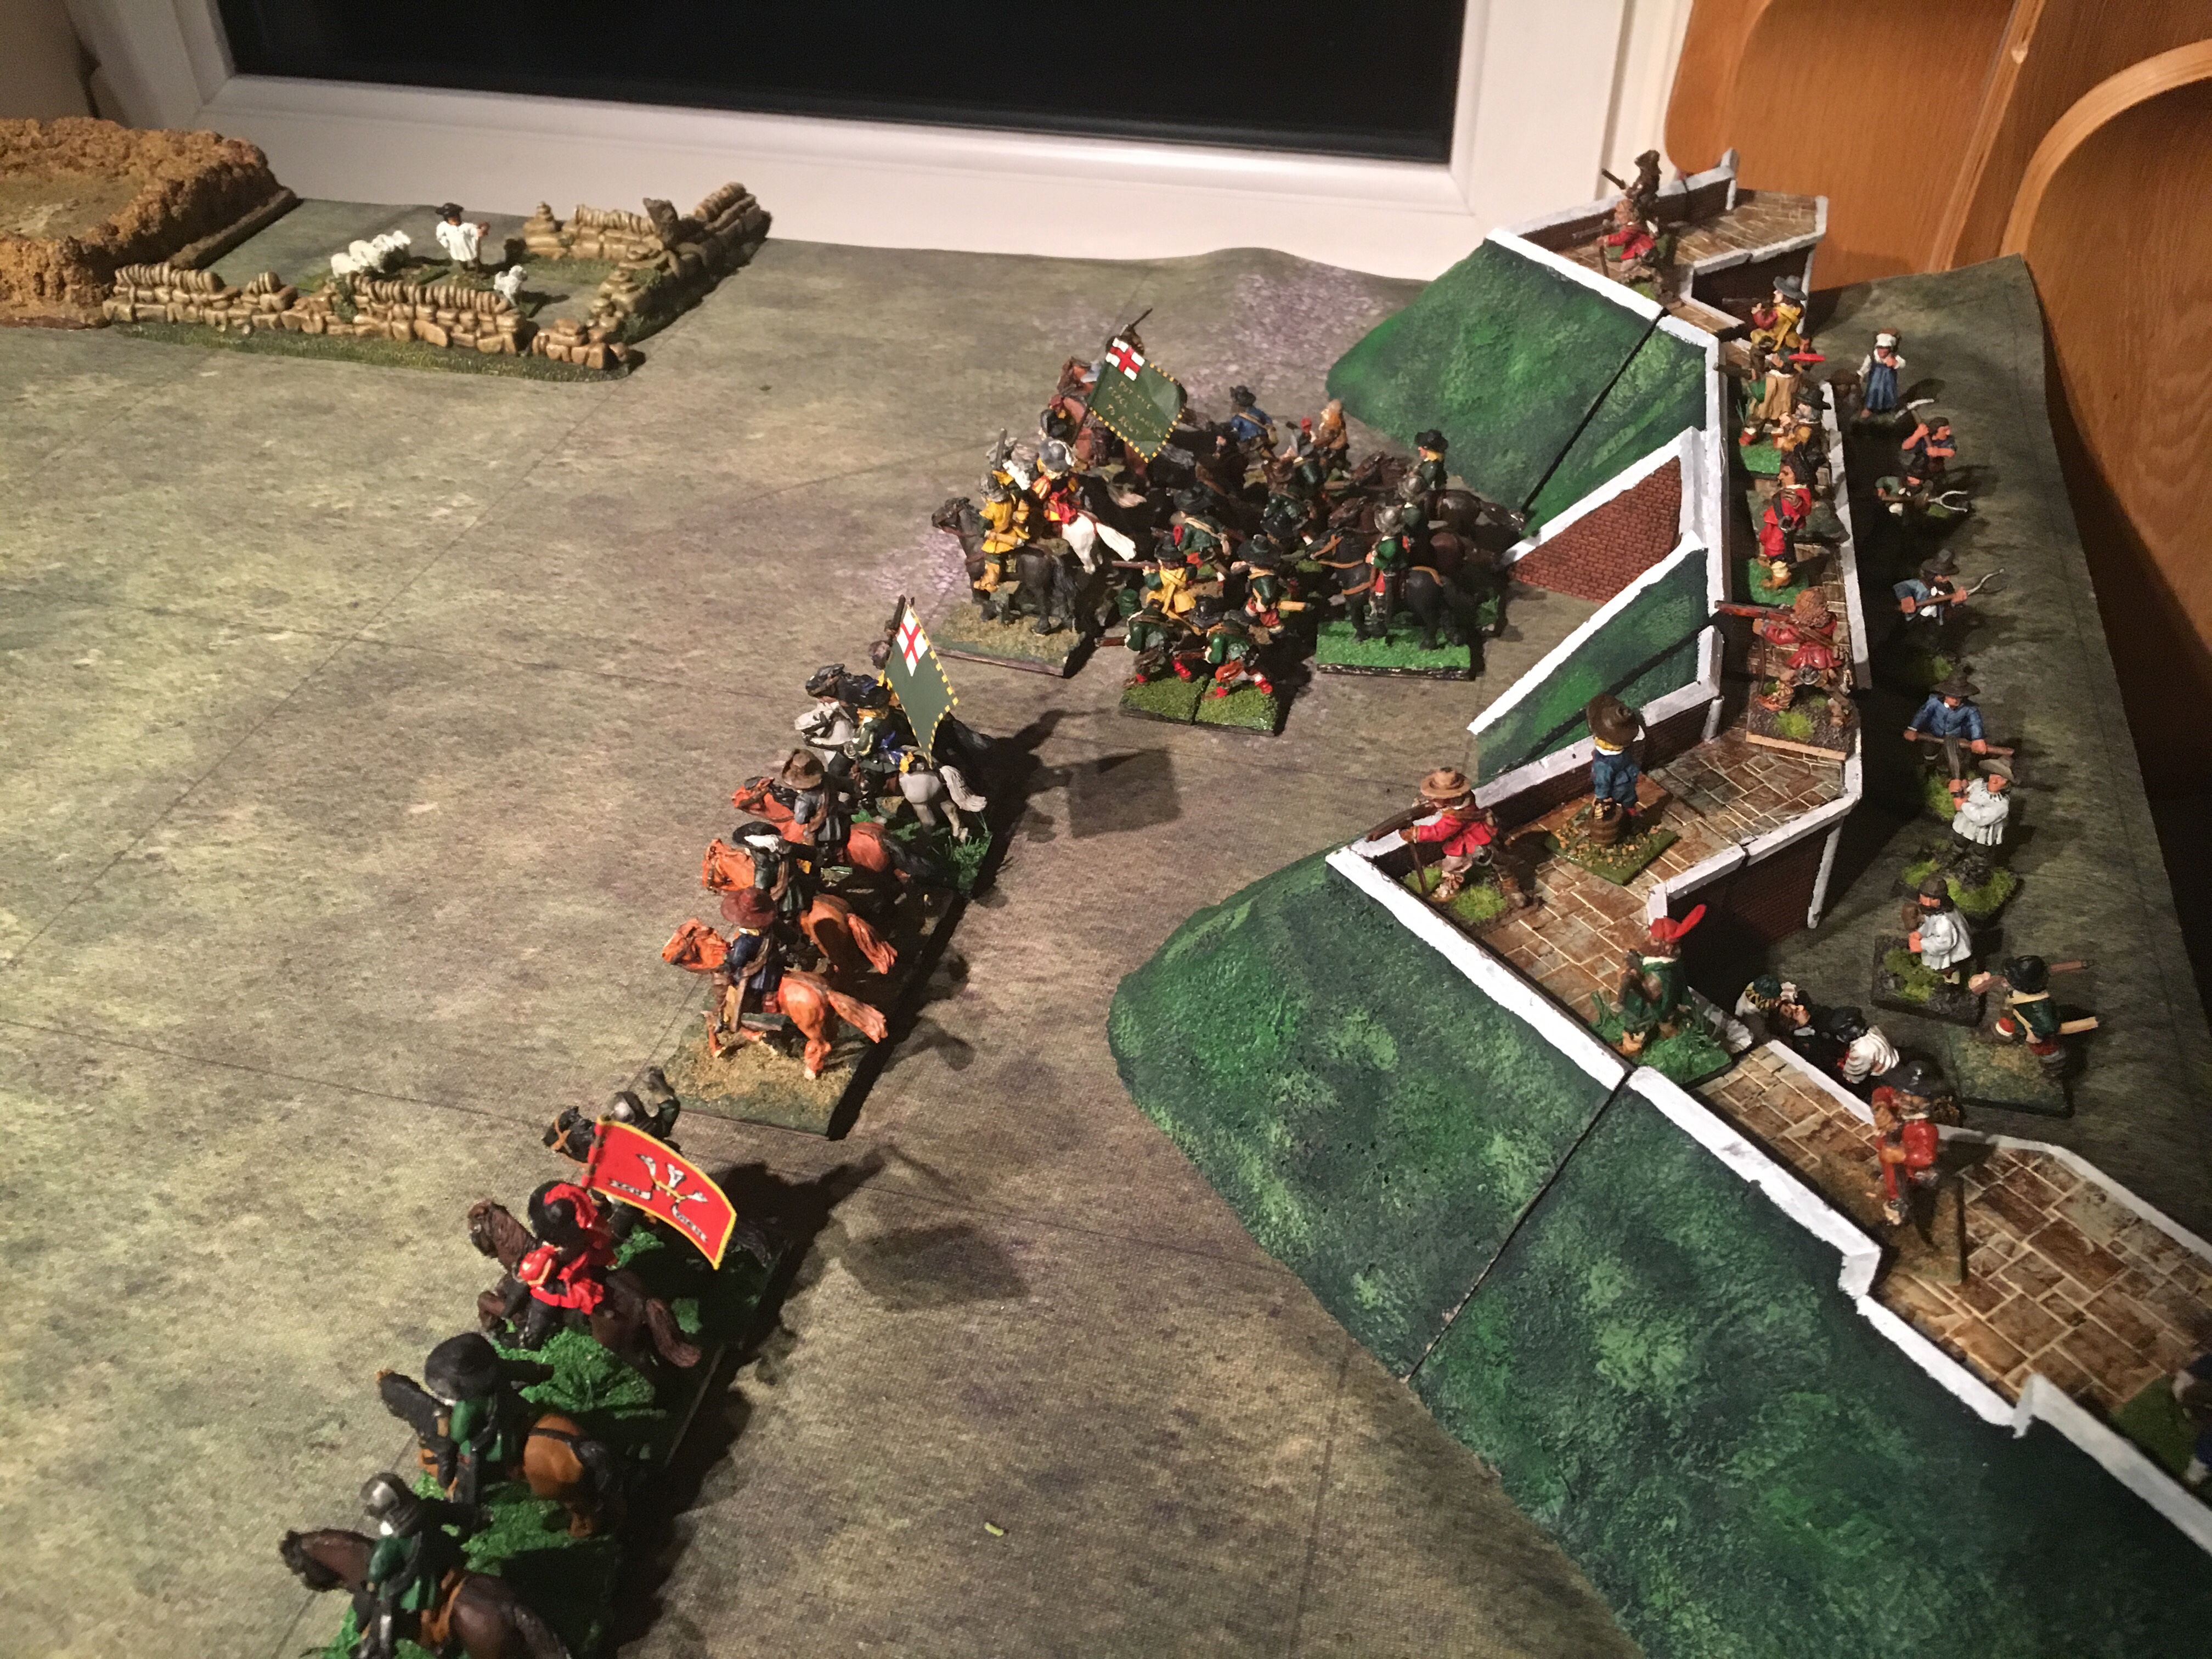
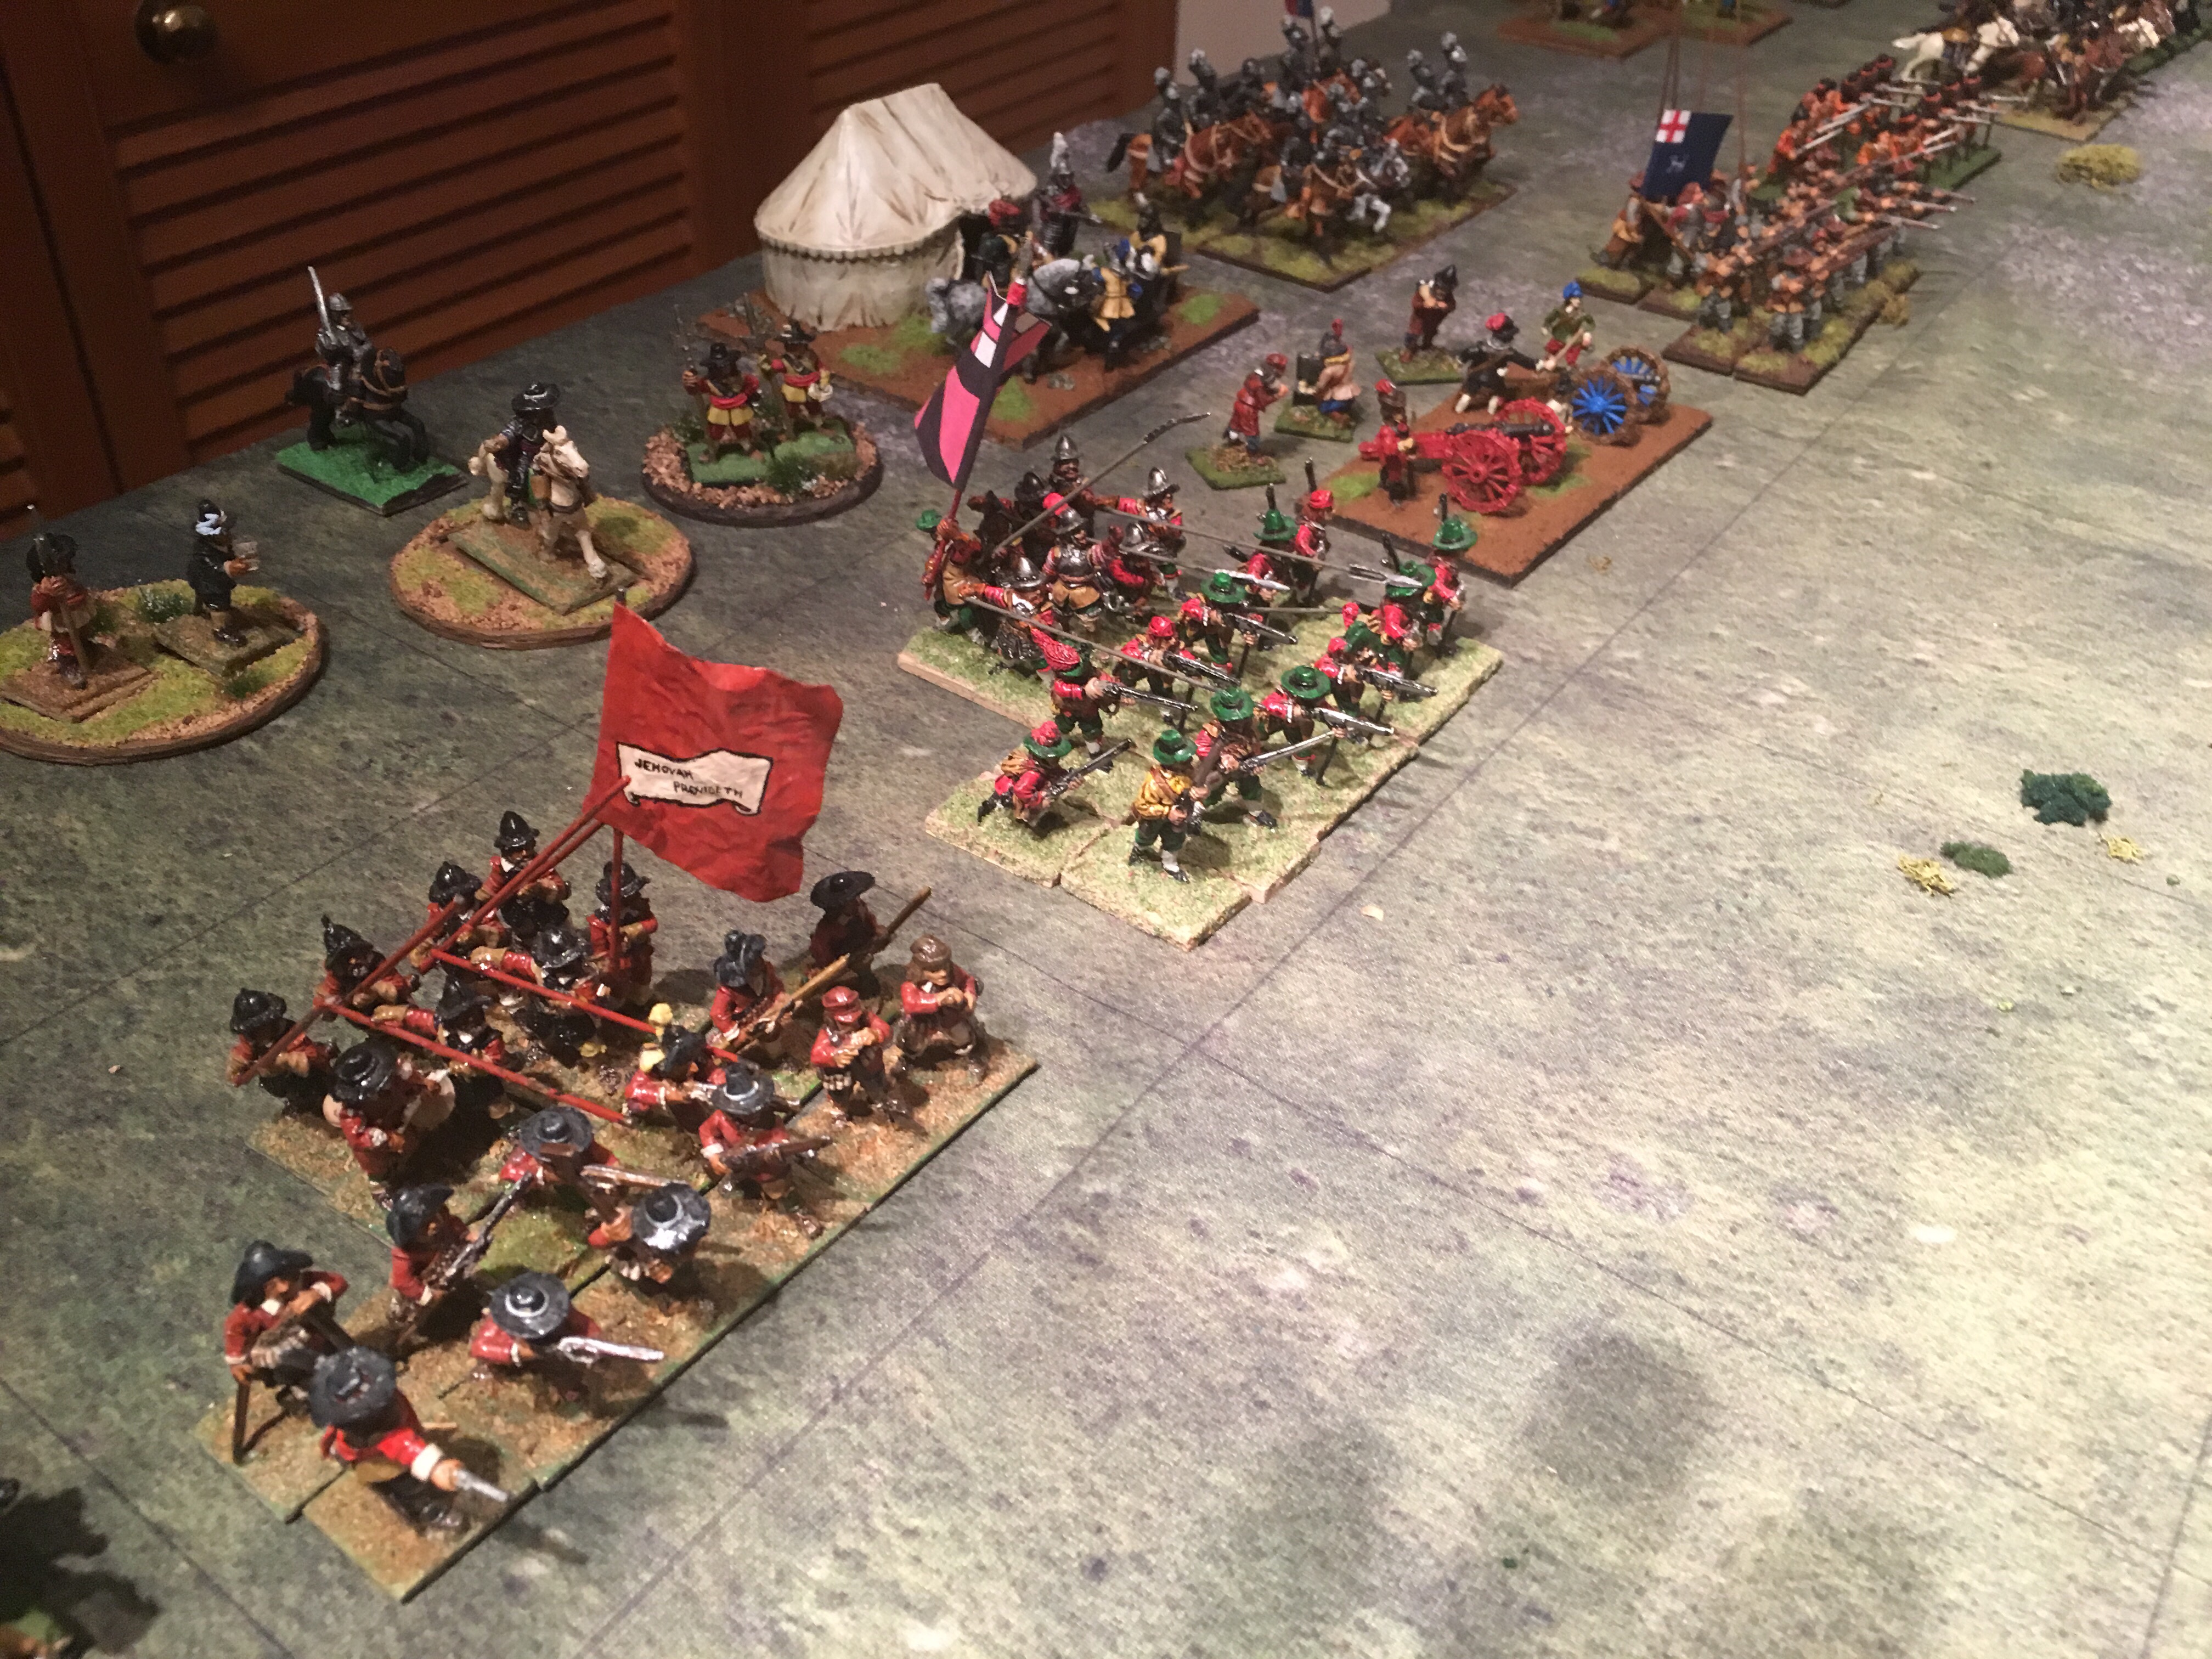
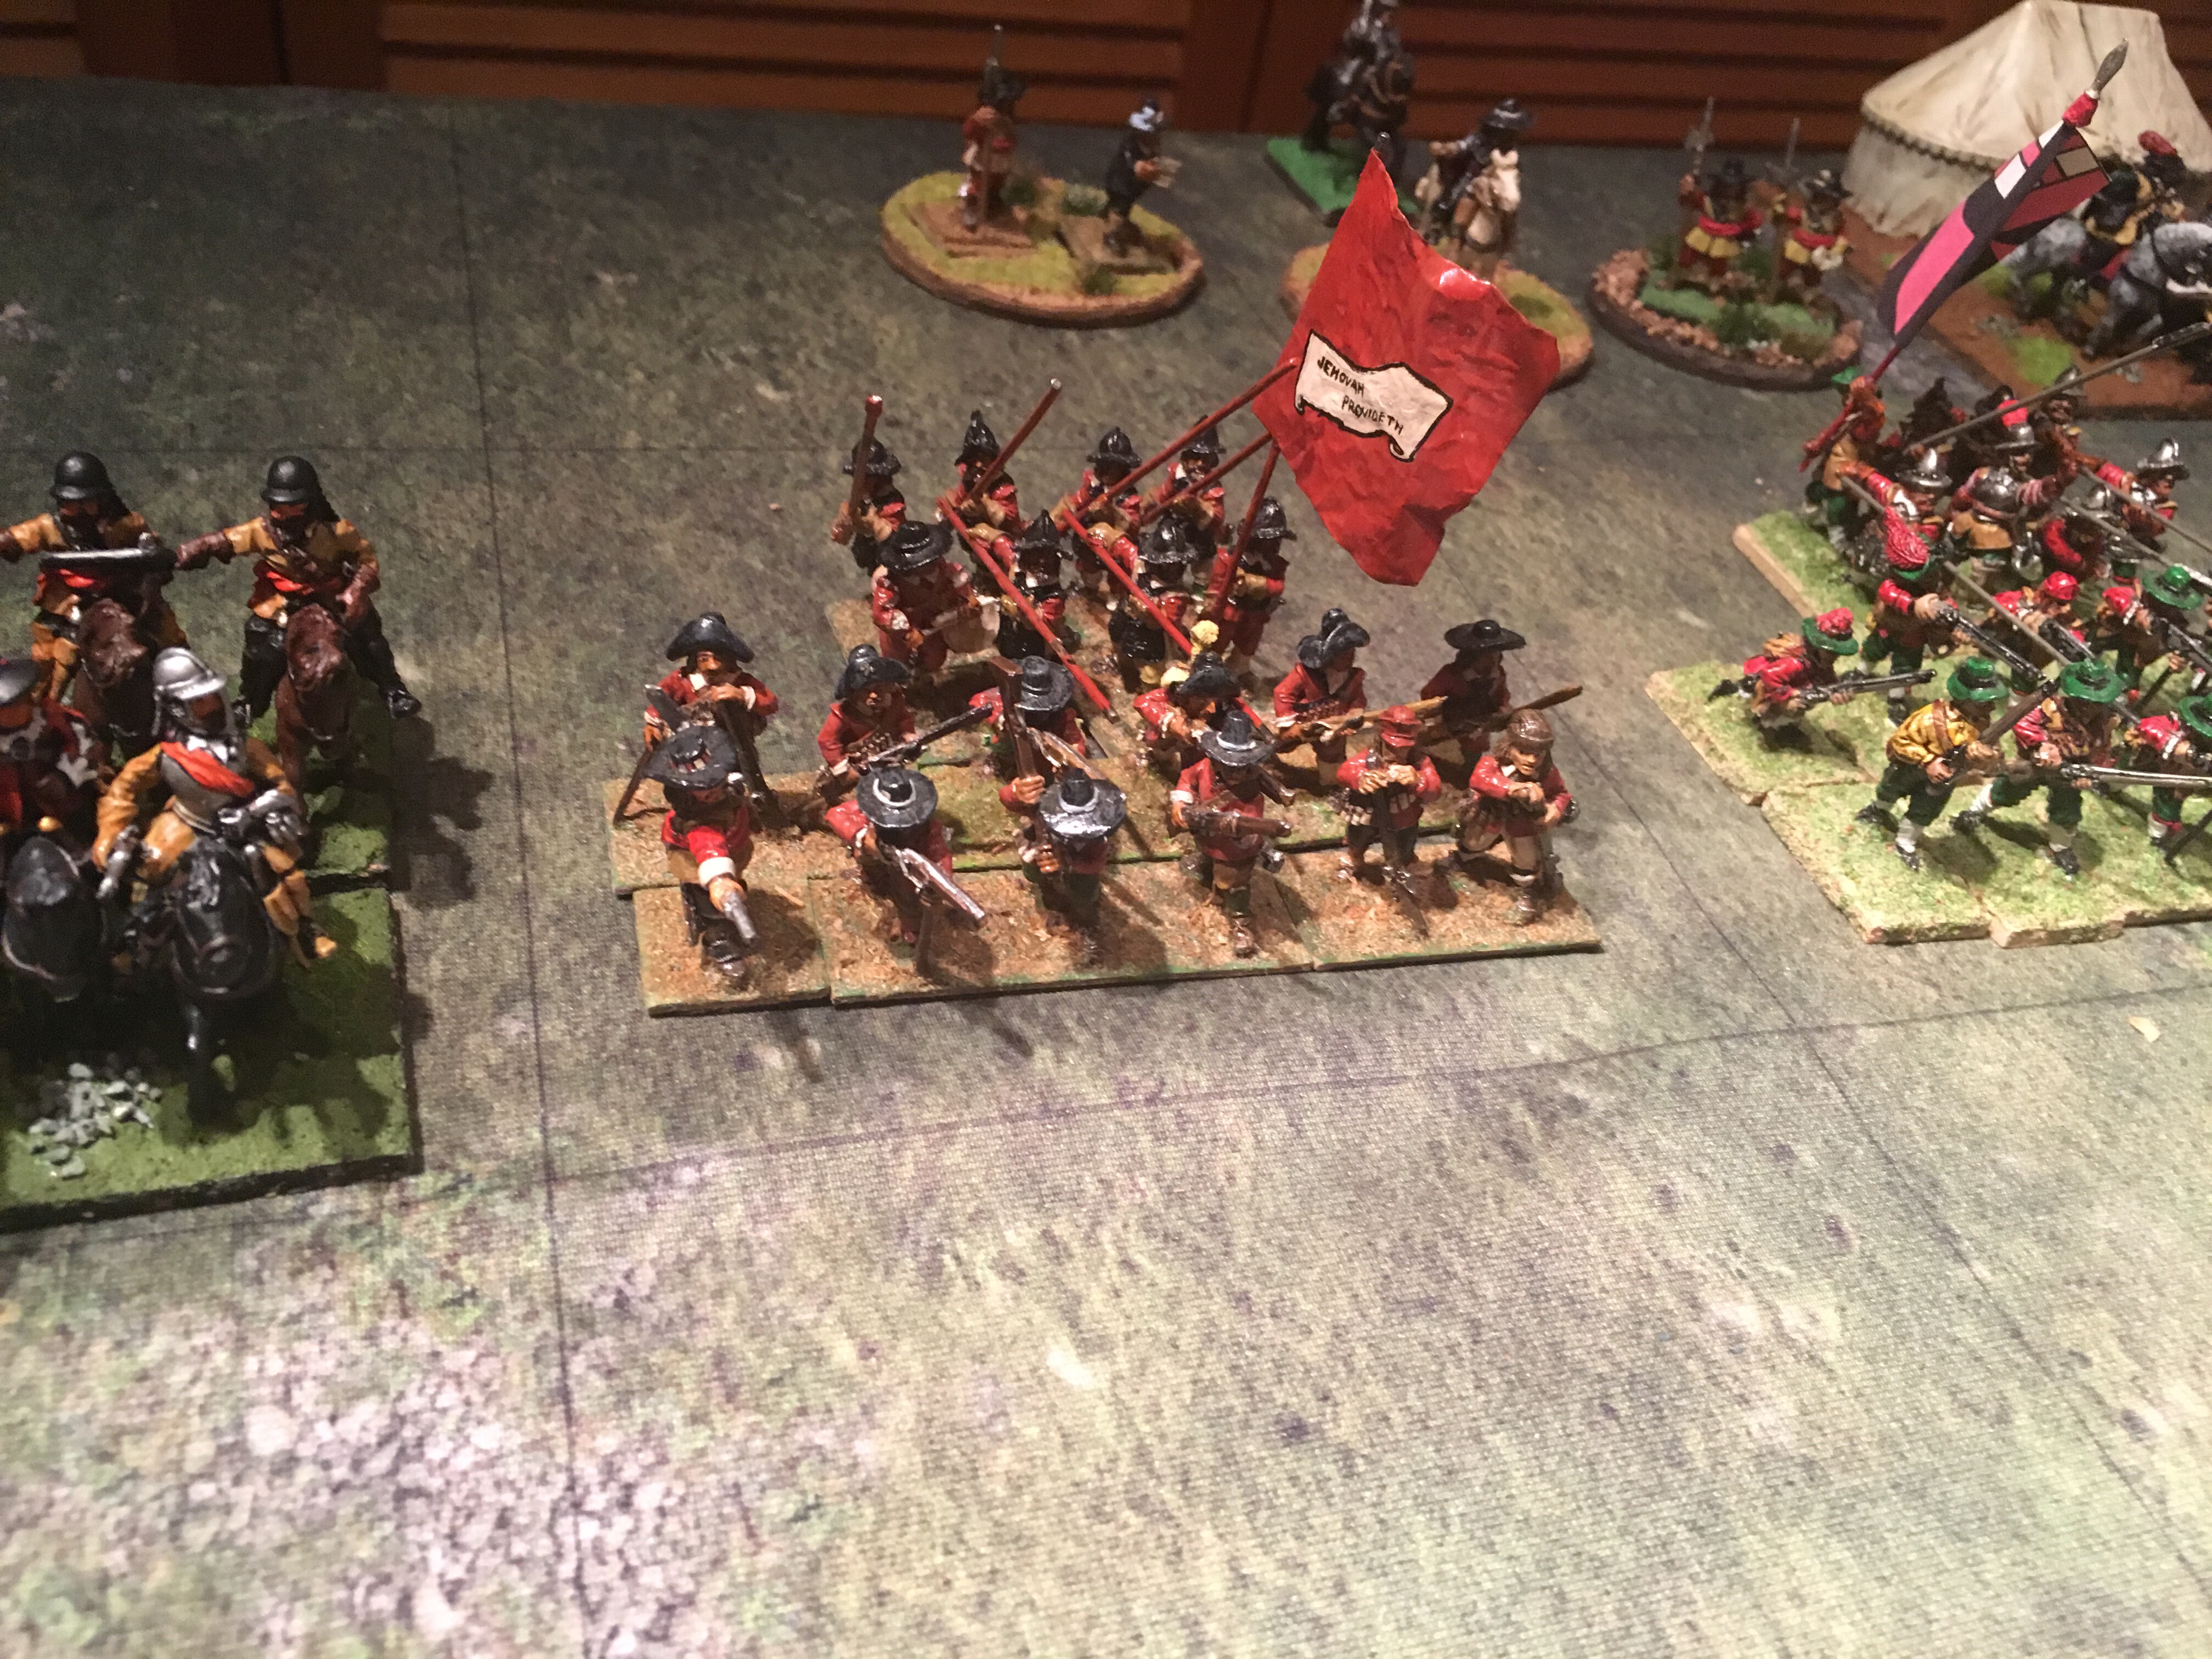
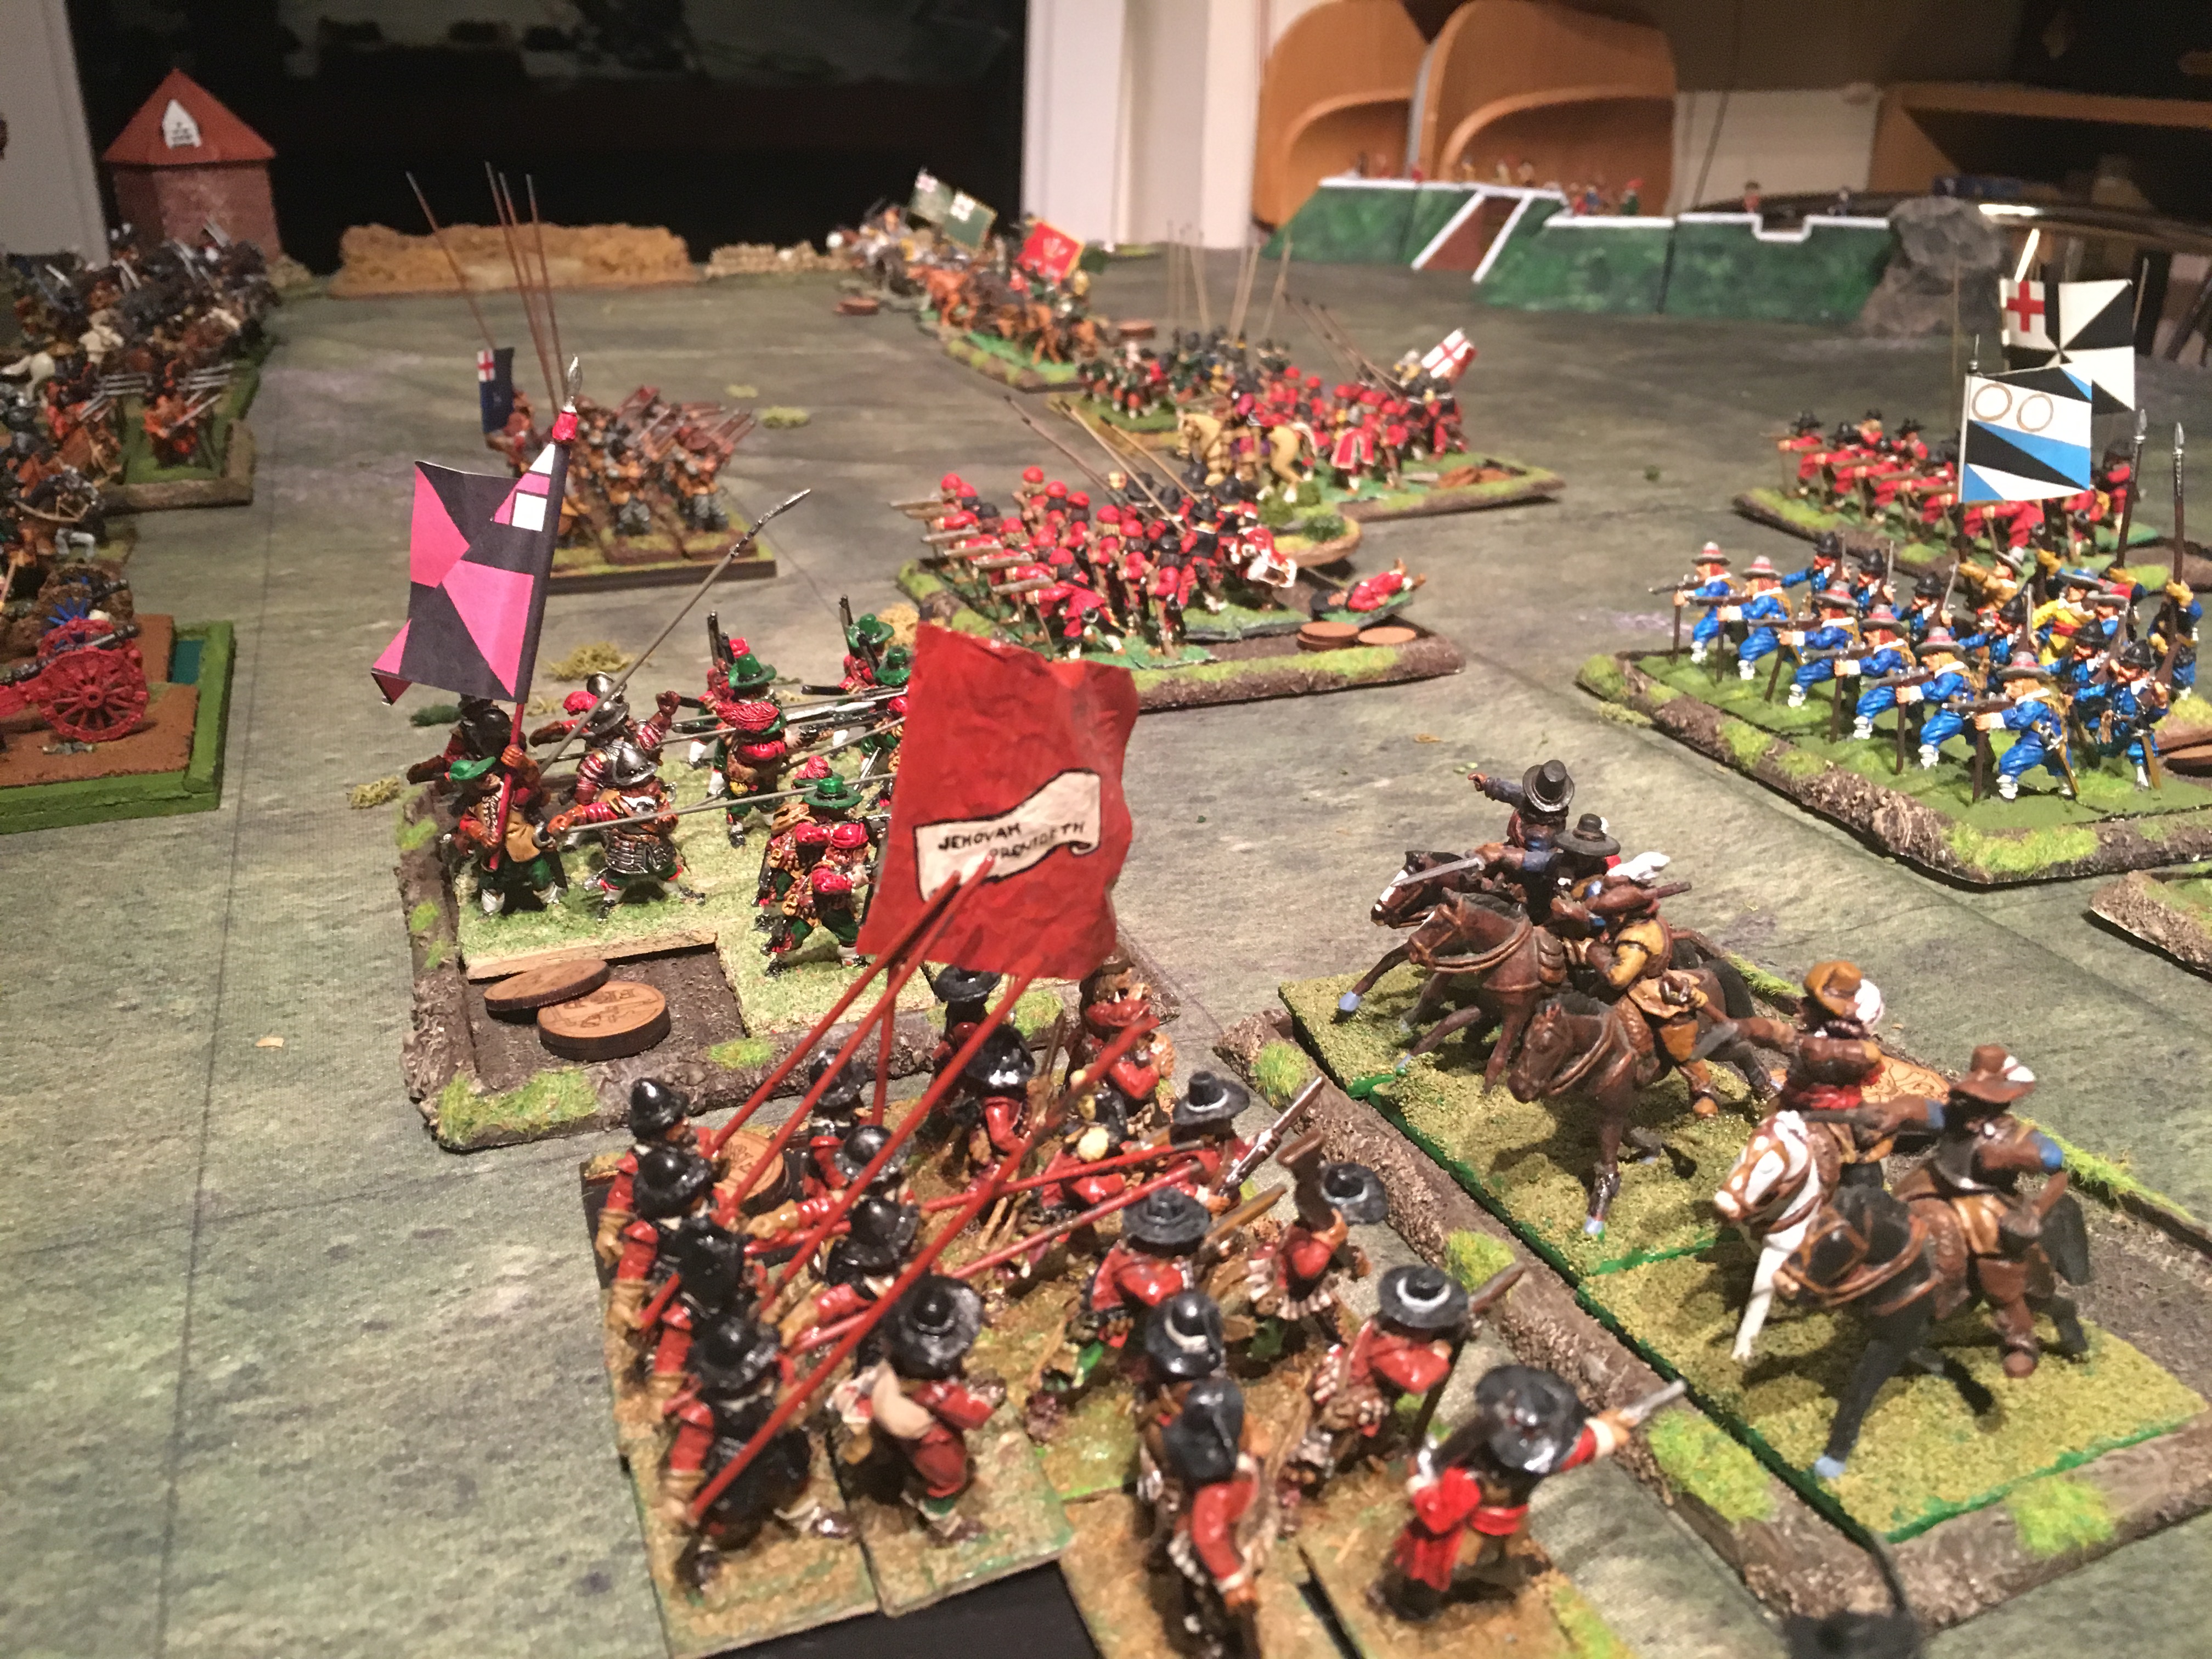
Mike and Alex played as Waller and his Roundheads besieging Basing House in our made up scenario in the post below. Phil played as Prince Maurice and the Royalists attempting to relieve the defenders.
Prince Rupert’s Bluecoats prepare for battle. The King’s Lifeguard of Foot to their right. Aspley’s in Reserve.
Waller’s Horse on the Parliamentarian left flank
Earl of Northampton’s horse and dragoons.
The London Trained Band Regiment’s of Foot
Jehovah Provideth, a veteran unit of Tower Hamlet’s Trained Band
Prince Maurice’s Horse, all Well Mounted on the Finest steeds as befits Proud Gentlemen Cavaliers.
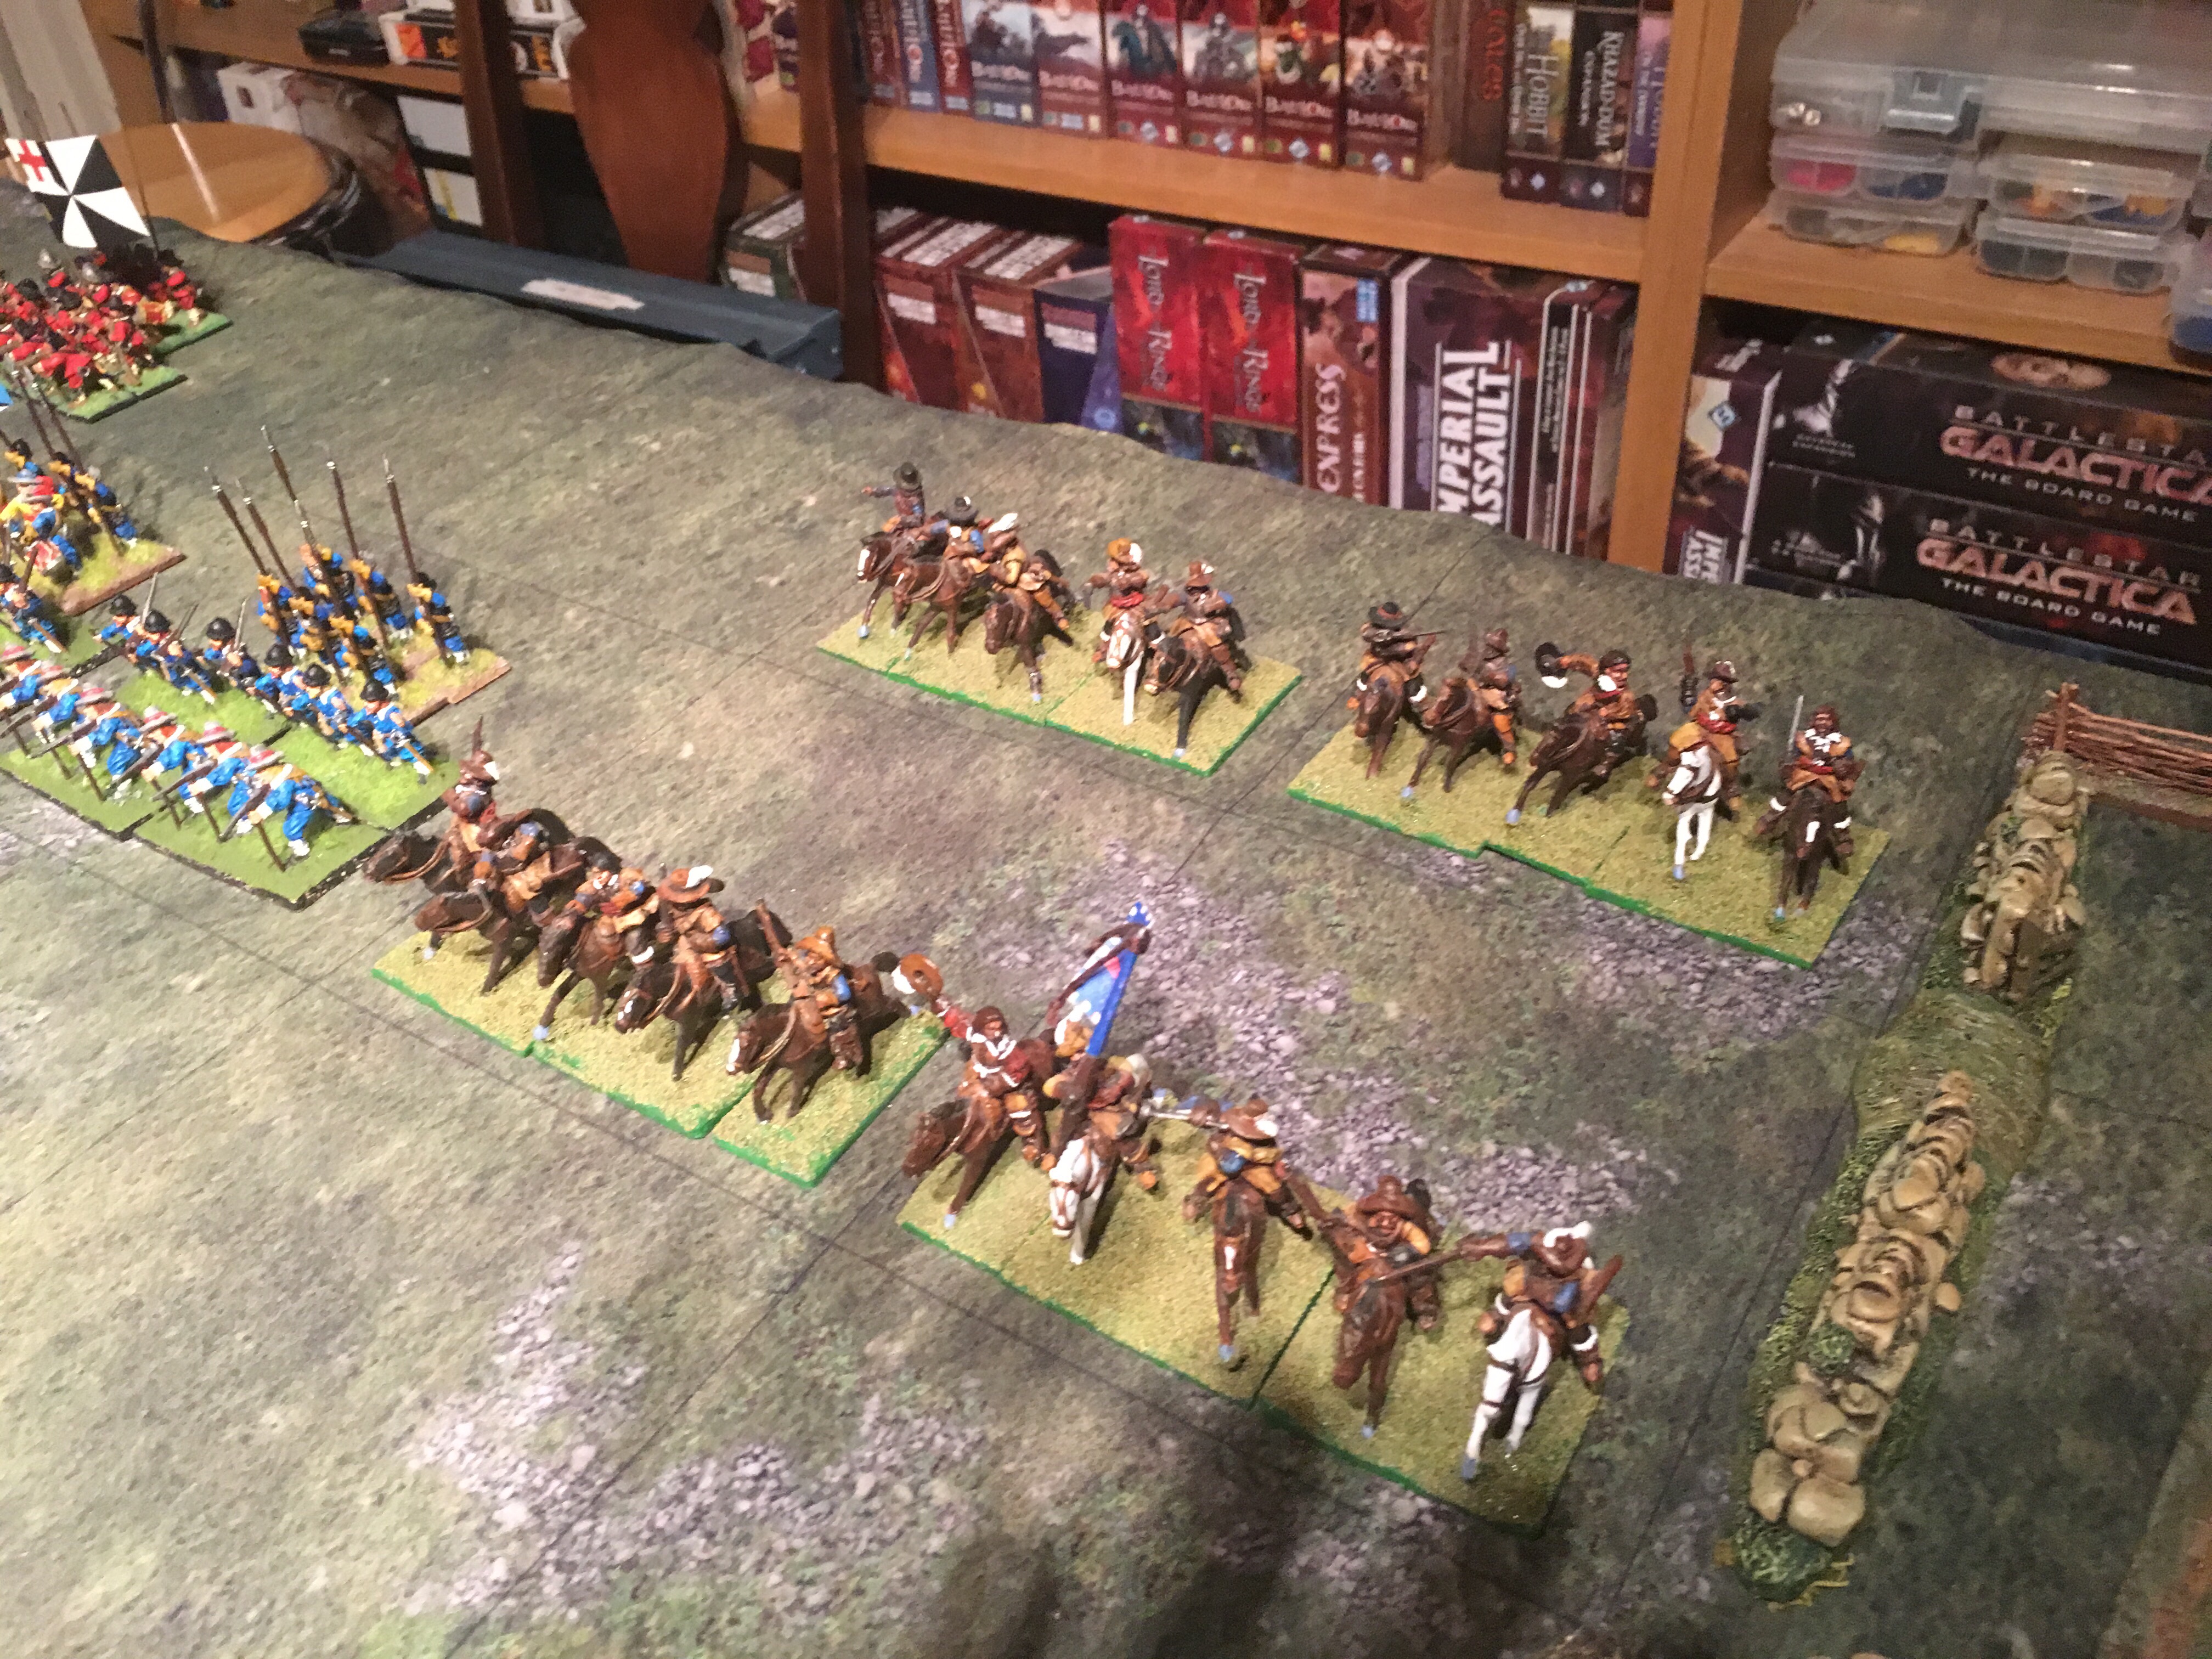
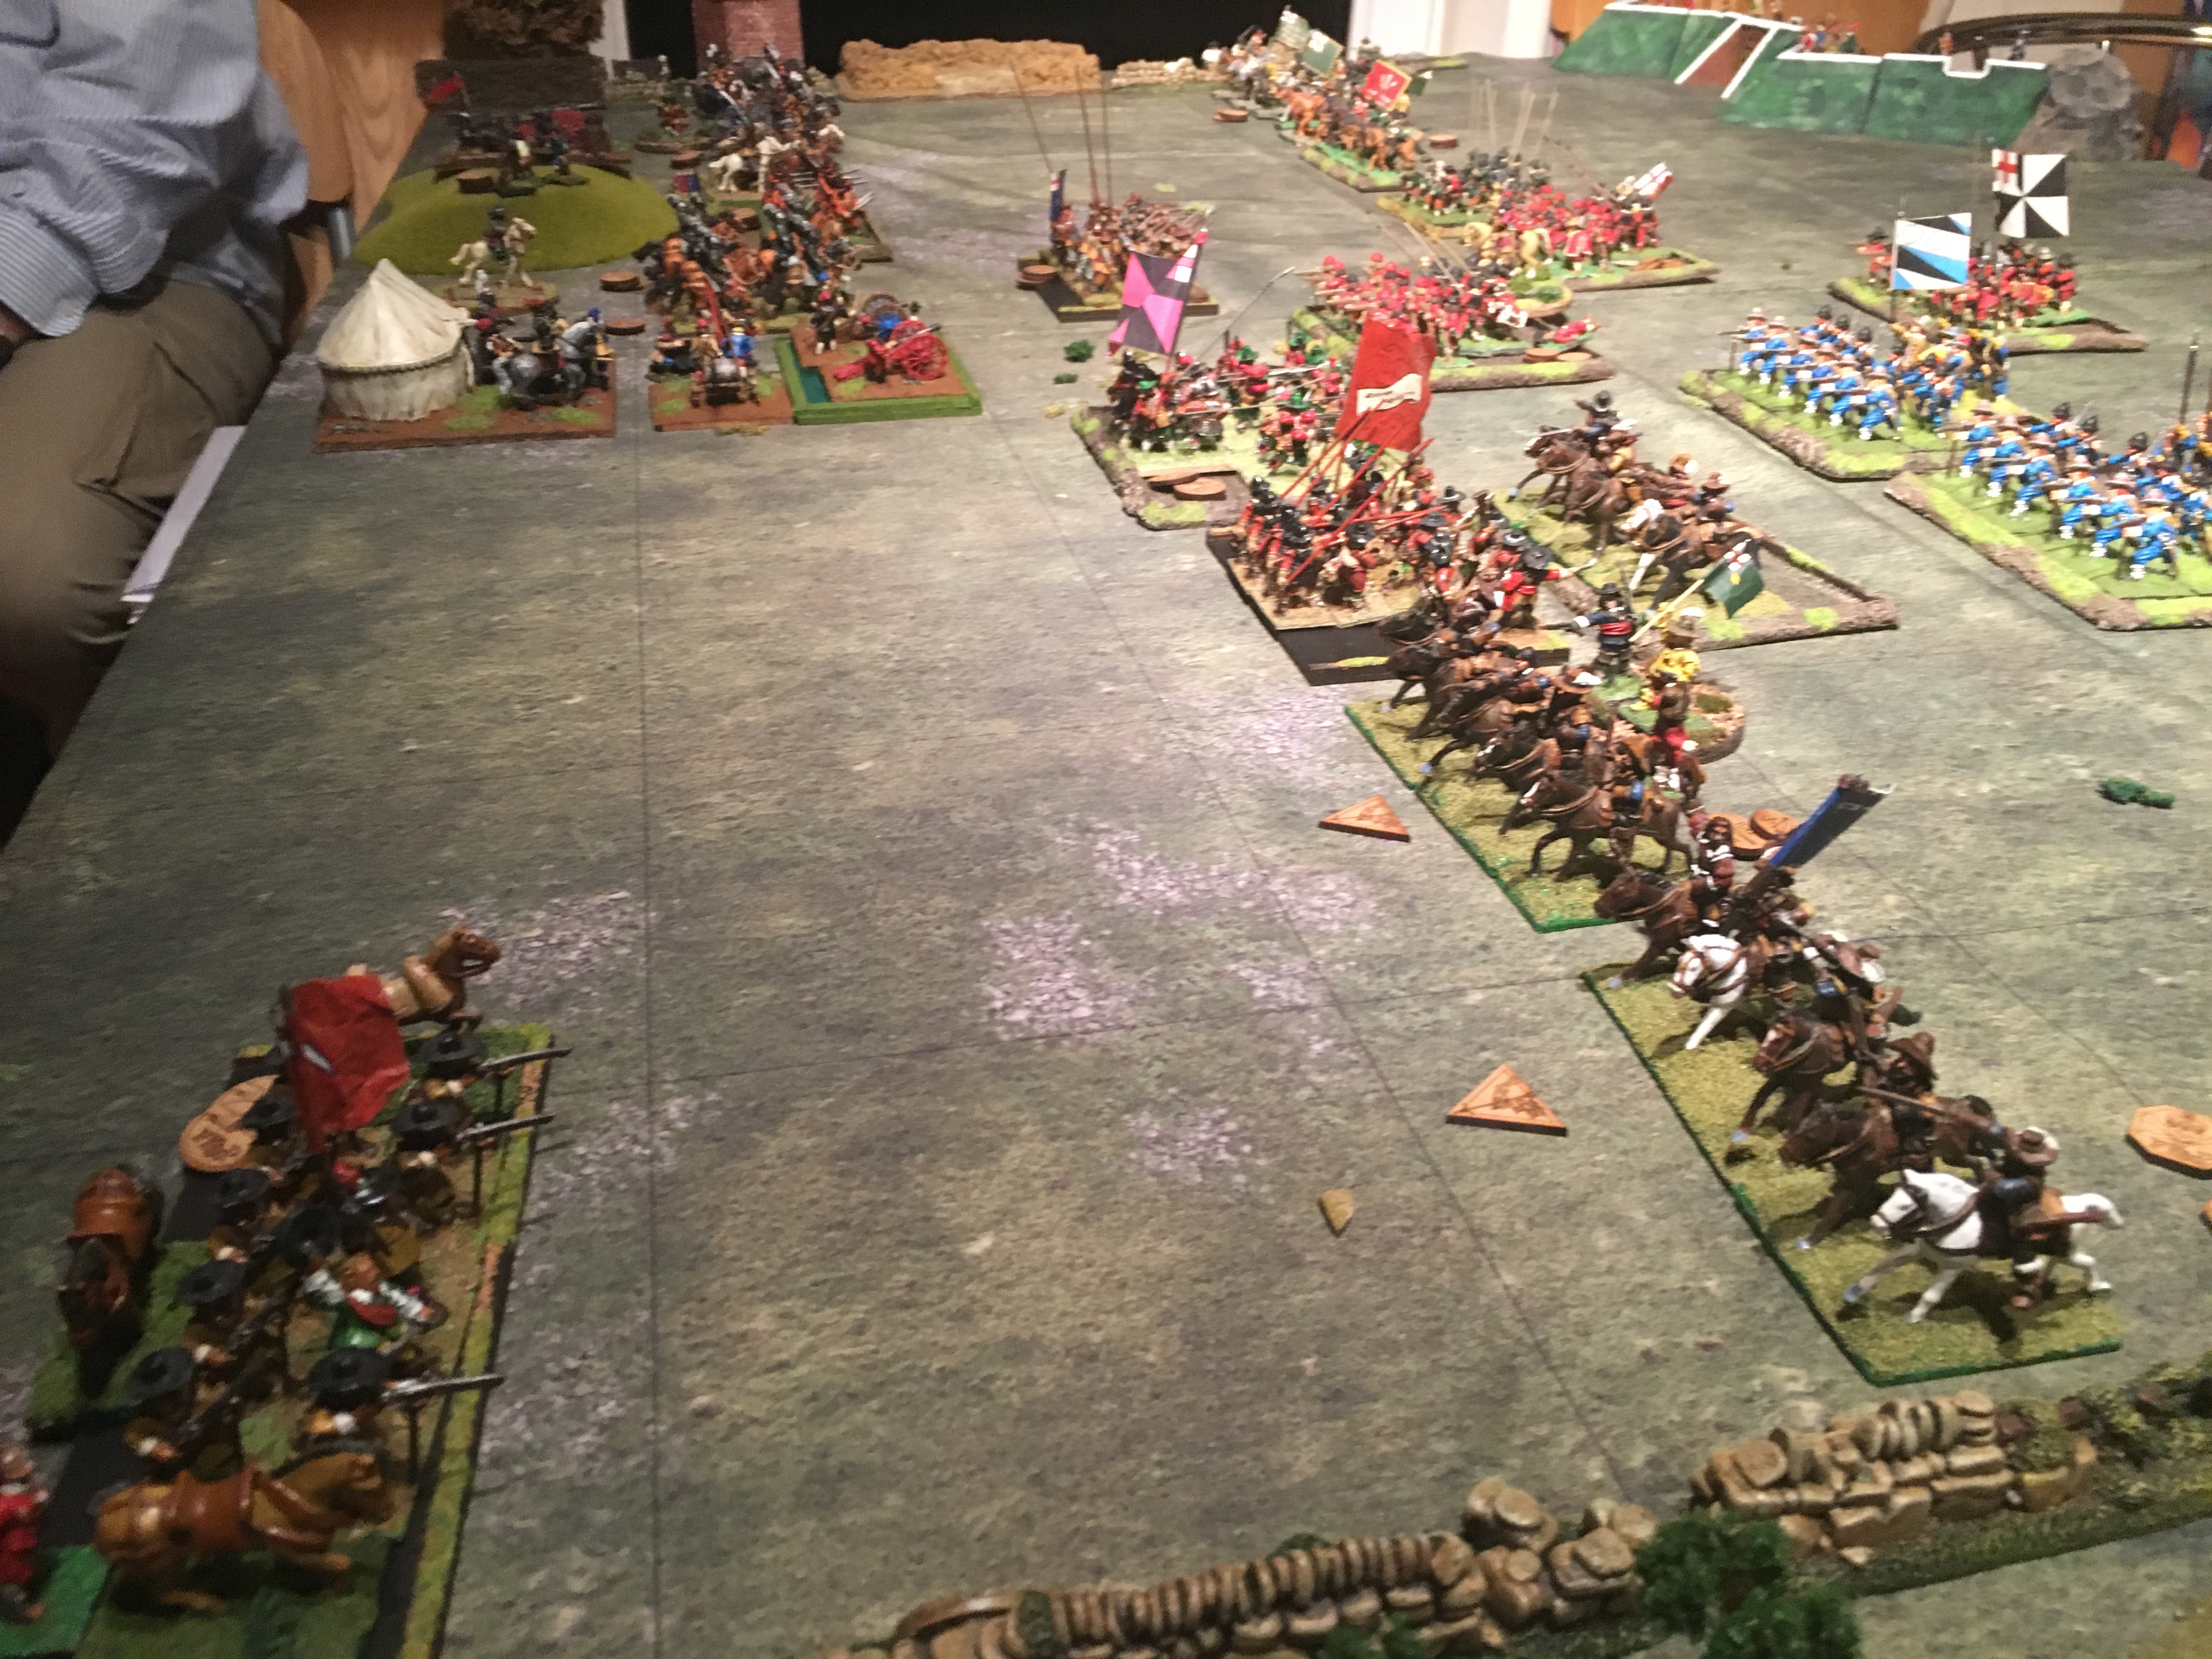
Maurice’s Horse having driven Waller’s from the field in a single charge pursue towards the table edge. One Troop attempts to drive off the Tower Hamlet’s Trained Band but finds them too hard a nut to crack even before they form Hedgehog.
Waller’s Horse on the left flank beside the Basing House dovecote (exact replica).
Prince Maurice drives the Foot mercilessly towards the artillery despite falling into disorder.
Northampton’s Horse prepare to charge the opposition. Will they have as much success as Maurice’s Troopers?
View from the Parliamentarian right flank and the Trained Bands holding back the Horse.
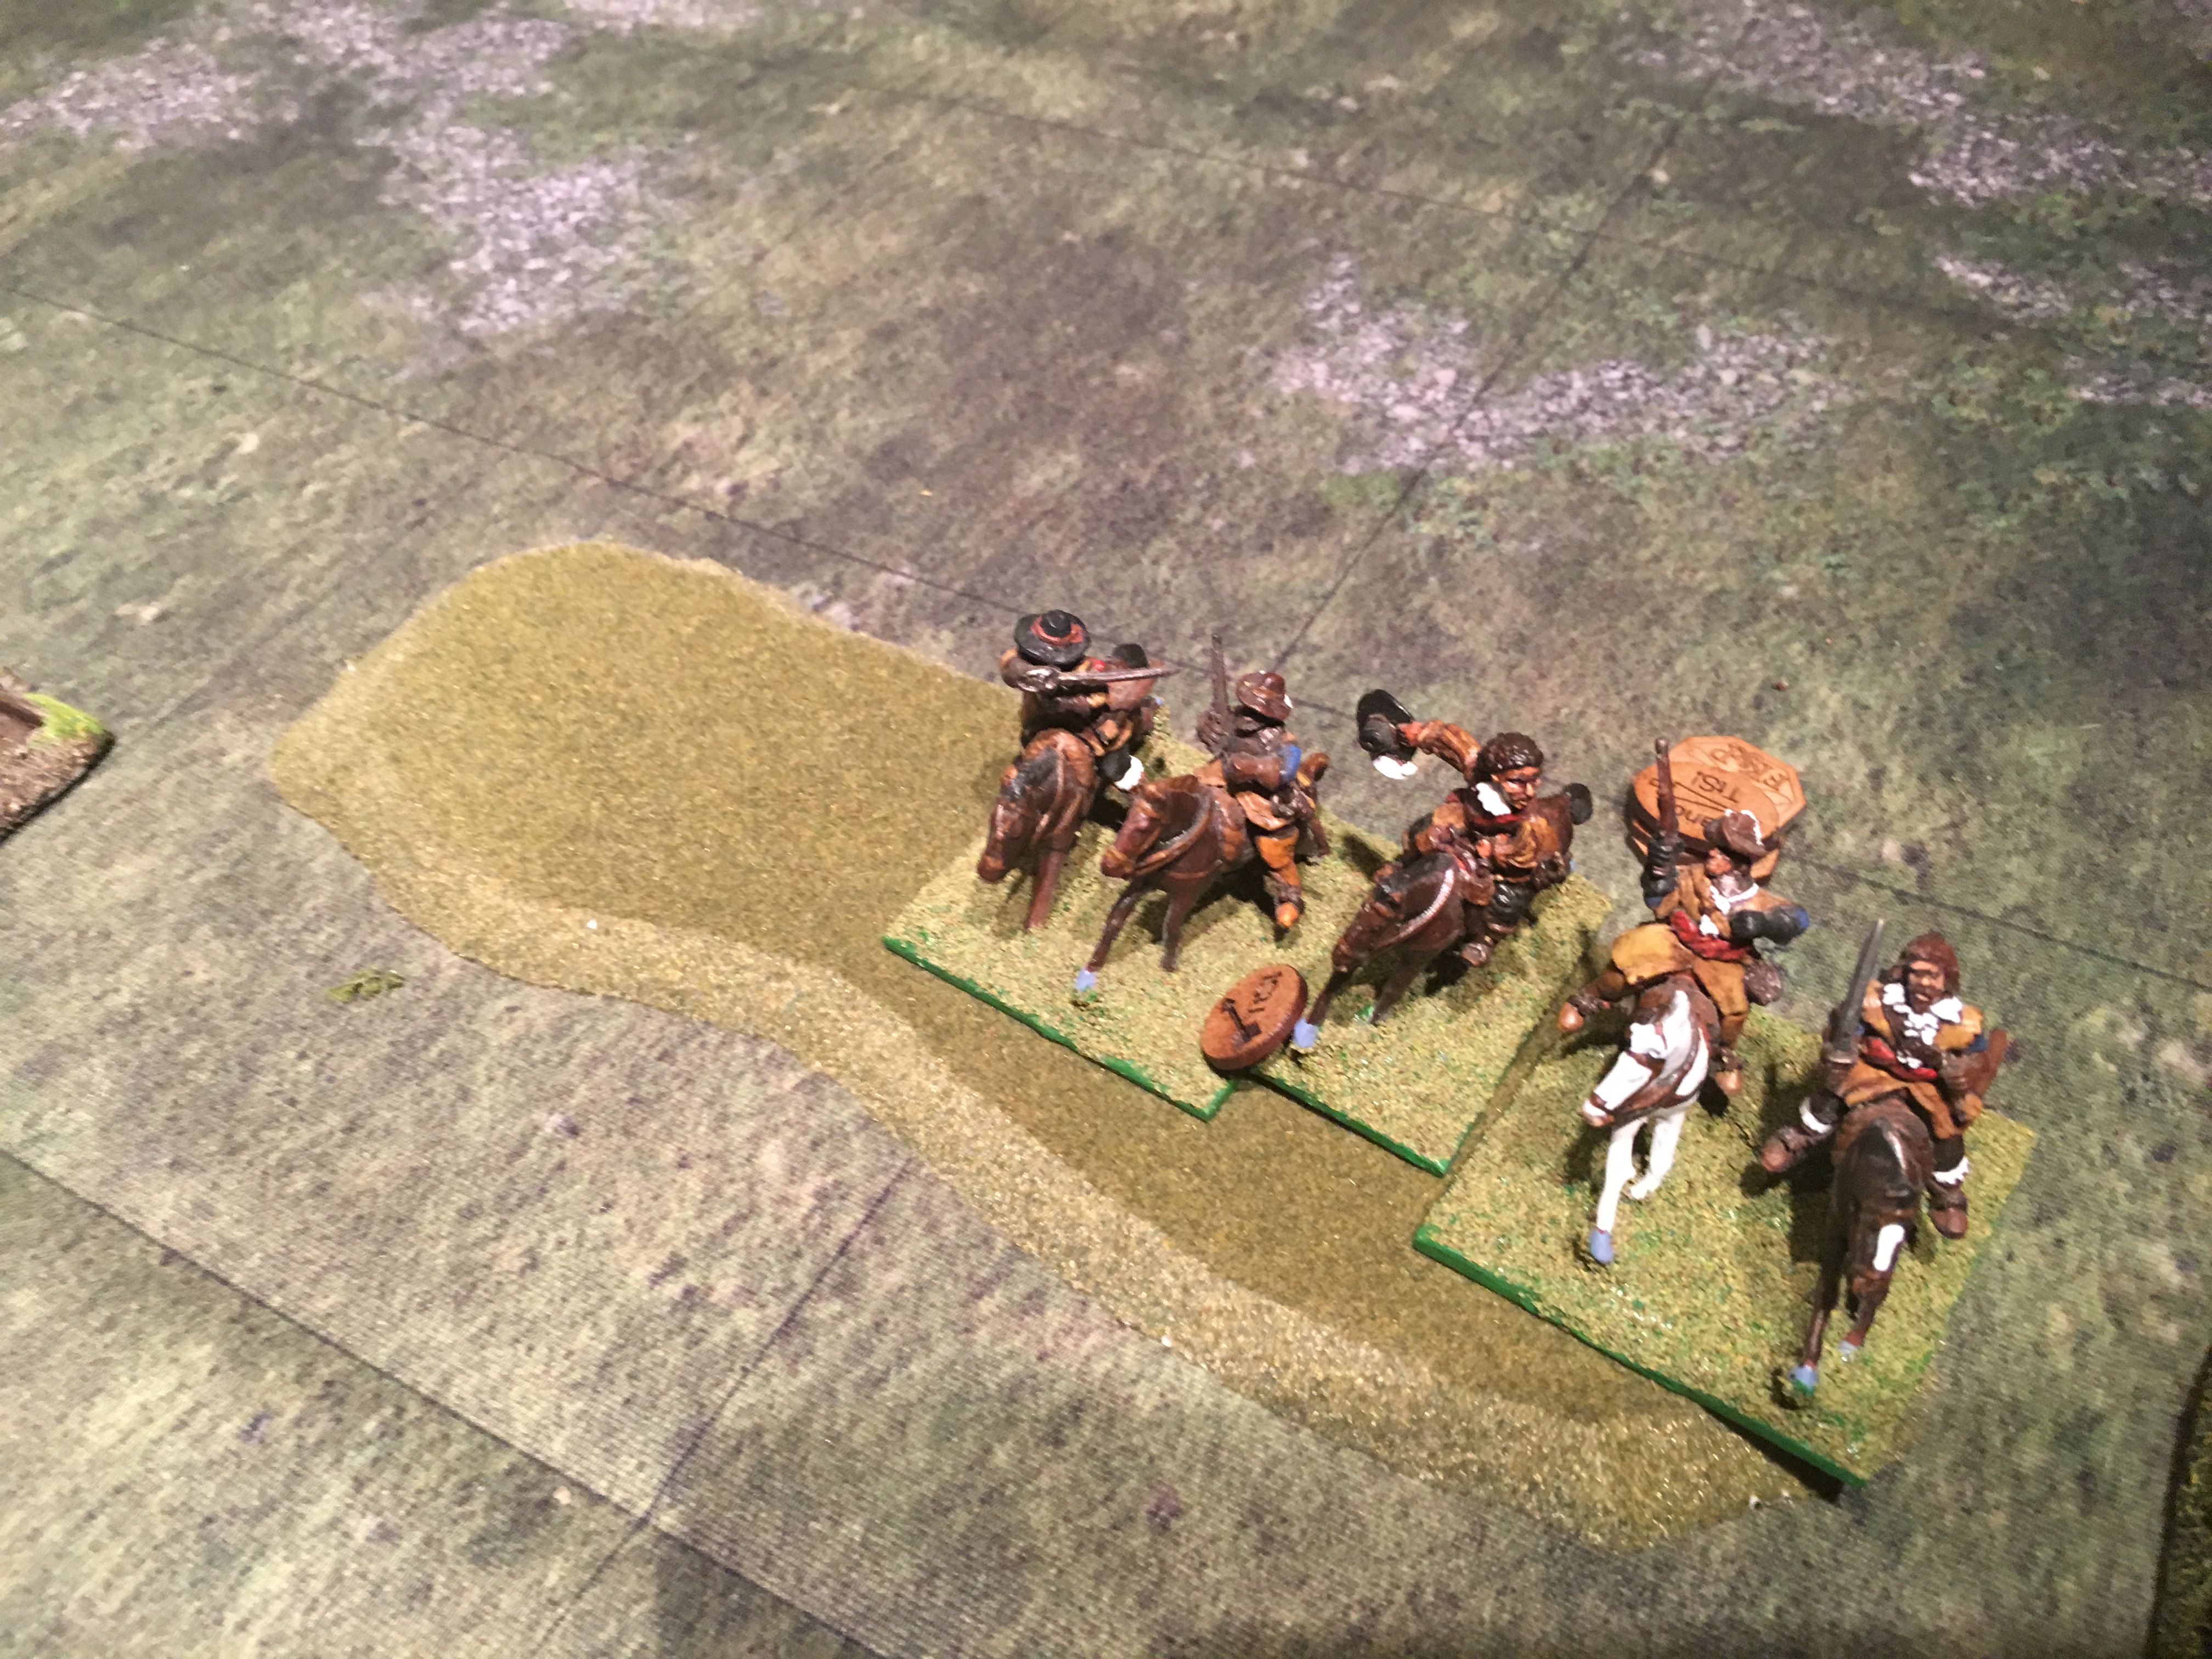
Maurice’s Horse sweep past the Trained Band but little did they count on Captain Oakey’s Mounted Dragoons!
Waller’s Horse pursue Northampton’s Horse past the Dragoons but one Troop and the wounded commander remain in the fight. They retire, rally and charge in a single bound to hold back the Parliamentarian left flank slightly.
Captain Oakey’s Dragoon’s manage to hold back a Troop Of Maurice’s Horse for the entire game. Maurice’s Horse and Brigade commander pursue off table but return and charge into the rear of the Trained Band. Despite double disorder and attacks from front, rank and rear they shrug this off and form hedgehog becoming nigh indestructible.
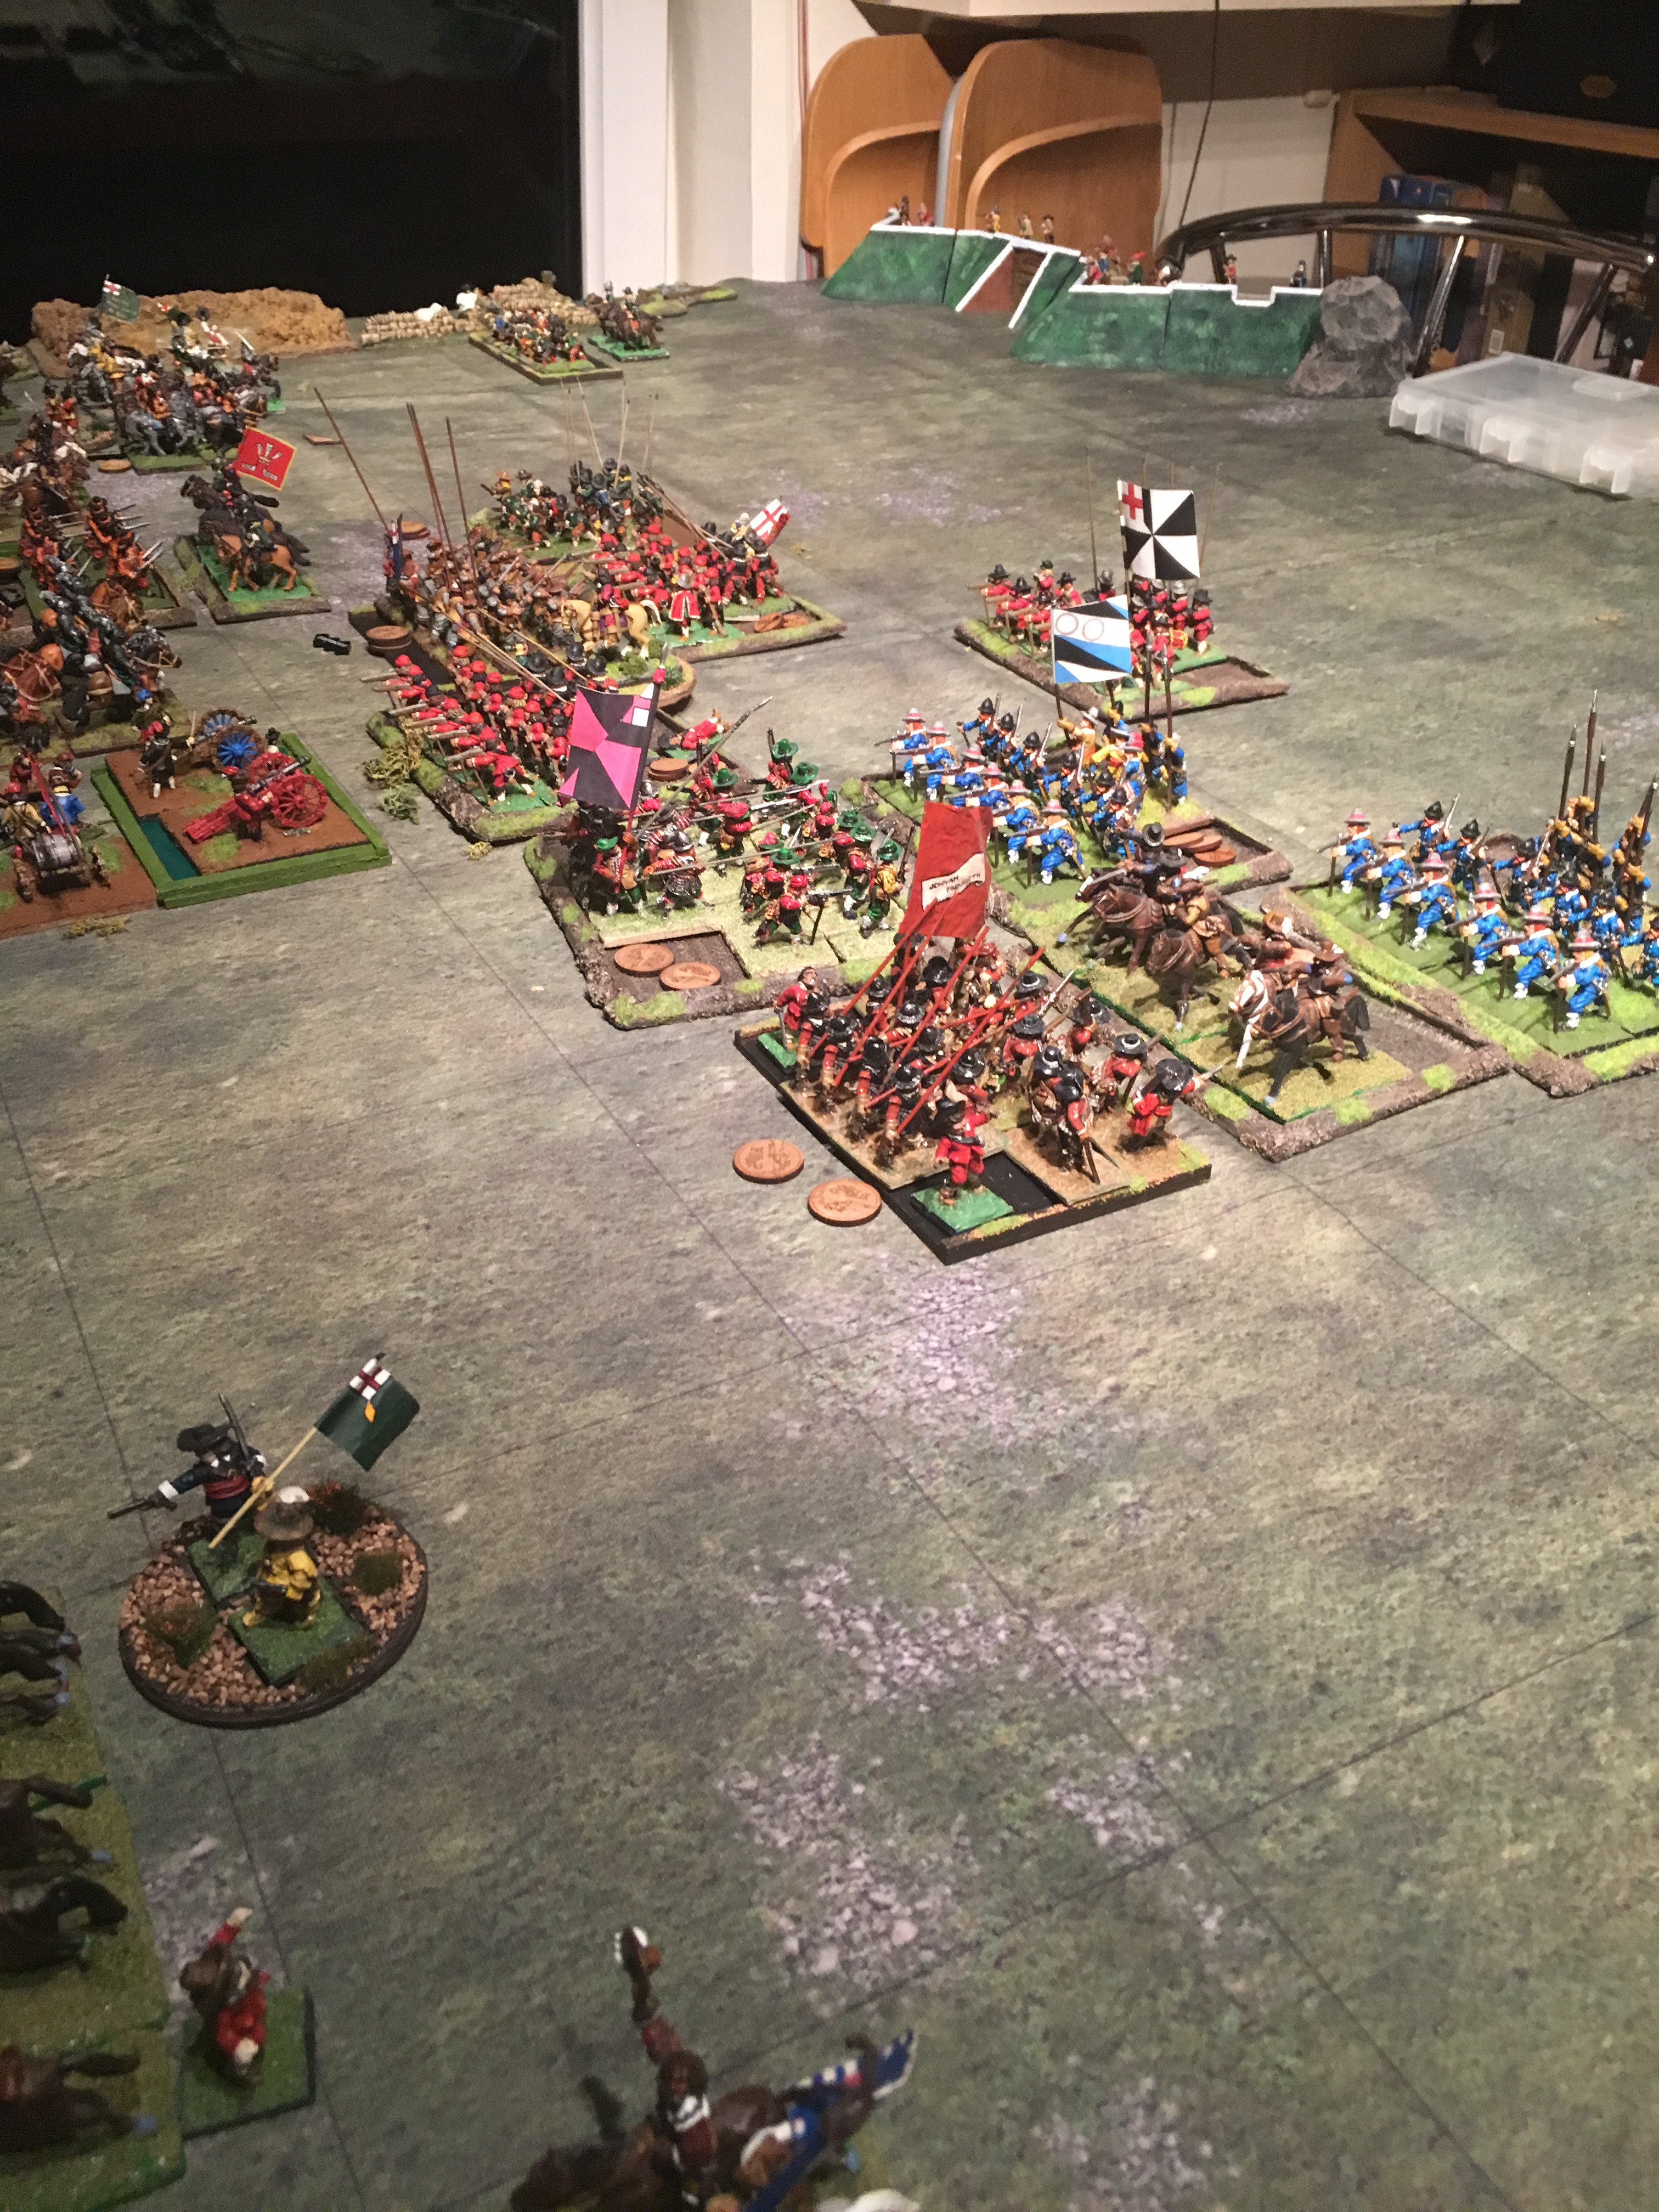
In the centre Maurice drives his disordered foot to take the guns but they are then routed by Haselrig’s Horse who have turned to face and charge. Despite facing multiple turns of double firing from two Companies of the king’s Lifeguard of Foote they never have to test to save once before charging and putting the foot to flight before. They turn to face Aspley’s held in reserve. The Parliamentarian Foot and Horse gradually apply the pressure but everywhere the Roundheads refuse to give up despite losing Essex’s commanded shot and the Greycoats.
Finally as night falls the medals are counted. A narrow victory for the Royalists mainly due to the amazing success on their left flank with Maurice’s Horse and their opening charge. Though they were able to lift the siege and saving Basing House for now they were unable to seize the Siege Artillery and the Roundheads retire in good order back to their base to plot their next move. Waller will be back!