Archive for the ‘Miniatures’ Category
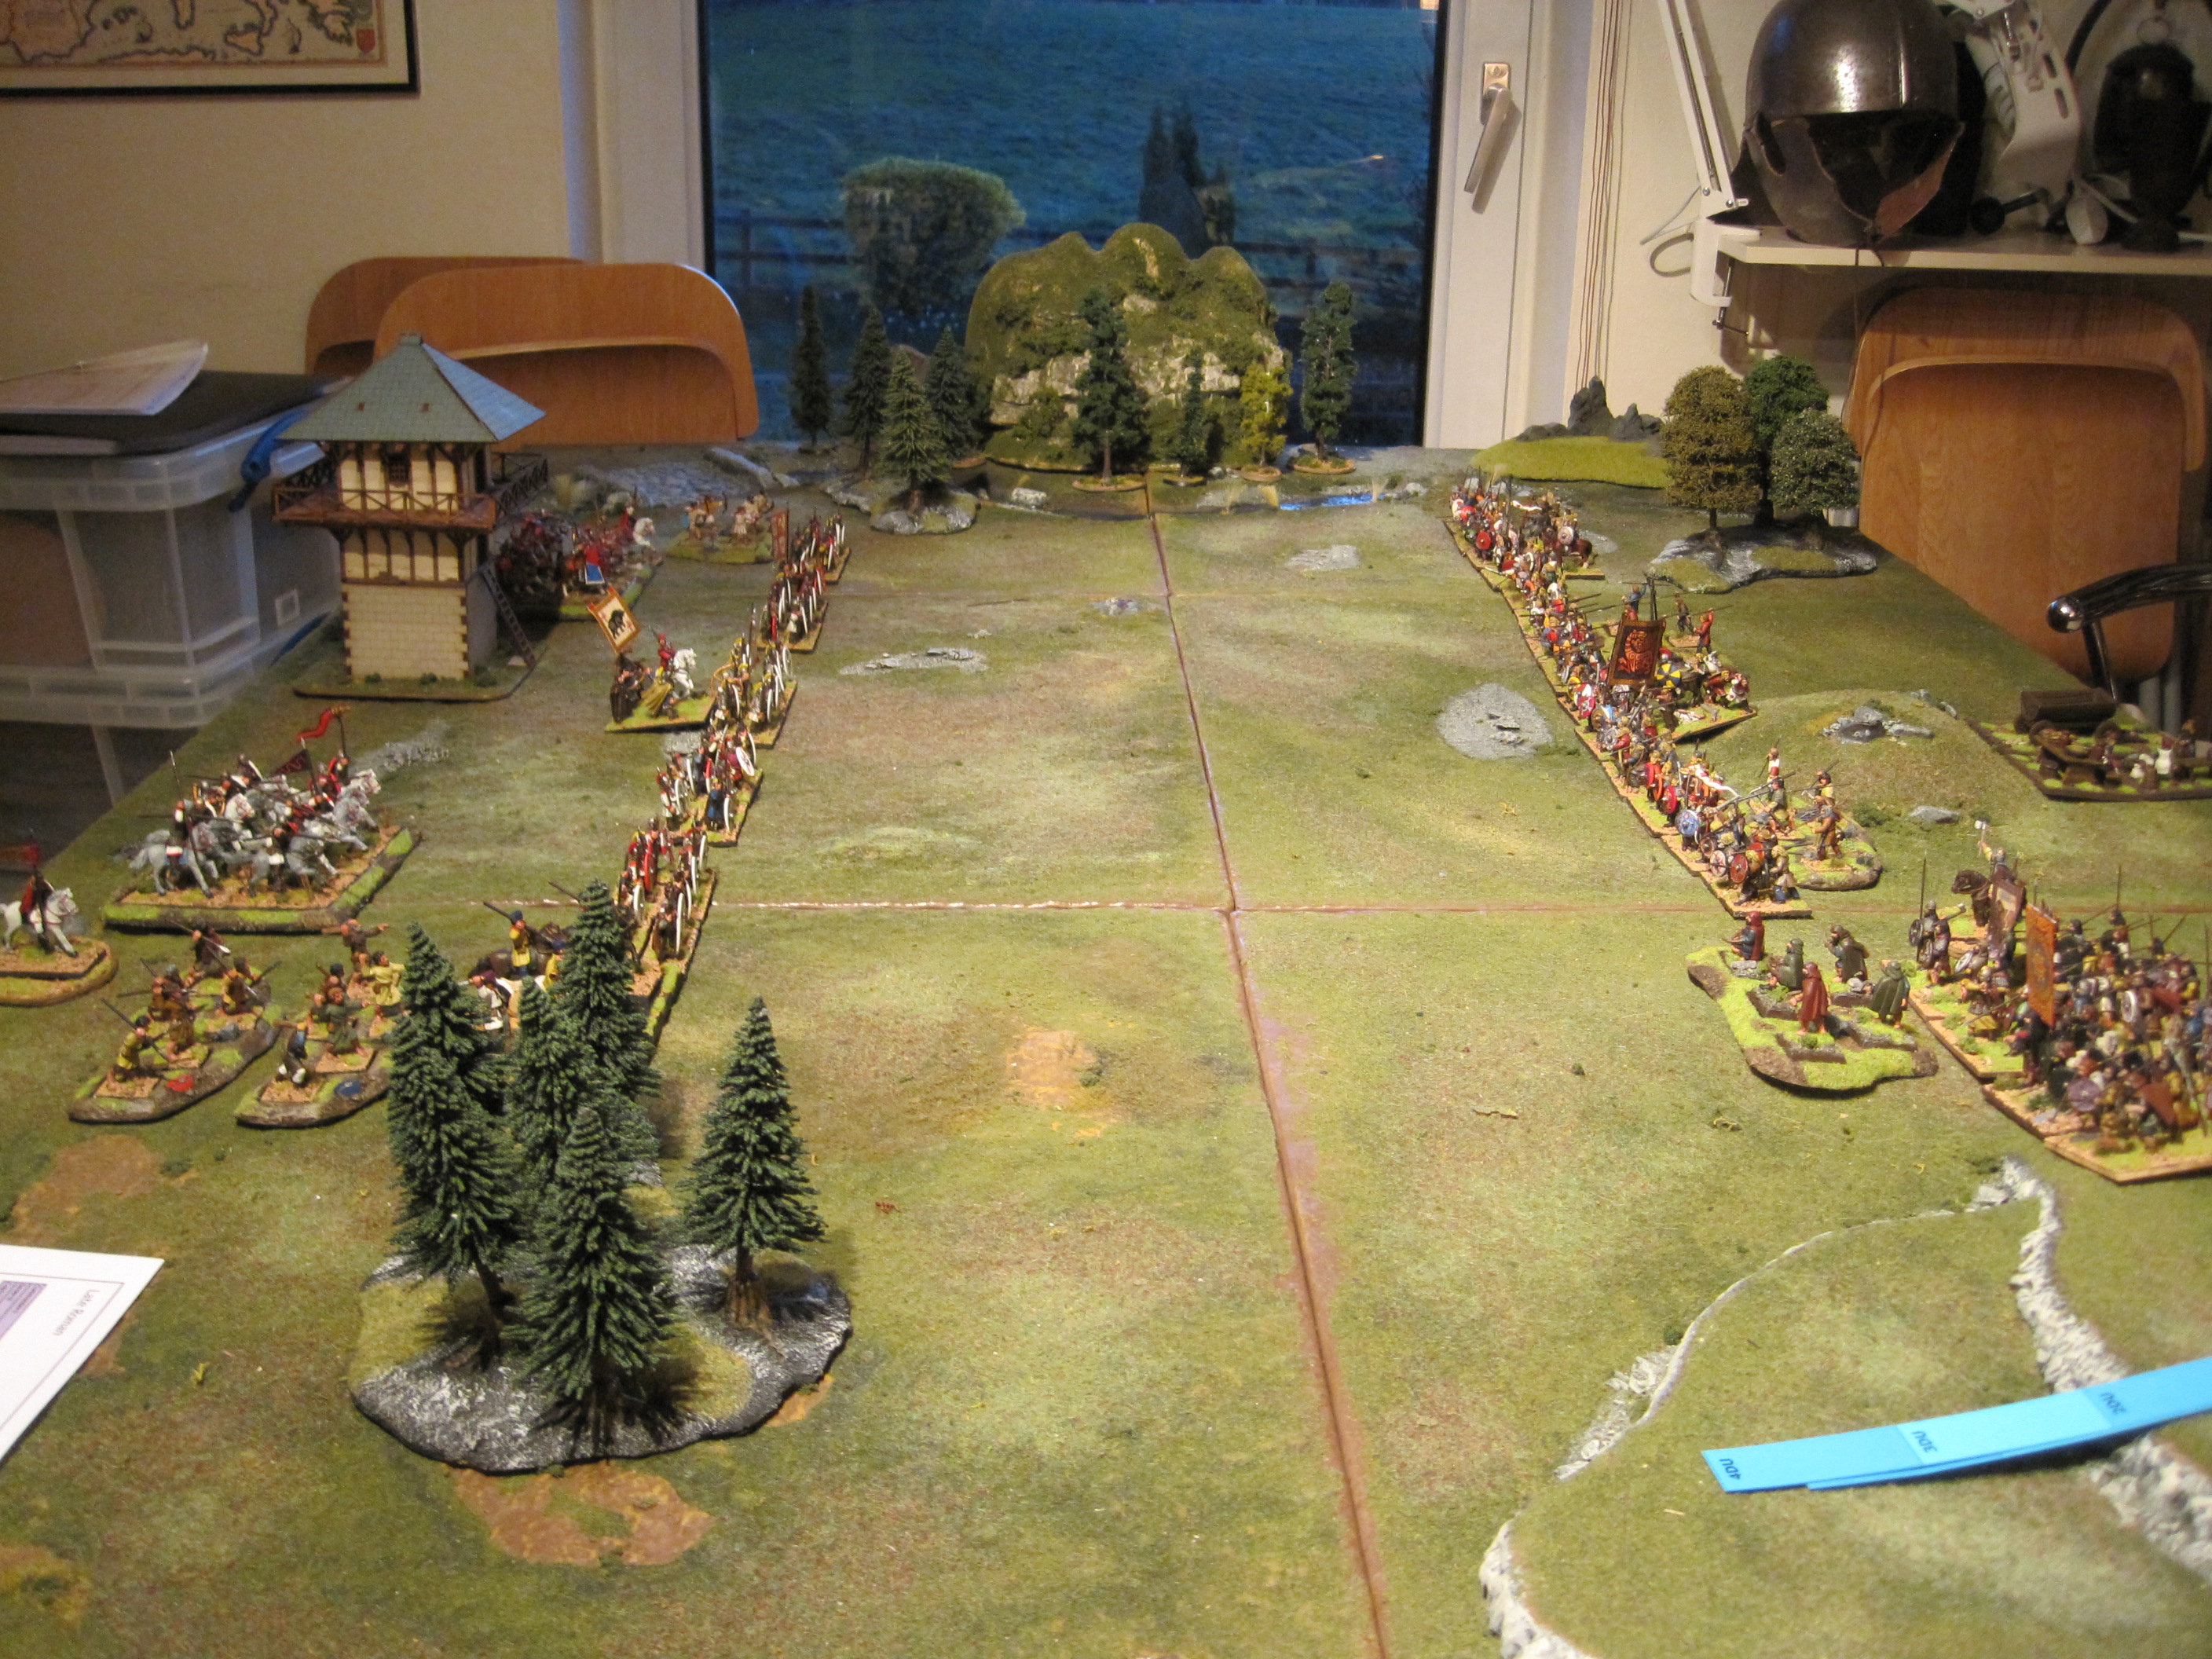
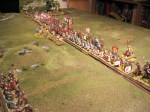
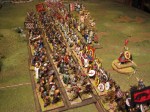
The Second part of Barbarian Conspiracy campaign using the excellent Sword and Spear Rules! Will the Barbarians be able to hold off the Romans and defend their ill gotten gains? This time the Picts have been upgraded to mighty Attecotti Warriors but the Romans have brought real soldiers led by the Elder Theodosius himself. You can read about the game and see the photos of the battle by clicking the link.

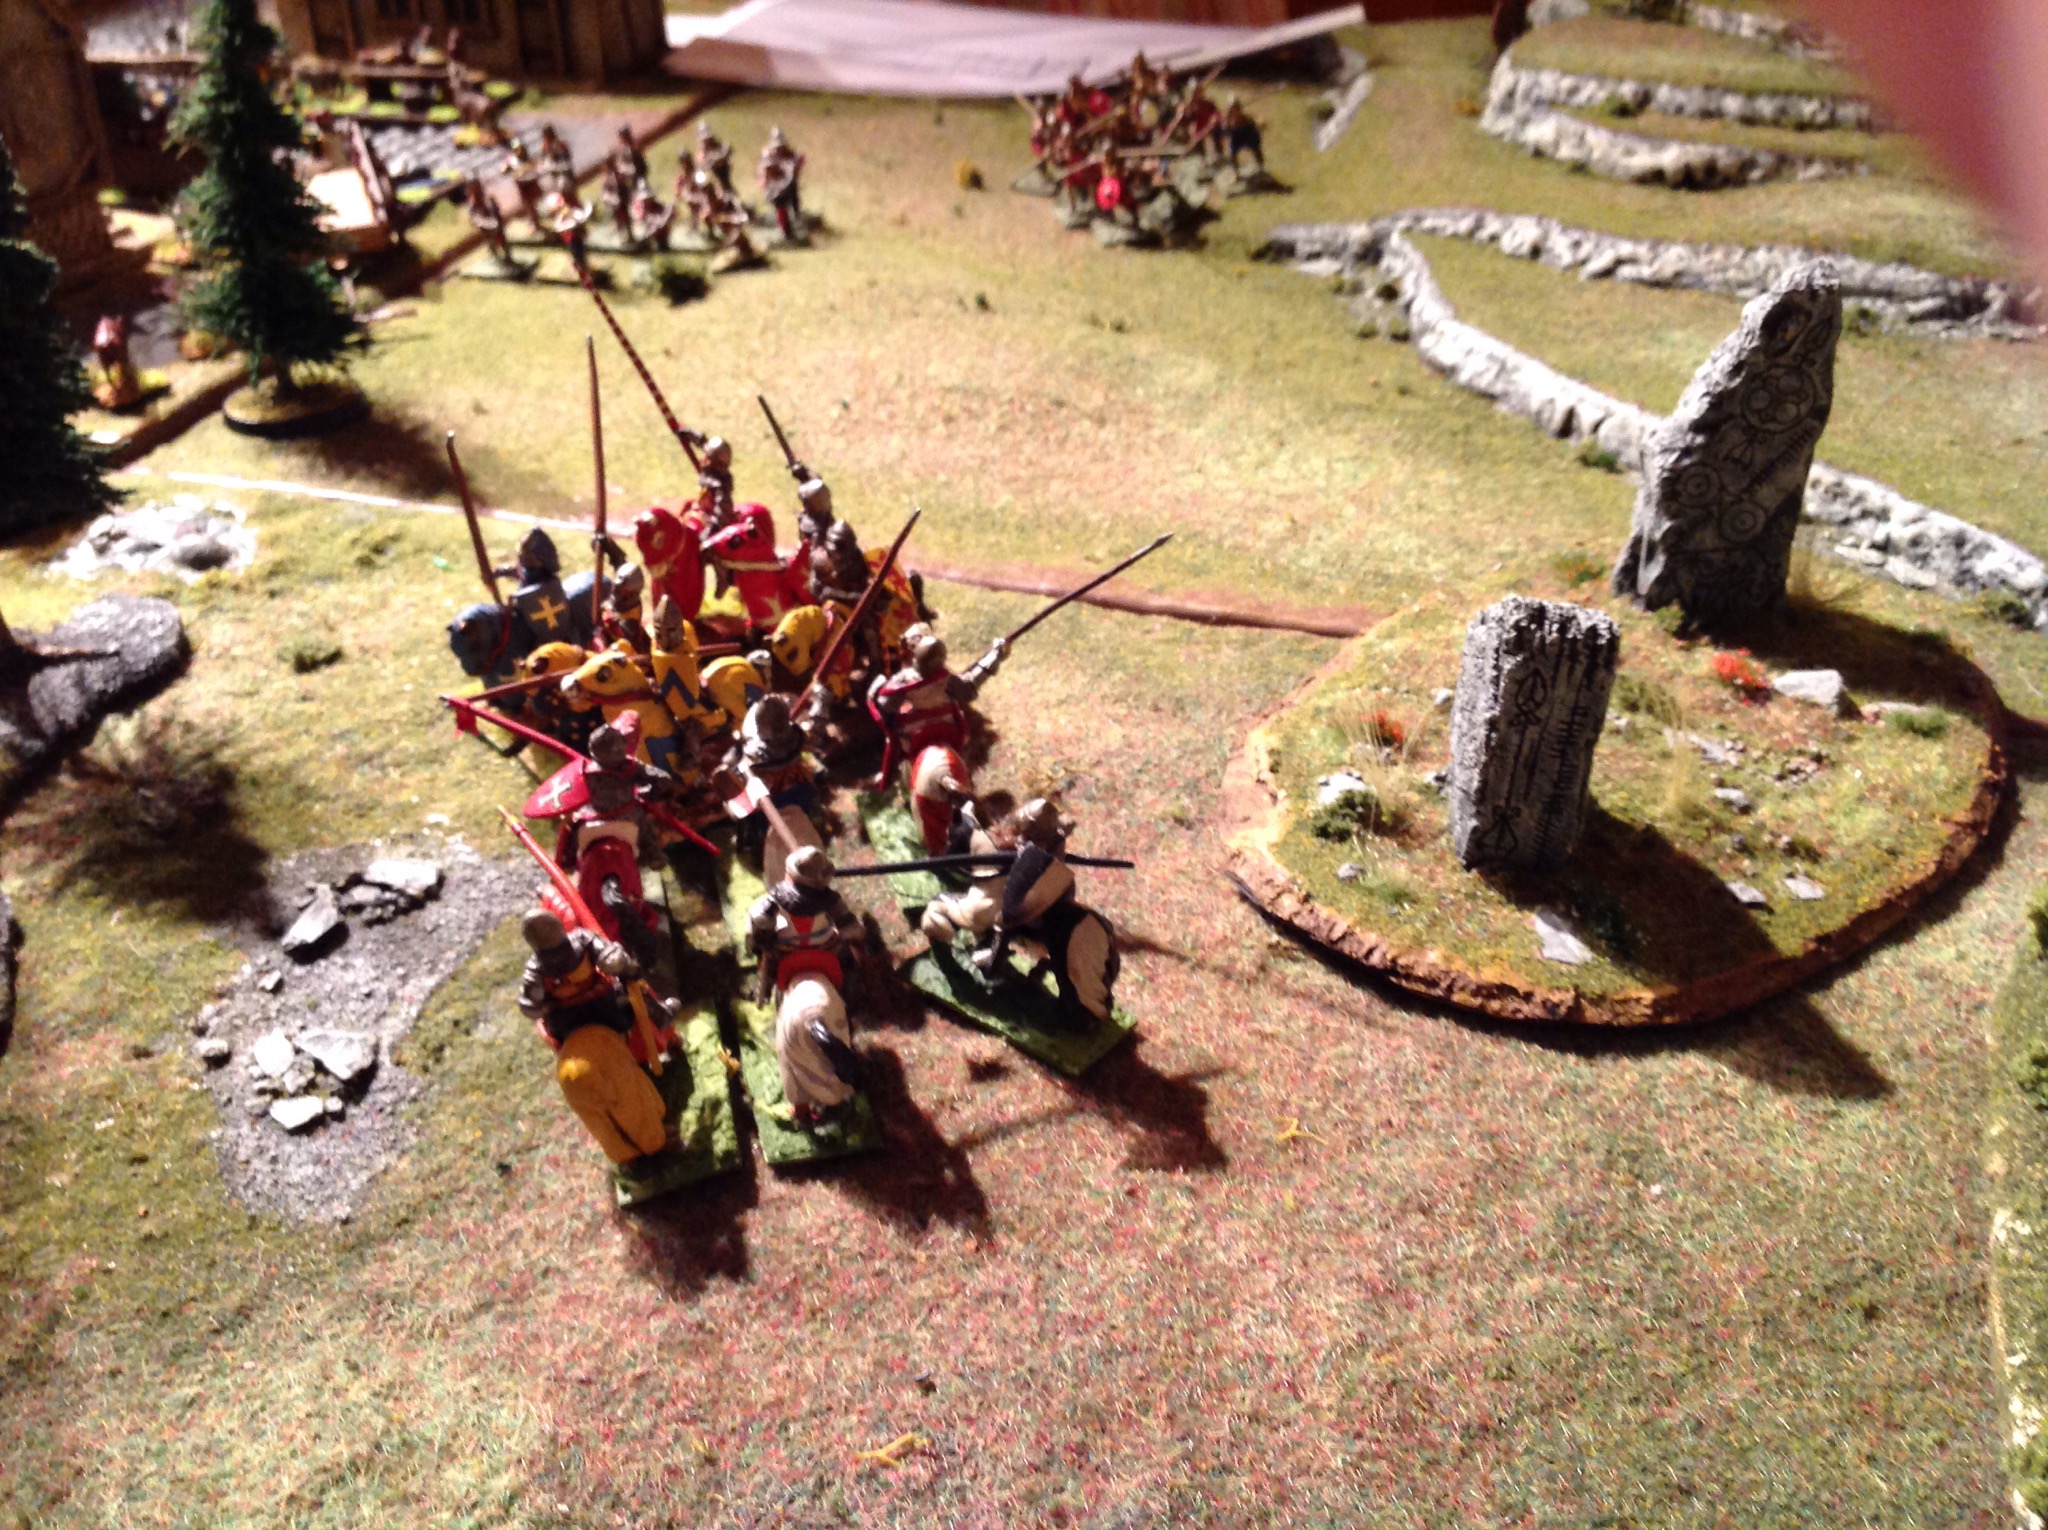
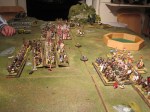
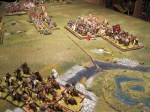
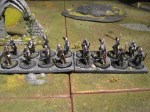
Magnus leads the cavalry forward

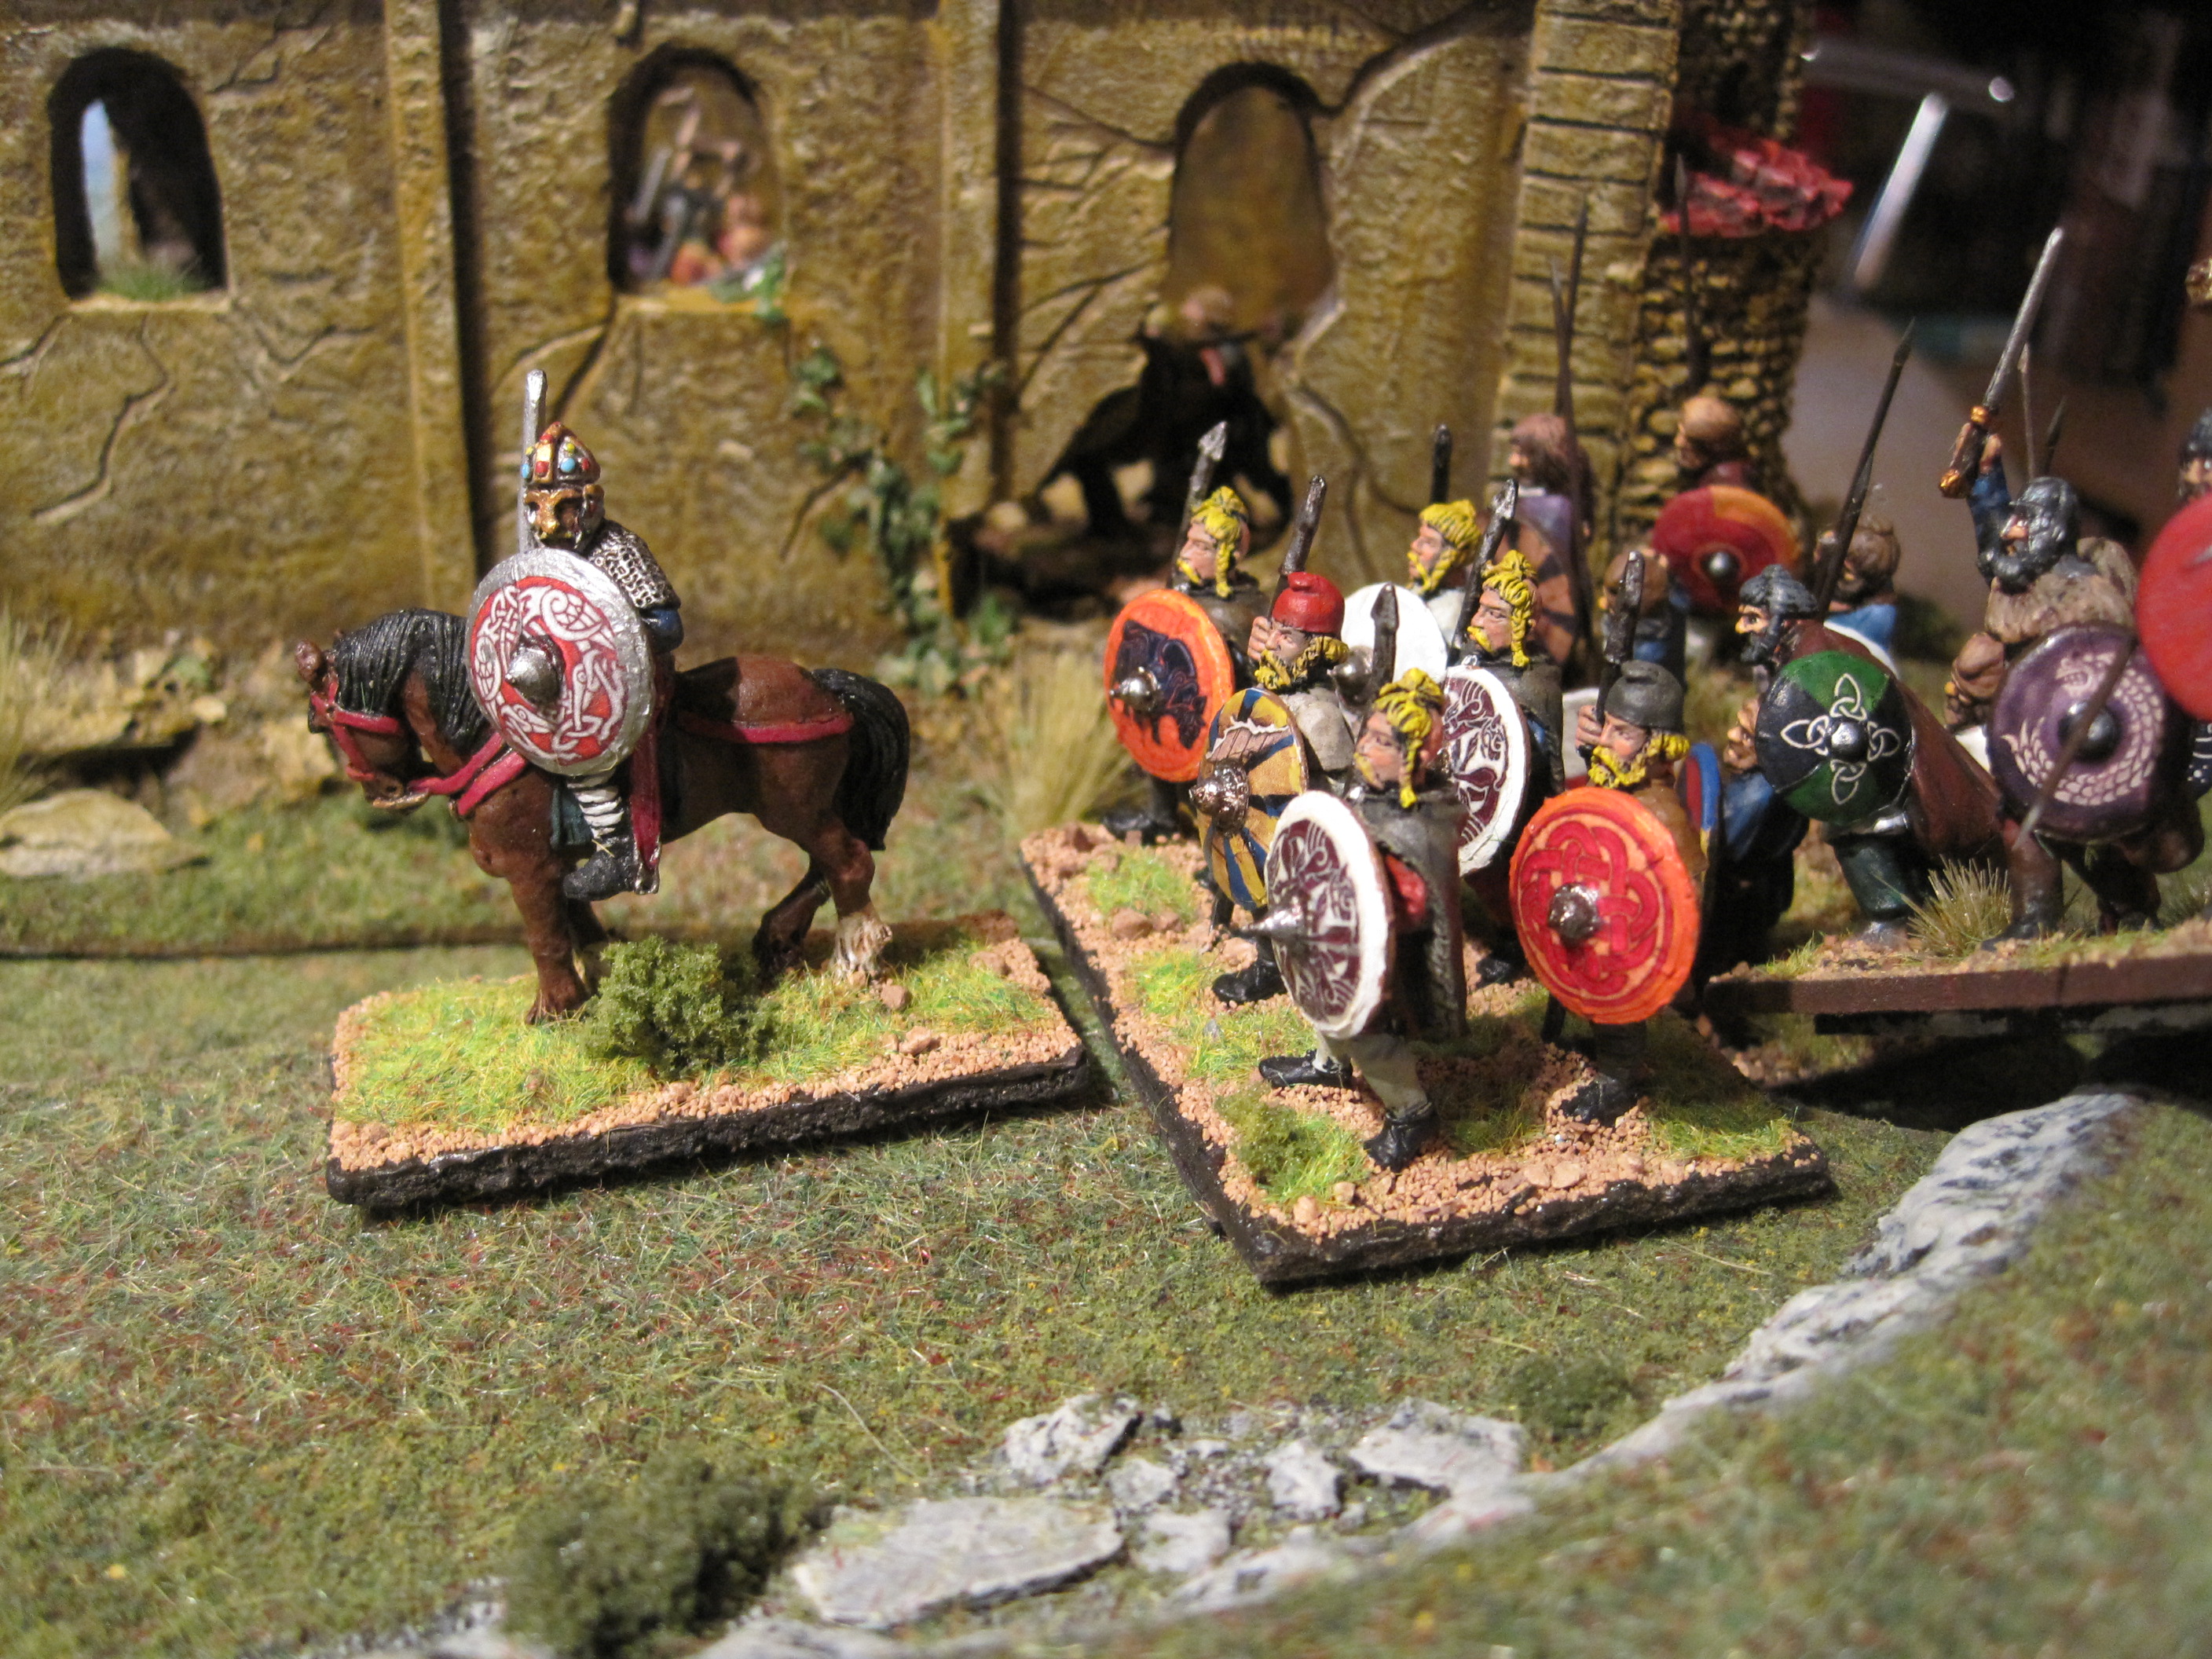
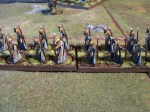
Aelle, the Saxon High King and Barbarian General

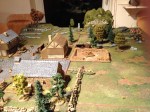
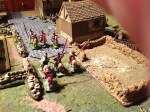
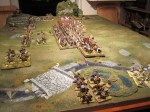
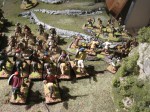
The battle field with the Romans deployed in front of their watch tower.
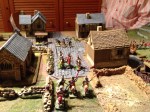
The Barbarian Conspiracy of 367AD: First Scenario. River Crossing.
You can read all about the Battle here complete with Gallery images of the Battle itself.

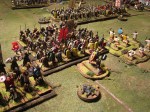
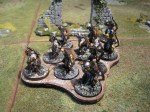
Octha on the Barbarian left wing

Fullofaudes in the Roman Centre defending the ford

The view down river from the Roman right.
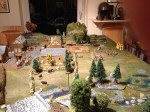
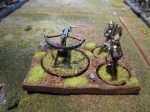
Planning for a Sword and Spear game, depicting the barbarian conspiracy of 367 AD.
Details can be found in the Barbarian Conspiracy page.
https://www.kickstarter.com/projects/1744629938/dungeon-saga-the-dwarf-kings-quest
Mike and Darryl took on Phil’s Necromancer in this playtest of the Beta rules for the above Kickstarter game. We printed out the rules and cards and took on the introductory adventures A and B. These are really designed to introduce new players to the basic mechanics against simple skeleton warriors. For terrain we used our Dwarven Forge Dungeon and Cavern tiles and added some painted figures.
In adventure A the two Fighters raced through the corridor smashing skeletons. As they were re-animated the players realised they could block the corridor very effectively with the dwarf’s Feat whilst the Barbarian headed towards the door. The skeletons were thus trapped by the dwarf whilst the barbarian forced the door open and it was an easy victory.
In adventure B the players realised the mage and the archer were much more fragile. Still once they had dealt with the initial wave of skeletons they soon had the sense to advance along to the main room. This was in fact no problem for them and whilst the mage held up the skeletons with feat of stone spells the archer eventually was able to get the final door open and it was another victory for the players though perhaps a little harder this time.
Overall a promising game and once we have more variety with different monsters, characters and items I think this will be fun to play. Works very well with the Dwarven Forge terrain to give a true 3D feel. I’m not sure I would ever get round to painting the KS figures now though. Have some proxies ready painted (from LoTR, em4 and Dungeon Command) and the figures unpainted should do for the monsters.
Cattle Raid
Continuing our campaign from the previous game Aesc once again sets out to raid into Rhegin. This time he is returning South from a successful cattle raid.
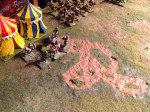
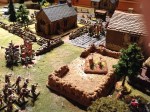
The Saxons enter the field of combat from the North, the Britons intercepting them on their way South to their ships on the coast enter from the South West. The terrain represents the South Downs with a once thriving religious community or Ecclesia with a ruined church, burnt down in a previous raid and an enclosed field where livestock once roamed safely.
The Britons were clearly alert and the Saxons managed just one short move to the South before the British vanguard under Julius enters the table. The levy of course lagging behind.
British Force Morale 5+3=8
Saxon 6. +1=7
Cards dealt.
Lords and troops they command and begin near to:
British Lord= Julius (Elites, Milites); 1=Amminus (Milites, Levy); 2=Vellocatus (Levy).
Saxon: Lord= Aesc (Hearth A); 1=Eastmund (Hearth B, warriors with livestock); 2=Paega (Warriors).
The game begins with the Saxons advancing down the centre of the table from North to south. Eastmund leads the elites ahead and Paega takes his warriors to the west of the woods and forms up a mass formation. Aesc brings up his elites and the warriors with livestock move to the east before moving south.
A Large shieldwall was formed by Britons in centre. Julius first advanced his units to block the route to the south and formed a shieldwall to await the reserves. Then Aesc and Eastmund formed a mass line opposite. Amminus with some good rolls brought up his units in shieldwall with the Milites to the fore and then later Julius brought the two shieldwalls together two form a large central line. Aesc attempted to close but the distance was too far. but his missile troops harrass the shieldwall from the small hill to the west.
Through the use of a Carpe Diem card Julius charges his shieldwall into the Saxon line and his Champion plays a Hero card to add some dice in the combat. This also allows Julius to overlap on both sides of the line and orevents Aesc from using all those attack cards he has ready. A long and drawn out fight ensues with the shieldwall very slowly pushing the hearthtroops back. The shieldwall advantage of preventing a kill making a real difference.
In an attempt to outflank the shieldwall the Saxons move South with warriors to the west of the woods and the hill. However the British levy close to block their advance and protect Julius’ flank. The Saxons attack but fortunately the British play a shieldwall braced card and though thrown back just about survive.
In the centre the Saxons abandon the livestock in attempt to bring the warriors into the fight. However they roll so low they fail to close!
Eventually Aesc and half his hearth troop are routed. Shieldwall holds. Animals are lost and running free away from the sound of battle back towards the British friendly edge. Julius attempts to close against Aesc now leading the remainung unit of warriors but he plays an evade card and retires towards the church.
The Saxons seeing that the day is lost retire from the field with the British holdingground rather than see more Levy killed. The Saxons have two retreat cards and the British just one. pursuit.
Saxons FM=5
OUTCOME
The British claim a small 2 point victory and both forces return home to recover their losses? About 14 for the Saxons mainly elites and about 5 for the British.
Saxons FM=2
My new Dux Brit rules and cards have arrived. The raiders expansion adds more options to field raiders from the barbarian lands against my beleagured Romano British. Very good they look too with lots of well produced art and plenty of story background to fuel interest. Hope to get these on the table soon.

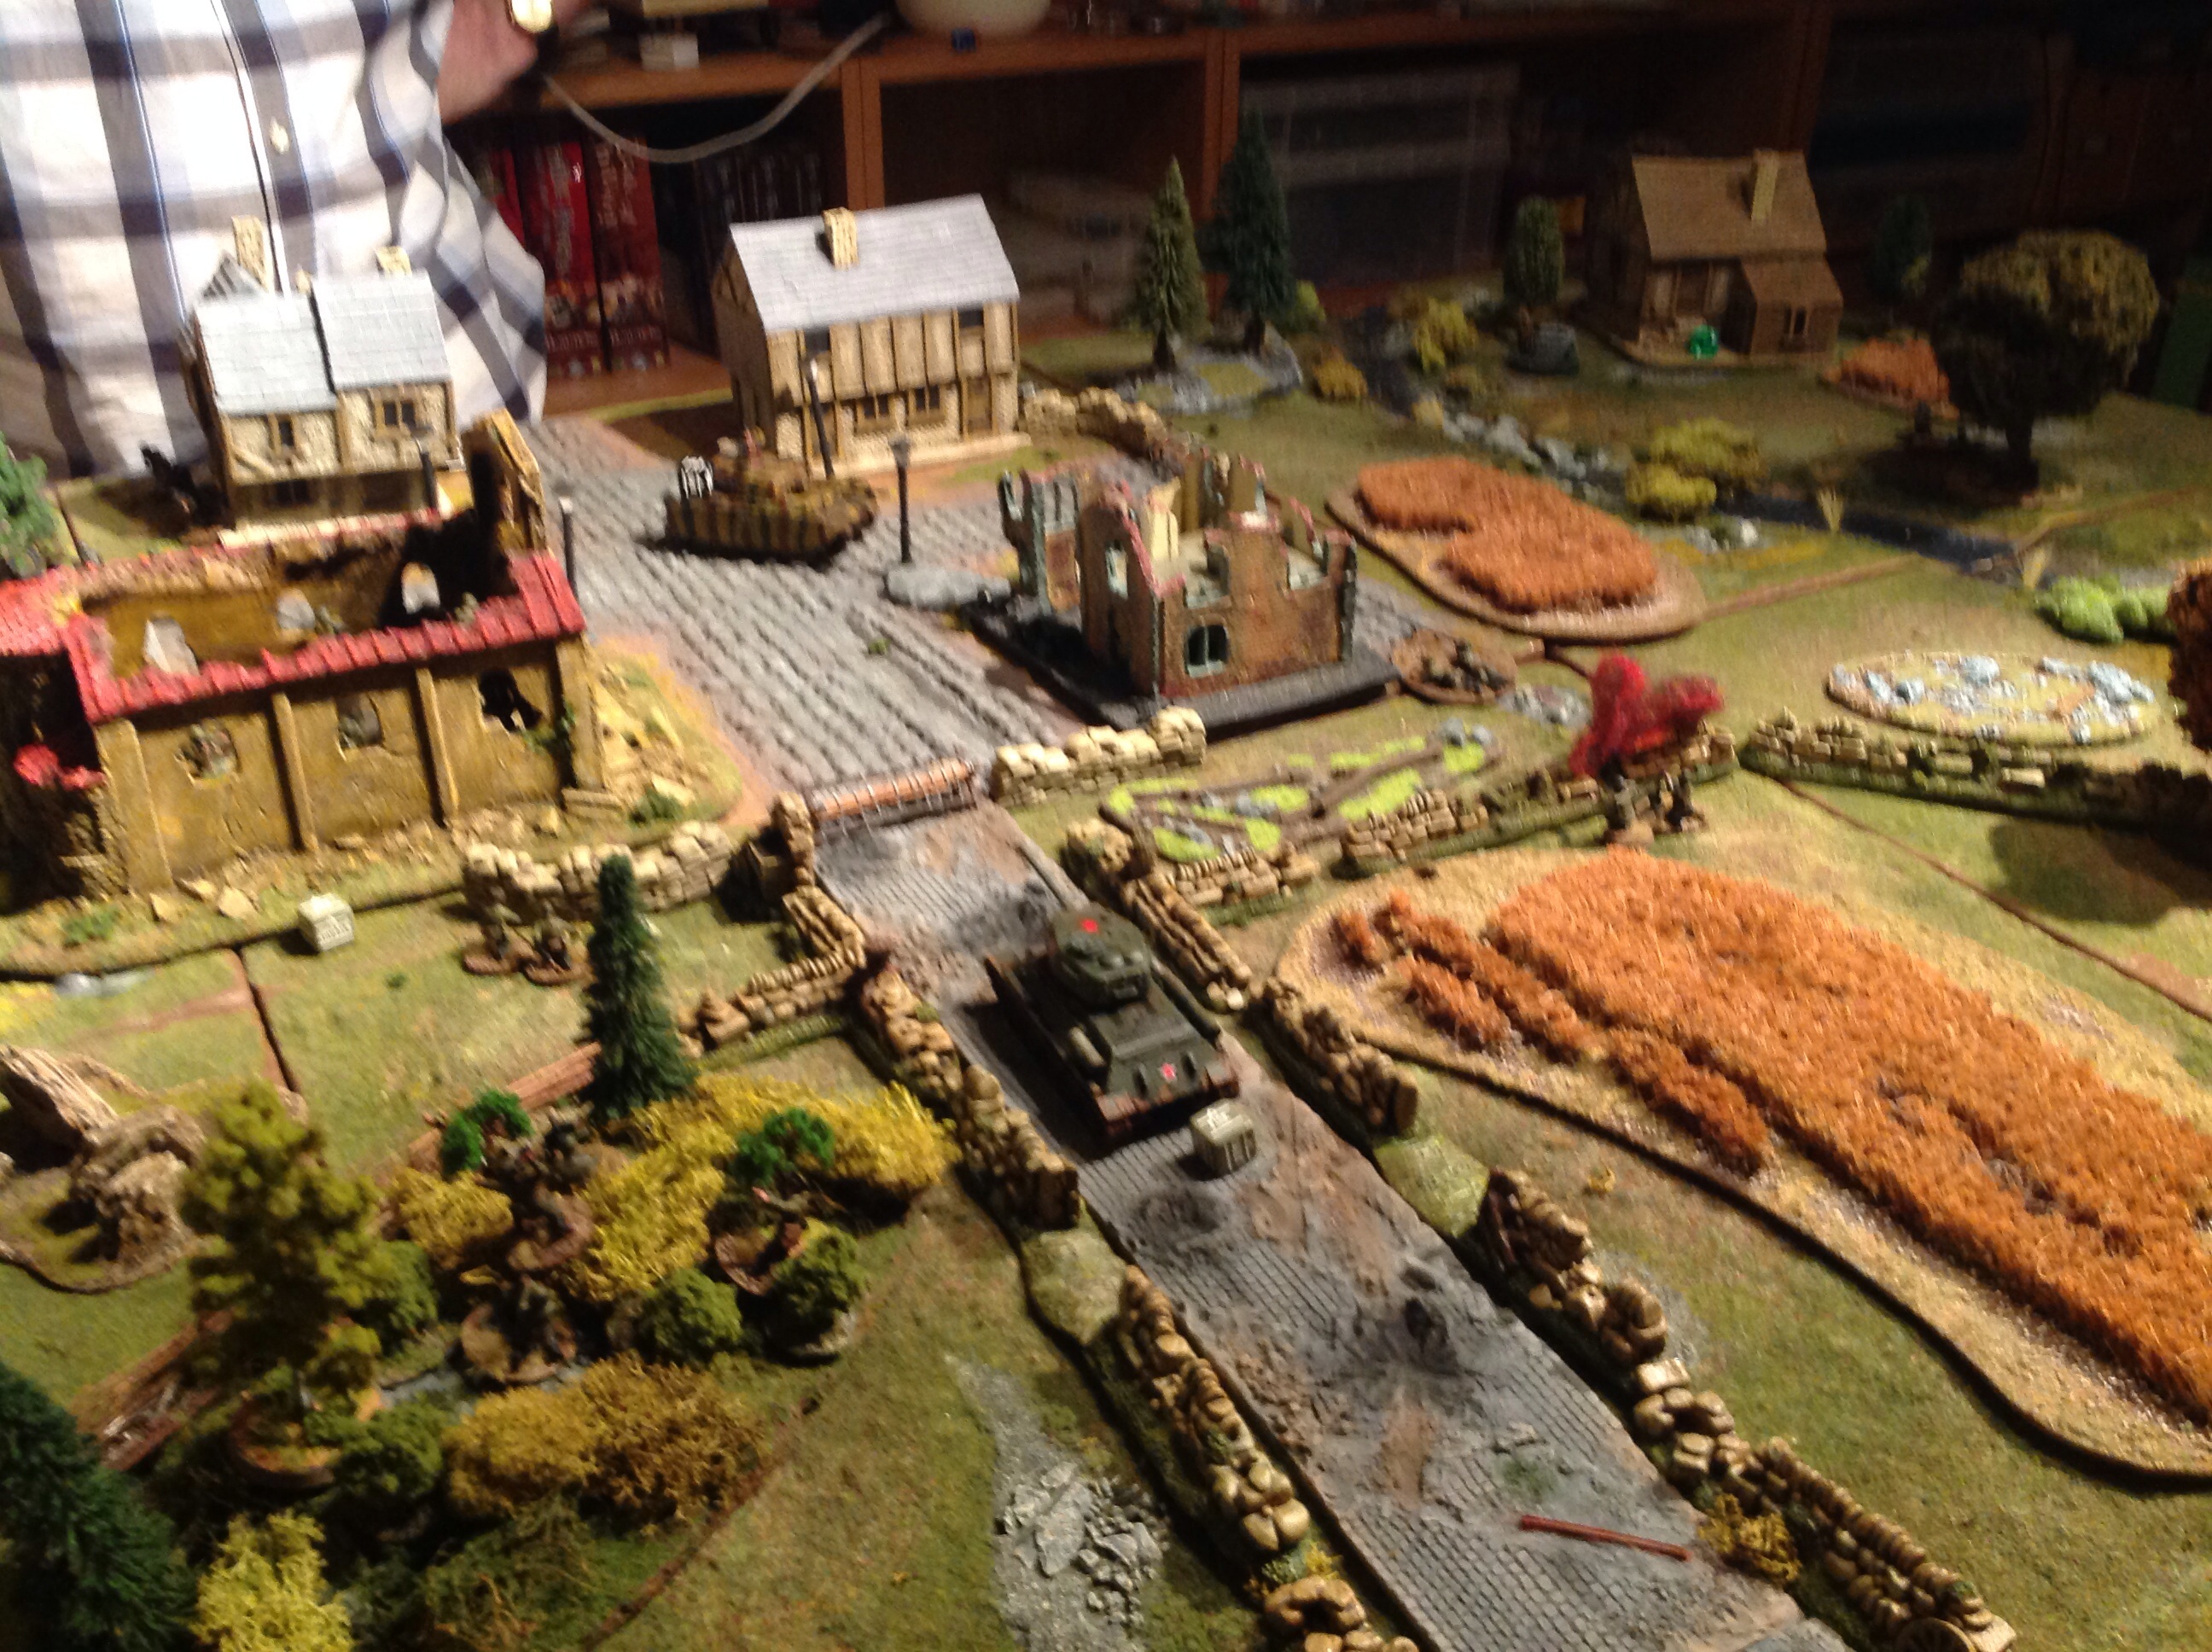
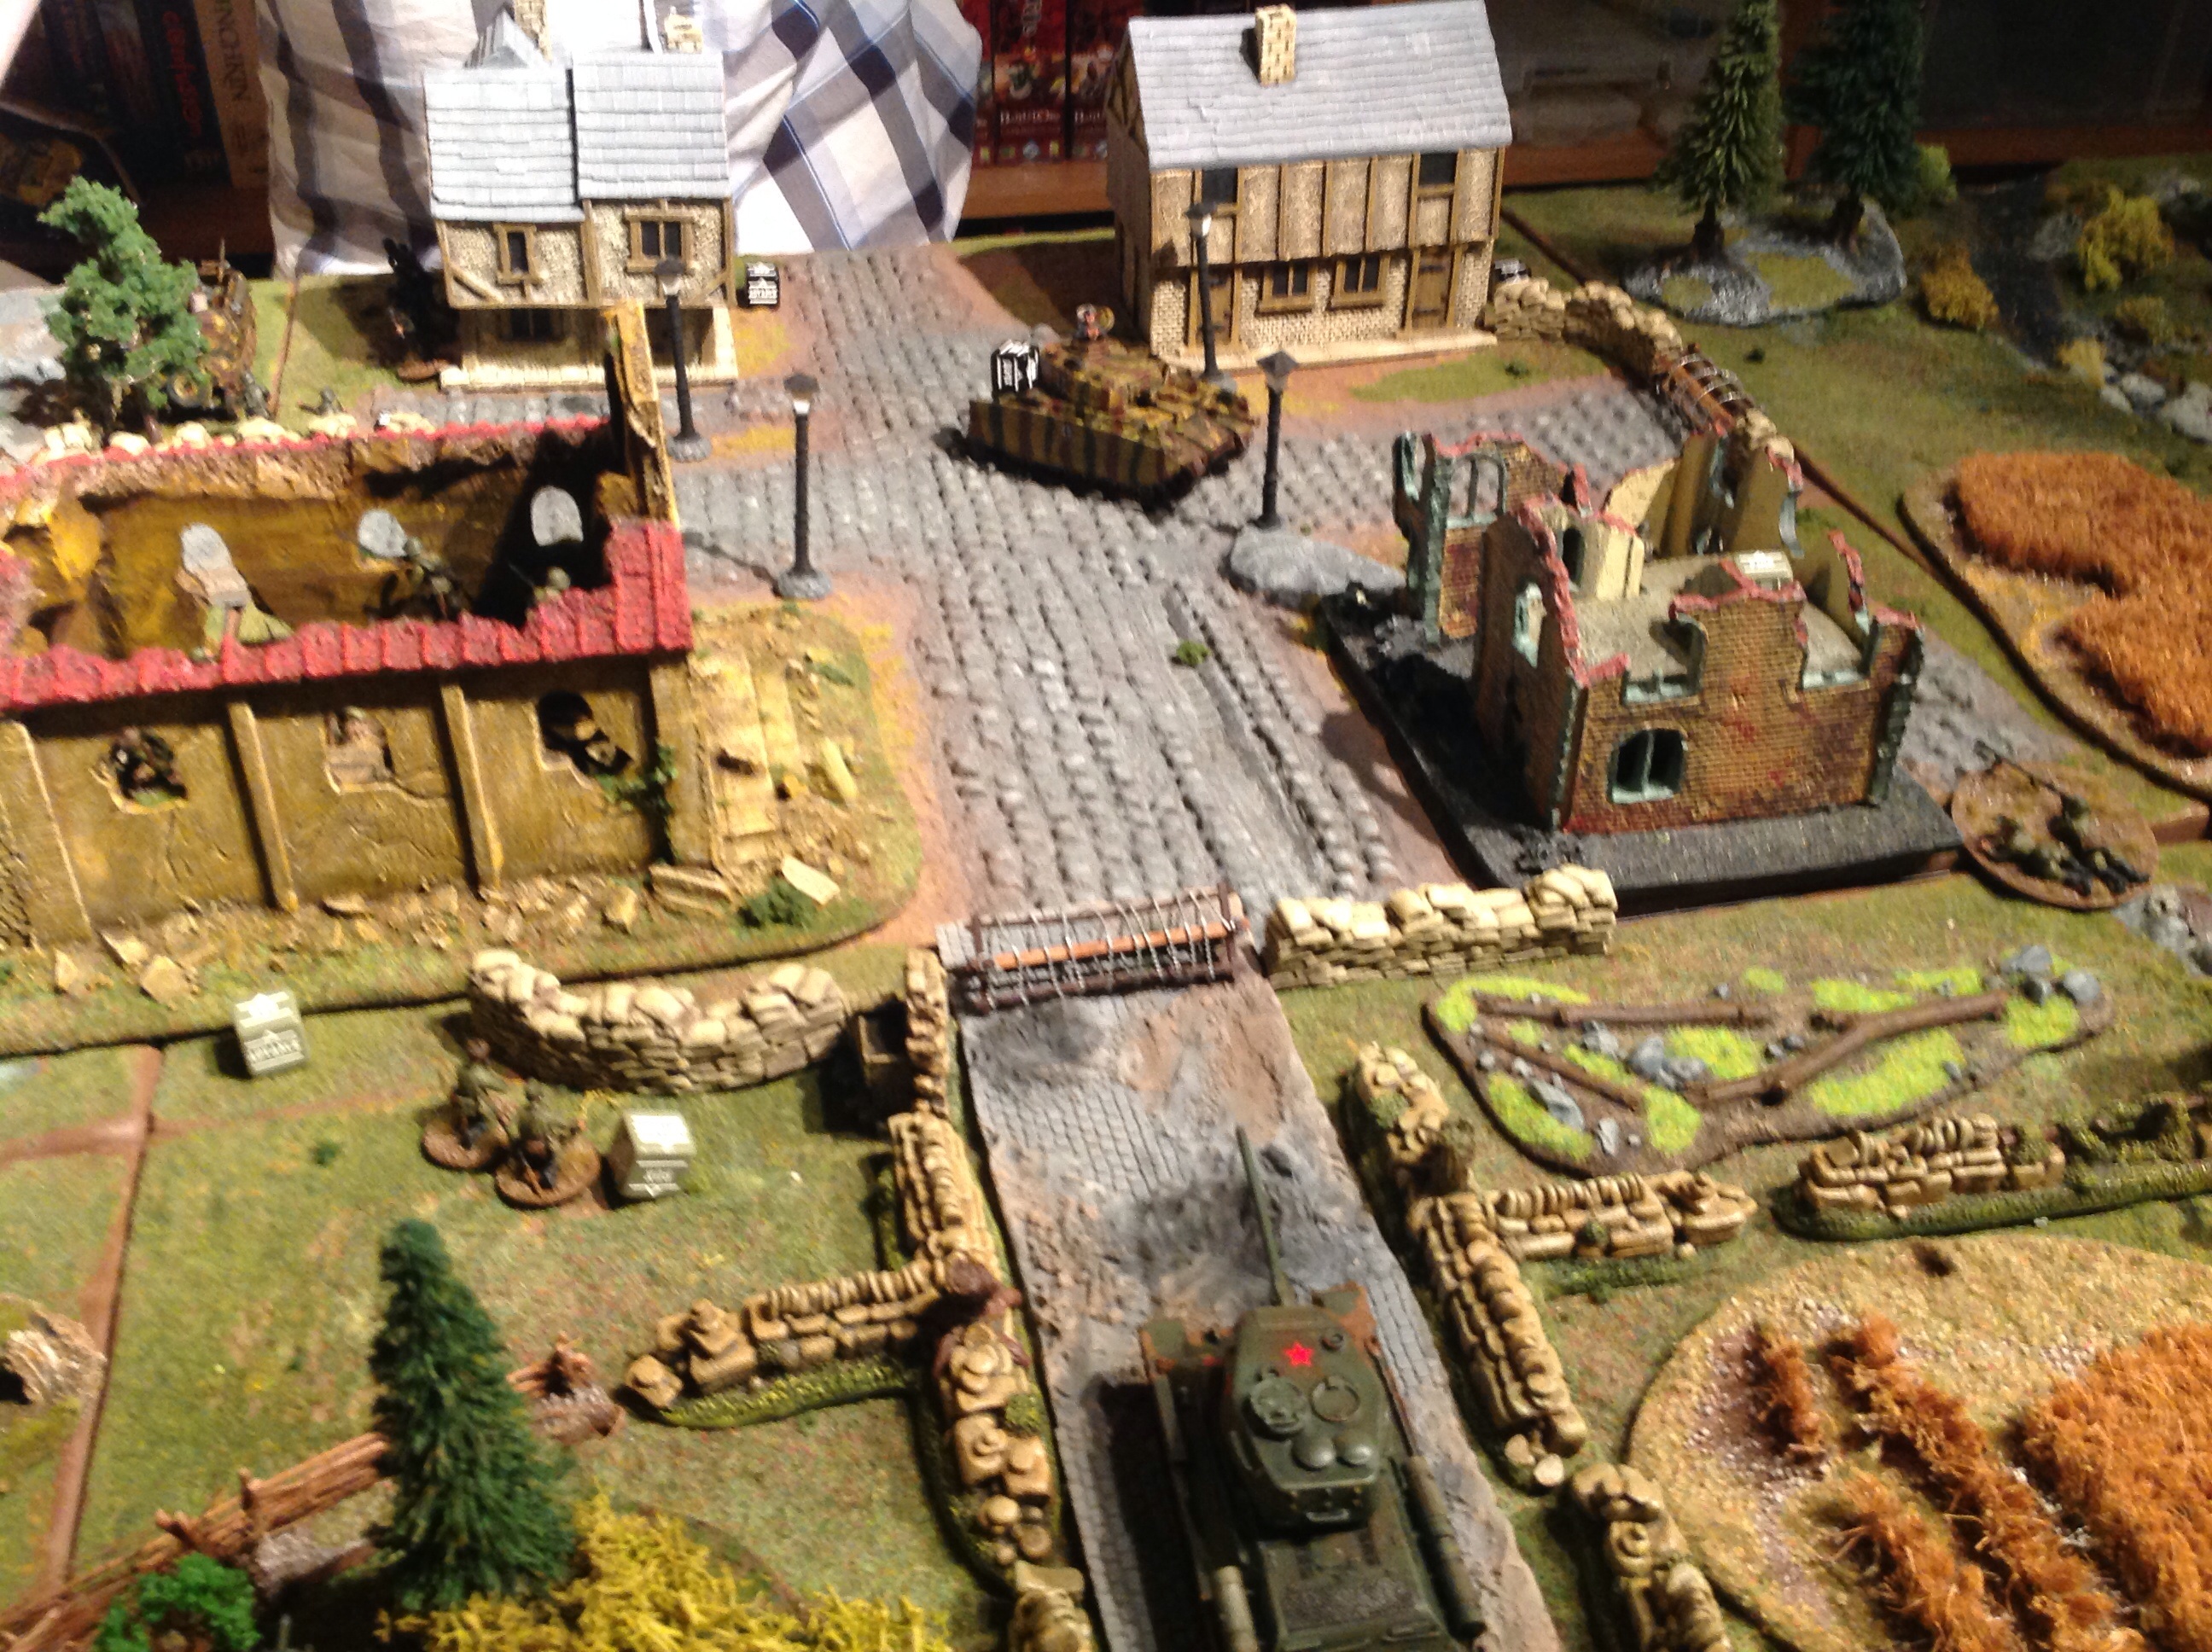
 Phil and Mike played Bolt Action. Phil’s Russians successfully attacked the fuel dump from the defending germans.