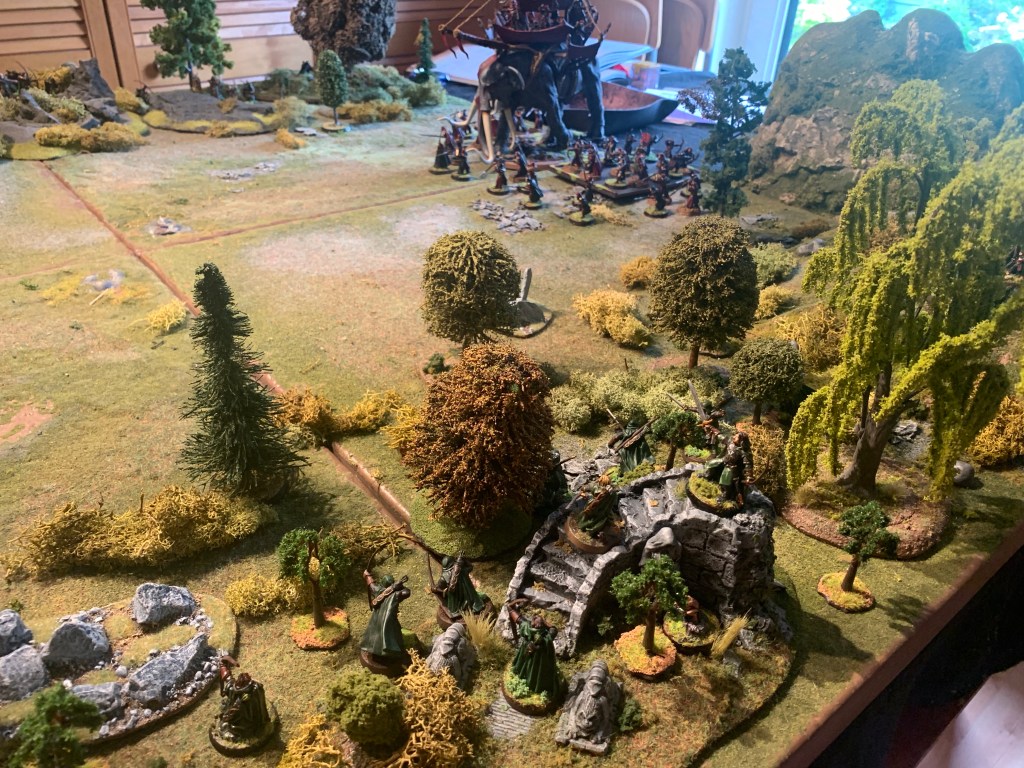
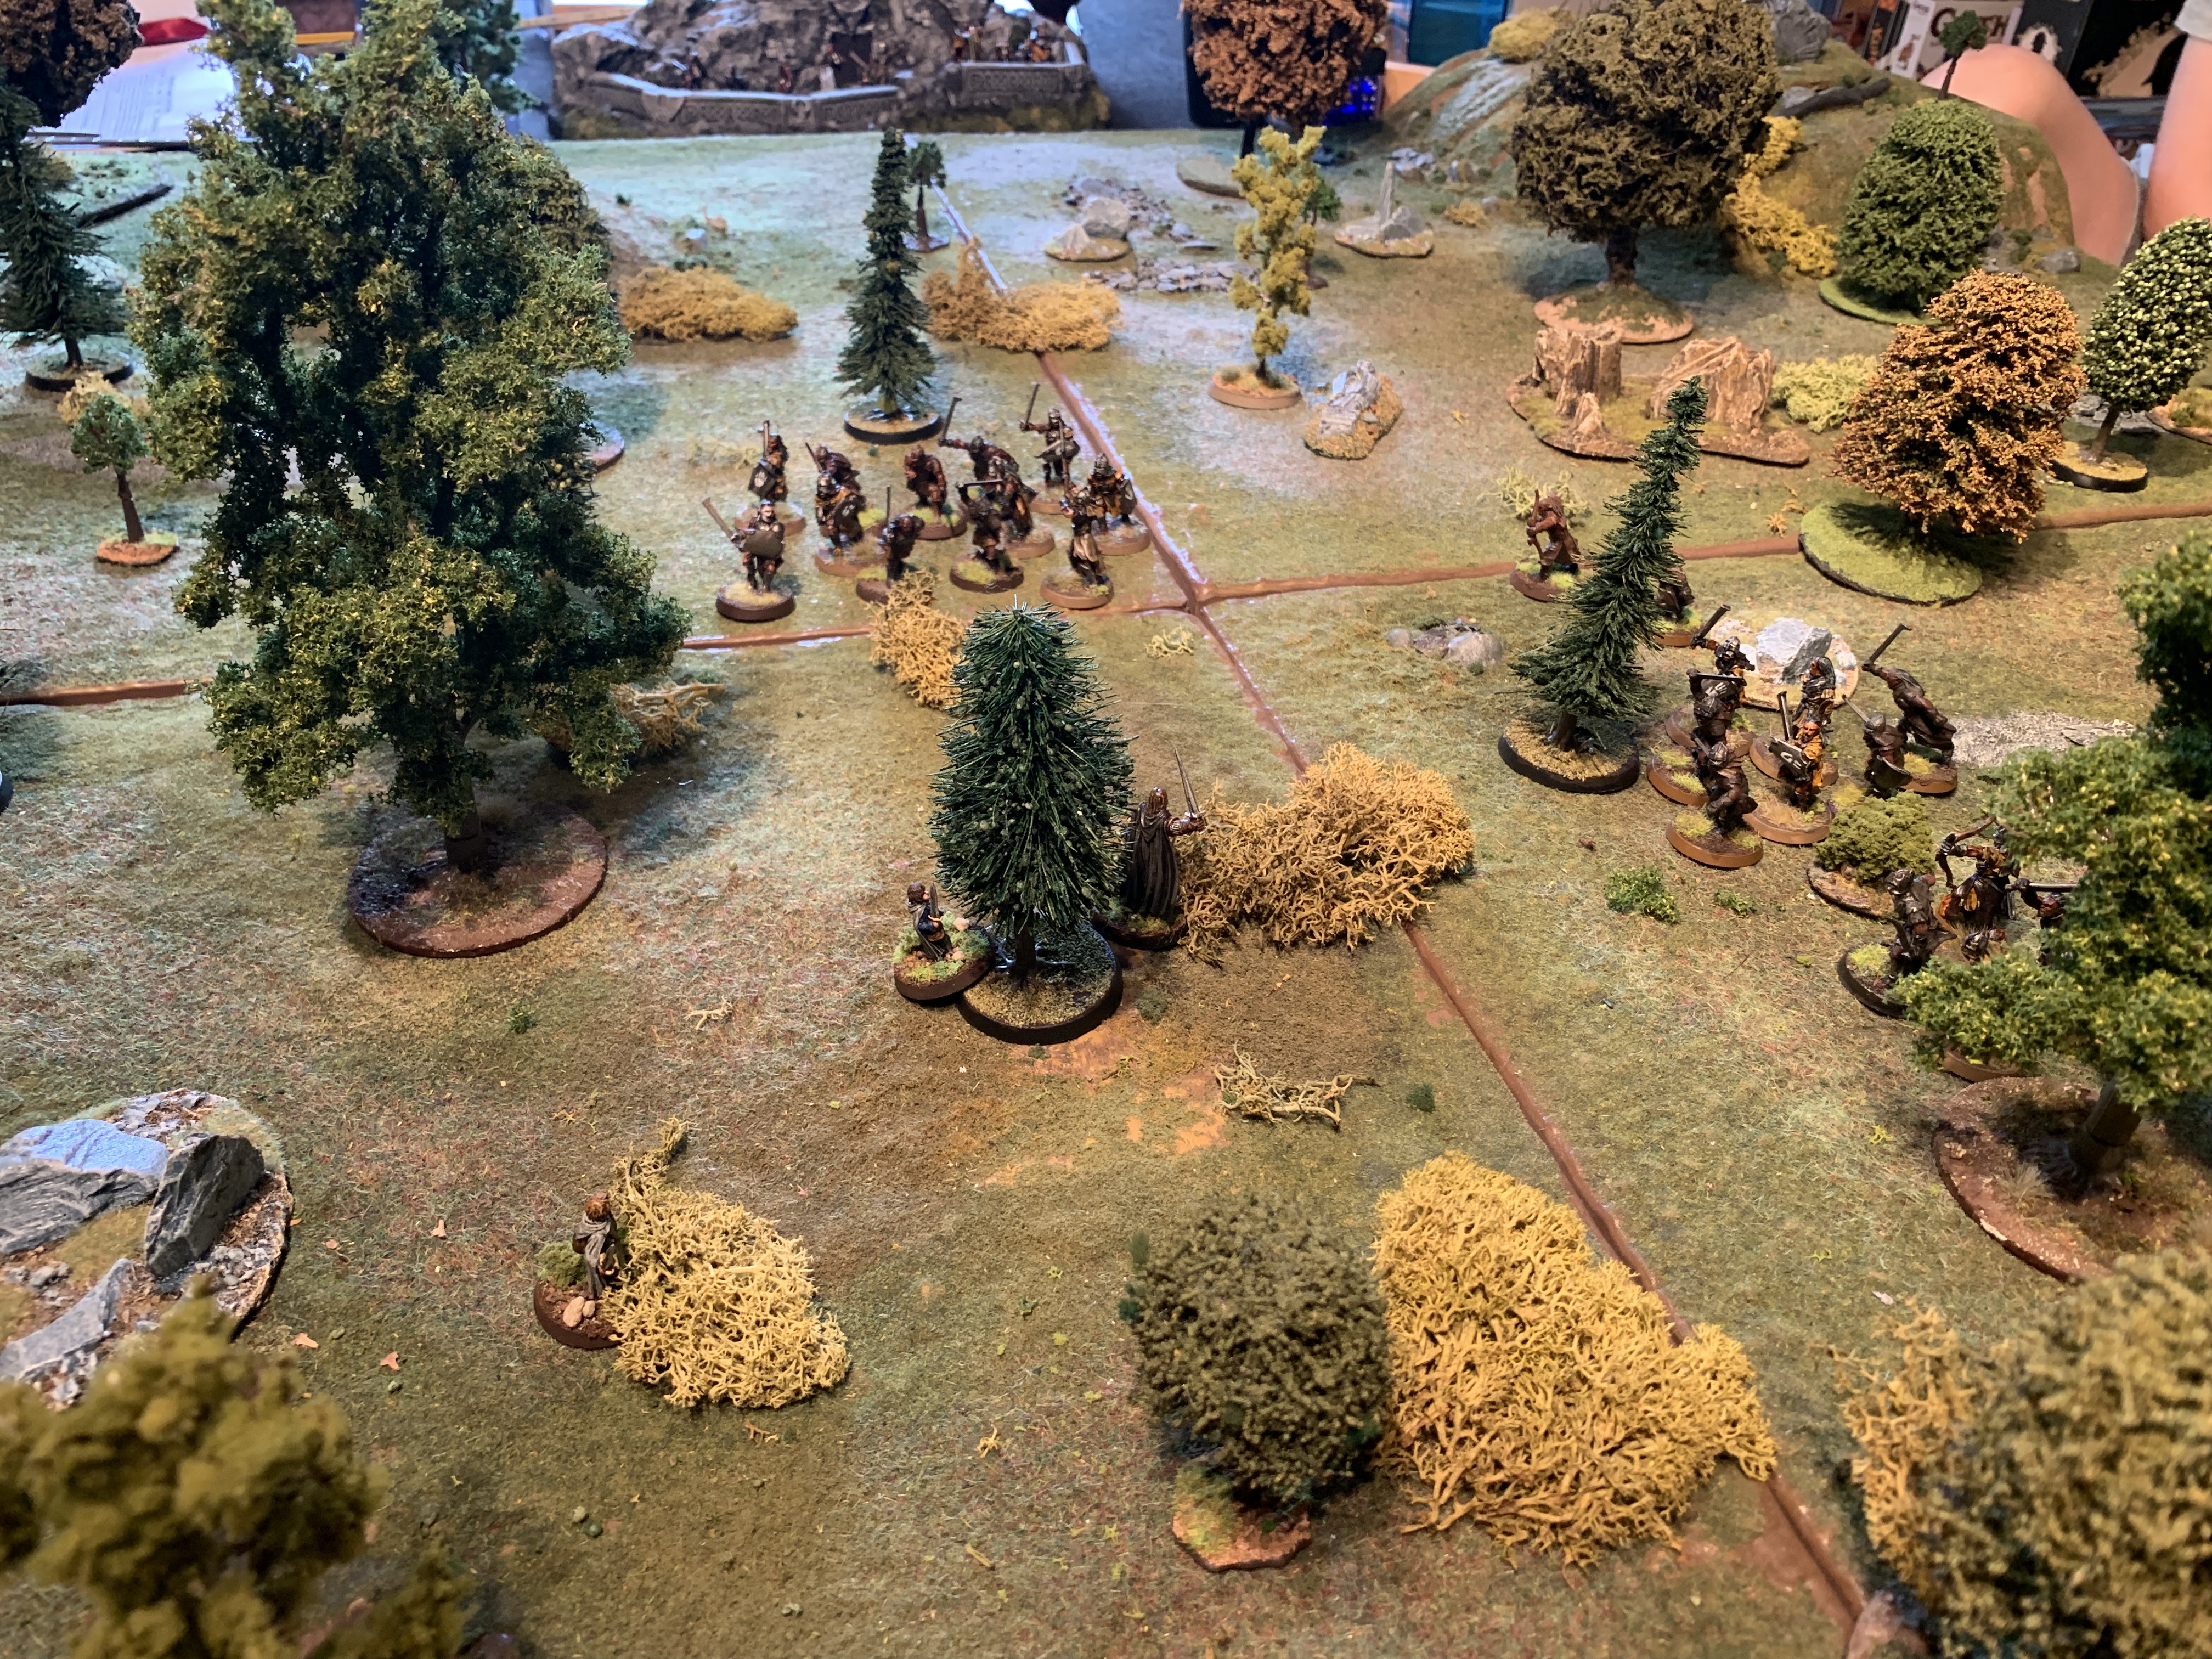
Faramir and his rangers lie in wait. They unleash hurting the beasts but not stampeding them. So on the second round of shooting they aim for the beast masters using heroic accuracy when possible. The Northern master falls first but the southern one takes many hits before a shot can get past his armour. The Northern beast thus becomes harder to handle and duly stampedes into the other who takes three wounds and turns around to stampede into the first!The Mumakil get moving again. Now without a captain on either beast they still resist the dwindling fire from the rangers. The Haradrim escort have got into the woods at either side and either inflicted casualties or drawn the rangers into combat. Also the hides of the beasts are tough and the heroes are becoming low on might. All except the single hero who gets a free archery might point per turn.
The Haradrim archers begin to find their targets, no longer protected by stalk unseen after turn three. Still the rangers are in cover and the Haradrim of course cannot fire from a stampeding beast. So it is hard to hit the rangers but with several on each beast any that are targeted are at risk. Now the casualties on the good side begin to mount from sustained fire and combat to their flanks as they try to concentrate their archery fire on the beasts.
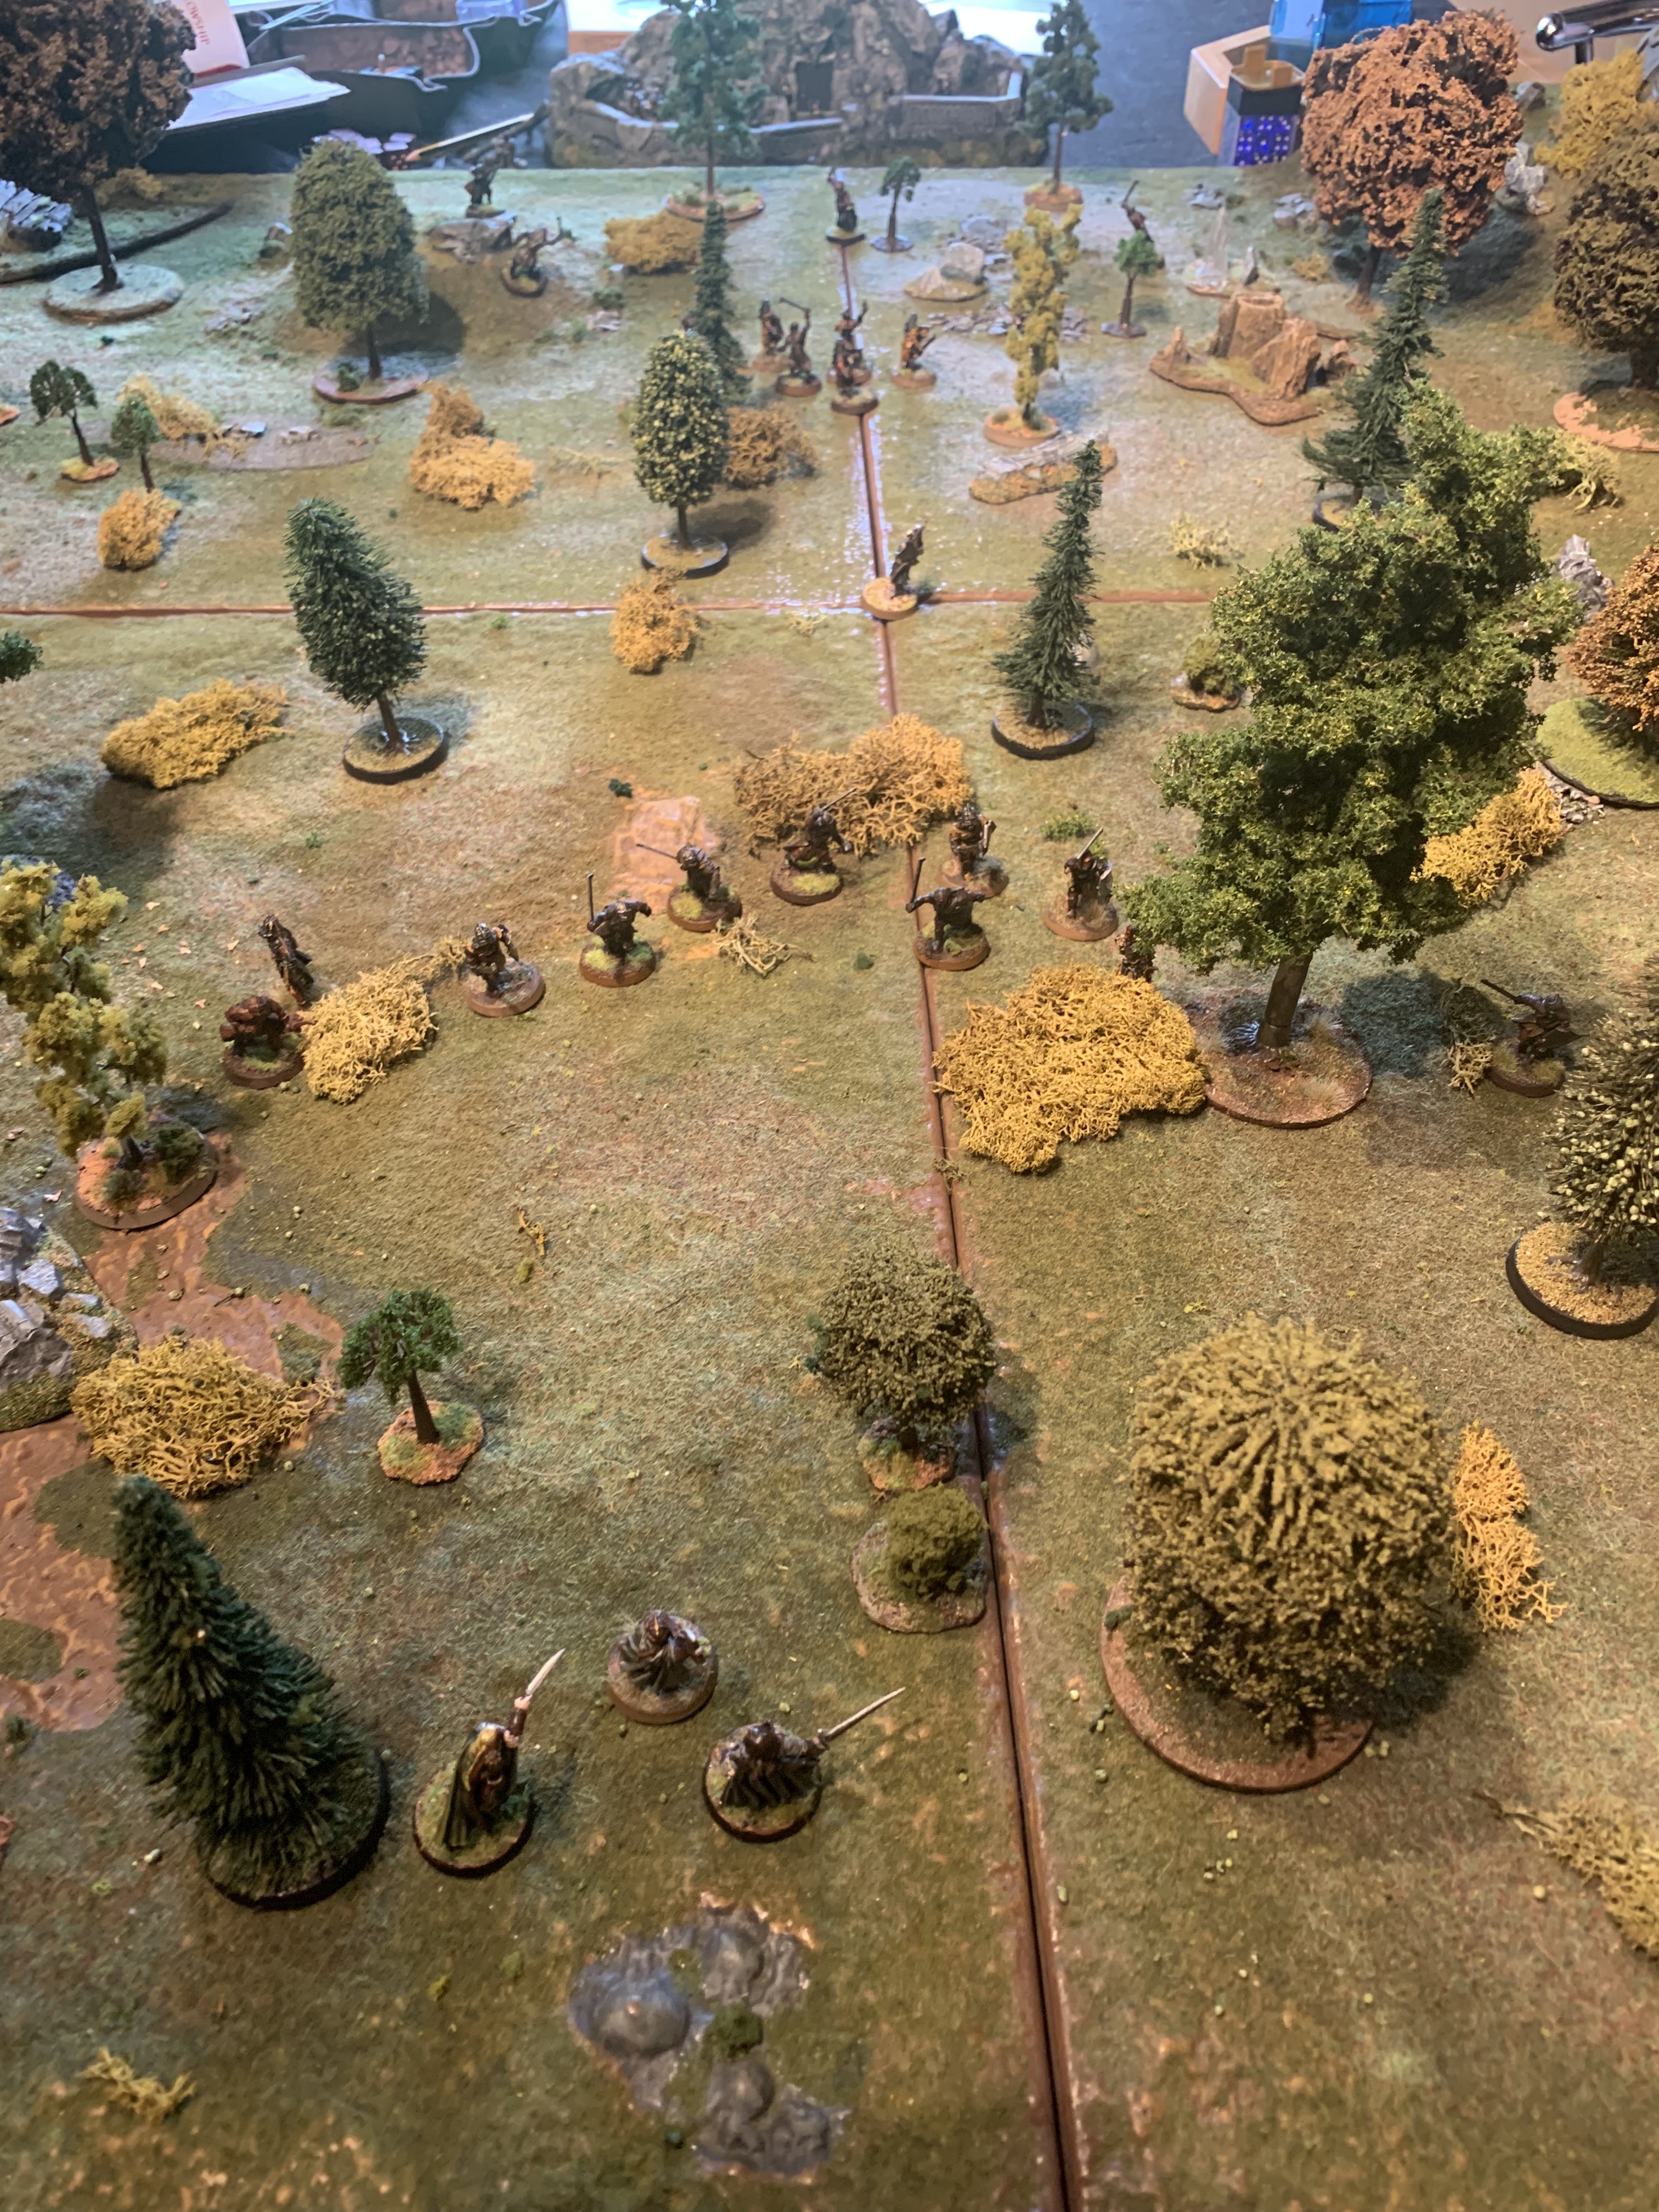
Which is what happens again. Just as it looked like the beasts might get off the table one stampeded into the other inflicting three wounds causing the other to turn and return the favour. Finally one took its final wound causing all but one of its crew to die from falling damage.
Gollum helped by holding off the Haradrim whilst Sam hid behind a rock and Frodo put on the Ring when it looked like the spearman were closing in on him.
With just moments left and very much aided by the free point of might to get a successful wound roll Good finally managed to take out the last Mumakil for the win.
Faramir and his rangers set out to ambush the haradrim as they make their way to join forces with the dark lord.
This was a fun scenario that pits two Mumakil and their escort against a strong force of rangers who lie in ambush.
Good set out his forces equally split between the north and south edges with Faramir and the hobbits to the north. The Haradrim need to travel across the board with the Mumakil whilst the escort are free to engage the ambushes.
This was a good way to learn the war beast rules.
In the first turn there was a free ambush attack. This had little effect because the Mumakil have thick hides and the two captains driving them have good courage so avoided a stampede.
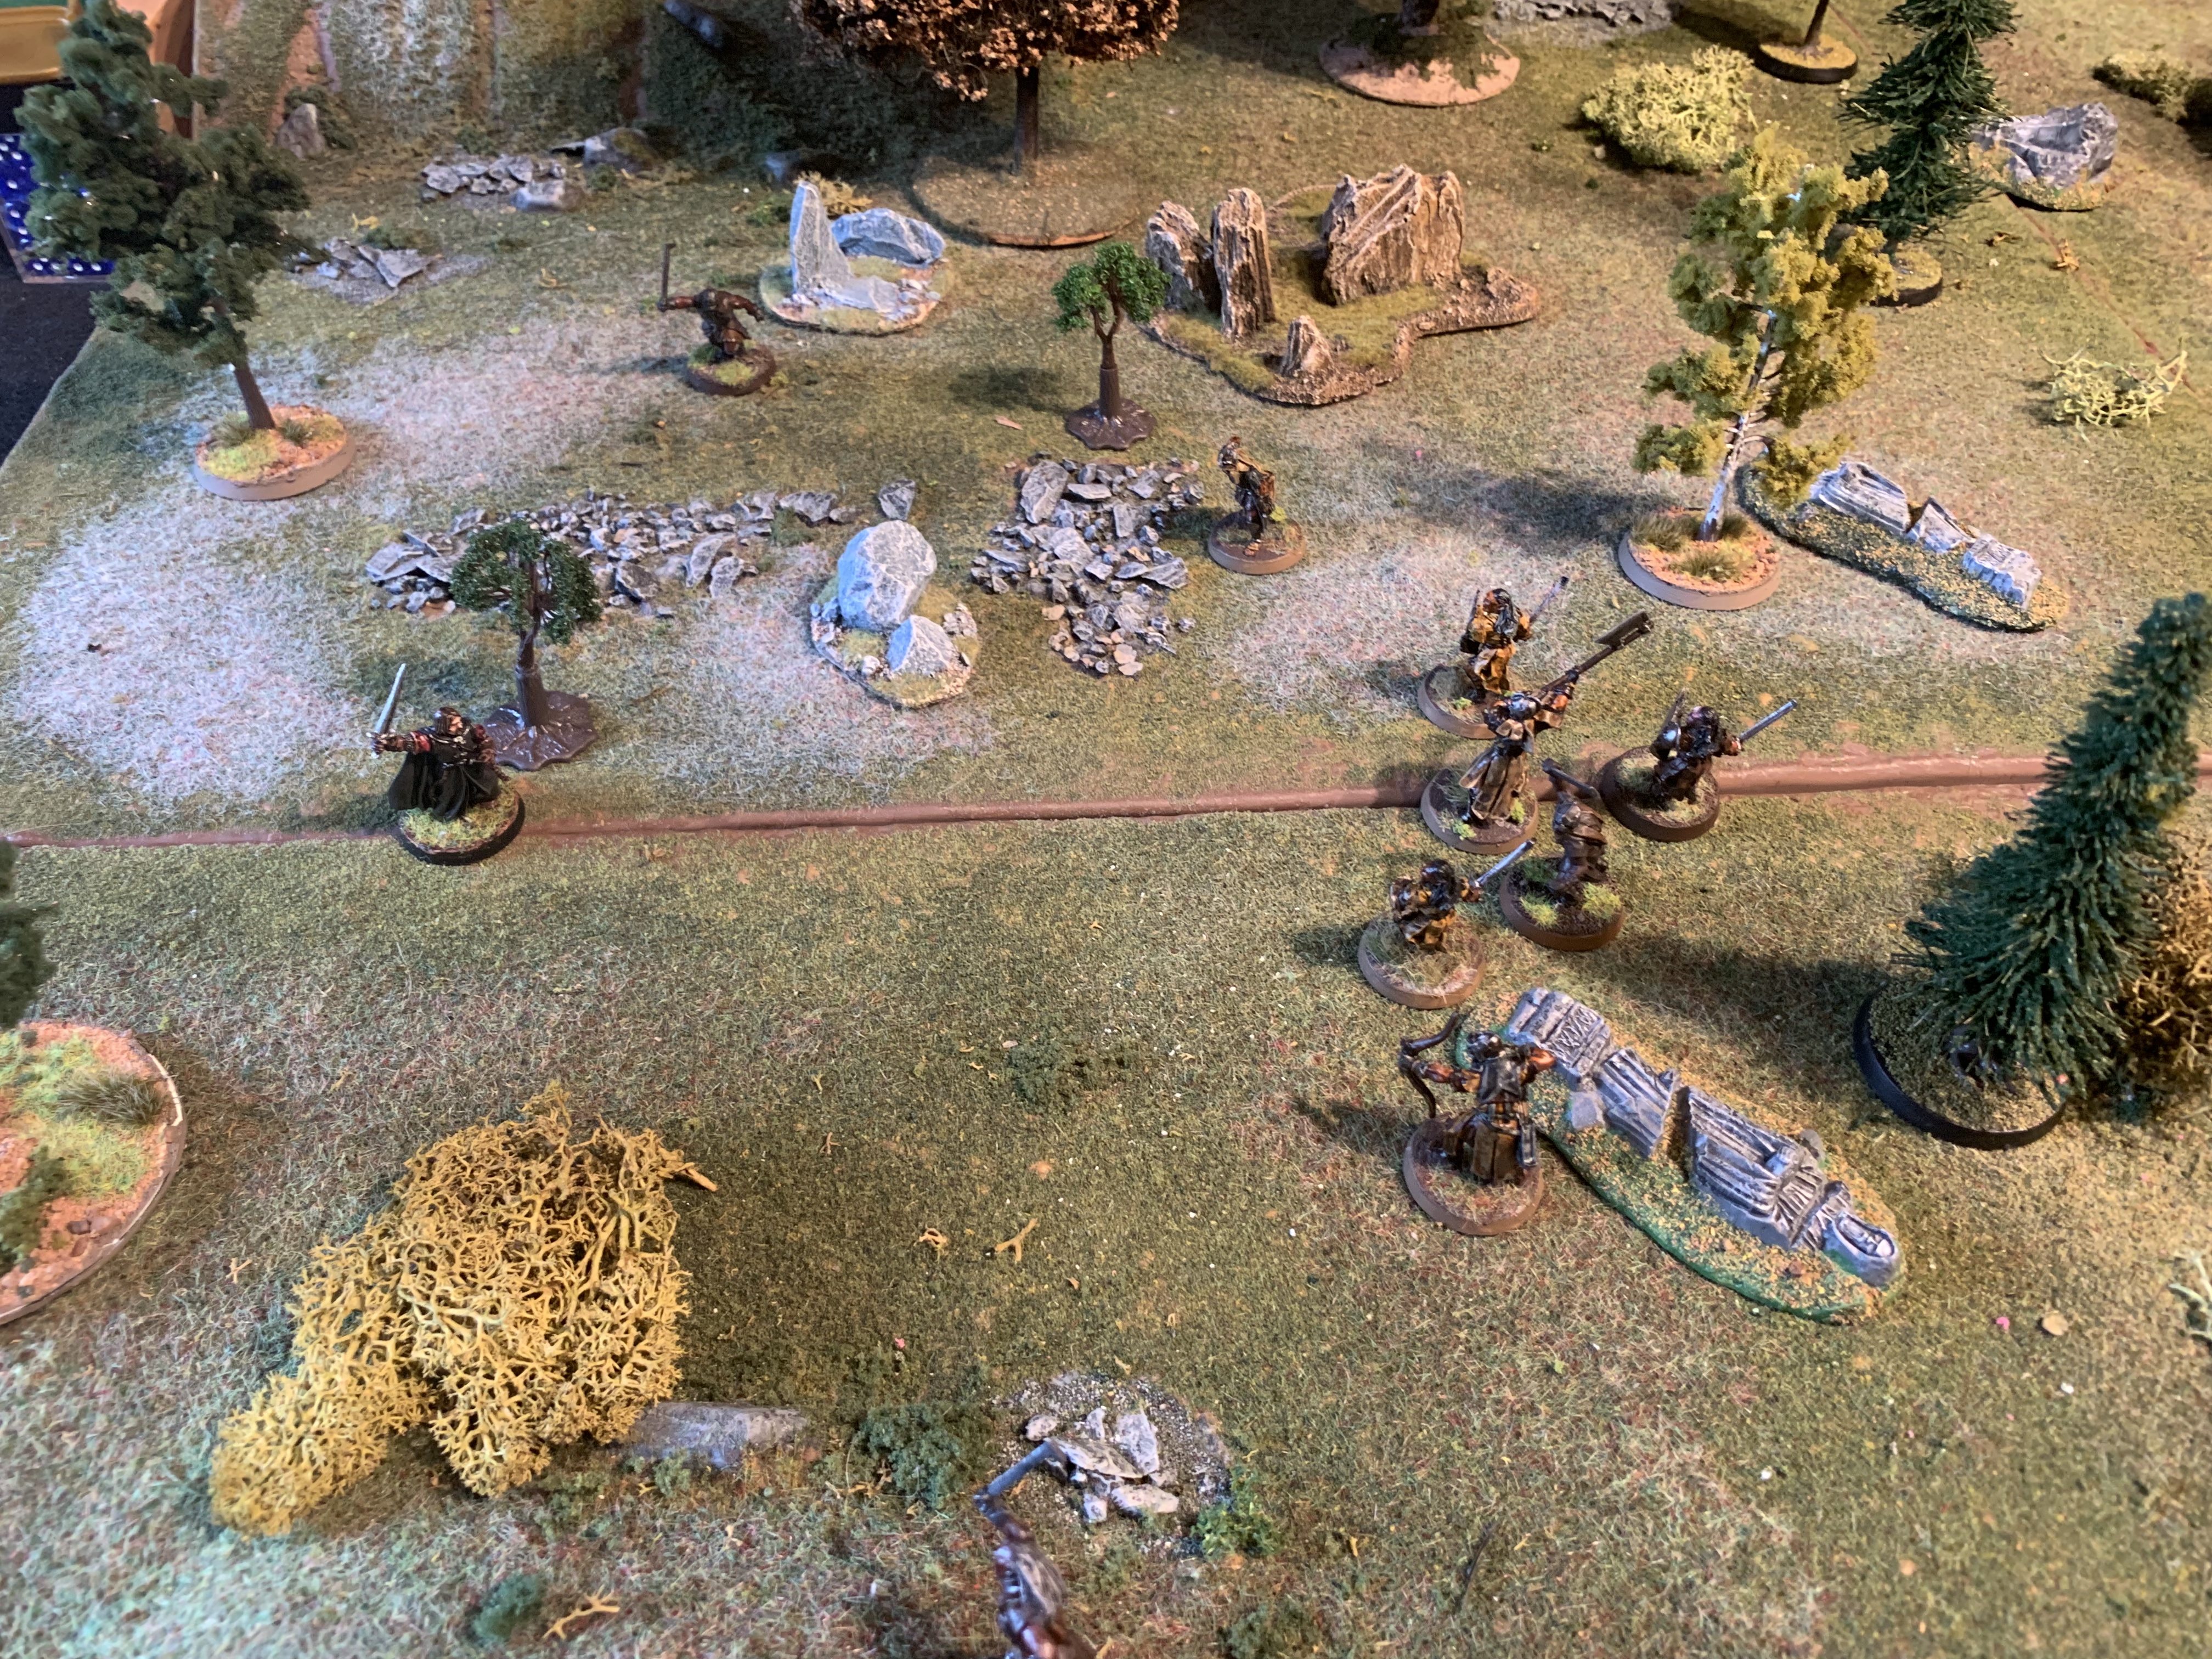
More to come….
Can you spot the rangers? I only own one Mumakil so the other is represented by a tray holding the crew.
Having completed the tower I began crafting a hill using foam. Something I have never really done before. I made it more complex by then creating woodland scenic rocks with Link and then cutting gaps in the foam to glue them into.
My glue took a long time to set which might be why after adding the woodland scenic plaster cloth it has warped slightly underneath and one rock has slipped down vertically needing some correction. I have now glued a card base underneath to see if I can achieve a more flat look when it is on the table.
I have sprayed it black then dry brushed some household grey paint I have leftover onto the stones. I am then going to make my own nuln oil wash and apply that. Just need to sort out this base issue first.
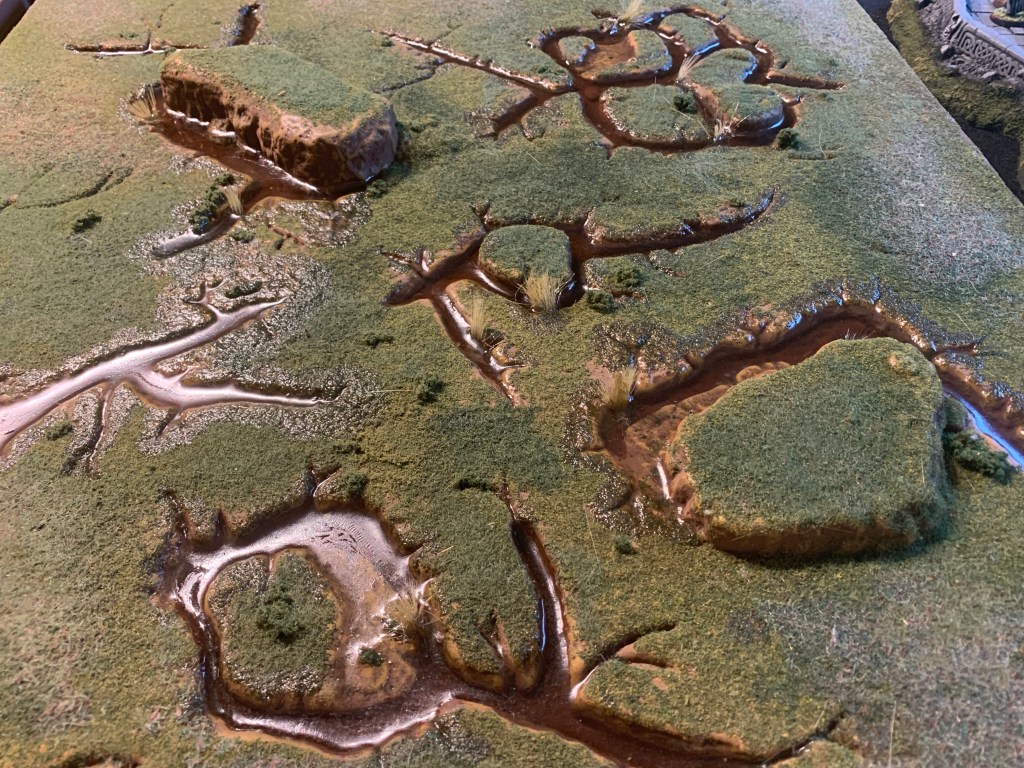
The marshes. There are six swamps each with a spectre and a wraith on a fell beast. The swamp pieces are those with lichen around which I would do definitely differently if I reset it but it worked fine.Good ran his hobbits North along the edge and then east whilst the evil foes milled bout in the centre or drifted south. Never within 3 at the end phase none of the sentries were truly alerted but we did allow the use of their spectral power within clear line of sight which Gollum and the Hobbits resisted every time. They then escaped off the edge. Was quite a fun scenario really in the end.
Our two hobbits are sleeping after the breaking of the fellowship. Gollum sneaks up to them and attacks Frodo who is prone but survives using heroic defence. Then they both attack the next turn having won priority and inflict three wounds thus subduing Gollum.
Have painted up two pools/ marshes terrain pieces. This time I used clear epoxy resin which I found easier but stickier to use. Slower to dry but gives a clear finish.
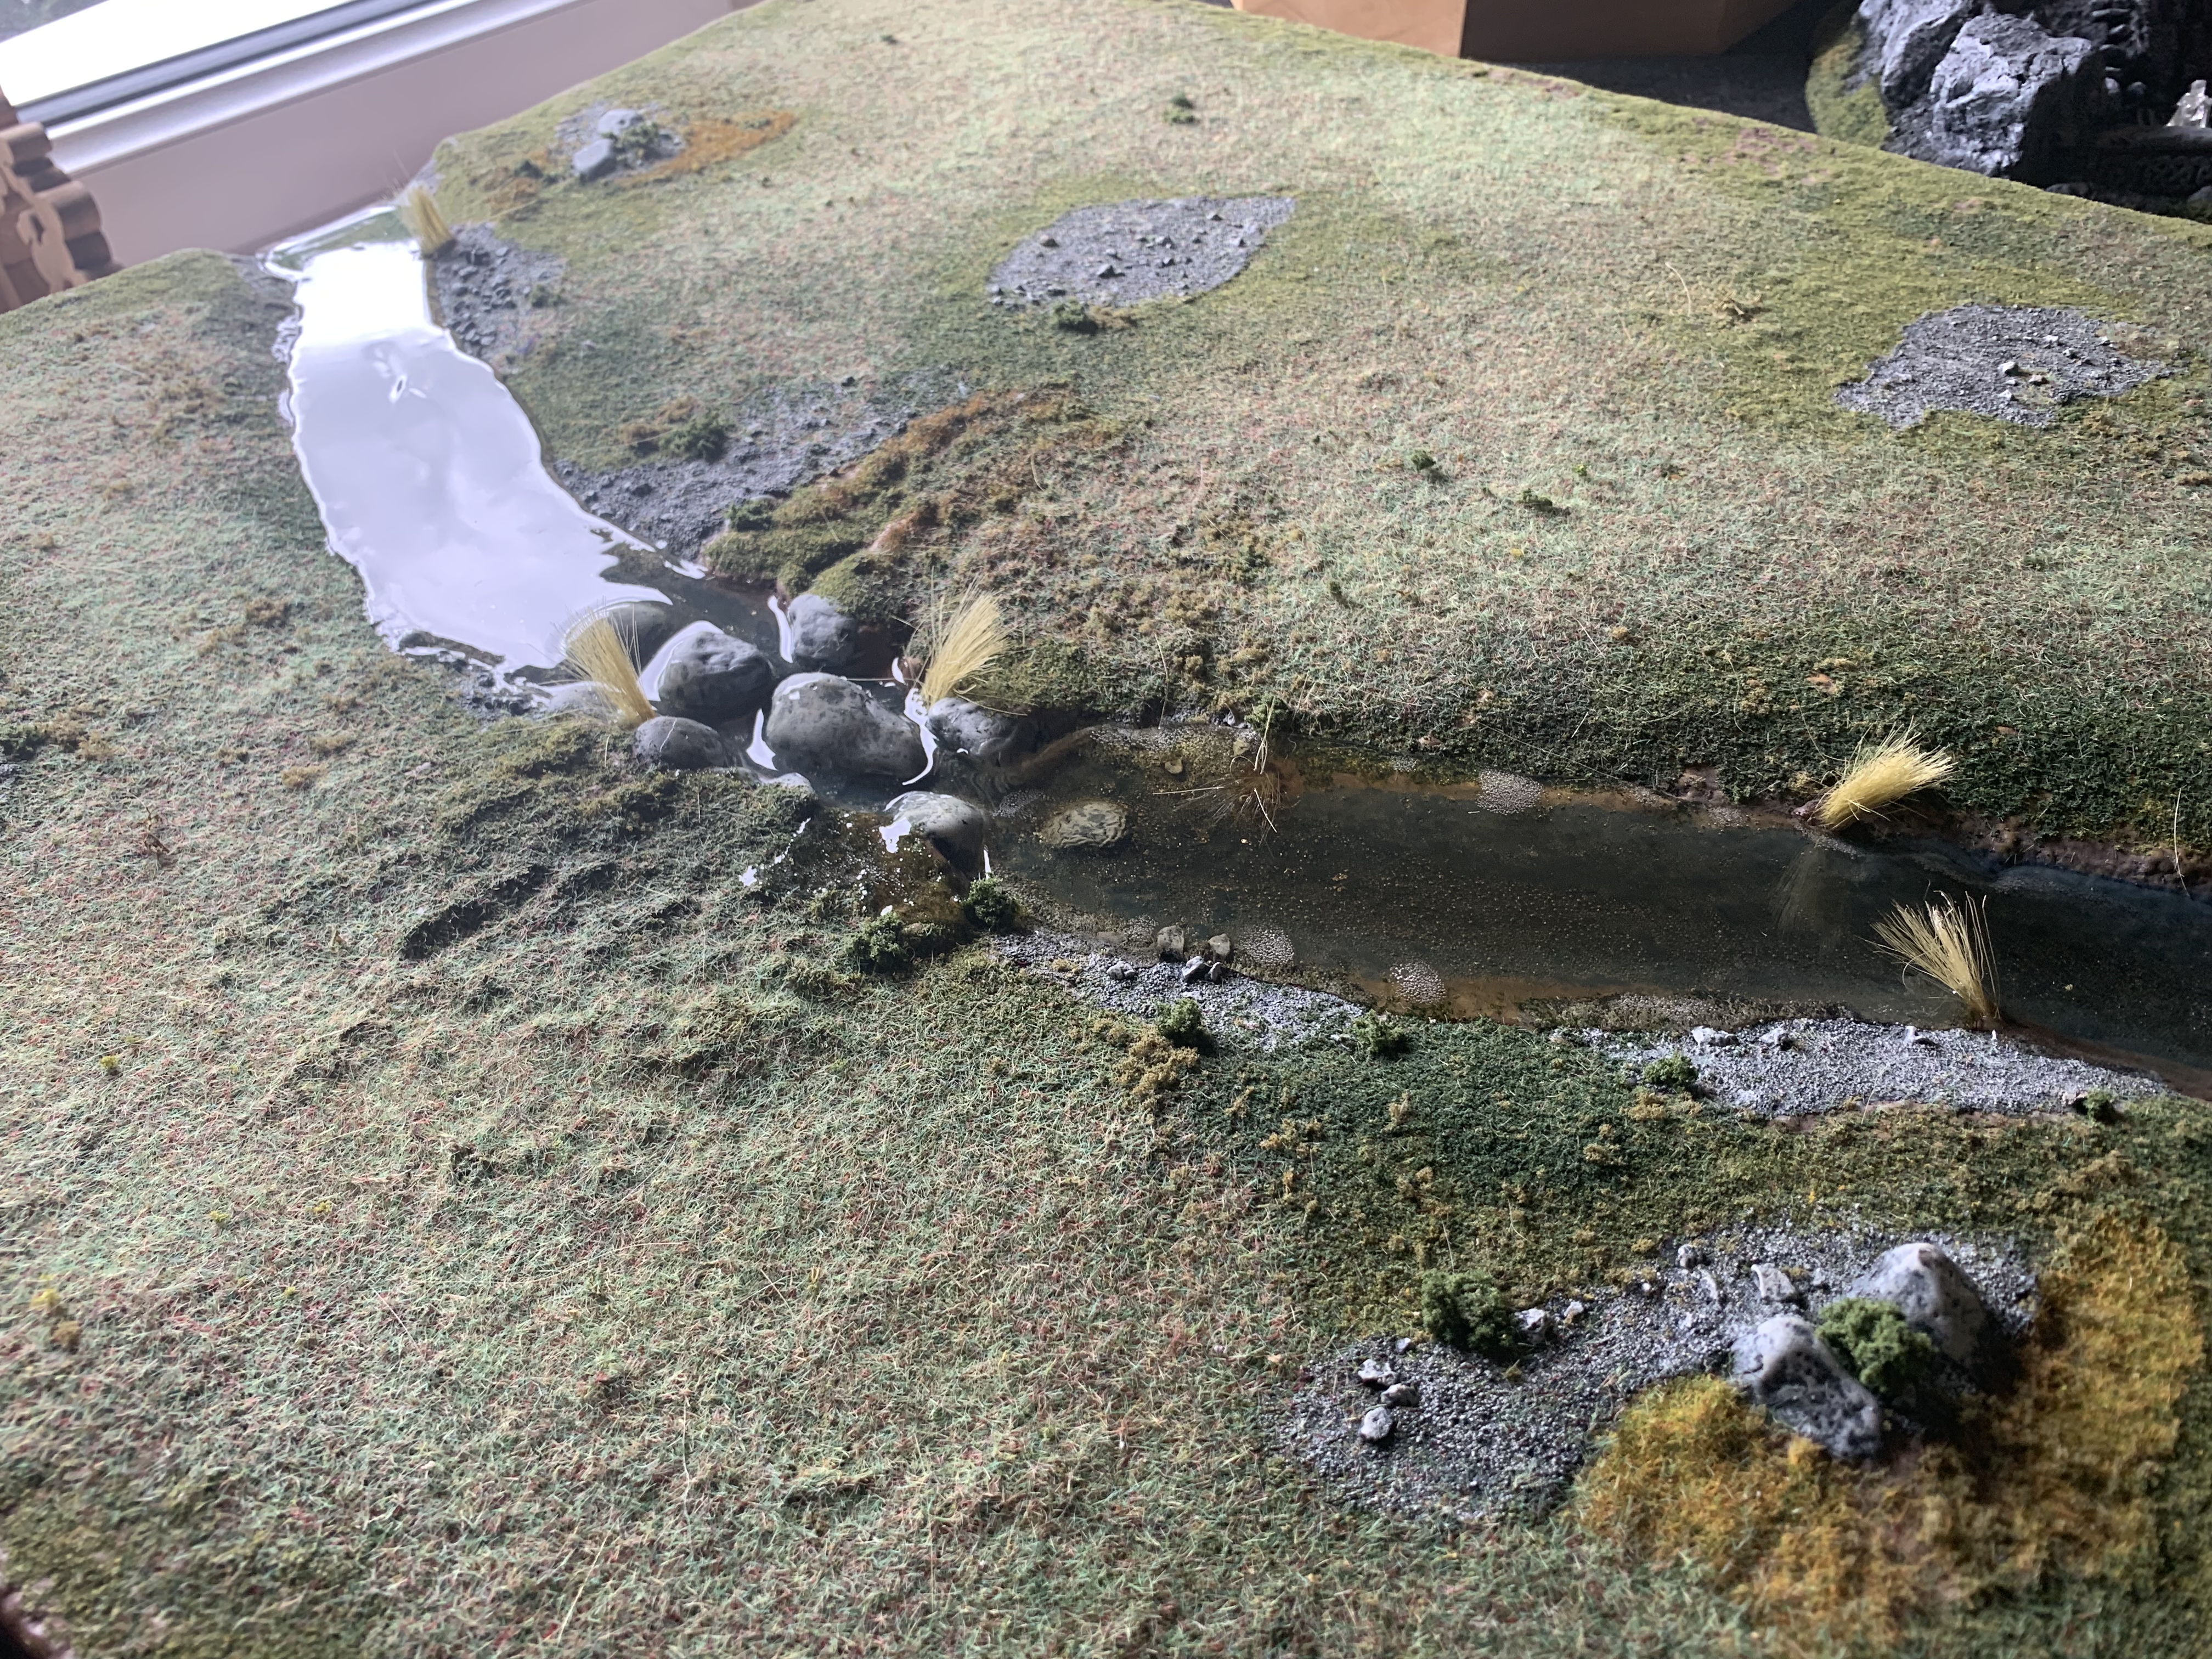
Decided to add some deeper water to my river boards. See the original page.
Used Woodland Scenics EZ Water. Had it for a long time.
Heated it up – tried outside but it really needs a high flame so had to use the stove.
It dried hard and quick but with a yellow tinge I was not expecting. The river is a bit darker I suppose. Certainly my river is now deeper and wider. One thing I did not expect was that it warped my boards. As it dried it twisted the Ziterdes boards. If noticeable I might have to add some batons. Overall I think they do look better.
Have tried with some realistic water effects to see if can lessen the curve at the edge of the water.
Am currently working on some marsh bases. The first time I did these I was unhappy with the final result as the diorama marsh water I tried simply looked like green gloss paint when it dried. Now I have added some epoxy resin having built up the sides. Will see how it goes.
Edit – update the realistic water has still not fully dried after 24 hours.
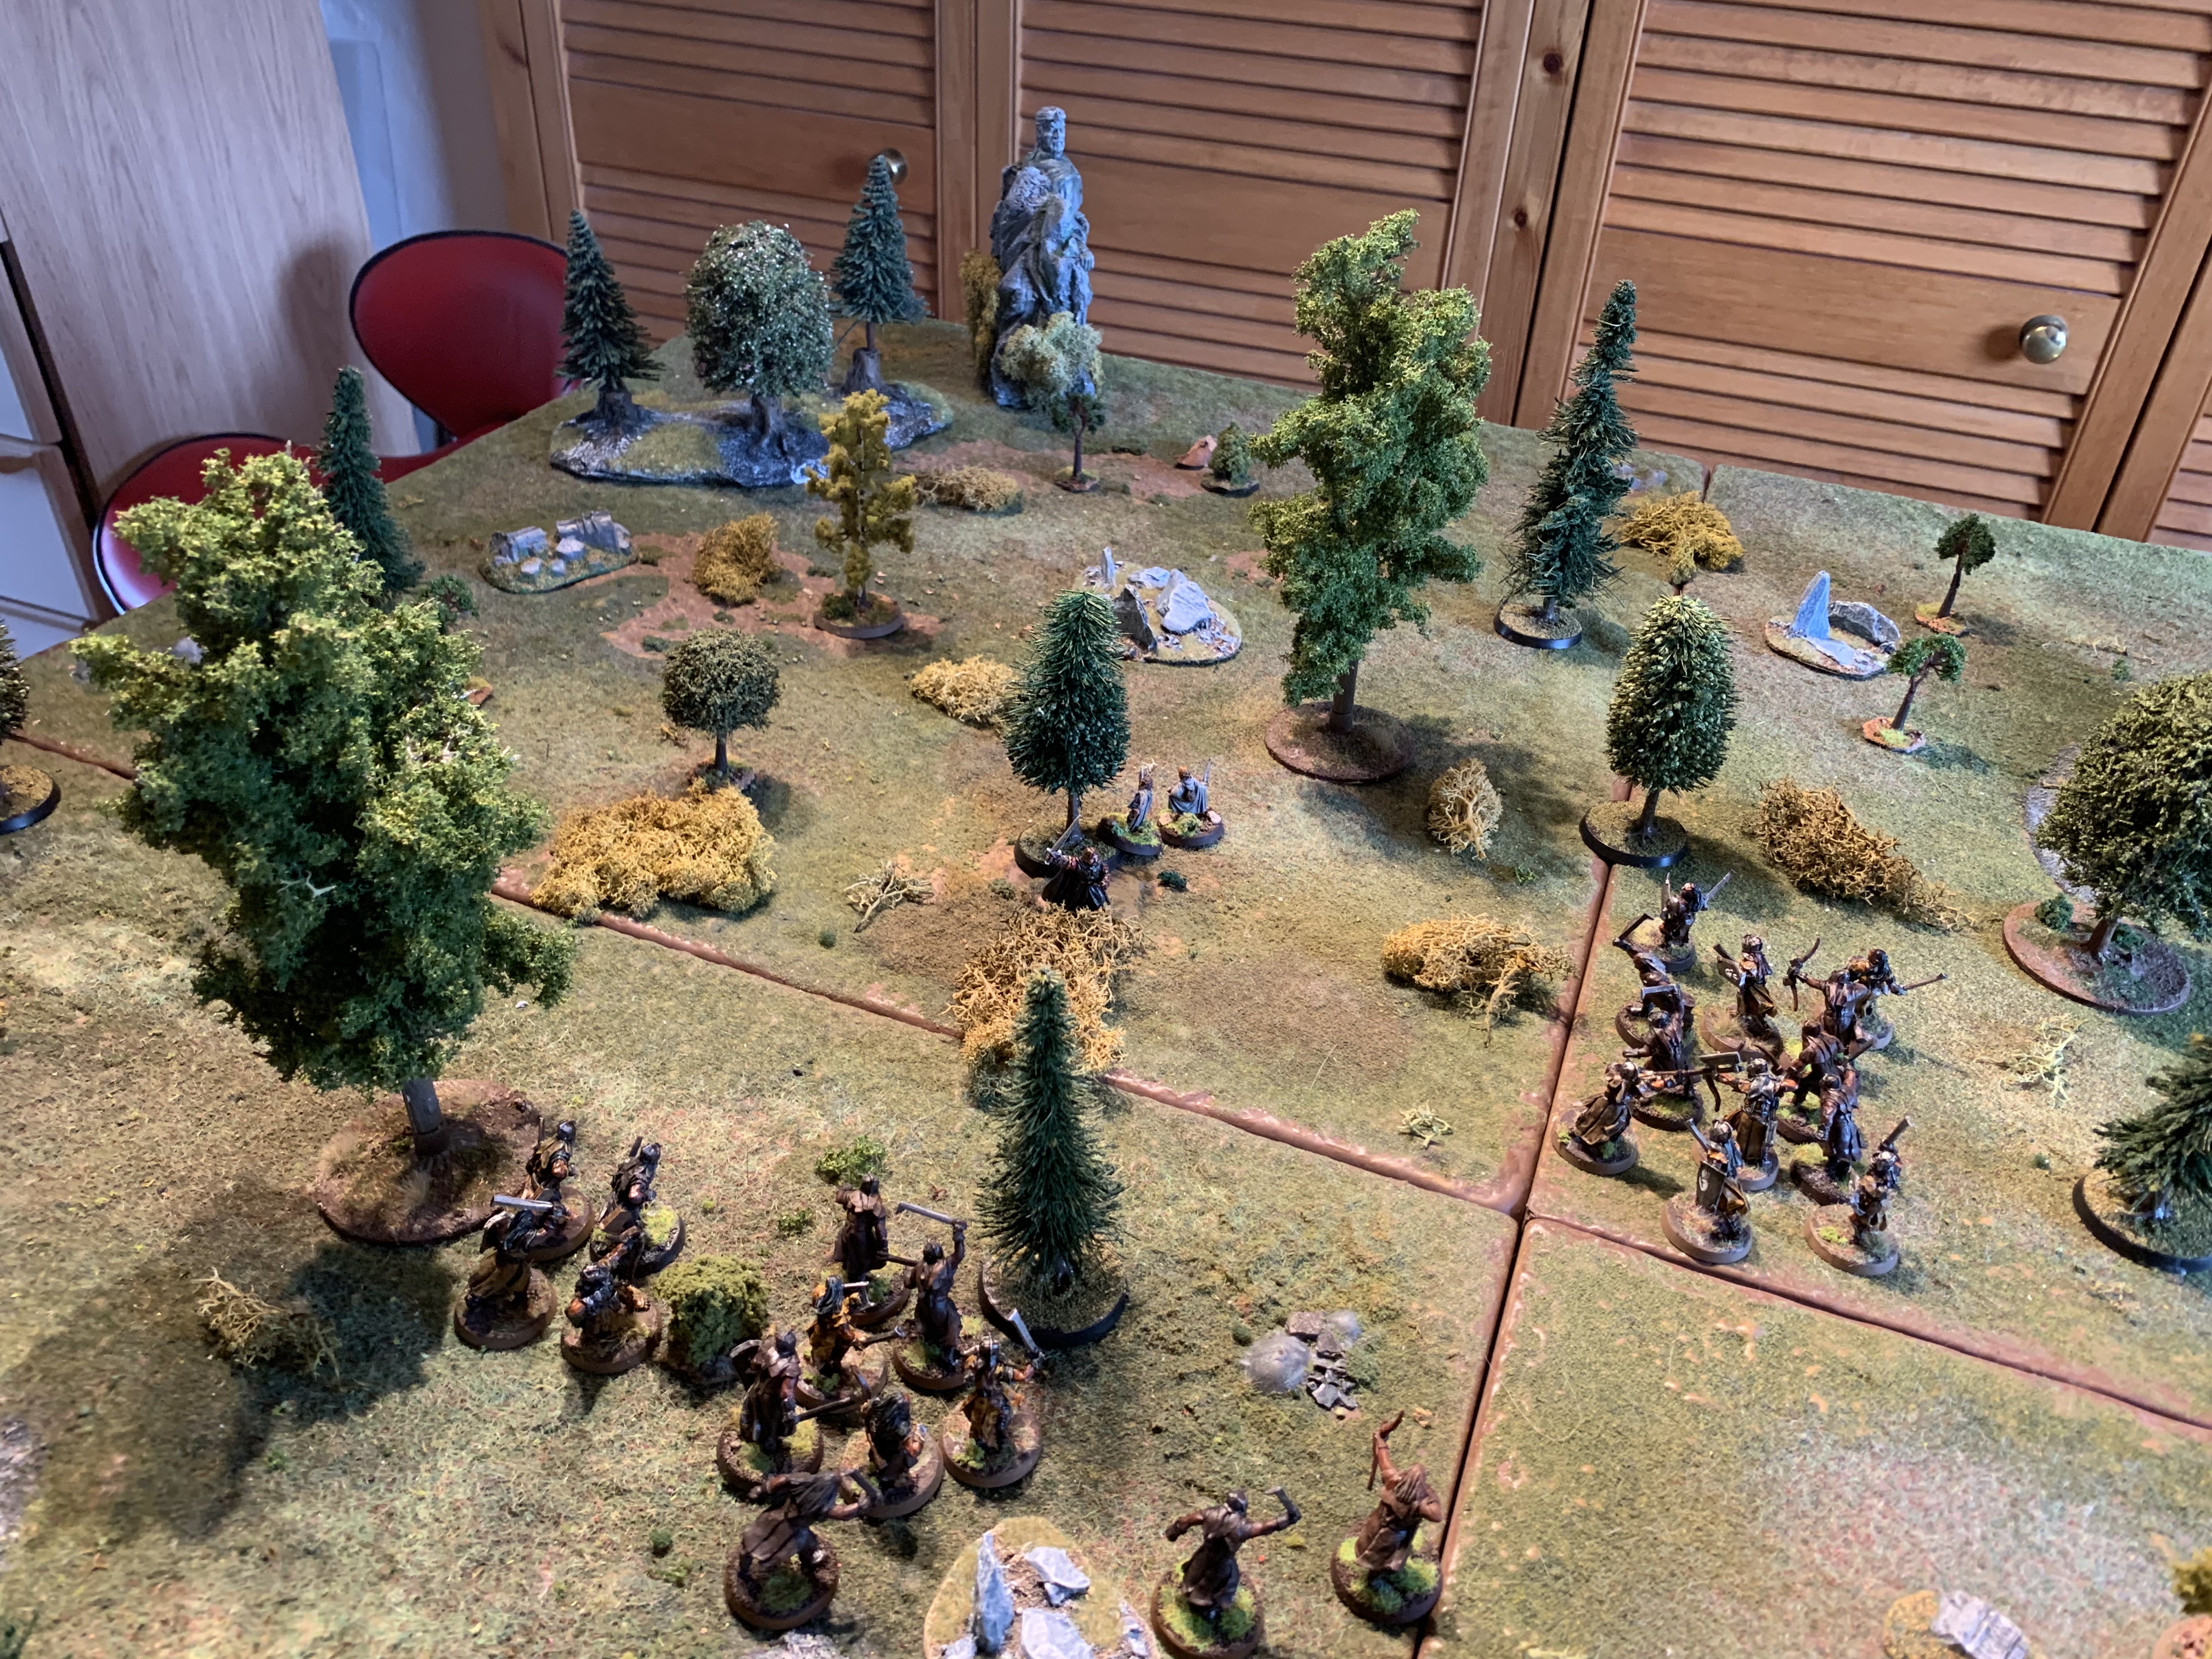
Boromir looks to defend Merry and Pippin as the Uruk Hai Captain and his scouts attack from two sides.Merry and Pippin run whilst Boromir warily moves into cover using his elven cloak.Bormor kills the Captain and is suurounded by Scouts. However he is unable to hold them all back and Pippin fails to jump over the bush and gets trapped. Both Merry and Pippin are in trouble. Boromir thins the enemy ranks but cannot get close. Pippn is carried away to Isengard!Merry too! Baromir undefeated in battle takes heavy wounds from arrows! Our first Evil victory!Boromir is heavily wounded whilst Aragorn, Legolas and Gimli rush to his rescue.
Bormir retreats up the hill fighting his way through any scouts. He kills the Caprtain and then Lurtz. Aragorn watches him fall and then takes out Lurtz as Gimli rushes to his aid. Legolas deals with the archers from cover as he has been heavily injured by arrows early on in the scenario, narrowly surviving when caught out in the open. Victory for Good.
Eventually Boromir has fallen and the halflings taken to Isengard. The Fellowship lies broken but what of the Ringbearer?
Darryl (British), Spain (Phil) vs Mike (North French), Michael (South French)
1st Turn played.
Wow what a tense and difficult game that was! So close and lots of hard fought battles. Now the South French are planning on taking on Wellington with a mega army whilst the North French look to defend France from invasion across the Pyrenees whilst holding on to Madrid! Those Southern Spanish keys look poorly defended too but never underestimate the French who rolled a fantastic reinforcement roll whereas the Brits and Spanish rolled 4 ones for our own between us! War without end meant no peace roll and impossible to conquer Spain at the end of Turn 1.