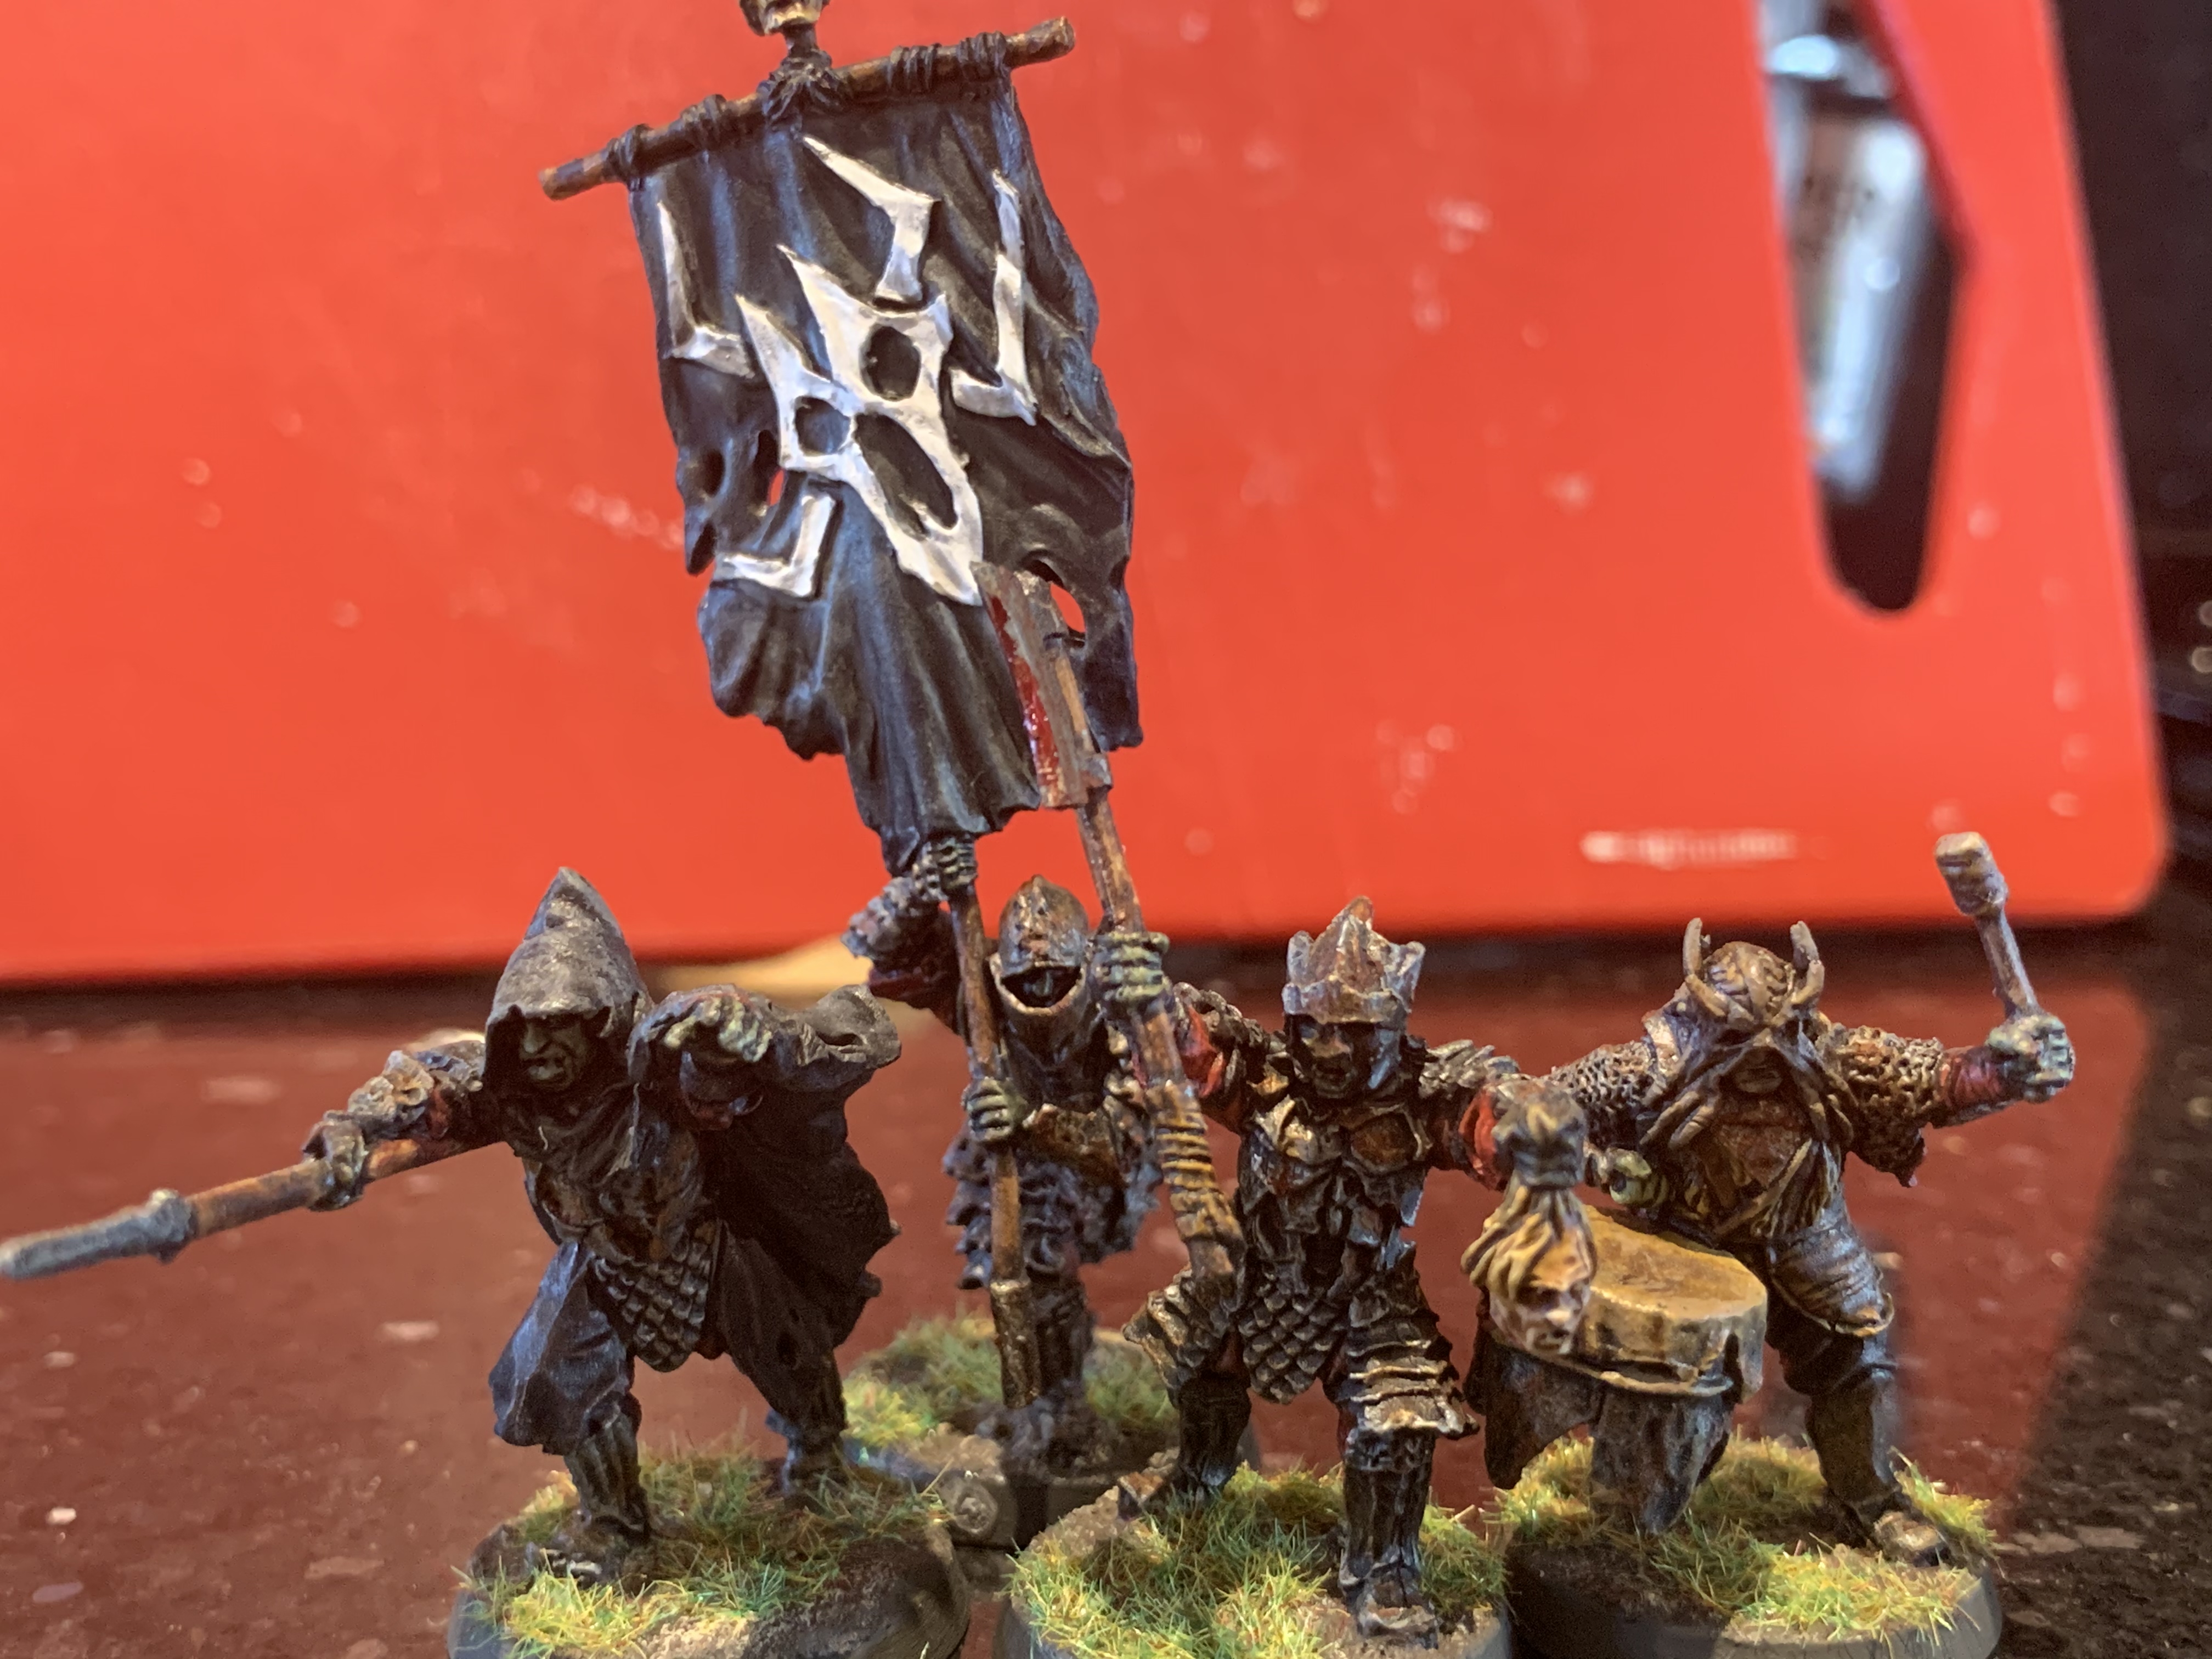
Painted using GW contrast paints. Metal black then chainmail then nuln oil wash. Rust added for that Orcish look.
Based to match my existing figures of this unit.
Painted using GW contrast paints. Metal black then chainmail then nuln oil wash. Rust added for that Orcish look.
Based to match my existing figures of this unit.


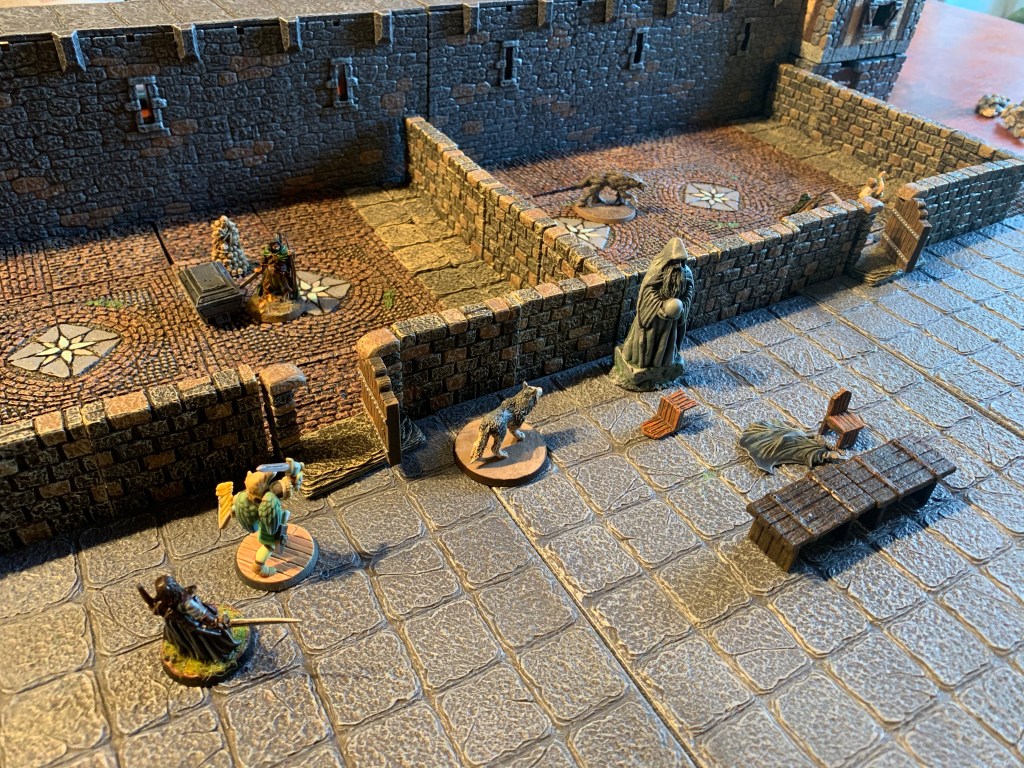
Our heroes headed to the abbess’s quarters in search of final clues. This was a tough fight as gnolls burst out of a secret door and ambushed Steel Blaze and Gwalchmai . Both heroes were knocked out due to multiple attacks rolling high 20 . Even Gwalchmai’s parry could not save him as he tried to defend Dark Tom.
Meanwhile Link and his crew investigated the remaining clues and rooms . By a miracle Gwalchmai was healed and with Link’s help Tom was saved and the gaols defeated. With the riddle solved it was onto the courtyard with the decanter and escape.

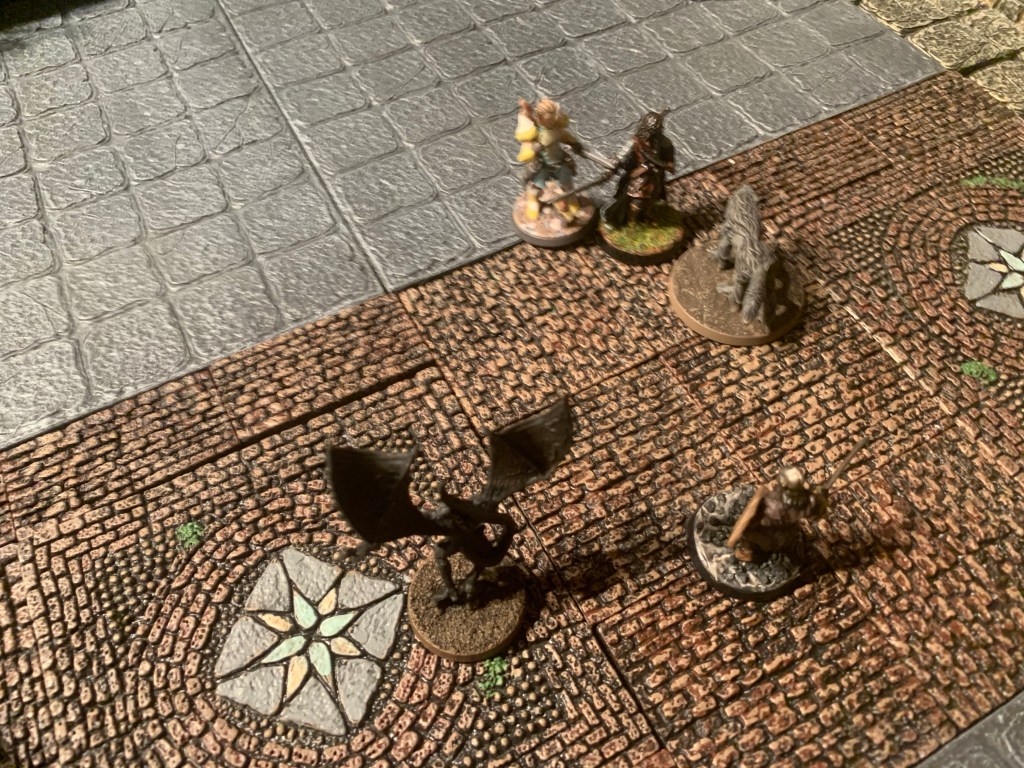
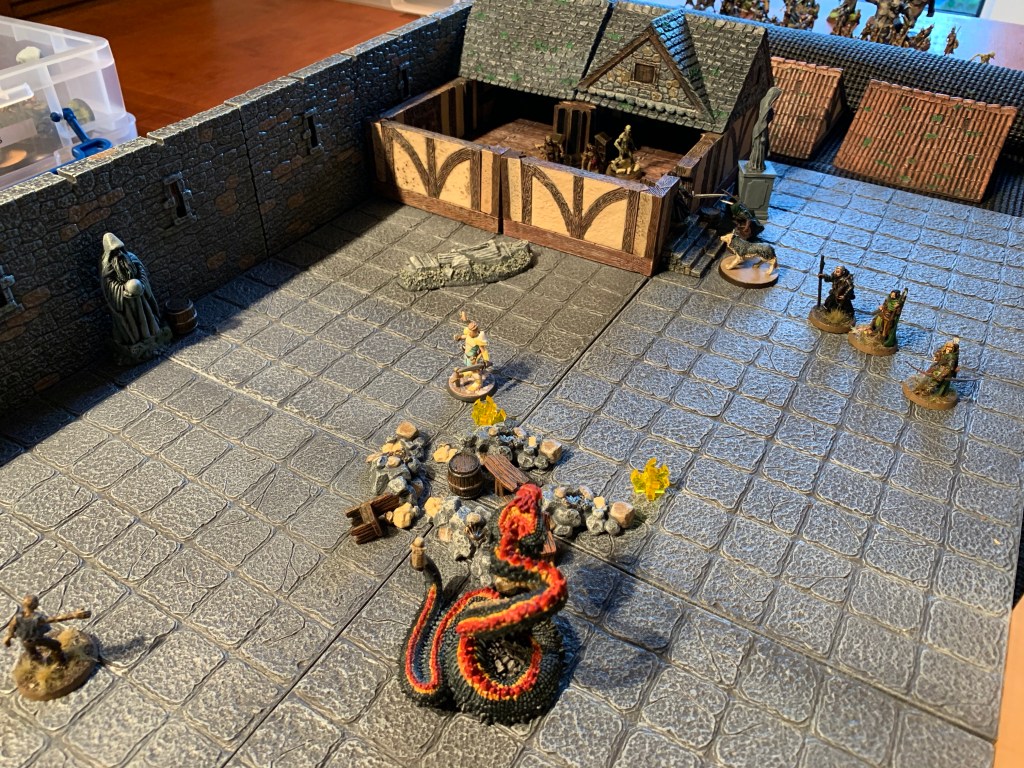
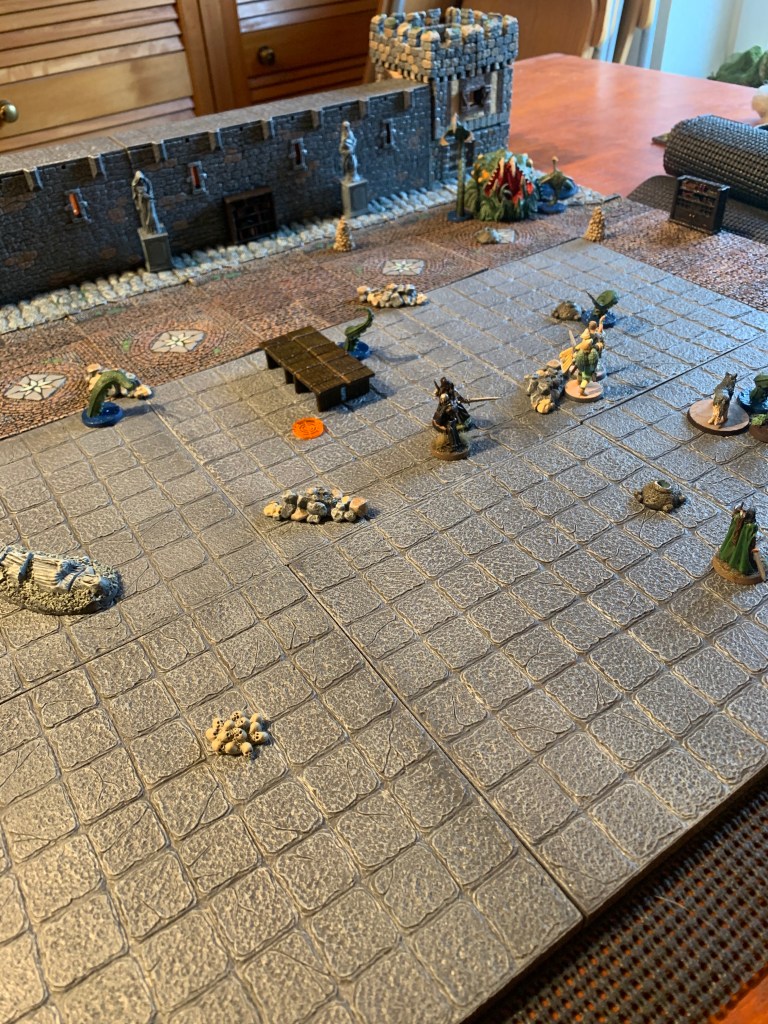
The courtyard was the way out and Link with the decanter needed to escape by one of the exit points. Gwalchmai knocked his magic arrow and scored a critical hit on the flying terror across the yard. Steel Blaze and the others blocked the monsters and provided cover for Link and Dark Tom and Emilia used their magic powers to good effect.
With the final mighty terror defeated by Link he then headed for the exit and escaped with the decanter. Our heroes had made it and successfully completed the campaign!
They are now level 8 and ready for further adventures in the shadow deep.
More scenarios completed over the last few weeks. Completed the last mission and started the burning light campaign.


Phil, Alex, Two Mikes, Darryl and Bruce played Galactica- Pegasus.
Phil’s Admiral made some good jumps and even a forced blind jump when they were beset by enemies. Baltar (Mike) scanned Boomer (Alex) after the sleeper phase. Darryl’s starbuck turned out to be a sympathetic cylon because they were low on fuel. Declaring Boomer who was in the Brig as human lead now to some suspicion and uncertainty. This was because between them they had six loyalty cards!
Determined to get out of the Brig, Boomer called a vote despite failing to garner support but lost even though only he and Bruce’s President voted (everyone else abstained). With 3 bad cards one of them was very suspicious now!
Admiral Cain was determined to Brig and airlock the President but people were still unsure. No time to scout as they jumped again to a barren planet: they were low on fuel. Where did it all go because they had not used much to jump at all? Now the President forced the loss of 4 food rather than lose cards. Admiral’s Quarters though were damaged. Scar appeared!
Baltar (Mike) fixes the Quarters so the engineer could use it. However instead our engineer (Michael) uses communications instead and tells the human civilian population ships to move closer to Scar! Next it is President Bruce who realises the game is up and declares as a Cylon. Finally Scar attacks the civilians and strikes a lucky blowing up a Fuel supply ship! The humans are out of fuel and lose the game.
Well done Michael and Bruce (and Scar).


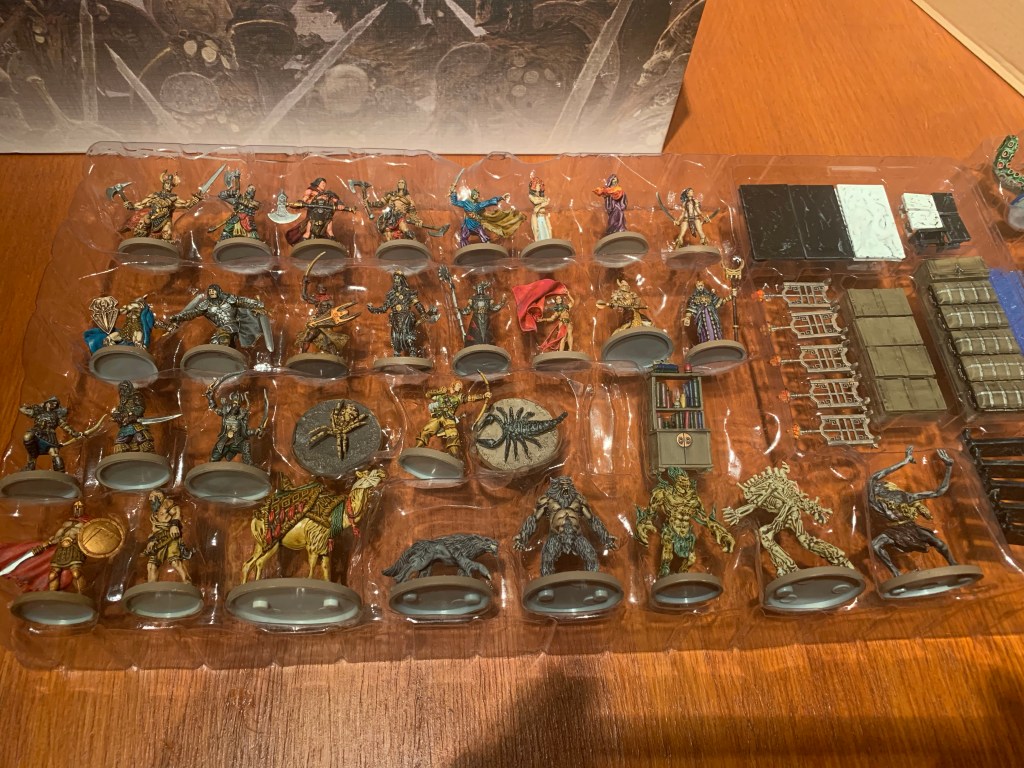
Painted the final tray of my Conan set.


Mission Two


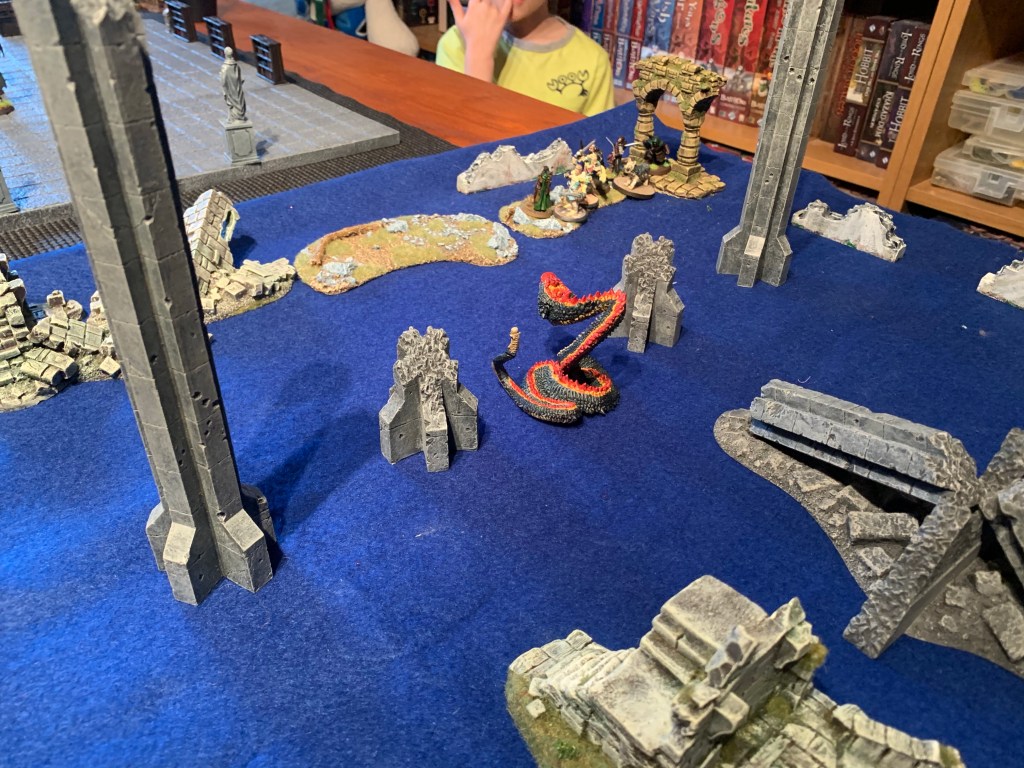
Our heroes Link and Gwalchmai with their Companions sneak through the Barbican and enter the first room. No Panter of course as he did not survive the battle across the bridge. Forewarned by the Vulture the Shaman and his two guards are ready. A curse is cast but Link is able to resist. Whilst Gwalchmai casts an enchanted blade on Link’s 2 handed-sword Birdo and the Swordsman distract the guards. This allows Link to take on the Shaman and with one blow (critical) he cuts him down. They make short work of the guards and enter room 2 within the required time.
This room is a torture room. The heroes advance as fast as they can but are held back by the guards and the narrow spaces between the tables. This allows the Orc Sergeant to attack the unarmed soldier and cut him down. Then Gwalchmai casts weakness on him and Link attacks him. Gwalchmai and Swordsman take nasty wounds in the melee but once again our heroes defeat the enemy and enter the third room in time.This is a store room.
Whilst Gwalchmai and the Swordsman hold off the guards Link, Recruit and Birdo rush off towards the piles of treasure. Gwalchmai yet again takes a heavy wound and falls to the ground, Swordsman soon following. Link and his cohort grab the treasure and then finish off the enemy whilst the Recruit races up the tower steps to open the final door in time.
Fortunately Gwalchmai, Swordsman and Dog are all okay and easily heal up for the final fight. Recruit stays behind to guard the rescued soldiers.
The Tower
Link and Birdo head towards the enemies whilst Gwalchmai enchants Link’s sword and weakens the Shadow Knight. They see distant green watch towers alight whilst they fight.
Once again Link strikes a critical blow on the shadow knight and defeats him in two strikes with his magically enhanced two handed sword. Birdo is wounded and a fight ensues on the walkways. However they are soon victorious and rescue the final soldier before lighting the warning beacon. They make a hasty retreat and head out picking up the two soldiers on the way out.
From the treasure a magic two handed sword is found for Gwalchmai and Link is able to obtain some training for his Dog. Both Main characters are now level 3 and a new Conjuror has joined Gwalchmai’s list of companions.
Miniature painting, wargaming terrain tutorials, reviews, interviews and painting guides
Wayfaring through Middle-earth and other hobbies
Weekly tabletop miniatures blog.
WW2 Modelling in 1/72 Scale
The Adventures of Sir Thomas Hawksby's Regiment
From the computer to the tabletop, this is all about games. Updated each week-end.
Talk, support and information on Ganesha Games' Flashing Steel
President of Metropolitan Wargamers in Park Slope, Brooklyn, NYC
Thoughts about wargaming, especially 28mm.
Adventures of an historical wargamer in the wilds of Arkansas


