The hobbits must make it through the woods and reach the Ferry to cross the deep river.

The hobbits must make it through the woods and reach the Ferry to cross the deep river.
Painted with contrast paints.
Once again our brave hobbits are about. They enter the woods unaware they are being hunted by the Ringwraiths. Fortunately the great elven hero Gildor Inglorion is out patrolling the woods at the same time.
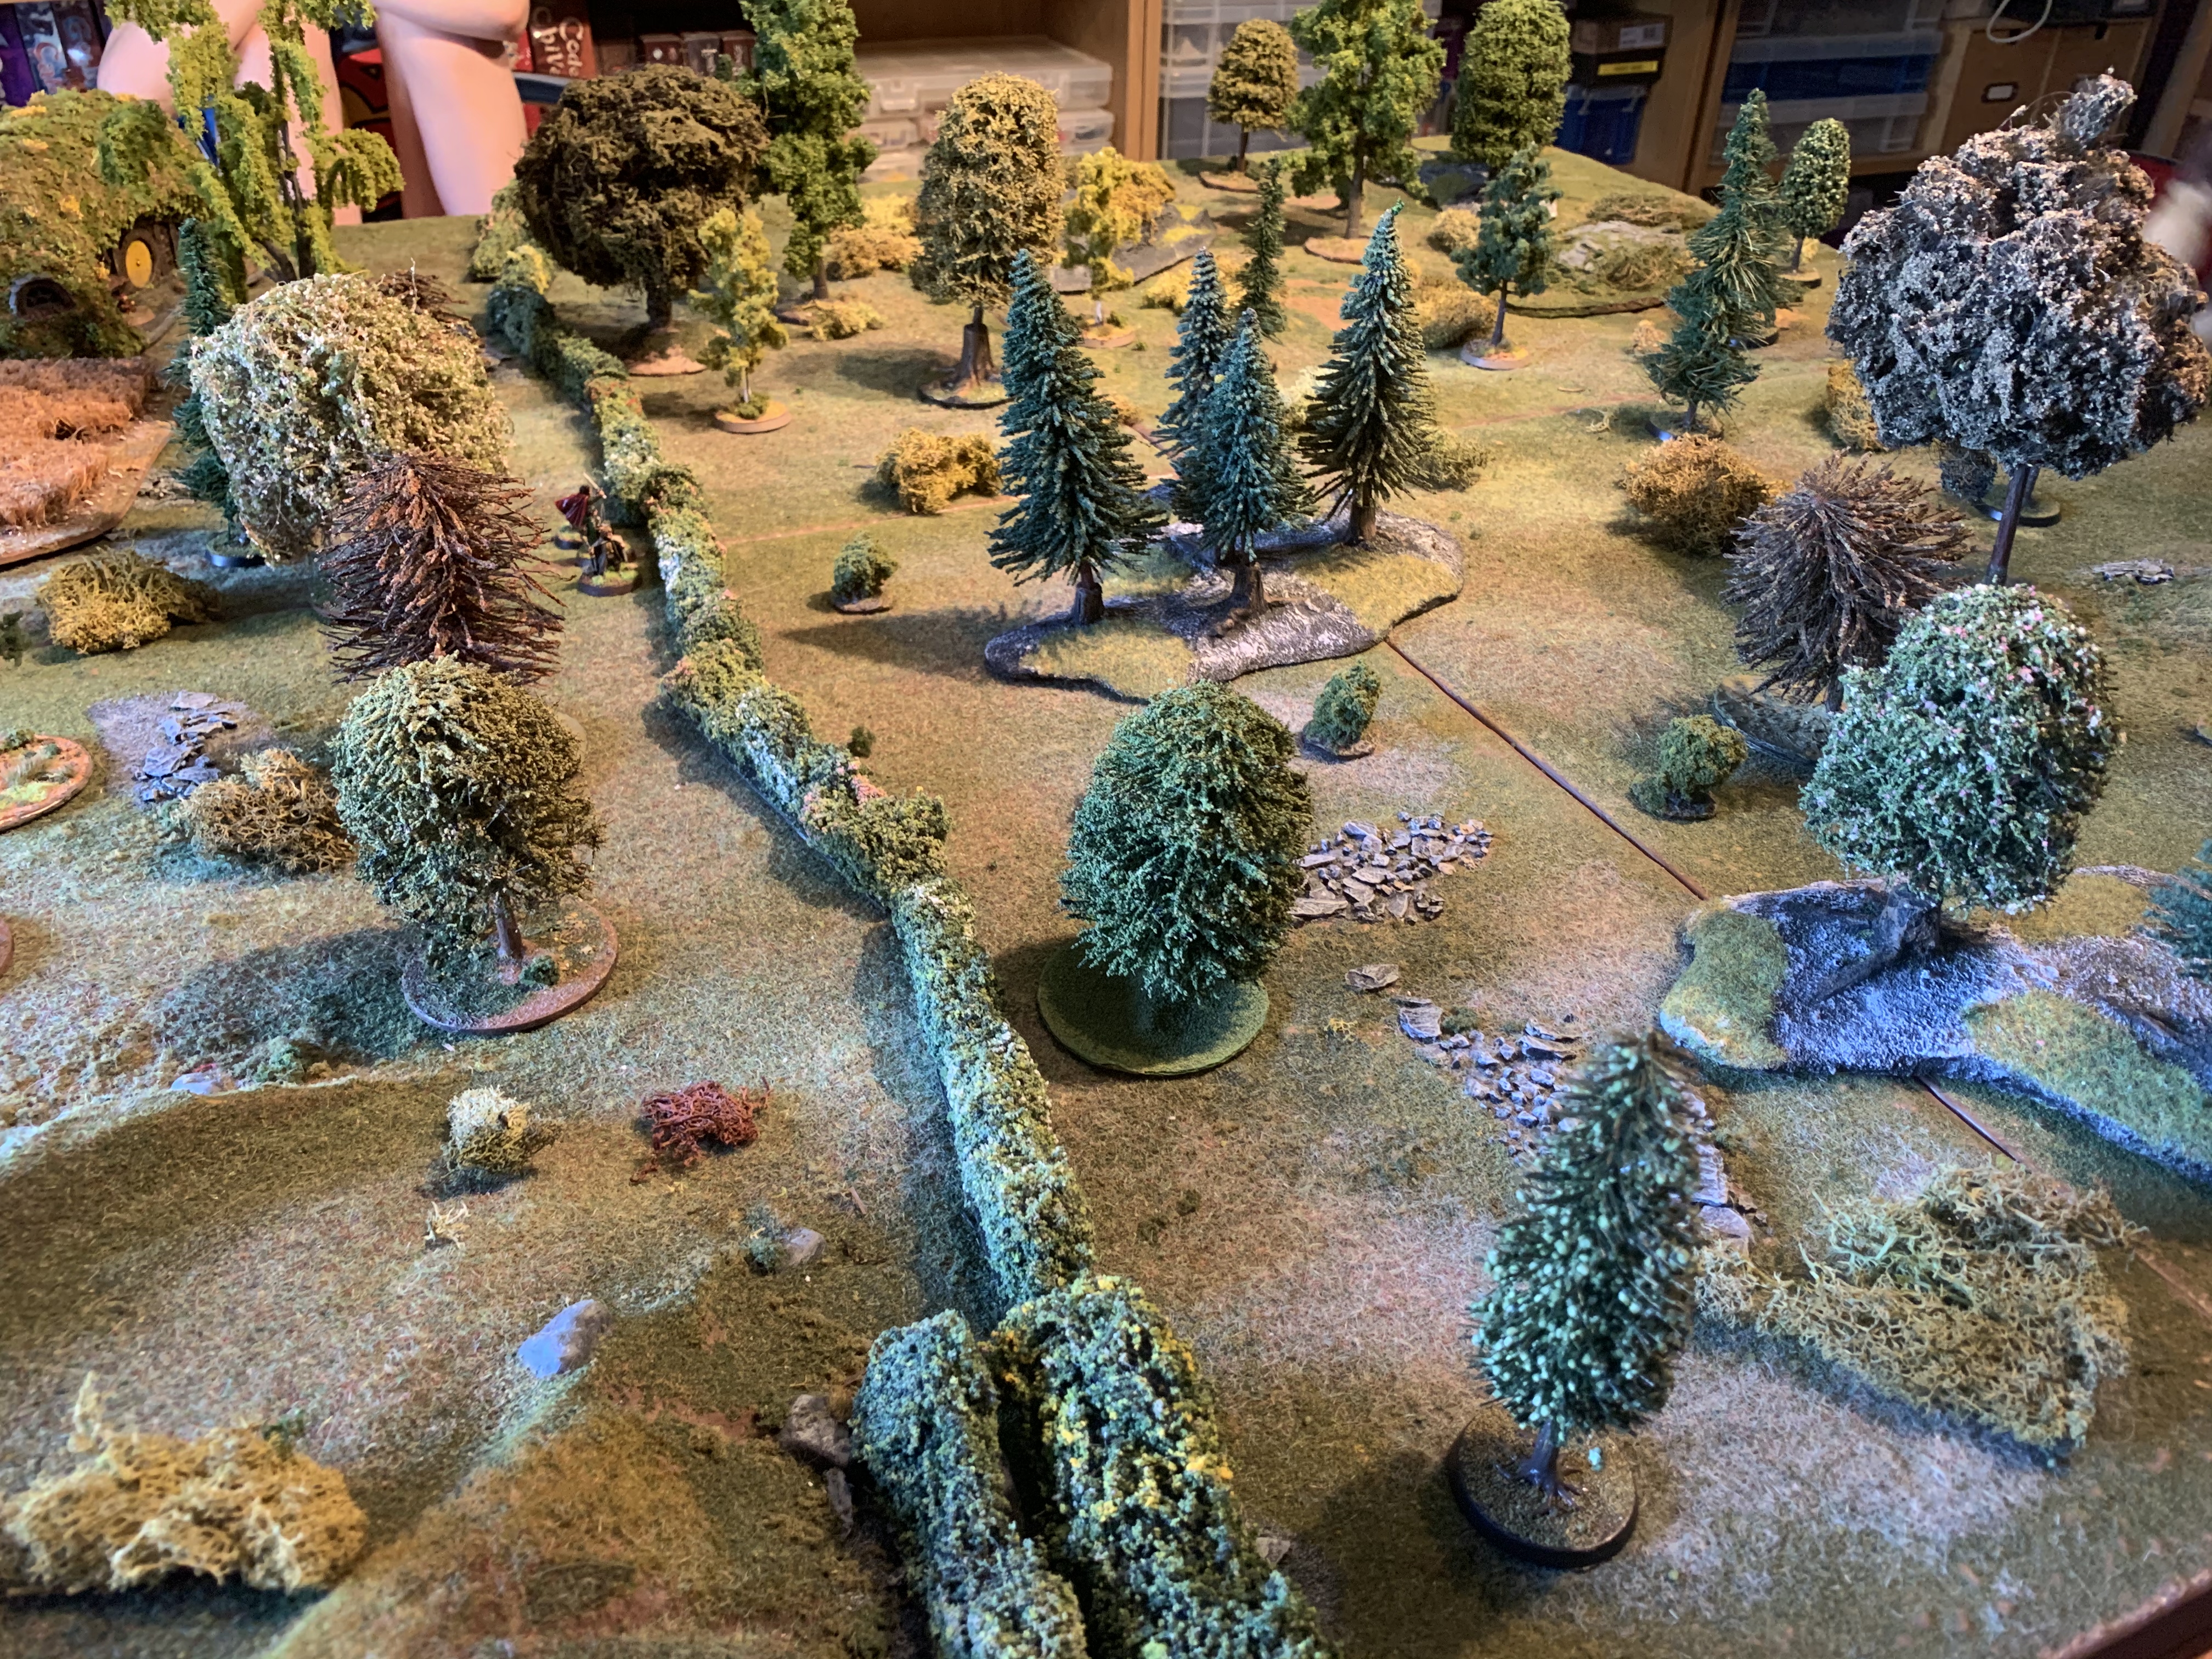
Gildor decides to meet the Ringwraith head on. A blood curdling cry alerts the other two as Gildor charges the first. Sam has also split off looking for trouble and watches in fascination as the elf charges the dread foe. Meanwhile Frodo and Pippin run for the exit.

Gildor resists the Ringwraith’s Transfix and charges again and again despite the Cry of the Nazgul. Another Nazgul spots the two fleeing hobbits and hurls a black dart at Pippin but misses. Frodo was just obscured enough by a tree to be invisible.
Gildor defeats the Nazgul who dissipates through lack of will and attacks the second. It attempts to Transfix Frodo but he resists and then Sam hurls himself at it. He takes a wound but has kept it delayed long enough for Frodo the Ringbearer to escape. Gildor attacks it and it dissipates having spent its power on dark spells.
One last Ringwraith chases futilely after the hobbits but Gildor blocks the way in the dying light.

Another victory for Good!
The new mighty treebeard kit.
Base white
Then wood contrast paint all over.
The beard aggaros dunes then camo green to leaves and militarium green otherwise.
Apply cygor brown to depths/ gaps and other browns and greens in random patches (contrast paints).
Highlight with steel legion drab and commando khaki.
Apply drab to the mushrooms then highlight with a dark yellow. Catachan green to leaves highlighted with camo green- mixed if necessary.
Base for a woodland theme with leaves and grass with leaves.


First scenario:
Our hobbits go scrumping in Farmer Maggot’s field.
The Hobbits send the dogs fleeing back to the kennel twice and then successfully run rings ring Farmer Maggot to steal his crops.
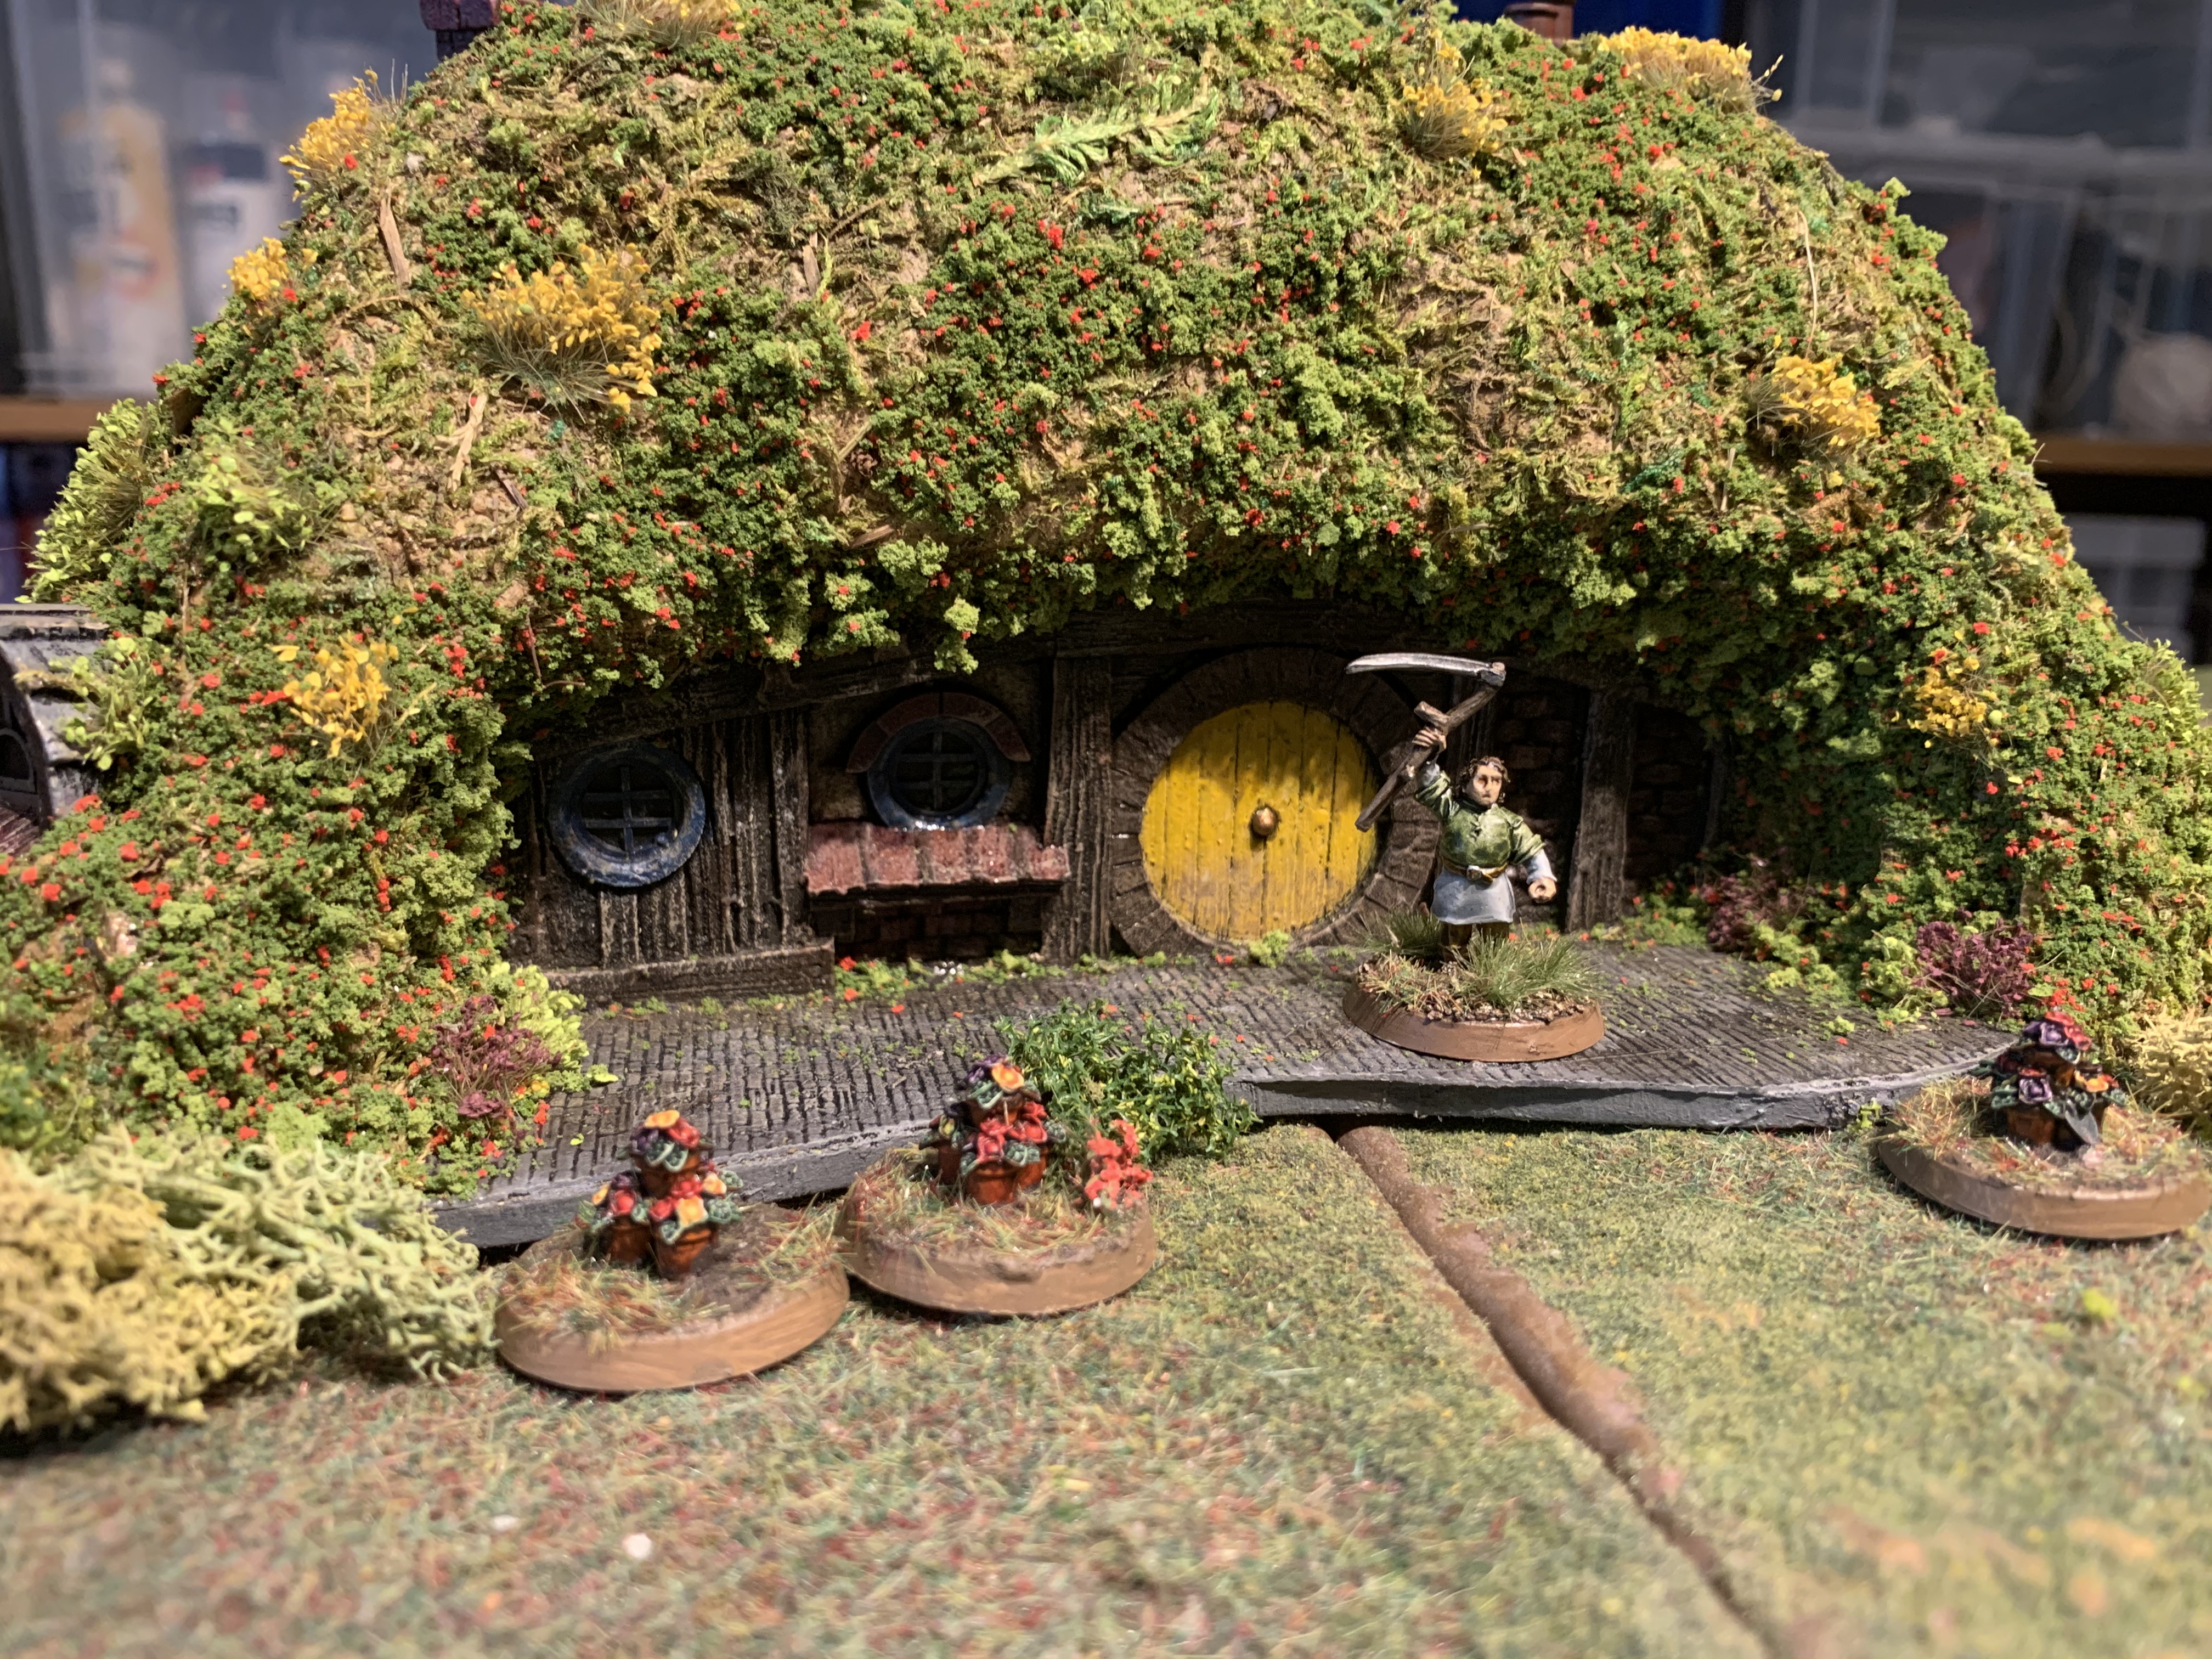


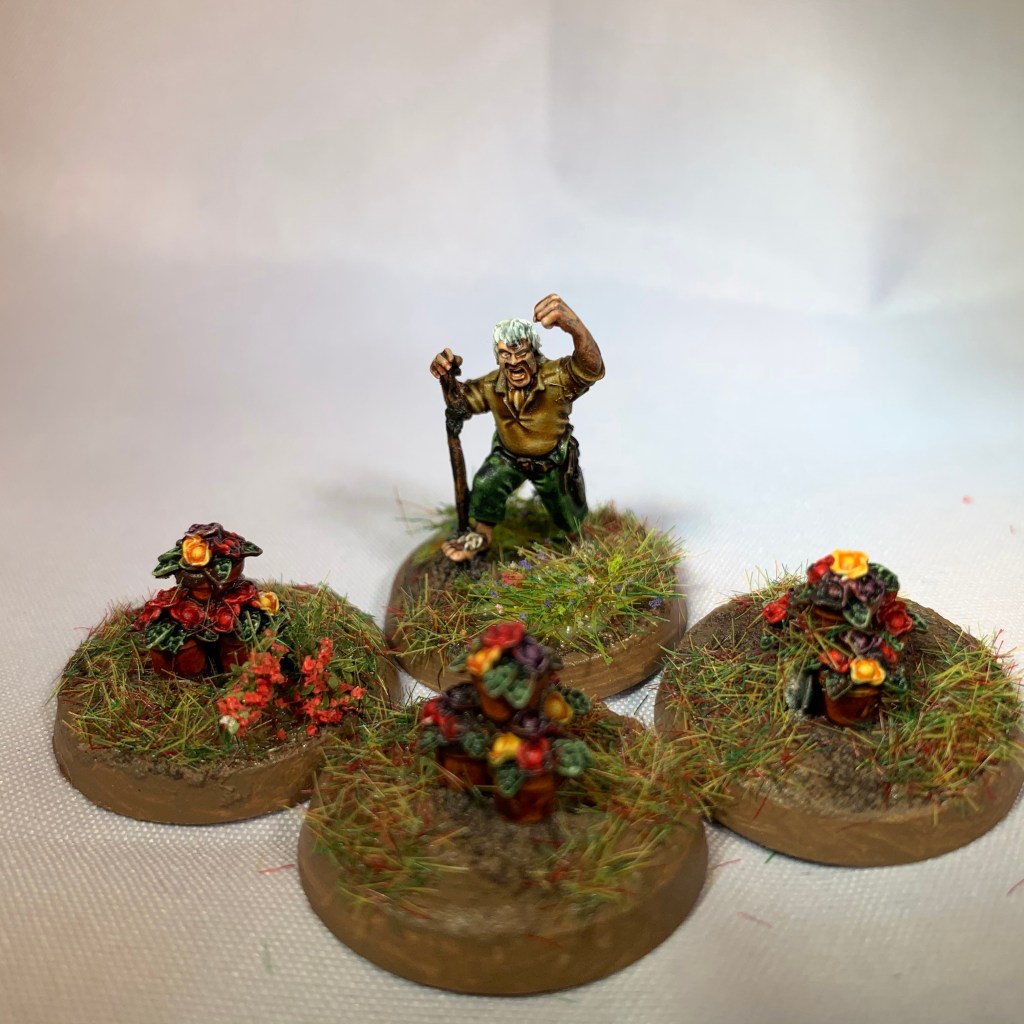
Folco and Farmer Cotton plus Gaffer Gamgee and some flower pots…


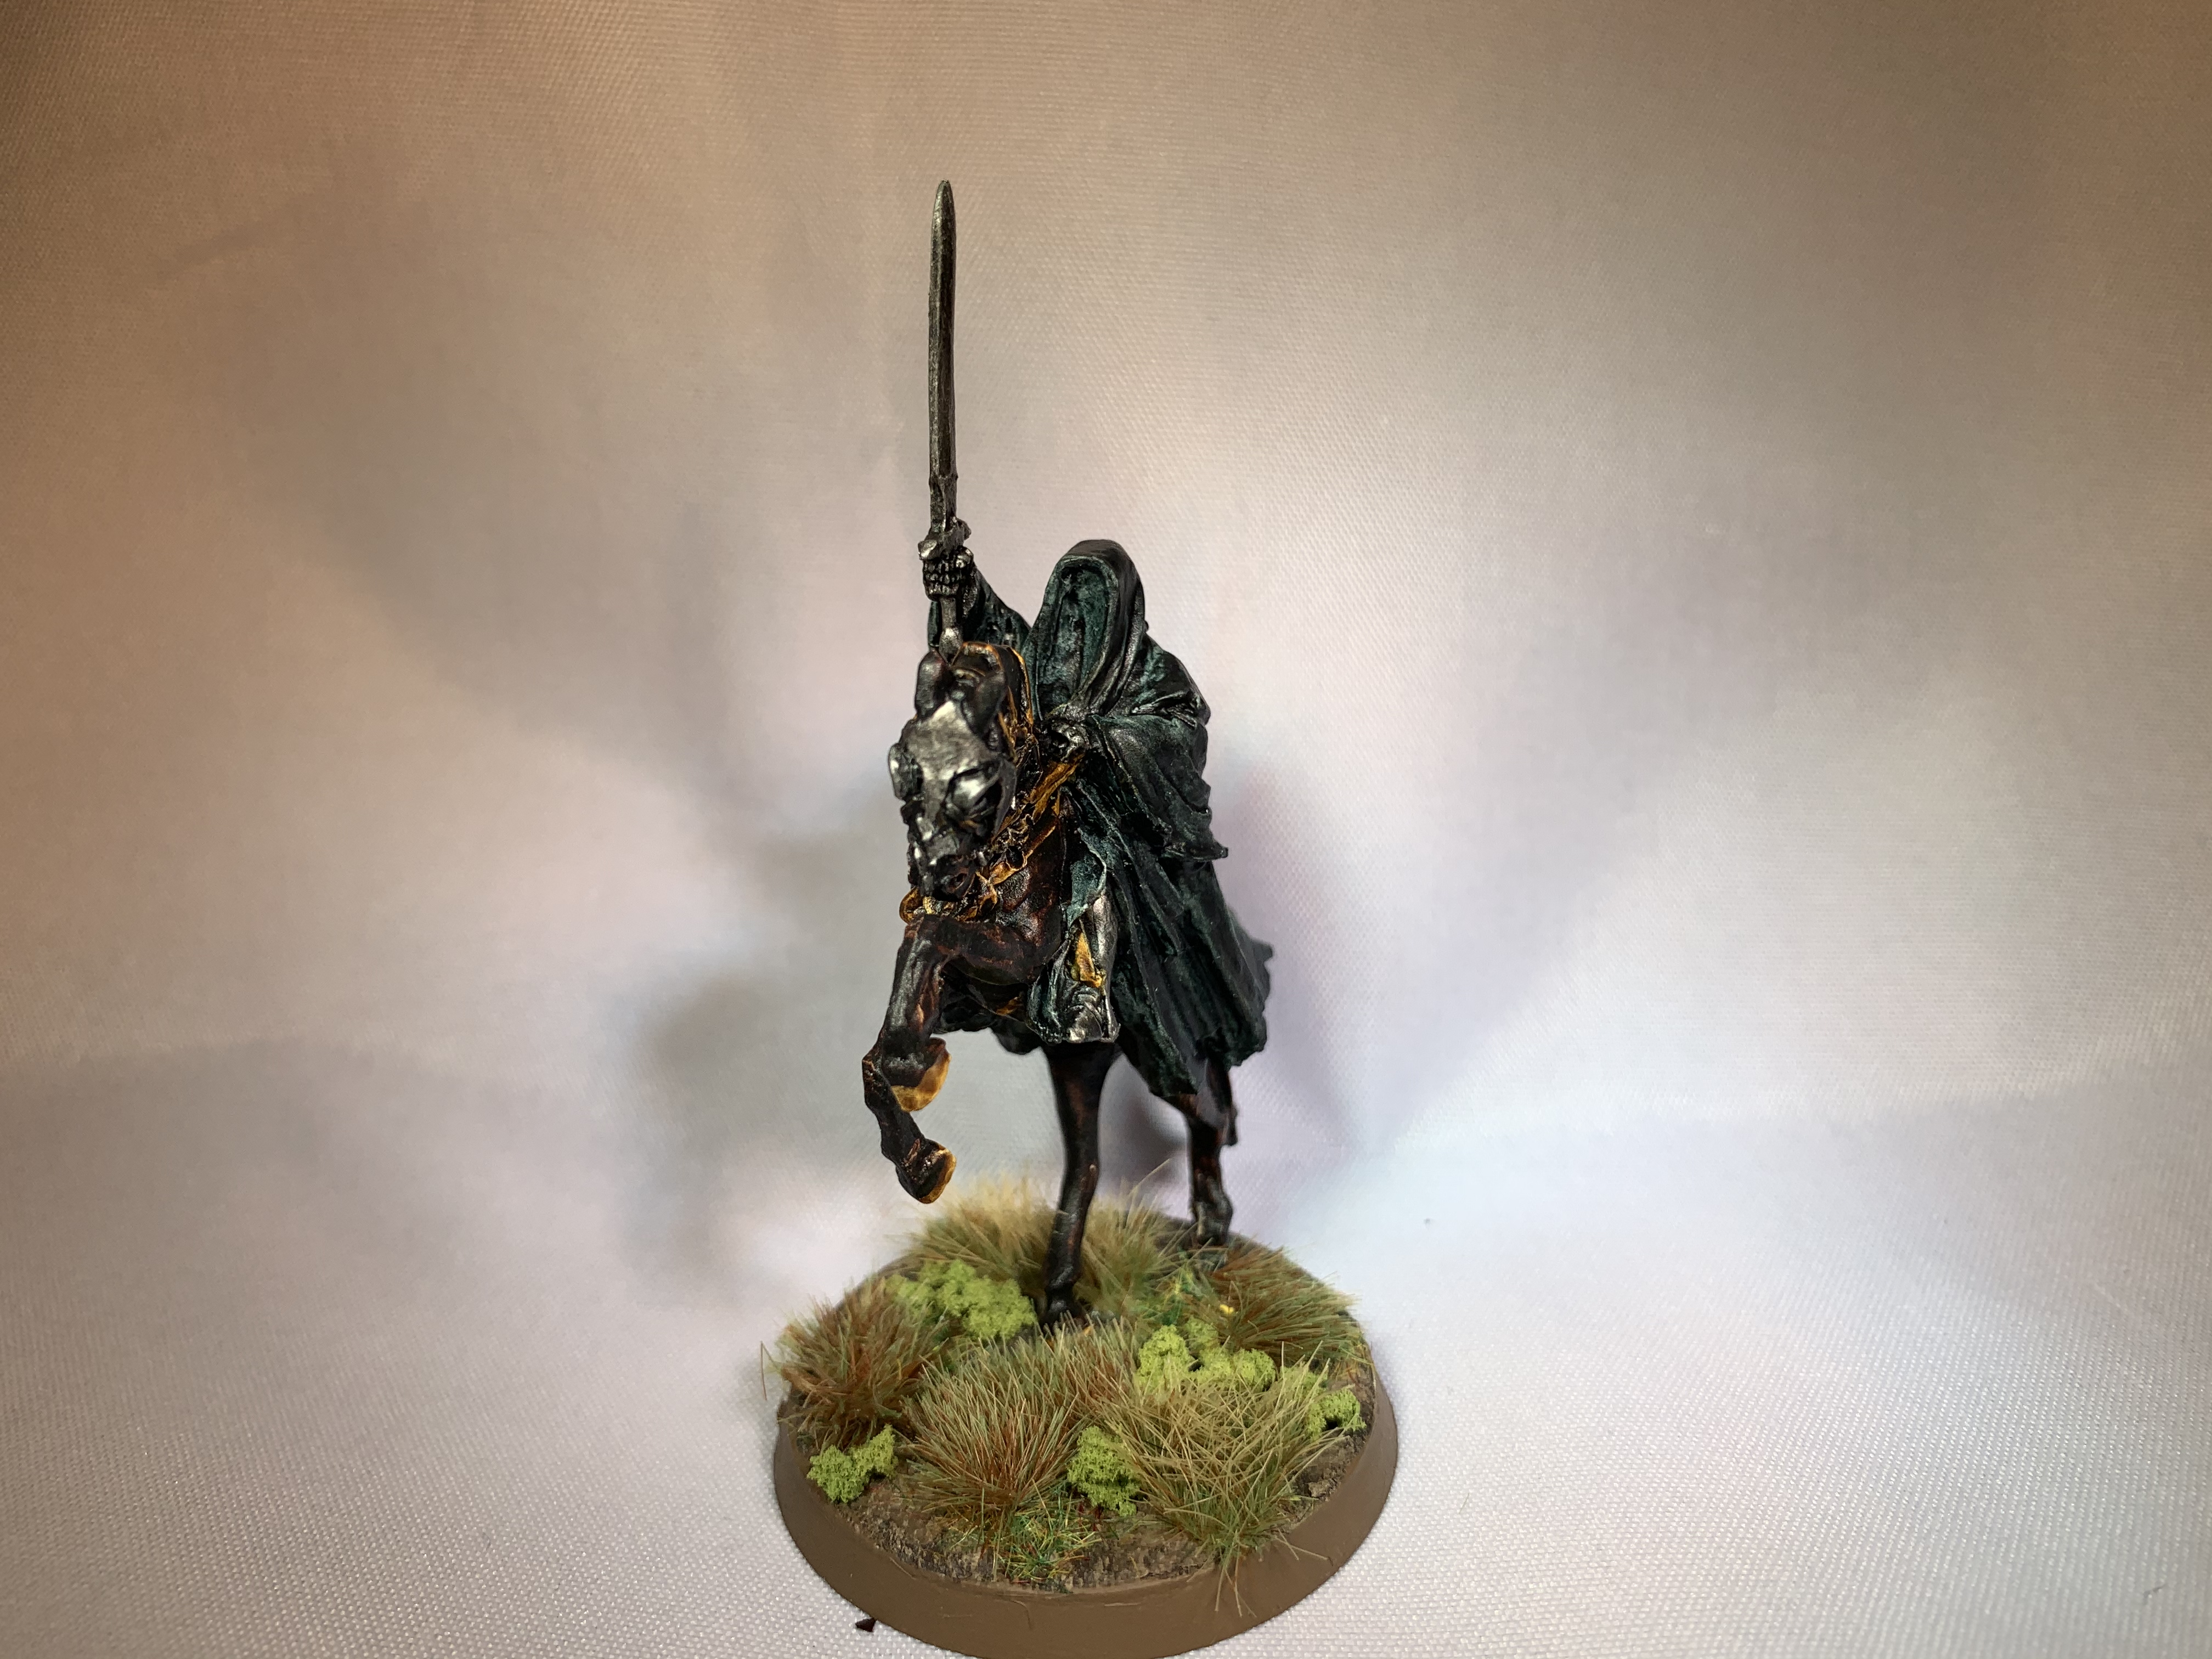
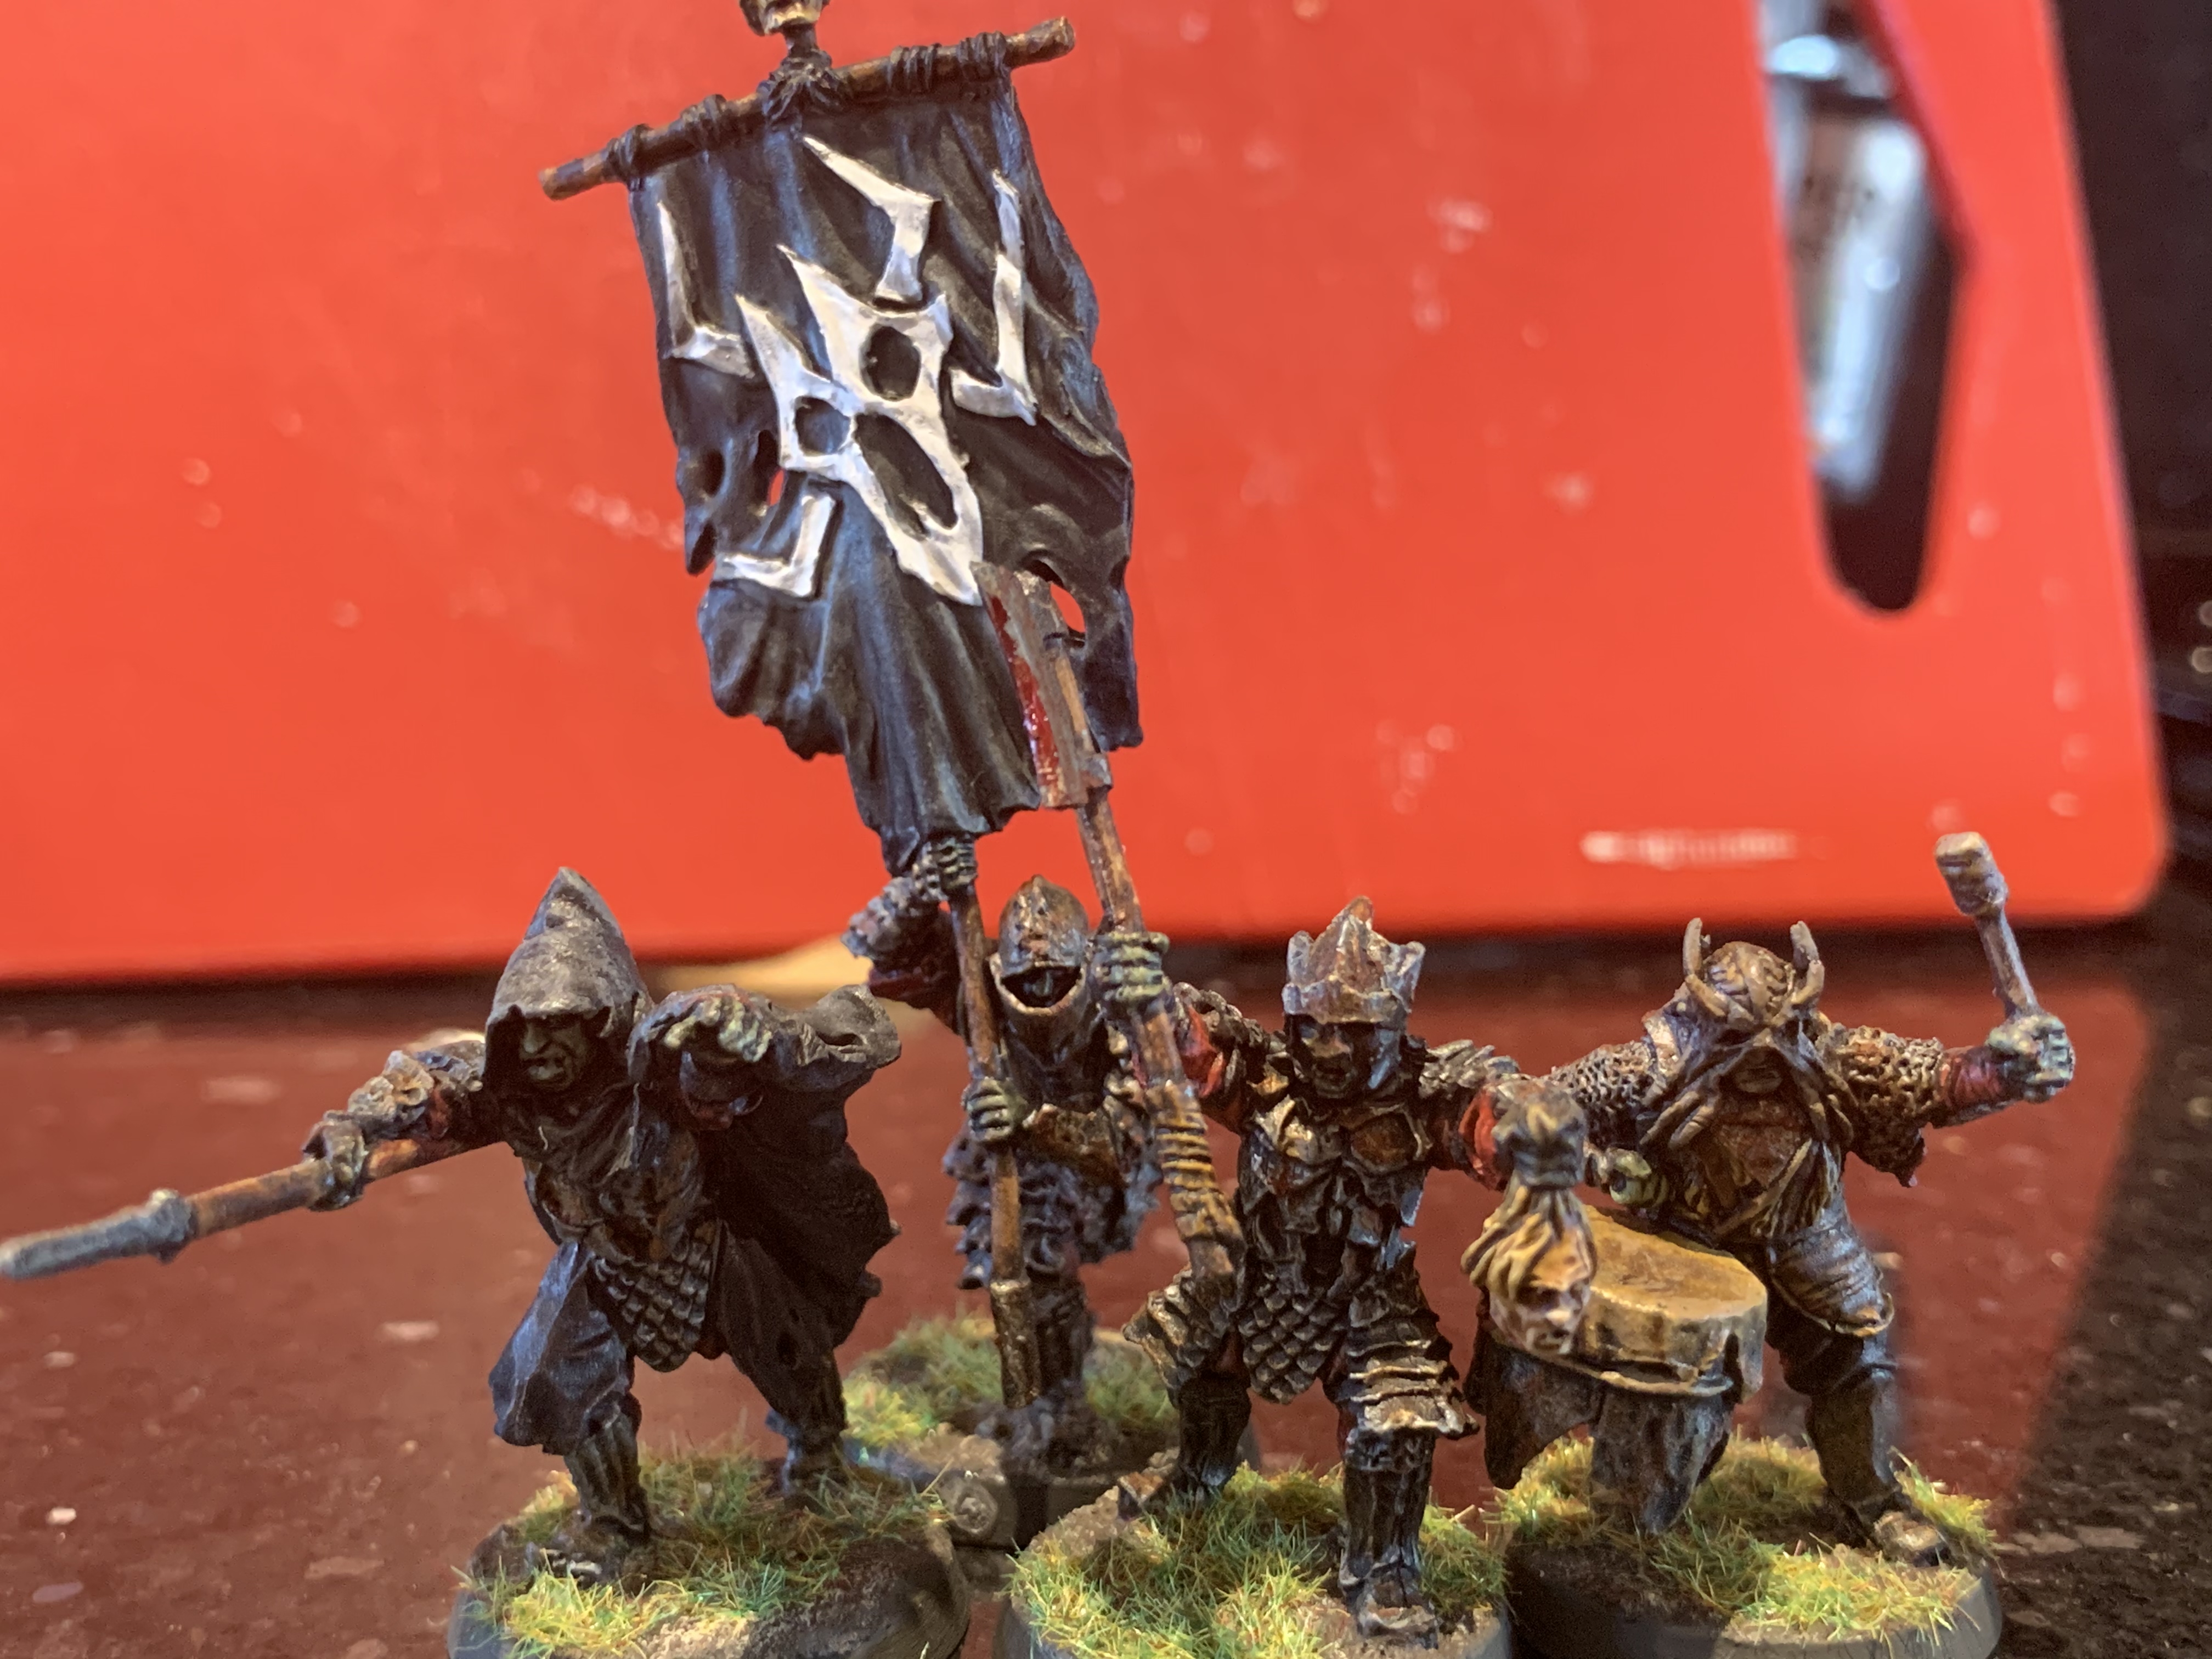
Painted using GW contrast paints. Metal black then chainmail then nuln oil wash. Rust added for that Orcish look.
Based to match my existing figures of this unit.
Miniature painting, wargaming terrain tutorials, reviews, interviews and painting guides
Wayfaring through Middle-earth and other hobbies
Weekly tabletop miniatures blog.
WW2 Modelling in 1/72 Scale
The Adventures of Sir Thomas Hawksby's Regiment
From the computer to the tabletop, this is all about games. Updated each week-end.
Talk, support and information on Ganesha Games' Flashing Steel
President of Metropolitan Wargamers in Park Slope, Brooklyn, NYC
Thoughts about wargaming, especially 28mm.
Adventures of an historical wargamer in the wilds of Arkansas


