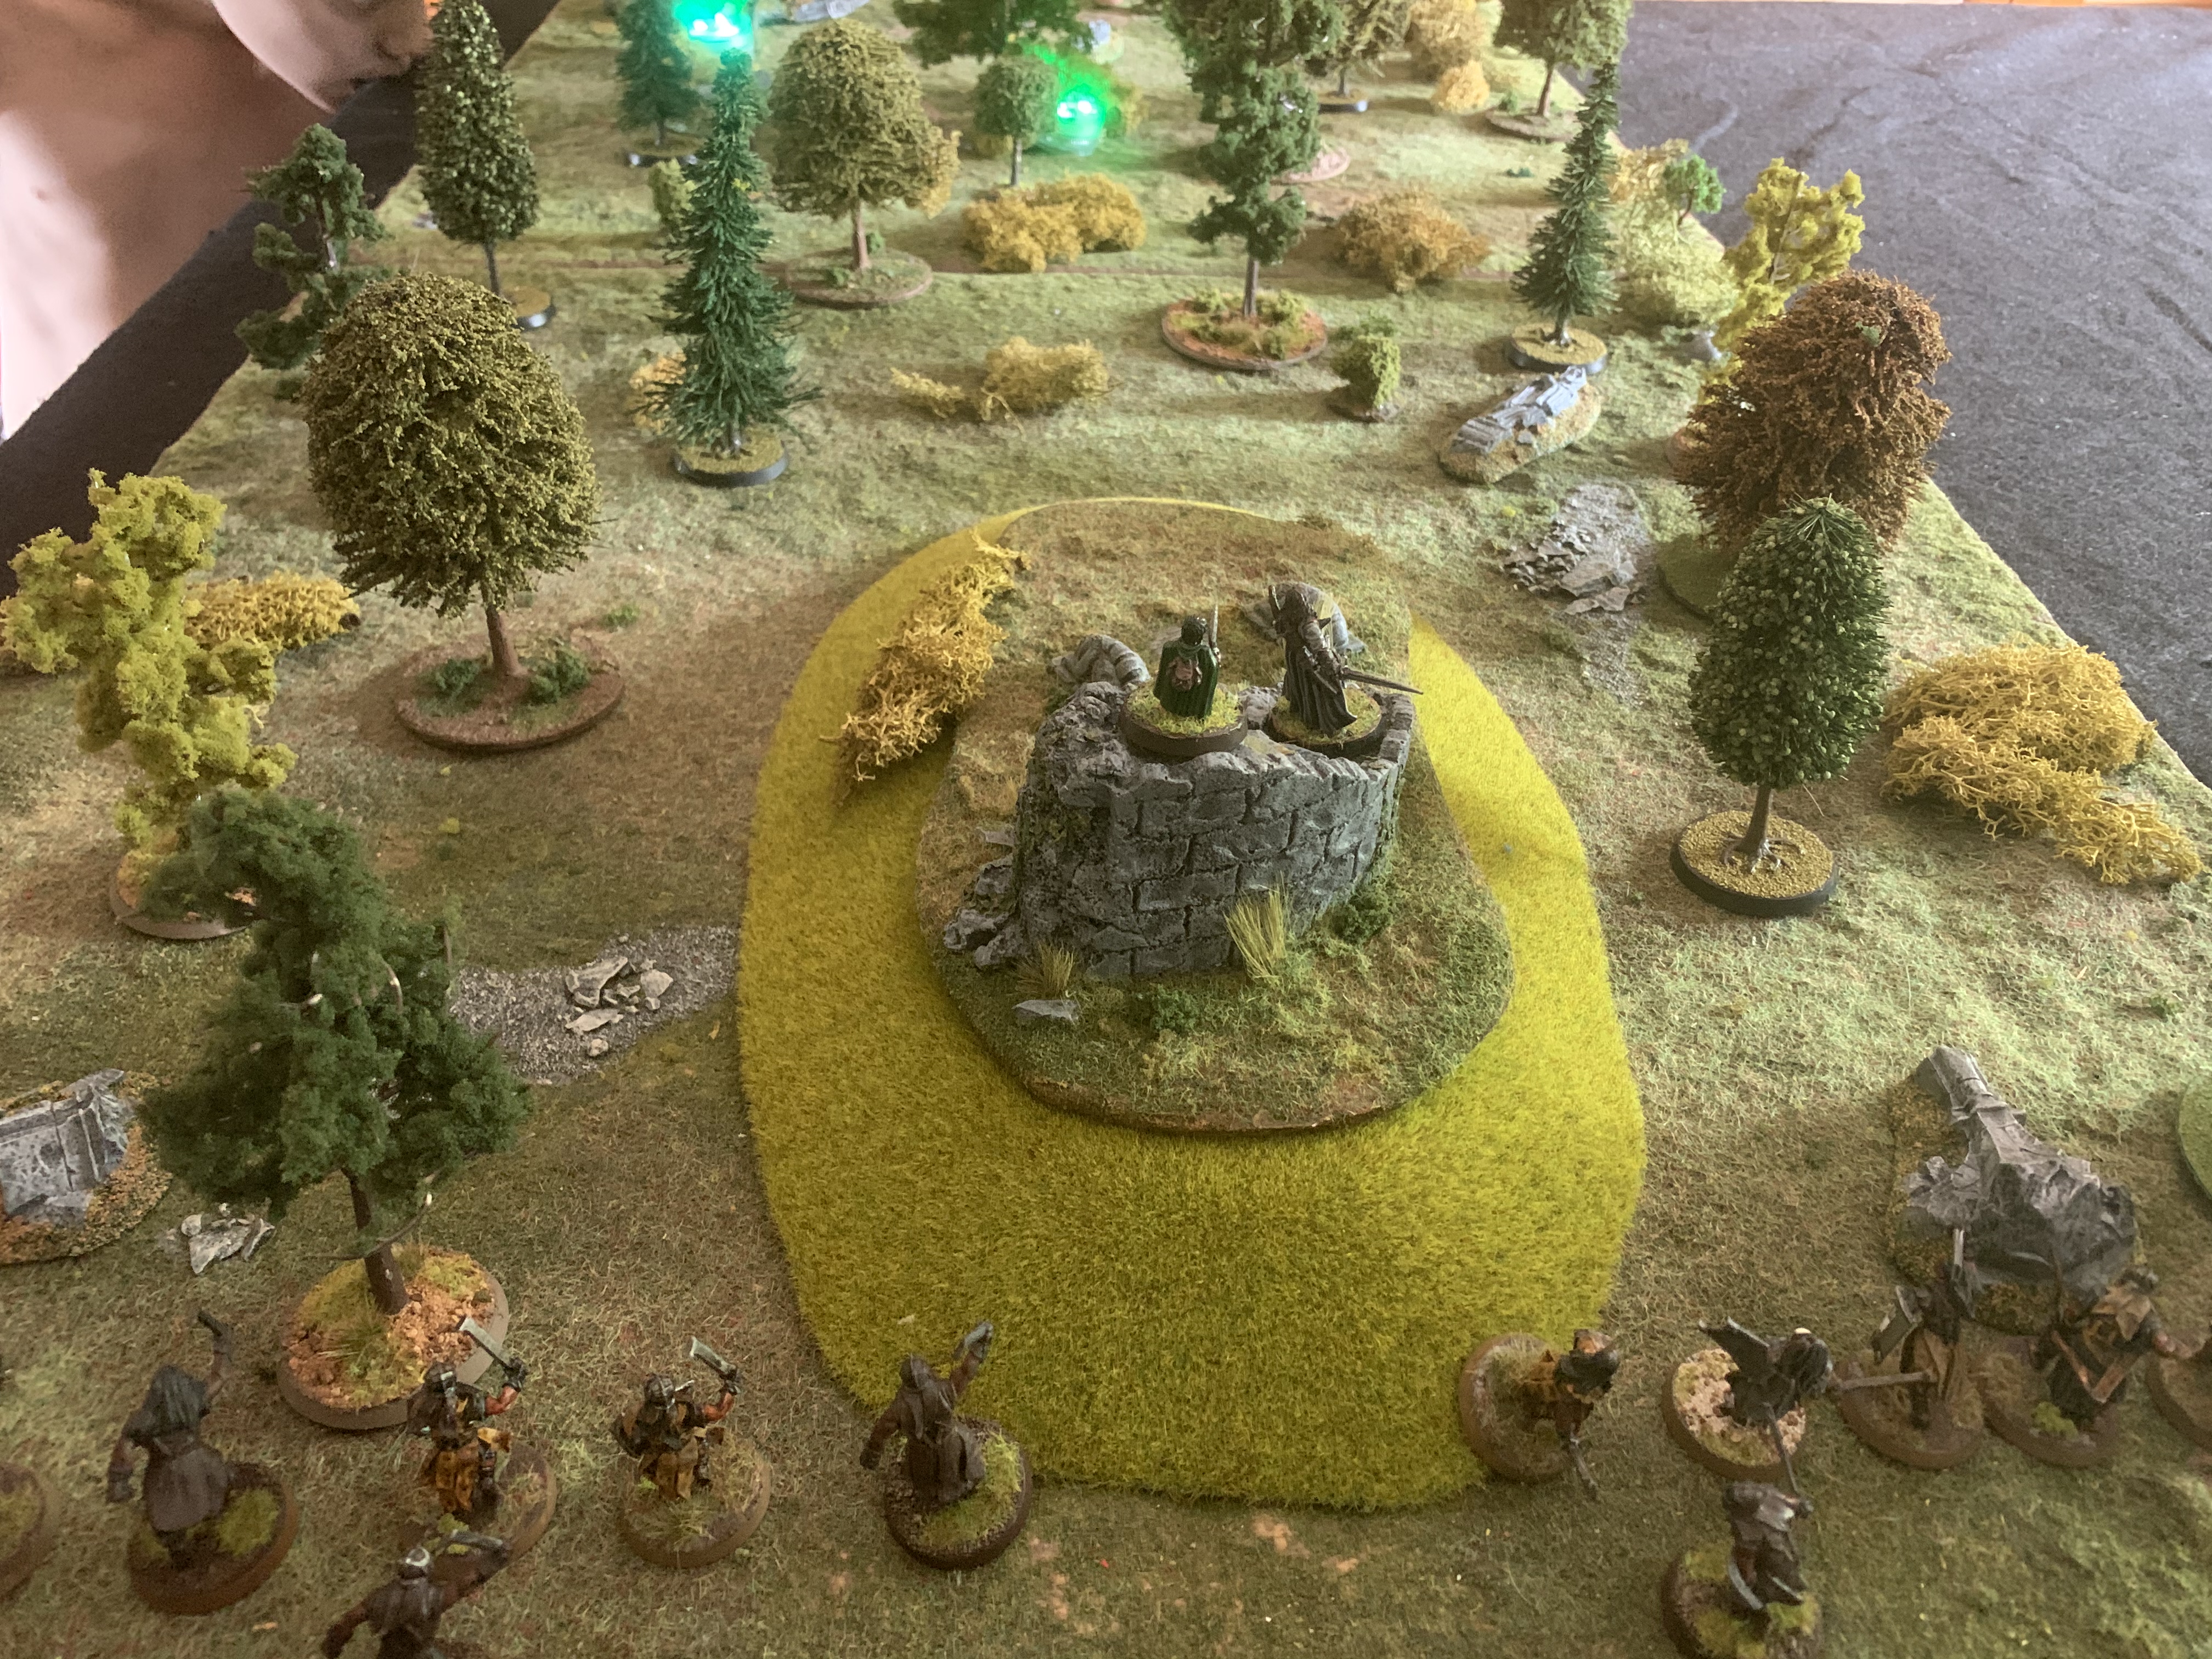
In this scenario Aragorn and Frodo need to escape from Lurtz and his scouts. The initial deployment is a little vague but actually quite important. Lurtz and crew start 3 inches in on the far side of the hill with Amon Hen. Aragorn and Frodo are said to be simply deployed touching Amon Hen. Probably the scenario writers had a nice big official model but I could not find anything, even a 3D print.
Given that both Aragorn and Lurtz can heroic march on turn one, when it comes to turn 2 when evil are likely to get priority as they did in our game Lurtz could, if within 6 inches simply charge, trap our heroes and effectively end the scenario early. So Frodo needs to beat least 8 inches (he can march 7 and Lurtz 9 in turn 1) away from Lurtz deployment line (or at 11 inches). This makes sense if we think of a model that starts at least at 5 inches from the edge and is at least 6 inches in length. Lurtz will have deployed to the side, intending to move around the model in pursuit.
So we set it such that when the scenario started Good were deployed at 11 inches and evil at 3 inches.
For the first few turns Good raced towards the exit. With scouts closing in from the side Aragorn held back to defend Frodo. Then Frodo had to put on the ring to escape further. Scouts failed to pass any courage tests to charge and even though he then rolled a one for the lure of the ring rule Frodo used his only 2 might points to continue his escape.
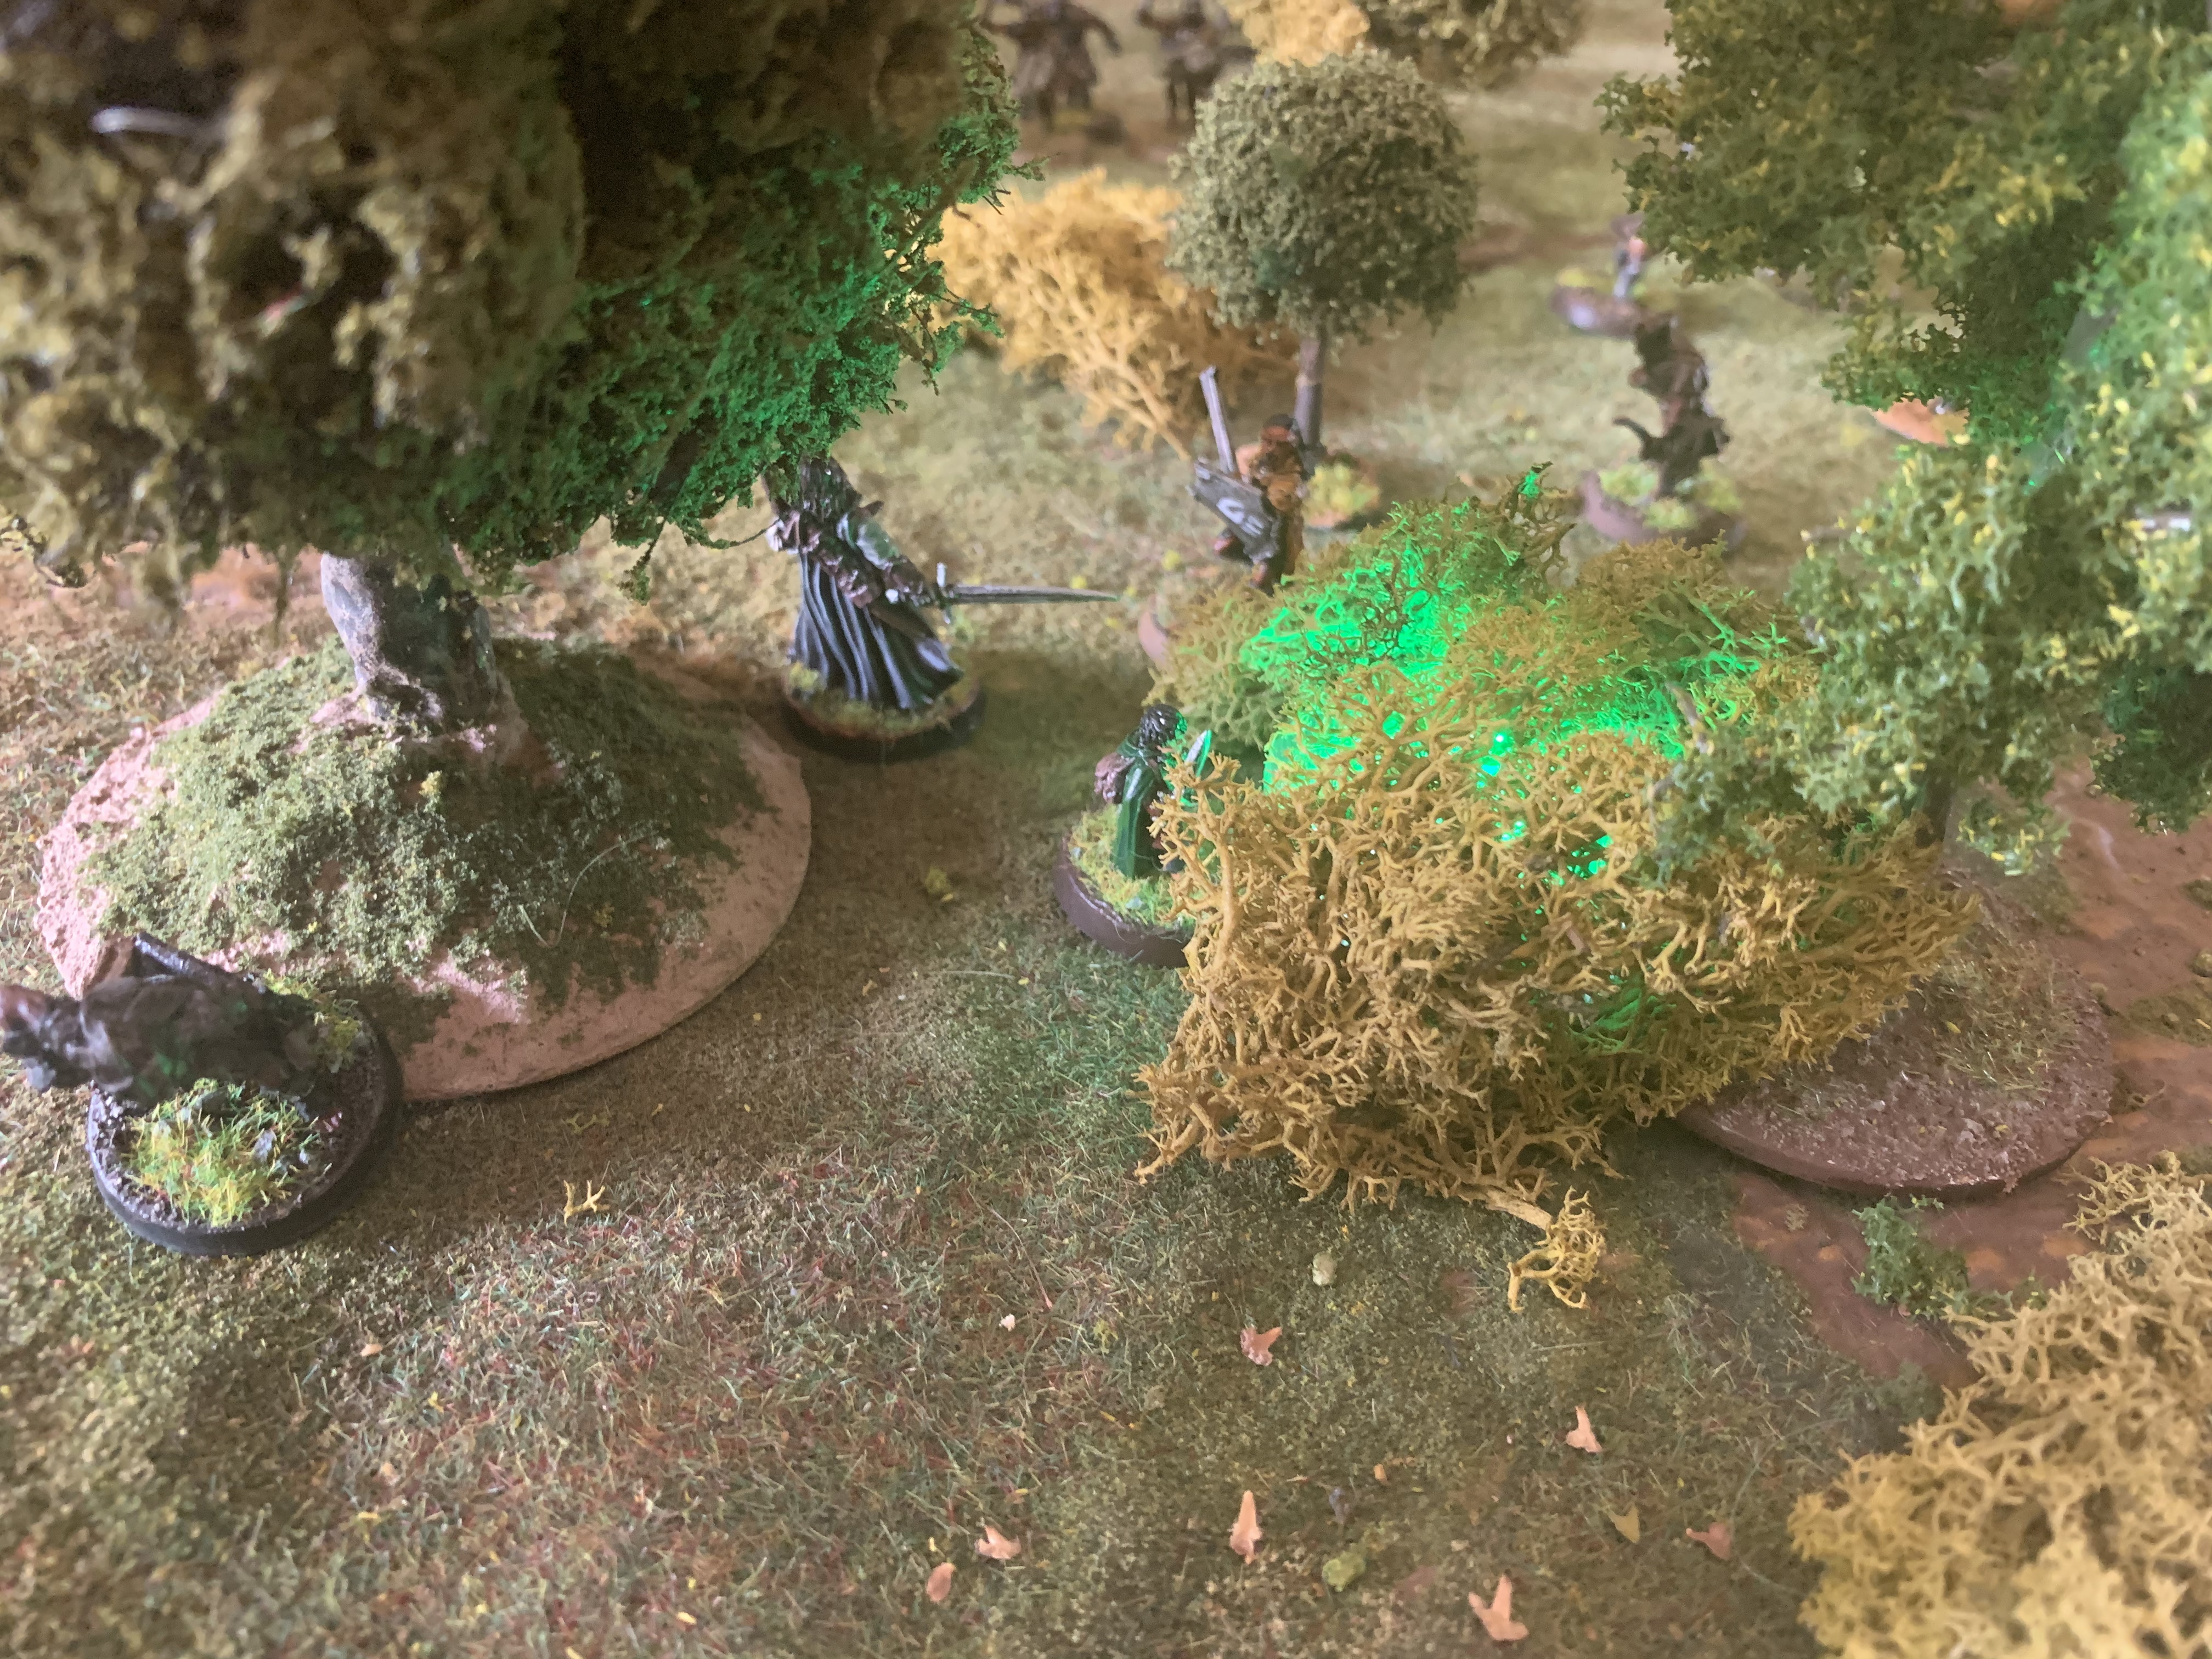

Though they did not arrive on the first turn with a six (turn 4) Gimli and Legolas soon roled a 5 and rushee to the rescue. Legolas fired deadly shots to take out two Scouts that came too close to Frodo. Aragorn fought his way through the captain in just one round and then rushed to safety whilst Gimli and Legolas blocked the way.
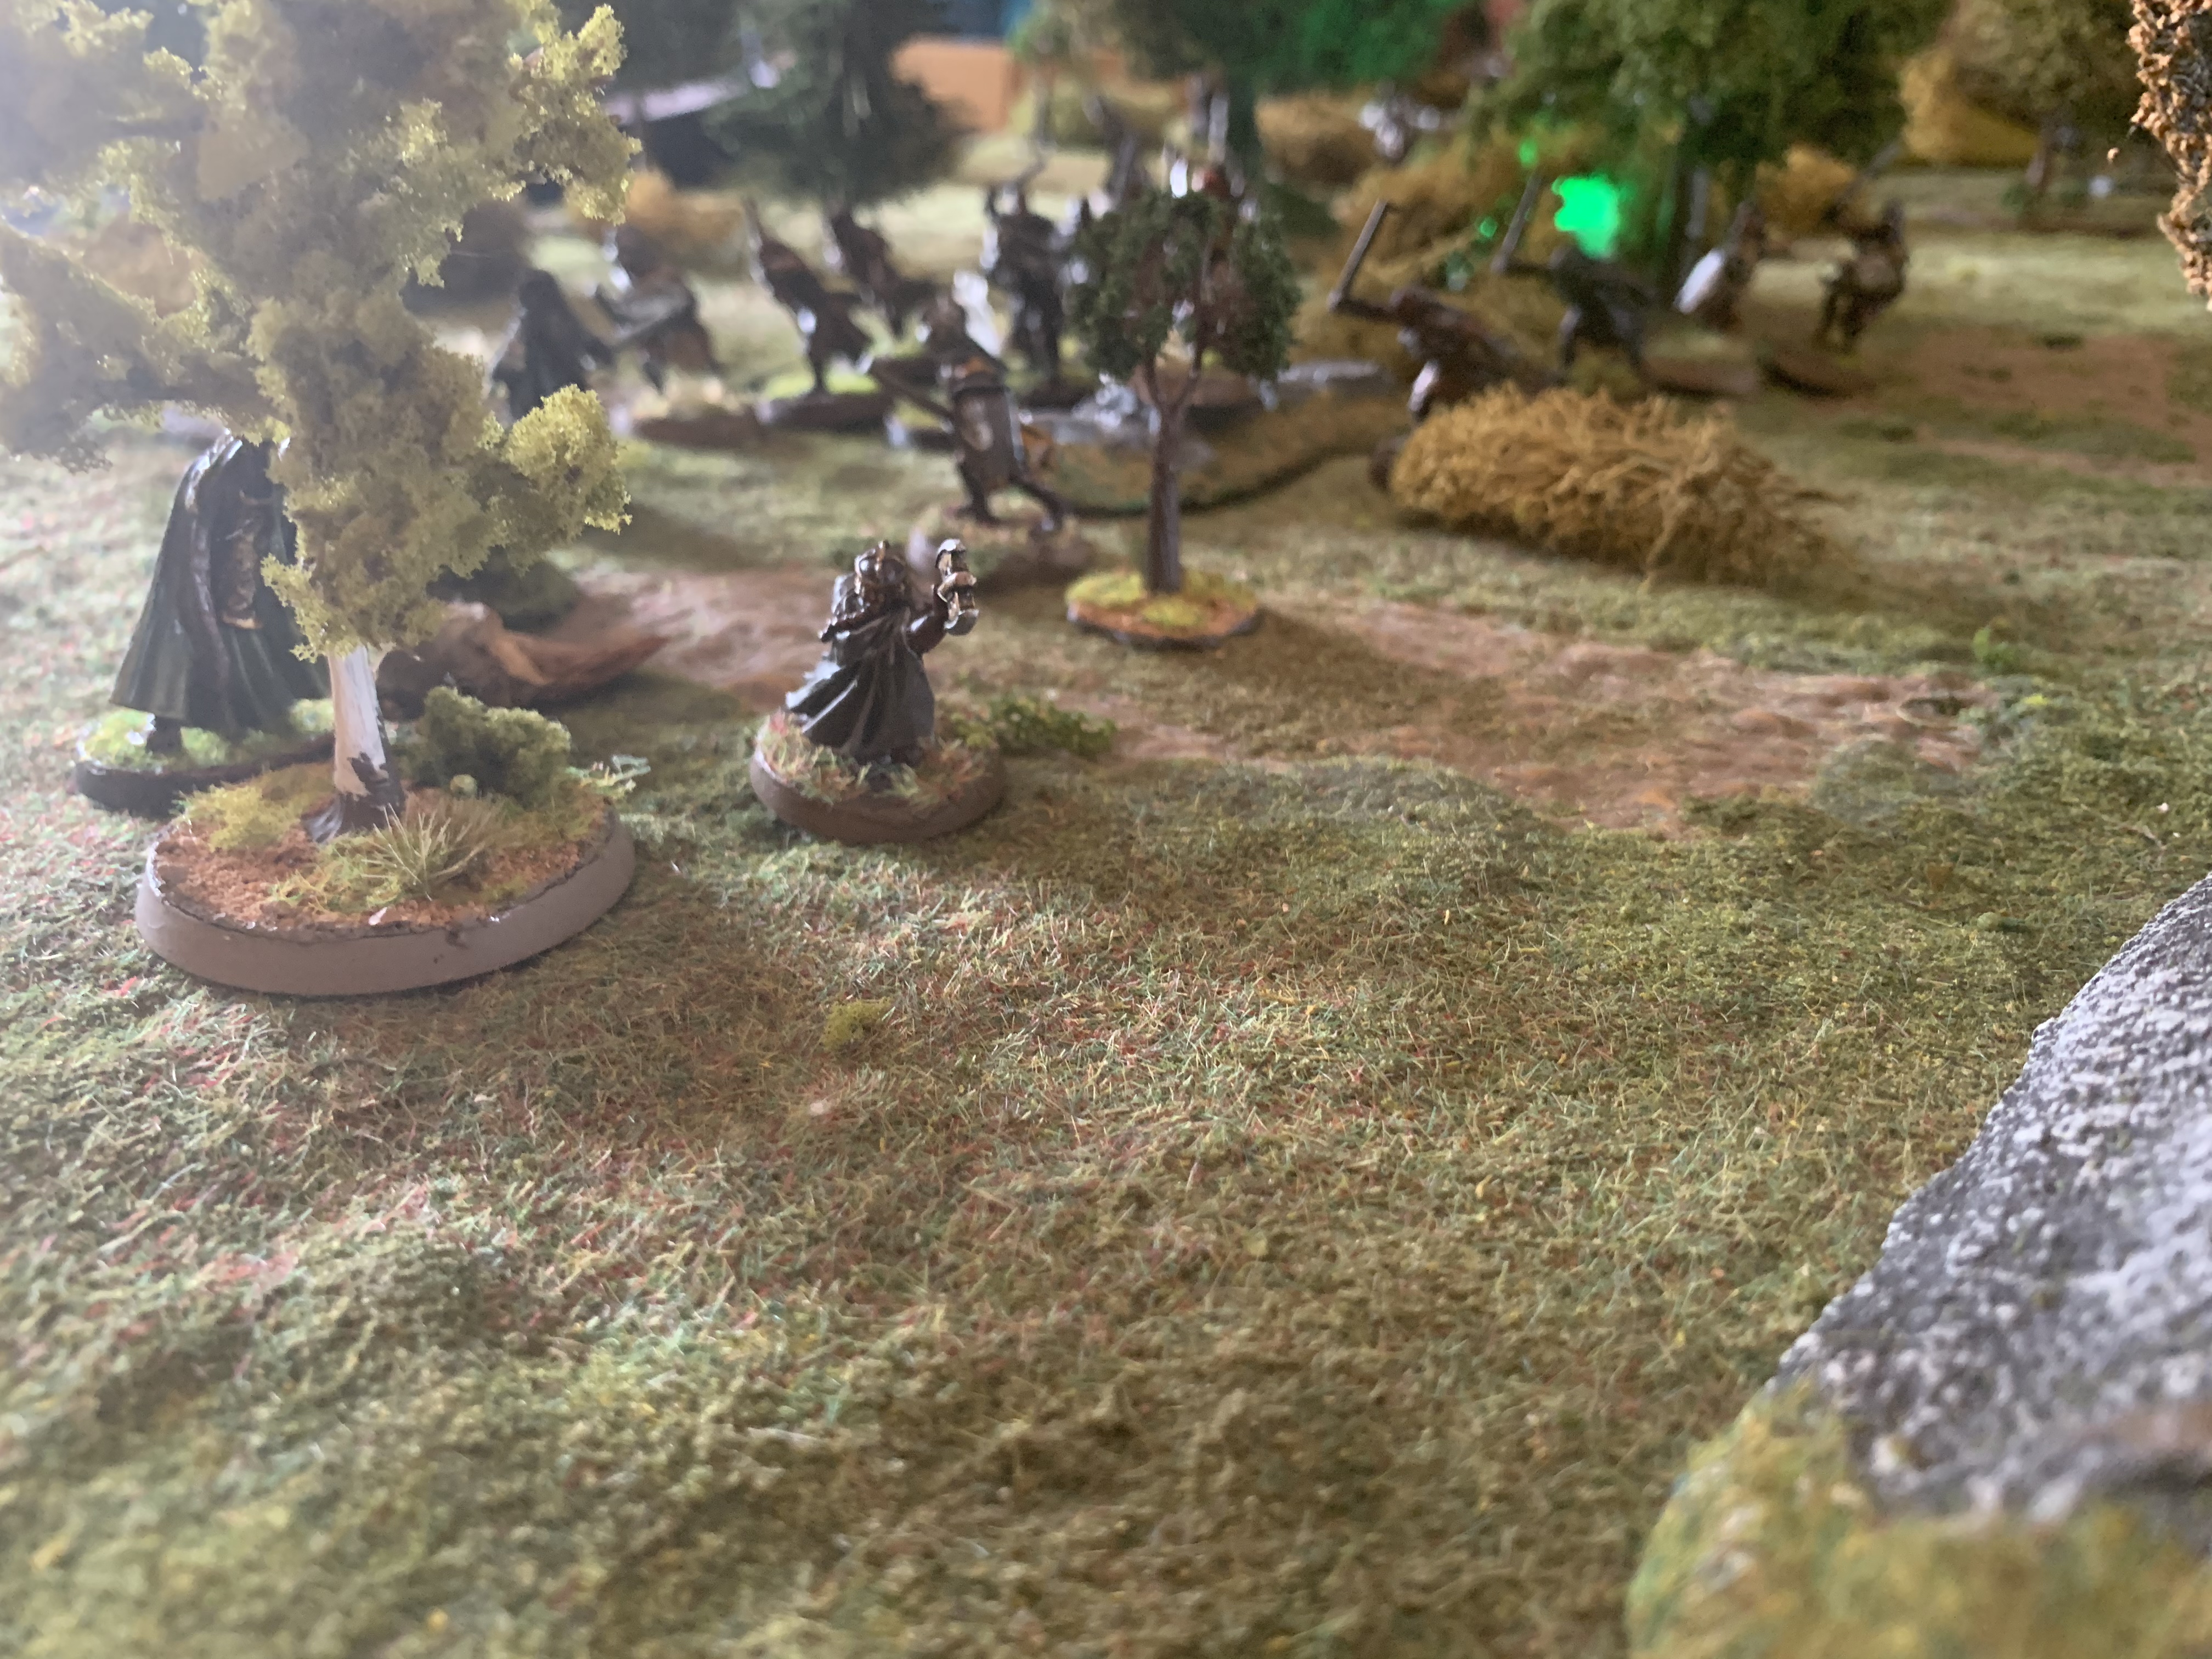
Despite Lurtz’s best attempts it was not possible to close the gap and the two heroes got off the map.


Leave a comment