Archive for the ‘Miniatures’ Category
Flashing Steel Scenario
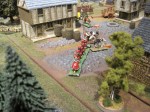
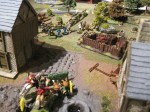
The Village of Muchputup-on-the-Wold
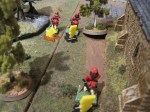
A pleasant rural village in the Gloucestershire countryside has been raided by a rough group of Parliamentarian soldiers, mainly Dragoons out on patrol. Tasked with gathering supplies they have settled in the tavern and appropriated the villager’s resources in exchange for promissory notes. These are obviously considered worthless by the poor villagers who have been soundly beaten into submission should they voice any objection.
Worse still the Dragoons have with them the fiery Protestant preacher Bernard Bostlethwaite who senses the taint of Popery about the Church (far too high Anglican for his tastes) and is threatening the locals with hellfire and damnation in the village square. He has even placed the poor vicar in the stocks!
Sojourning in the Tavern is the famous Parliamentarian Grandee the Earl of Stilton with his Red Guards. The former is rightly respected as a fearsome soldier but the latter appear to have a reputation for poltroonery and wearing clean uniforms whilst defending the baggage train.
The local physician is setting some broken bones whilst the Dragoons sample the Tavern’s wares at the Inn and Stilton beats them at cards. Meanwhile some brave lads have alerted the King’s soldiers to come to their aid. Seeing an opportunity to strike at the Parliamentarians and perhaps earn some much needed supplies in return Captain Reynolds has graciously agreed to intervene. On the way he happens upon a stroke of luck! No less than the King’s own three most loyal Cavaliers from his very ownLifeguard are out “on patrol” and agree to assist in his endeavours. Somehow the mere mention of an Inn-keeper being distressed by the dastardly Parliamentarian Dragoons being enough to convince Sir Richard to join forces (and Sir Adam has unfinished business with Stilton).
The Forces
Parliamentarians
Dragoons (Highwaymen) and the Earl of Stilton (Guards)
Royalists
The Royalist Soldiers (Military) and the Cavaliers
Aims
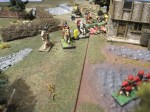
First Scenario
The Dragoons wish to hold the village. The Royalists wish to capture it. Stilton will stop at nothing to see Sir Adam dead and the feeling is mutual. Sir Richard is very thirsty.
The Physician will move and heal injured combatants within a short move.
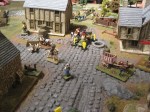
Second Scenario (time permitting)
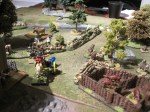
A group of Dragoons have managed to get away with a second cartload of supplies that was hidden in a barn. Worse still they have taken the farmer’s daughter hostage!
Can the Dragoons get the slow moving cart off the road edge before the Royalists can stop them?
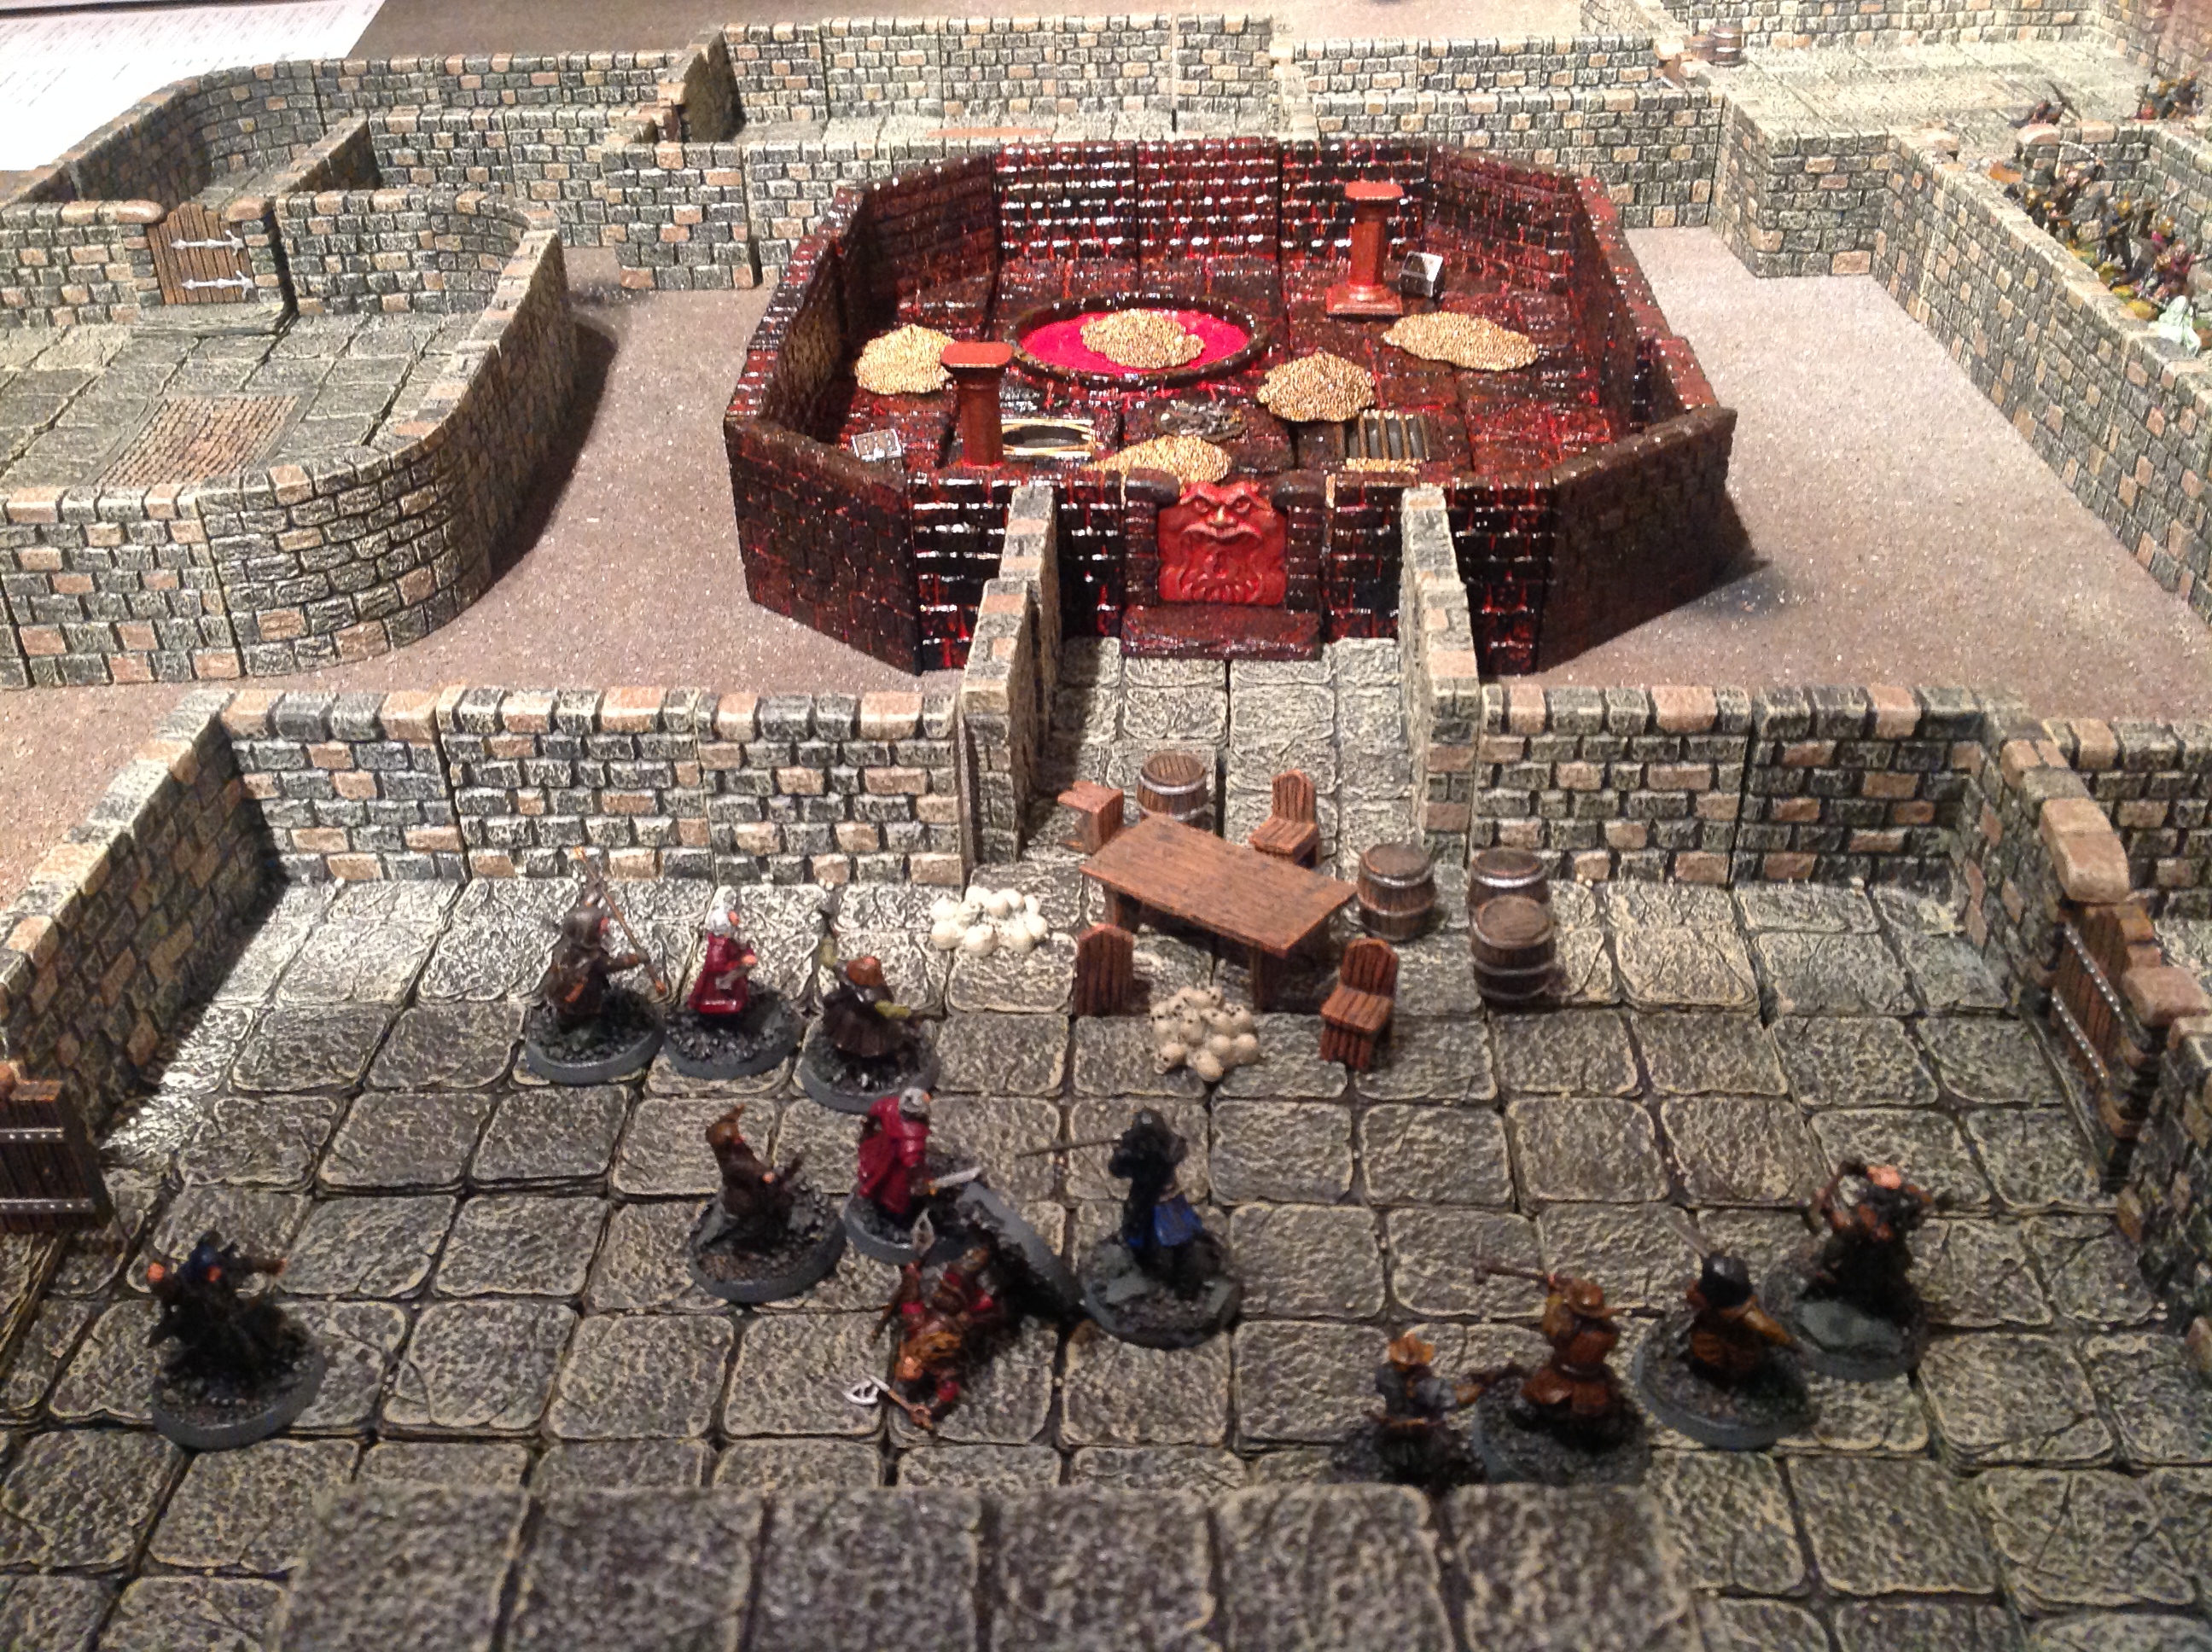
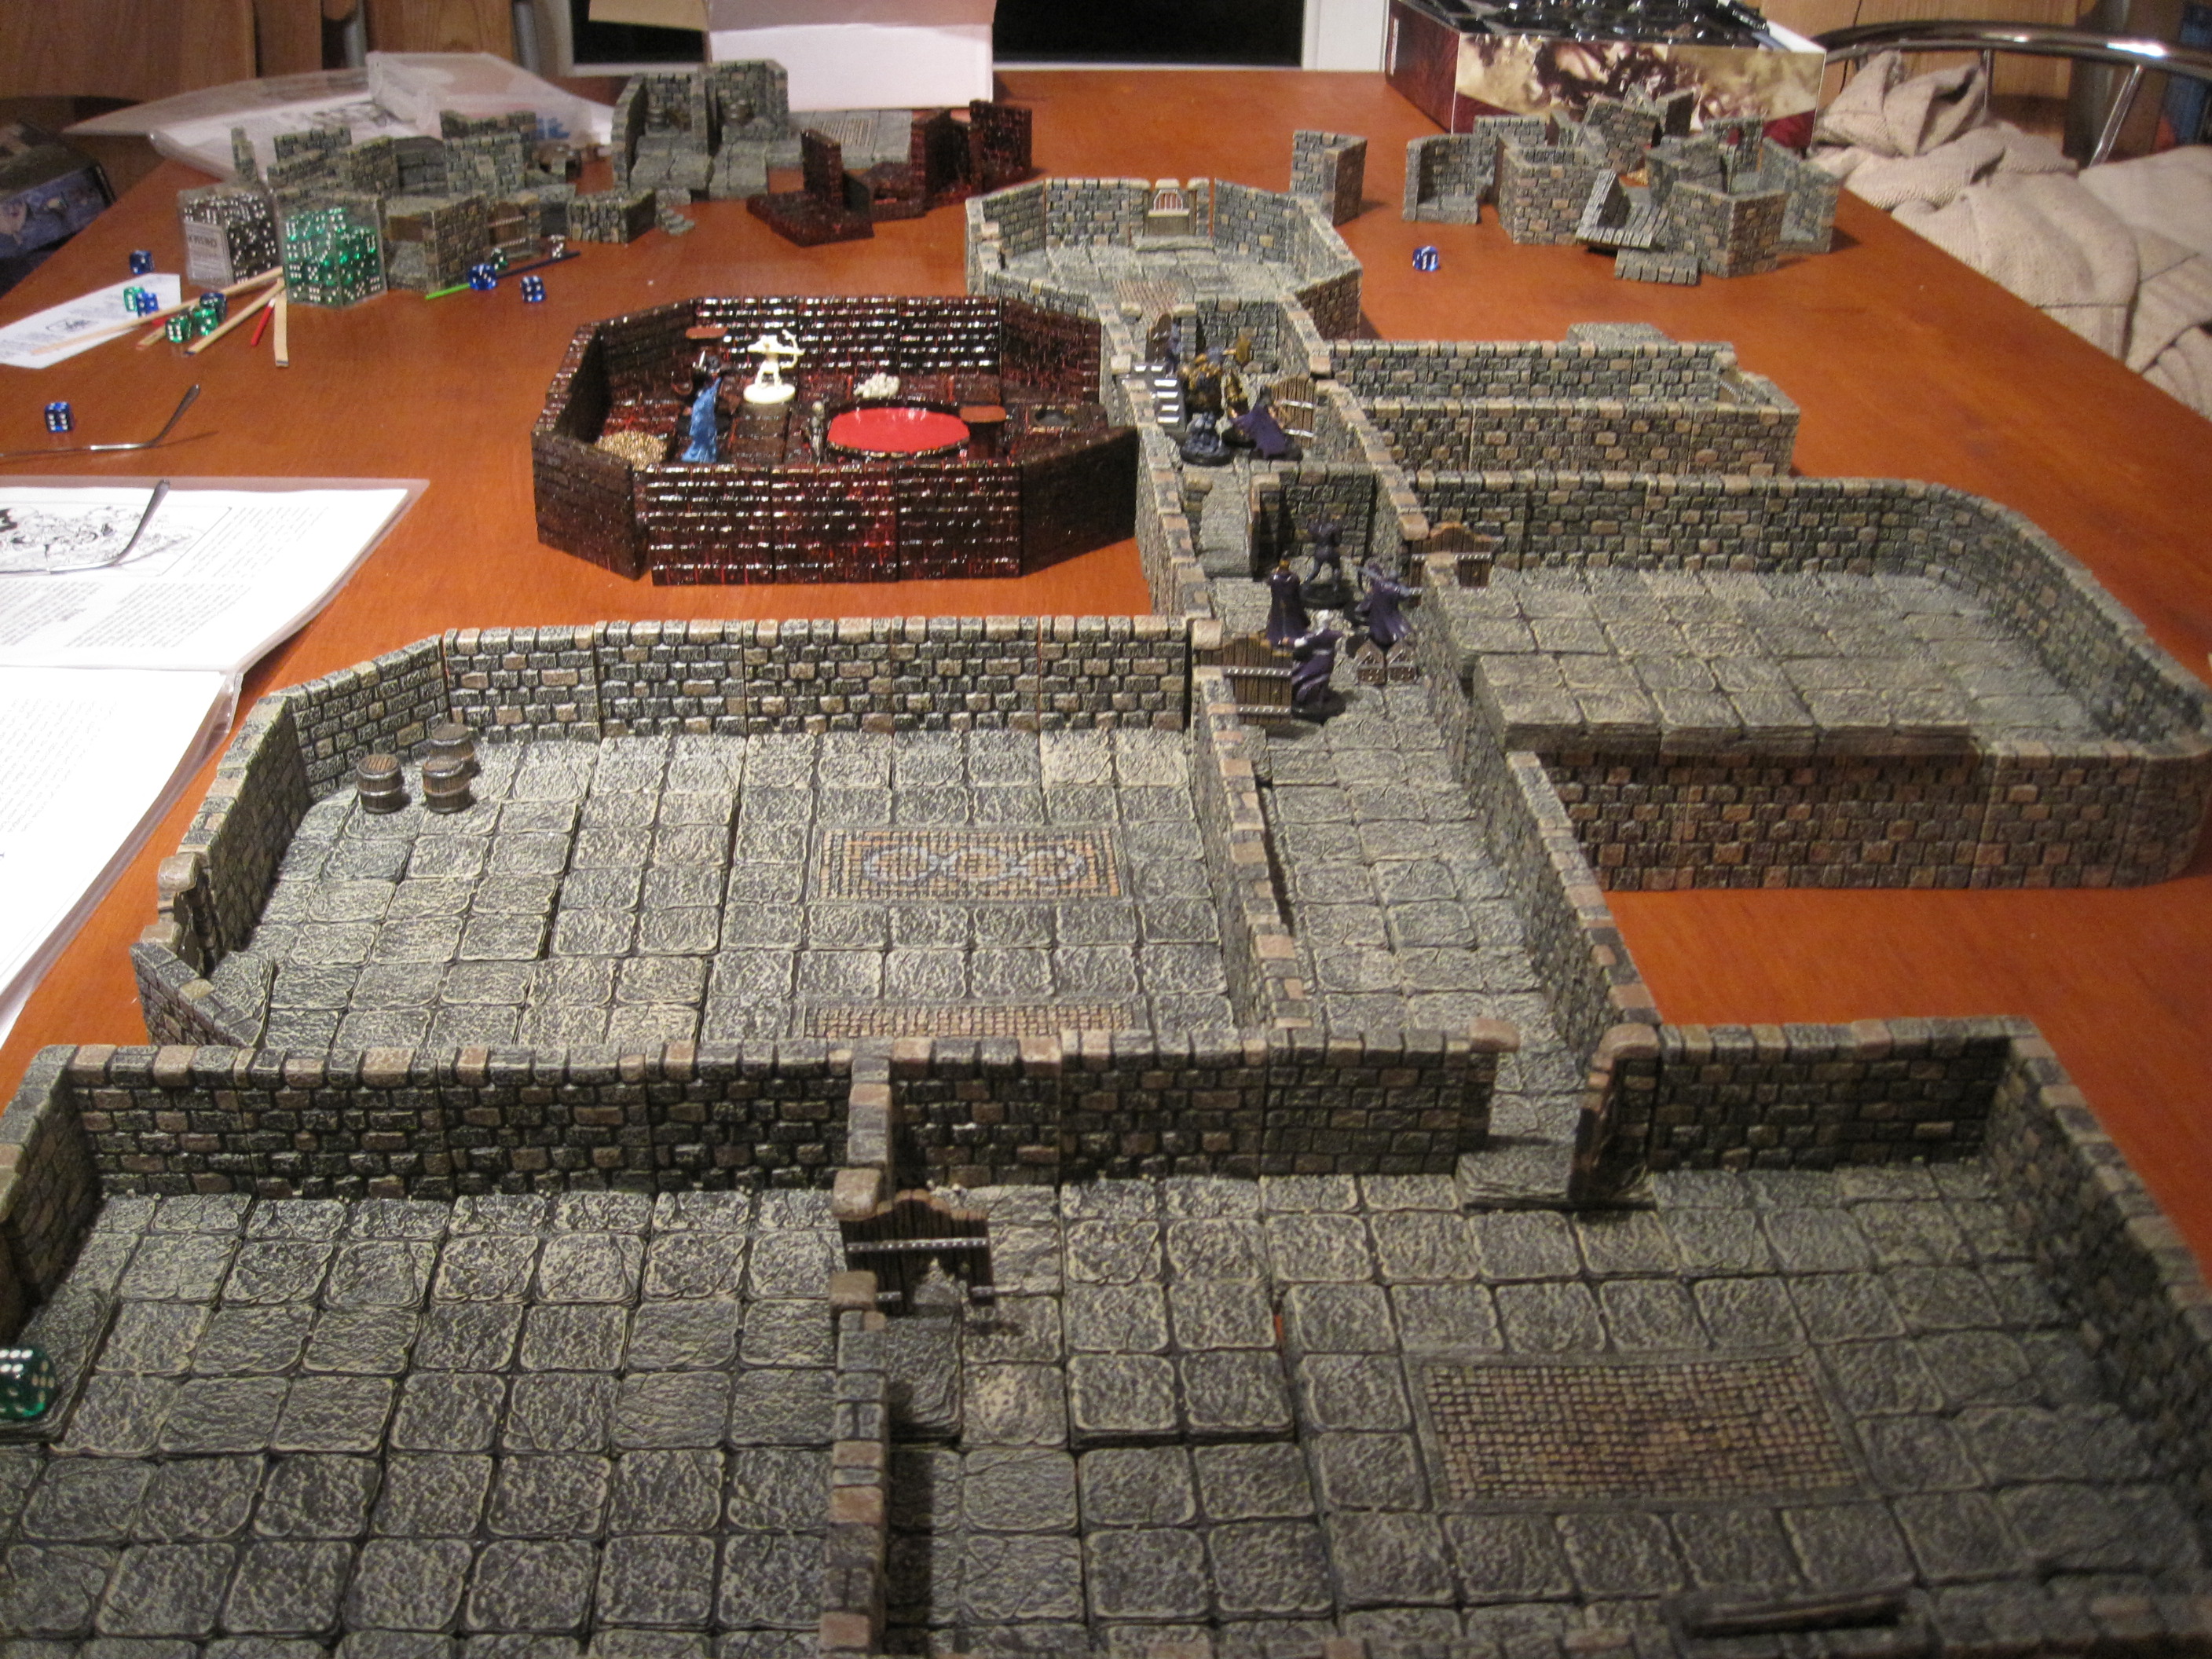
Songs of Blades and Heroes using the Dungeon supplement with a The Hobbit flavour. Thorin and his Company (Darryl) against Bolg’s Hunters (Mike) with GM Phil running the Denizens.
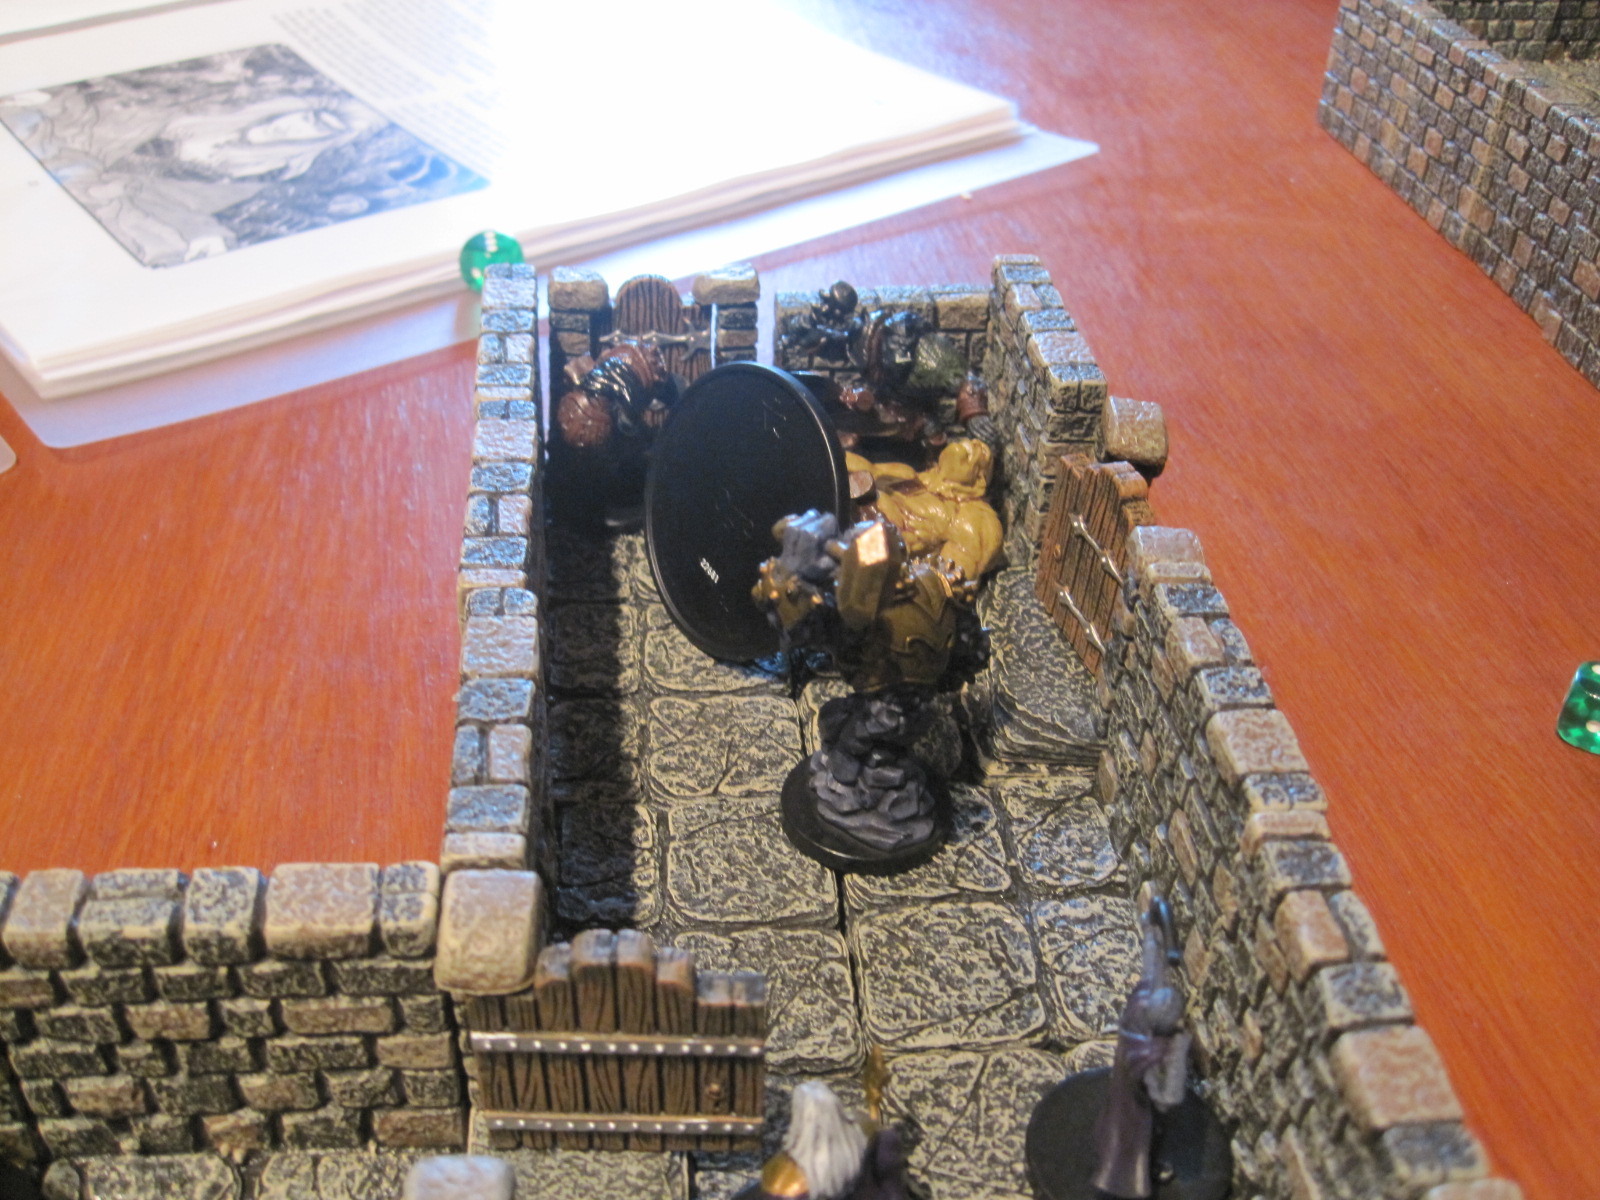
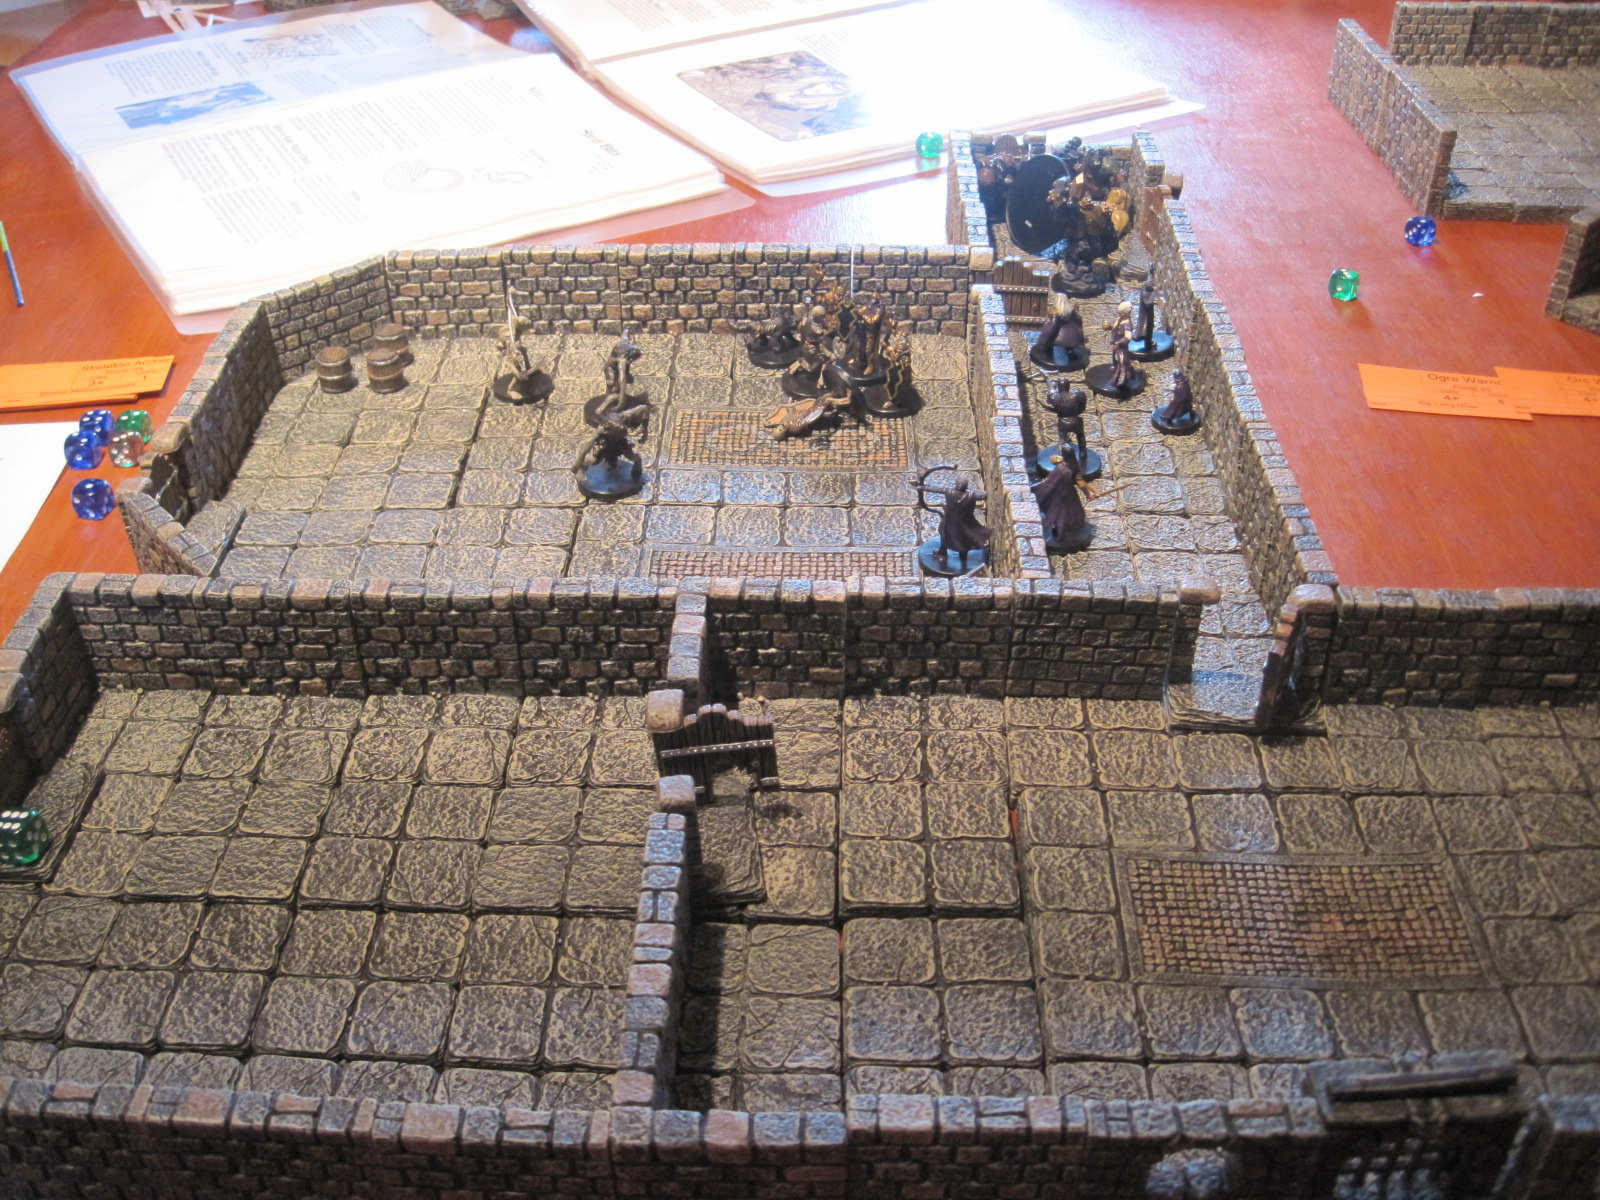
The scenario was set in a lost Dwarven Hold high in a mountain range. Once a proud dwarven citadel now lair to foul creatures and near forgotten. Thorin and his company enter through the Northern Portculis Gate set on looting the treasure and securing in particular an heirloom in a certain treasure chest deep within the citadel. Meanwhile Bolg and his Hunter Orcs have been sent to thwart their plans, climbing through the windows in kitchens to the South; a climb long thought impossible. Bolg and his Orcs with the aid of dark magic are ready to kill Thorin and stop the dwarves succeeding in their quest.

Bolg’s Hunters to the South


Thorin’s Company to the North.
To the South Bolg sends his archers to the western corridor only to find it held by undead skeleton guards (once humans in service of the dwarf lord now turned to darker purposes by the evil within the citadel). Realising their arrows are useless against such foes Bolg sends in the Shaman to use magic and shatter their bones.

Skeleton Guards defend the corridor
To the Northwest the dwarves take a leisurely approach and smoke their pipes whilst Kili their thief picks the locks on the strong dwarven door.
The Orc Shaman is dumbfounded by the skeleton guards who resist his magic and shatter his staff (3 fails). They advance towards the hapless magic user. The Dwarves open the door to find a Cave Troll blocking the narrow passage. Oin casts chains of iron about the Troll (transfix). Who is held in place whilst the dwarves gather for the kill.
Things do not go so well for the Orcs who repeatedly fail their activations whilst the skeletons attack the shaman and the Fimbul the Savage Orc Warrior for several turns.
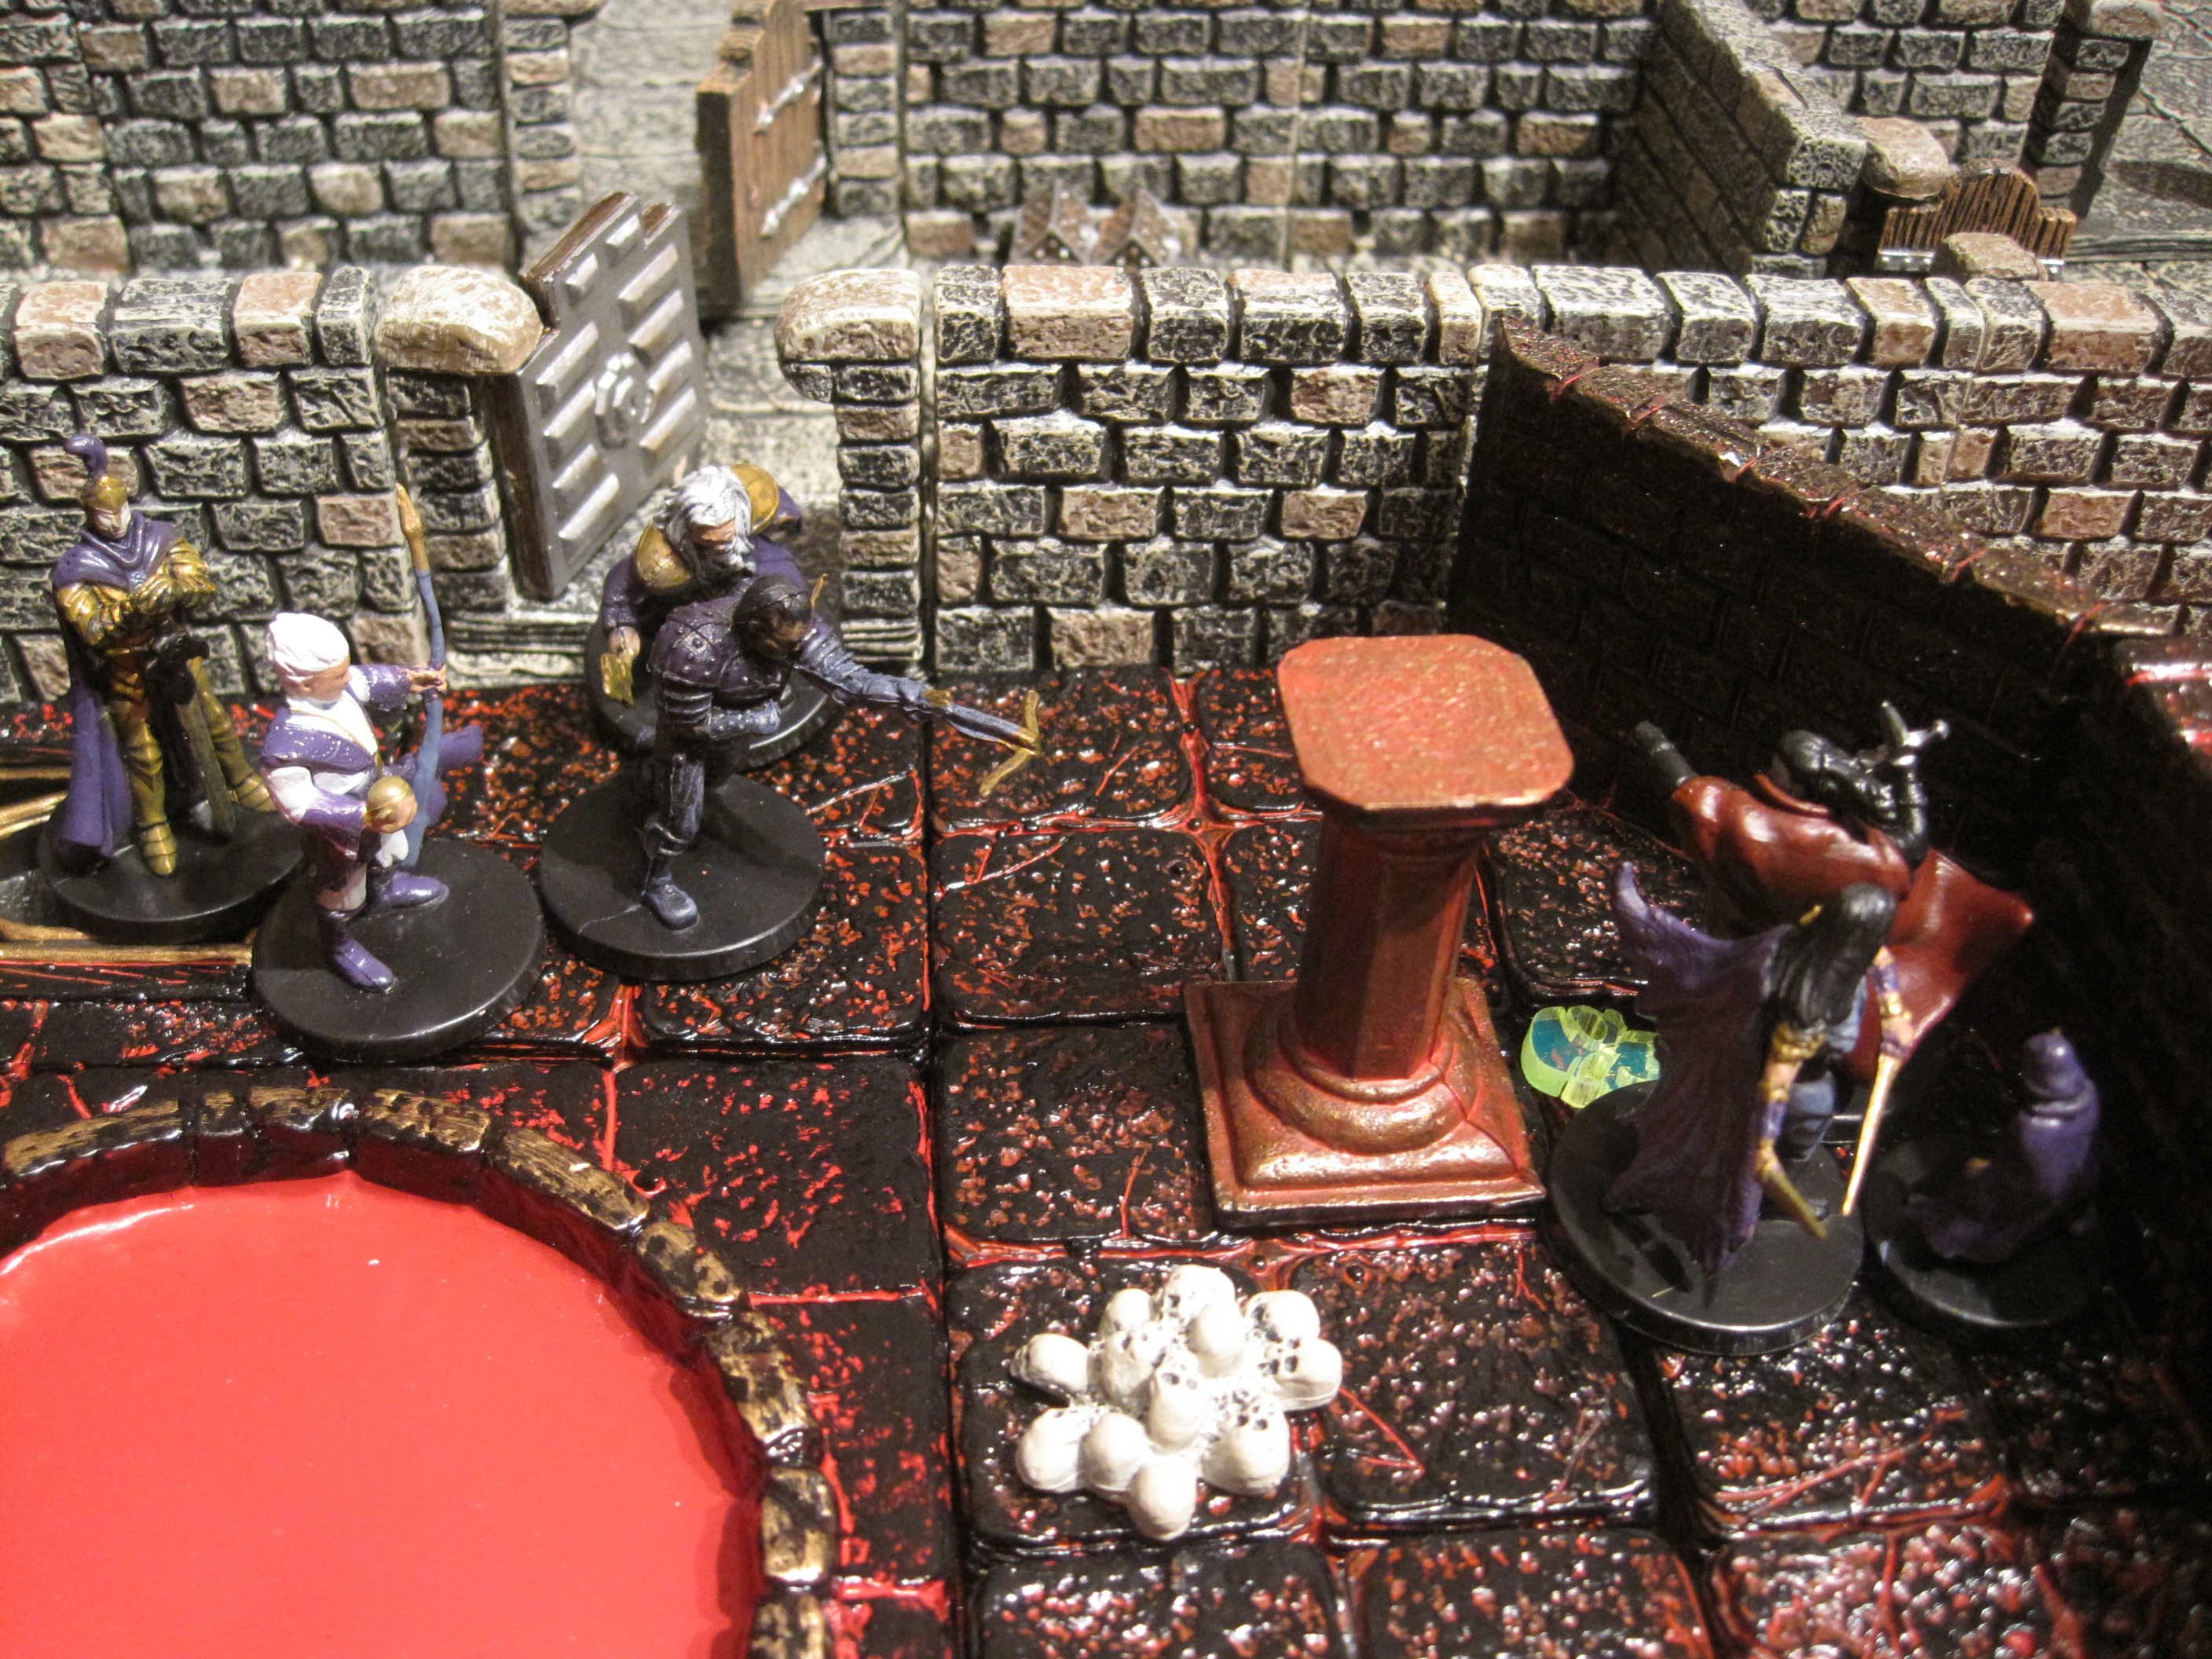
The dwarves having made short work of the Troll burst into the feasting hall and slay two hapless Dunlending warriors in short order. They then send Kili over the debris strewn narrow corridor and barricades to investigate the main treasure room, discoloured by a strange red coppery-iron ore. Meanwhile Bolg has taken charge personally and is advancing towards the skeletons who are still holding off his slow witted orcs.


Kili advances slowly towards the red door only to find it eerily open itself in a gust of wind to reveal a Copper Dragon standing wide awake on a vast horde within. Of course Kili is well hidden but the clumsy Bofur clambering over the debris is easily targeted by his fiery breath attack.

It’s a Dragon and it’s awake!
Meanwhile Bolg is fighting skeletons…

Bolg decides to deal with the skeletons himself…
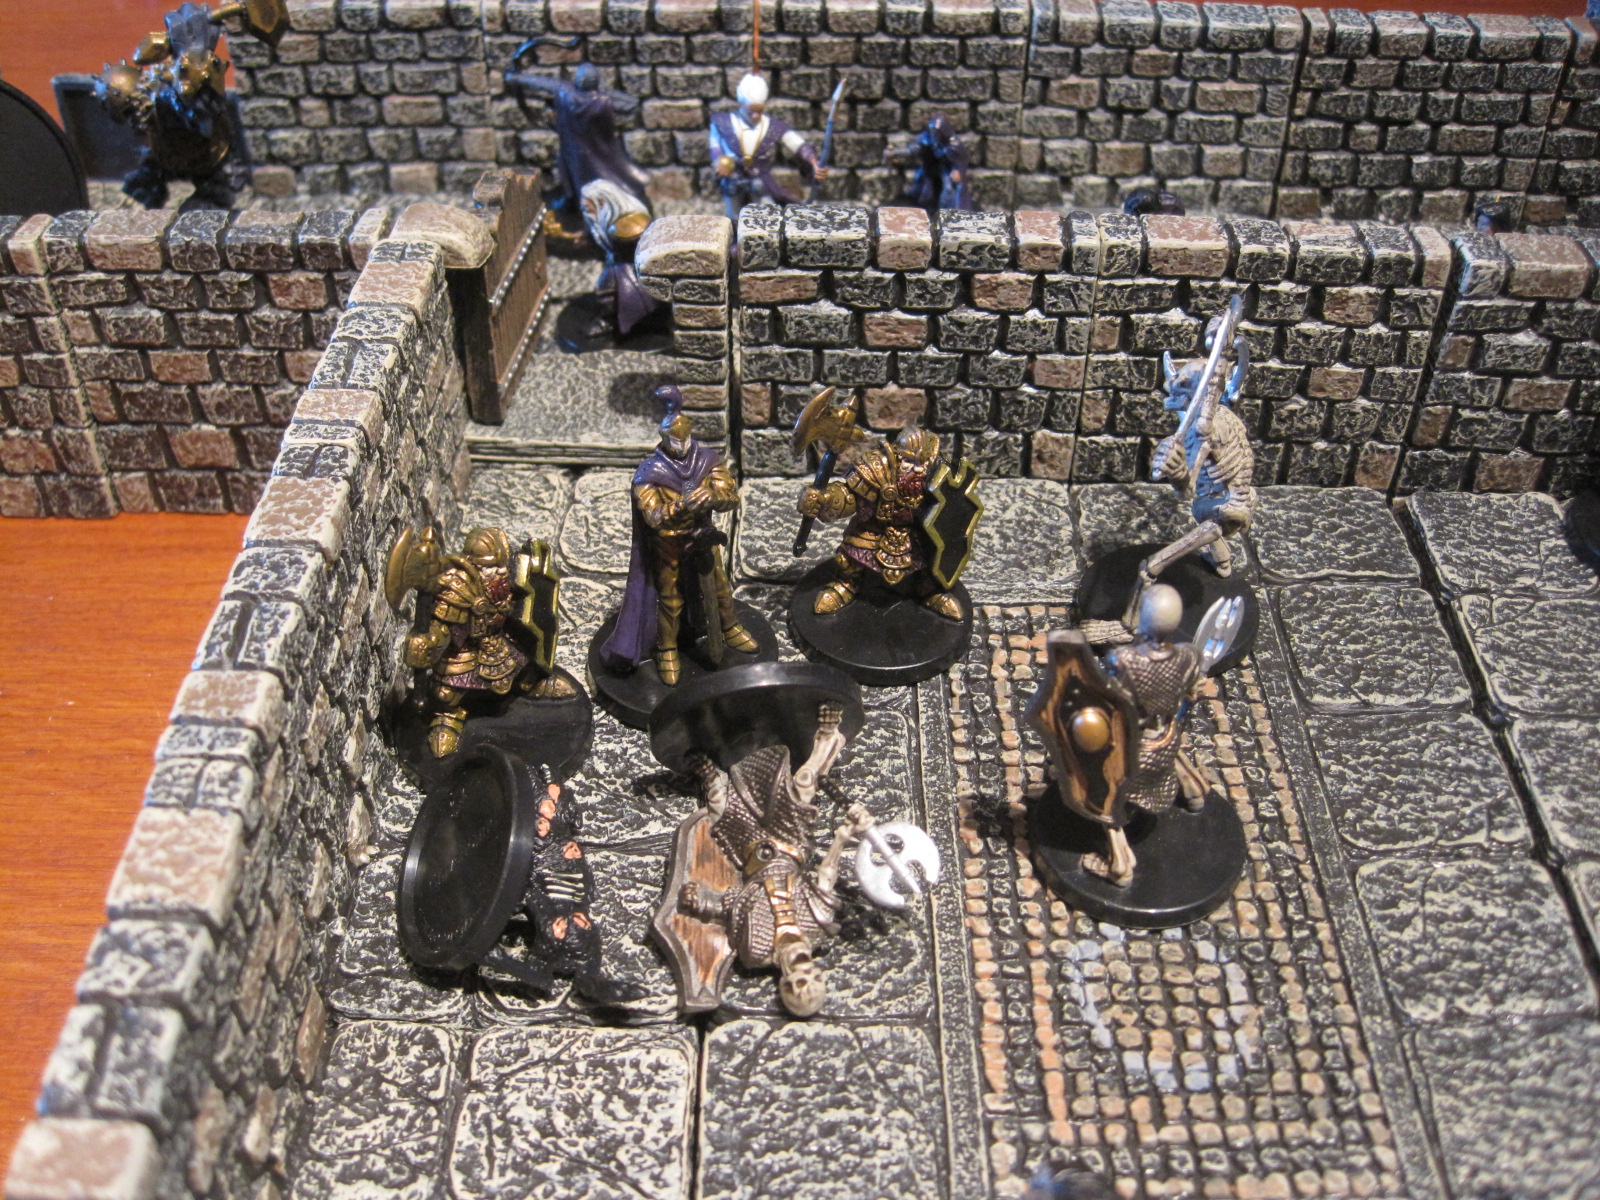
Kili sneaks into the room and secures the treasure chest bearing the sigil of Thorin’s family. The other dwarves rush the Dragon led by Dwalin the Dragon Slayer who is quickly knocked over and at a disadvantage against he firsome foe! Fortunately Thorin and his comrades drive the dragon back to the rear of the chamber (free disengage with flying). Kili now spots a secret door at the rear of the chamber providing an alternative exit point. This is especially useful as Bolg and the Orcs have now finally dispatched the skeletons and entered the feasting hall.
The Dragon proves difficult to kill because whenever he is surrounded he uses free disengage to fly across the chamber and the dwarves short legs make the distances too difficult to move and attack (this actually spoils the game a bit to be fair ruining the momentum and wasting time). Bofur opens the secret door with his usual clumsiness and alerts the sentry Troll in the Guard Chamber who proceeds to stab wildly through the narrow gap with his spear thus blocking the escape route. Kili sighs.
Bolg and his Orcs begin clambering over the debris towards the Dwarves and the Dragon, but are in no great haste to “help” in the fight. Oin rushes into the chamber and soon has the Dragon in chains (Transfix) when it can finally be killed by Dwalin once surrounded, trapped and wounded.

Bolg rushes into the chamber but is in turn transfixed by the cunning curses of Oin. At this point victory is awarded to the Dwarves who have amassed 16 victory points against the Orc’s 3. Well done Darryl.

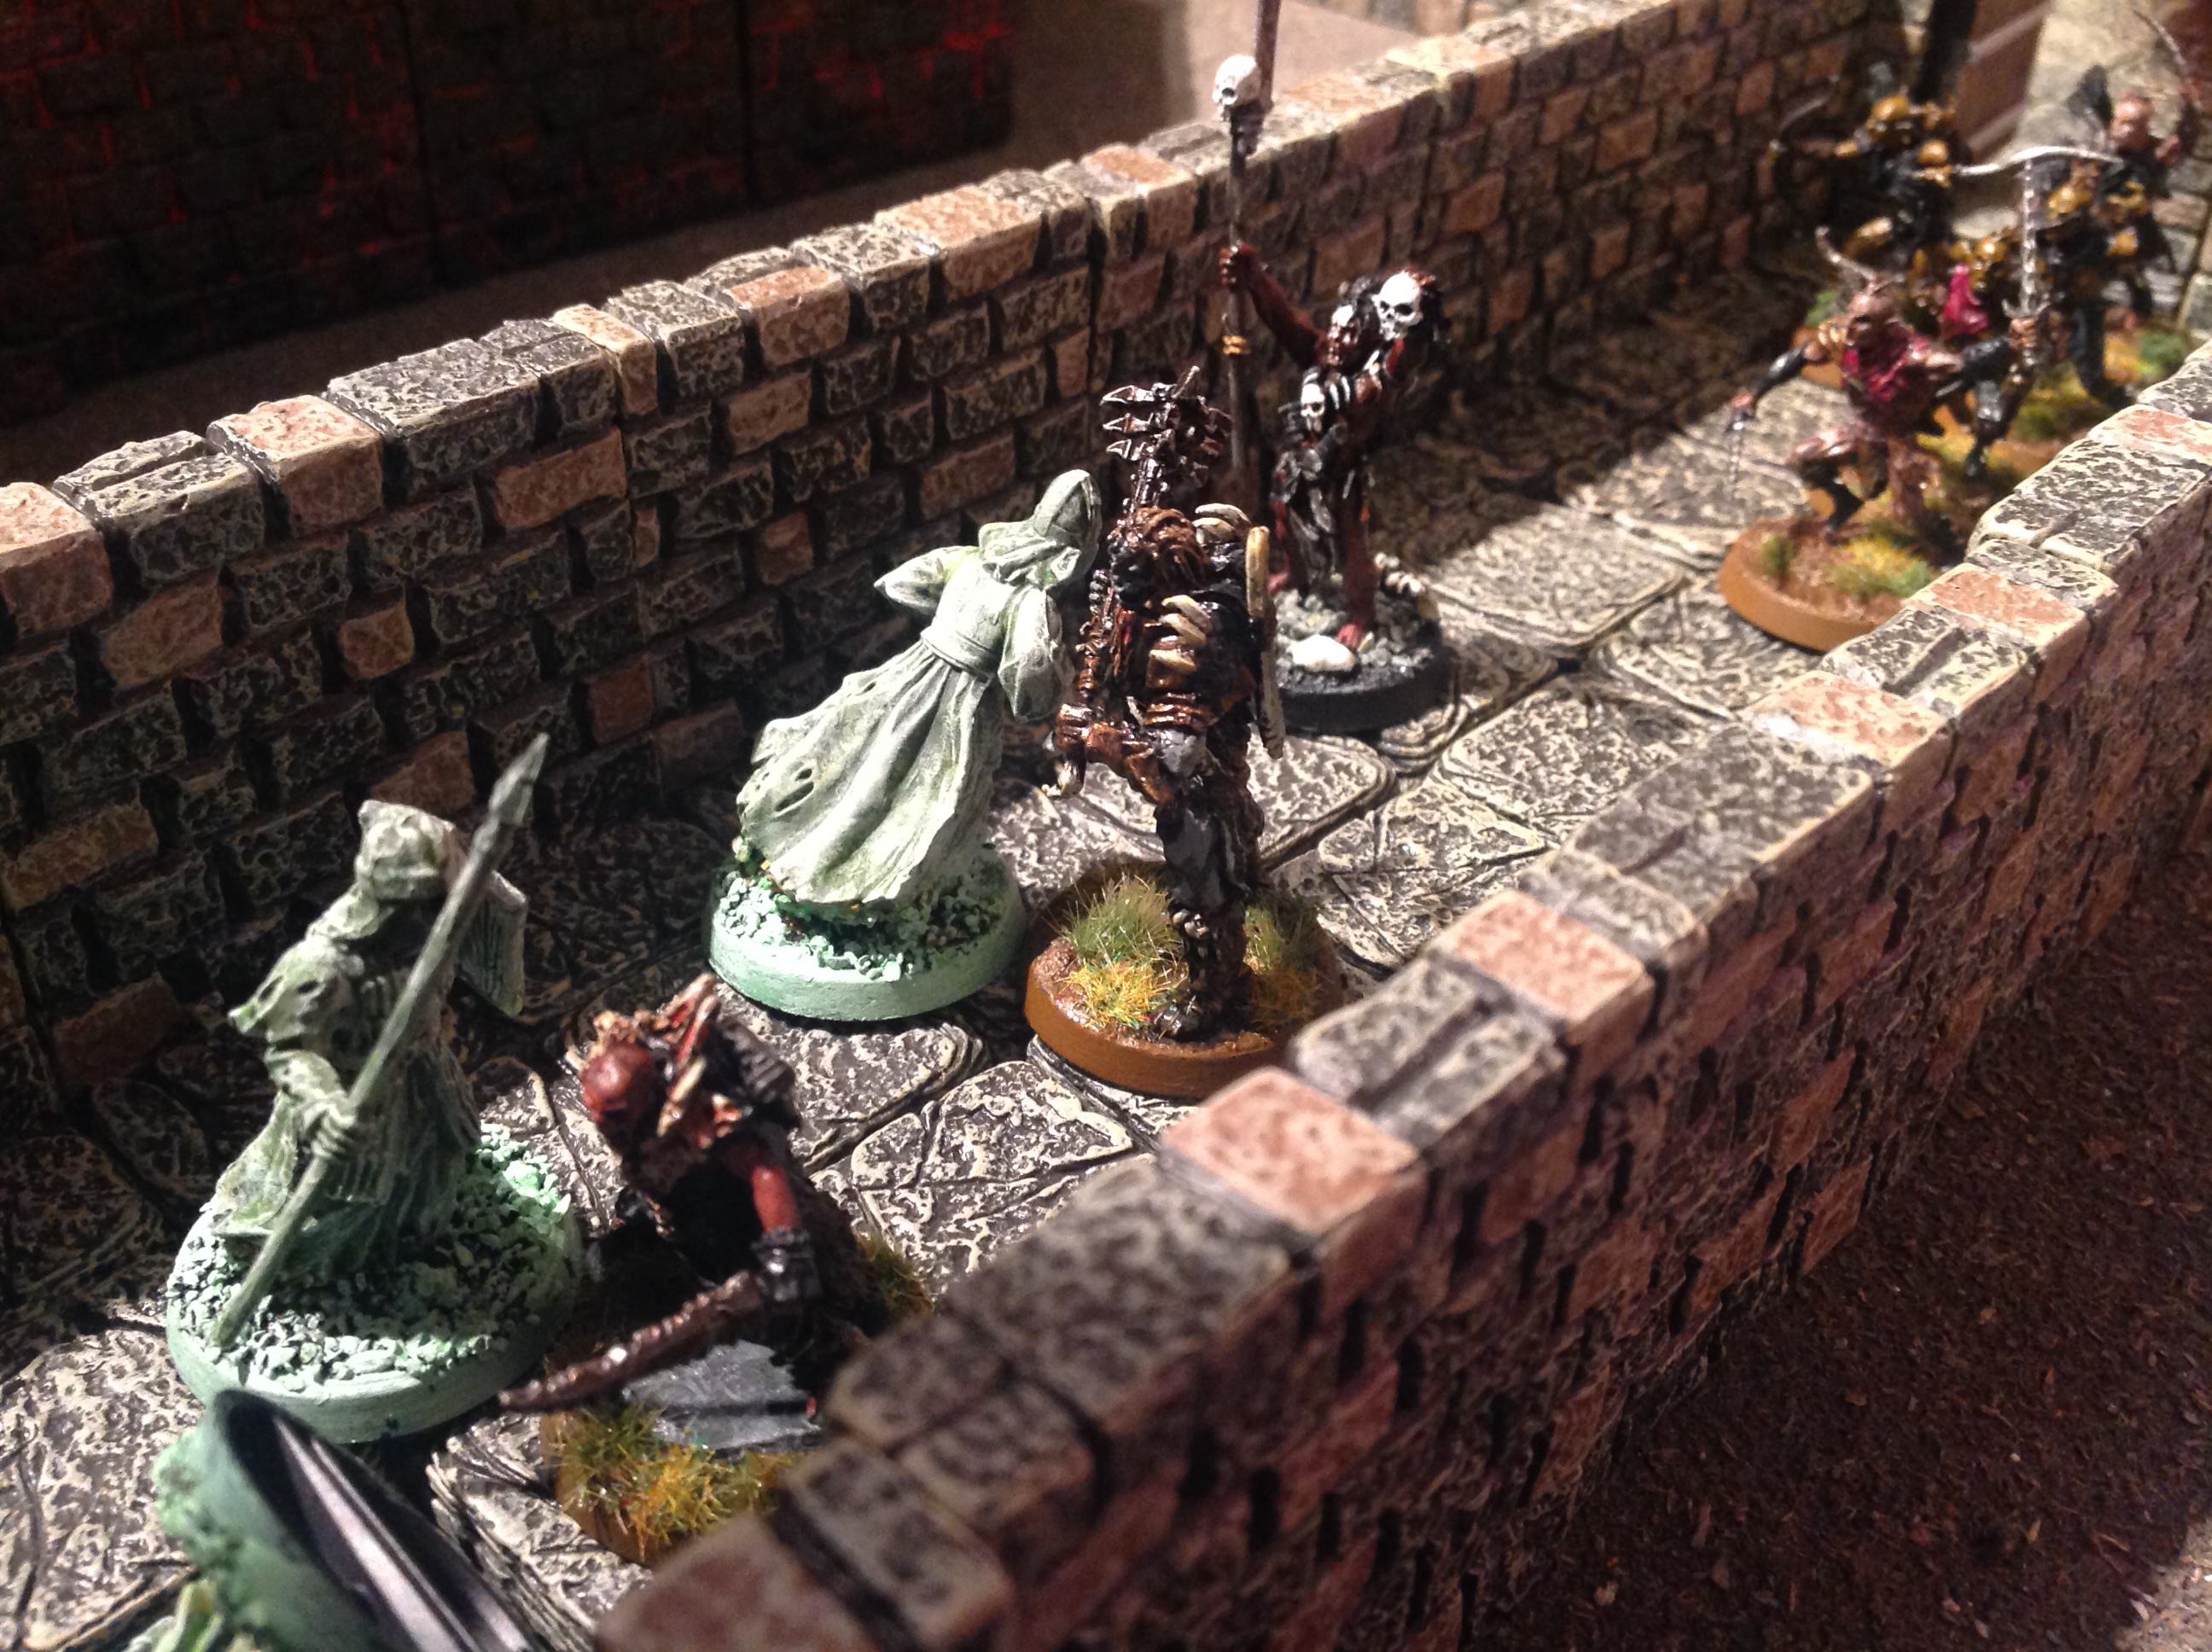
Mike and Andy played as the Good guys leading Thorin’s Company into the Halls of the Mountain Kings. Darryl and Bruce led the Evil side with Moria Goblins and Goblin Town.

The Halls of the Mountain Kings
More images can be seen here:
The Scenario
Thorin’s company have escaped Azog’s clutches for now but must traverse the mountain to cross the Misty Mountains. Fortunately there is a clear road and a bridge across the chasm that easily will get them quickly onto Mirkwood. Balin even has a map and knows a secret door on the Eastern side that will get them through quietly.
Unfortunately the bridge has collapsed and to make matters worse two tribes of Goblins have made their home in the now ruined mountain halls. Durburz and his Moria Goblins hold the Gatehouse. The Goblin King in uneasy alliance with his brethren holds the rickety ramparts across the chasm and has turned the room with the secret door into his treasury; unaware of course that it is a handy passageway to any dwarven loremaster who should head this way.
Seeing the situation with Goblins on the ramparts and the gates guarded Thorin’s Company with the aid of Gwahir and the Eagles realise that a two or three pronged attack is necessary in order to cause a diversion and sow confusion. Again Balin’s map shows two alternate routes; a Northern postern gate to the cellar and a southern door (now broken) to the South leading from the ramparts.
The Eagles can be used to distract the rampart goblins and carry dwarves onto the ramparts. They of course cannot enter the Dwarven Halls. There is no real need to fight with the Eagles and rampart Goblins as each will play no further part in the scenario.
Though the bridge cannot be used until the draw bridge is released which must be done from the chasm side an unstable pillar can easily be brought down by a skilled member of Thorin’s company hurling a missile or rope to furnish an alternate route to reach the controls or the other side of the chasm.
The Dwarves must enter the Gatehouse by two different routes. Failure to do so will allow Durburz to realise his ally is under attack and the Moria Goblins will enter the Eastern chasm and the walk ways. However if both routes are used Durburz and the Goblin Town Horde will think each is attacking the other and with the Eagles also in flight to the West no Goblins will leave the Gatehouse Halls.
Any dwarf (or companion), or the Goblin King who falls from a rampart will take 1 wound and end up in the cavernous part. If Bilbo falls he loses 1 turn but is then rewarded with the One Ring.
If the Dwarves visit the Grotto: One companion may rest in contemplation at the hidden grotto for one turn and retrieve all their will and fate points.
The Goblin King is convinced the dwarves are after his treasure and will not leave the long rampart or his throne room.
AAR: How it turned out.
The two sides were roughly the same at 1000 points but splitting Thorin’s Company made it hard for the Good team as some are weaker than others and they act synergistically at times with their special abilities. To balance this the Umpire (Phil) allowed them an element of surprise and not all the rules for defending strongholds were used to better represent the rapid progress of the Heroes through Goblin Town as seen in the Hobbit film.
The Dwarves led their forces North via the ramparts with the aid of the Eagles and South into the cellar led by Thorin and Gandalf respectively.
Gandalf’s force burst through into the cellar and rapidly killed the Shaman. Hearing the sounds of battle Durburz led his forces into the attack from the Feasting Hall but found Dwalin too strong a defender in the doorway. As Gandalf and his party fled up the stairs and into Goblin Town Durburz could hear the sounds of alarm from the Drums in the Deep and therefore did not pursue but headed back to investigate.
Meanwhile Thorin and his dwarves had burst through into the main gatehouse and found to their horror a Cave Troll and a group of Goblins. The Goblins proved no match for heroes but the Cave Troll was another matter. Barging Dori out of the way the Troll wounded Nori. However he was then cruelly surrounded and slain. This all took time and effort however and in the confusion Dori was seriously wounded (killed or otherwise out of action). With the Drums in the Deep surrounded Thorin found his entry towards the main crossing into Goblin Town very difficult and with Durburz and his spearmen attacking from his western flank. However when Durburz was killed in combat against Thorin and the Drums silenced the way was clear; but at heavy cost for Kili was now out of action too. Charging bravely down the fallen pillar into Goblin Town poor Kili was surrounded by the Chitterning Horde of Goblins and also out of action. It took Thorin himself leading the way to force his way off the narrow pillar and into the Town proper.
Gandalf and his party with the benefit of surprise was able to take out the Goblin Town guards defending the entrance route from the cellar but their Tiny Captain got away! Raising the alarm more Goblins were soon arriving from the deep (Scribe) and the way to the exit was defended by Grinnah and his forces. Also hearing the commotion the King had stirred from his slumbers to defend the ladders leading to the high walkway and the exit.
The Goblins proved terrified of Gandalf’s bright aura (spell) and were held off at the rear. Gloin and Dwalin crashed through Grinnah’s and Tiny’s forces and onto the central area. As they did so Thorin’s forces also broke through but sadly Bofur had fallen; surrounded and dragged down by the chittering horde. With the Scribe dispatched Gloin and Thorin ascended the steps supported by Bifur and Nori. Without his Goblin Guards the King was surrounded. His Blubbery Hide proved no defence against Thorin wielding the mighty Orcrist (Goblin Slayer) and the King was eventually trapped and killed. With the way to safety now clear and with their force broken and leaderless Thorin’s Company was able to make it to the secret door and out of the Halls. However Four Dwarves had been badly wounded in the strife (Kili, Fili, Dori and Bofur). Well done the players as it was a lot of fun with some memorable moments. Thorin’s first to wound rolls against the Goblin King with three 1’s rolled; Gandalf’s inability to dispatch a fallen Goblin; The Cave Troll using the Barge Rules to stroke at Nori unexpectedly; the fall of Bofur and the mighty duels with Thorin against Durburz and then the Goblin King himself.
More images can be seen here:
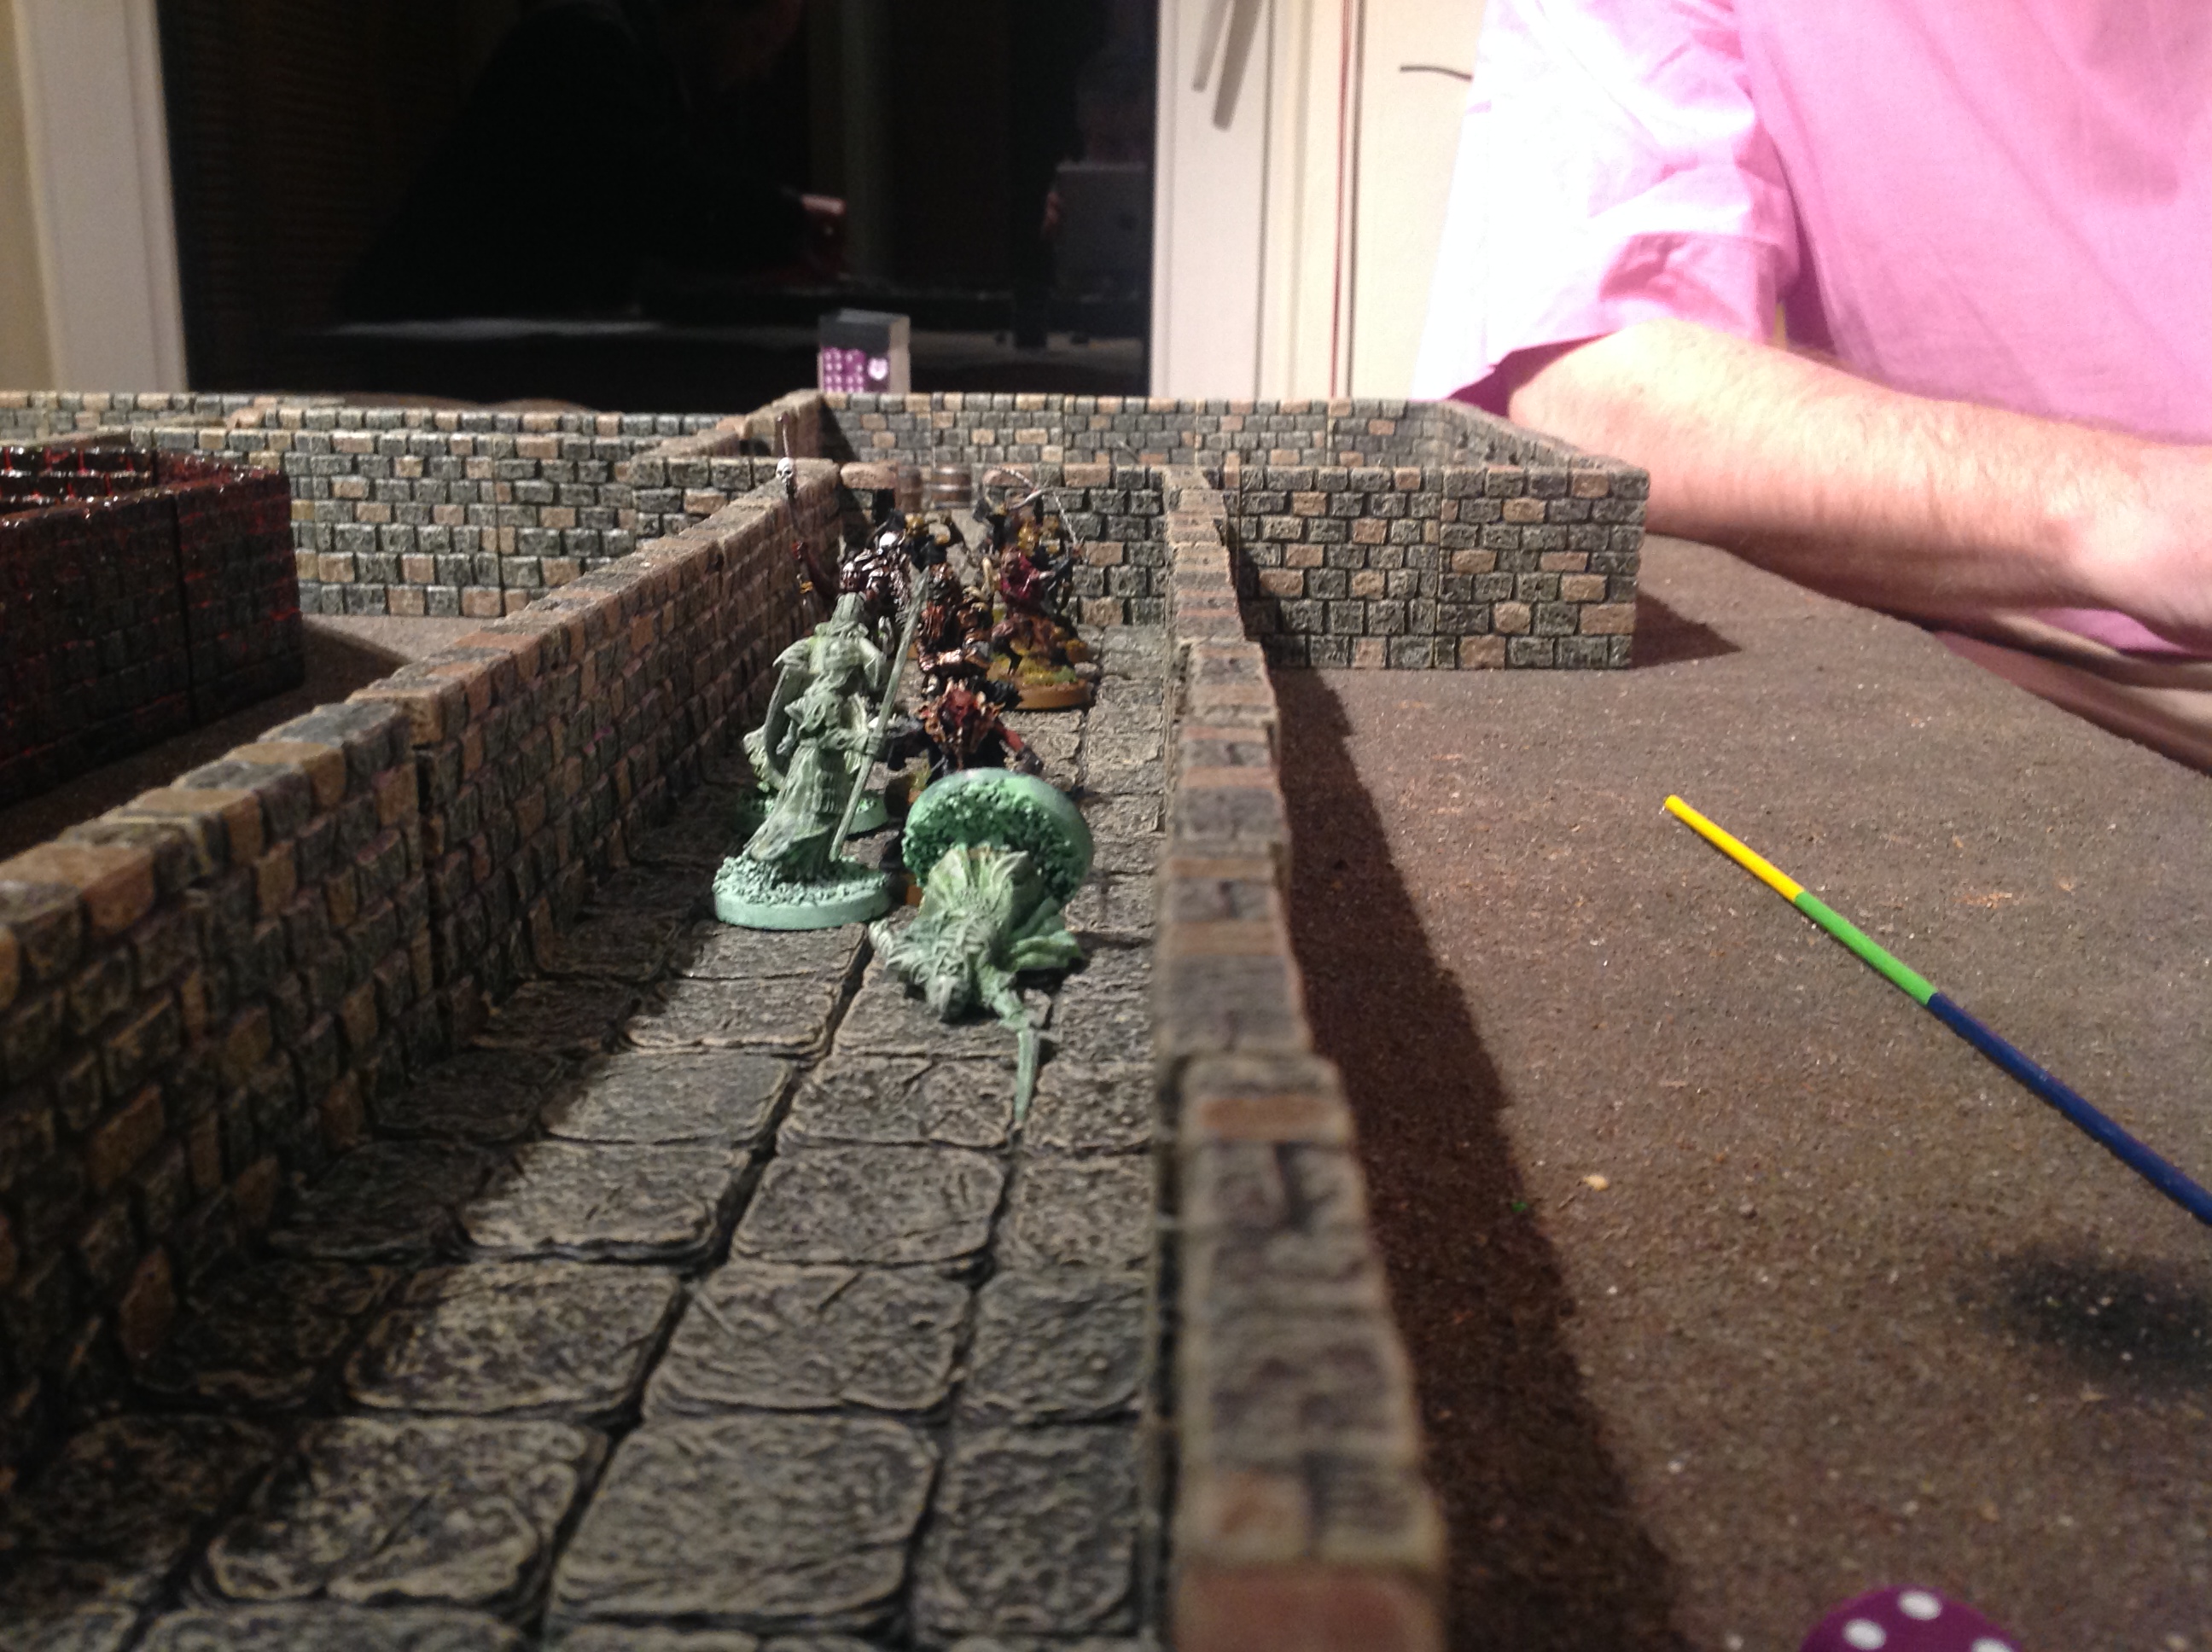
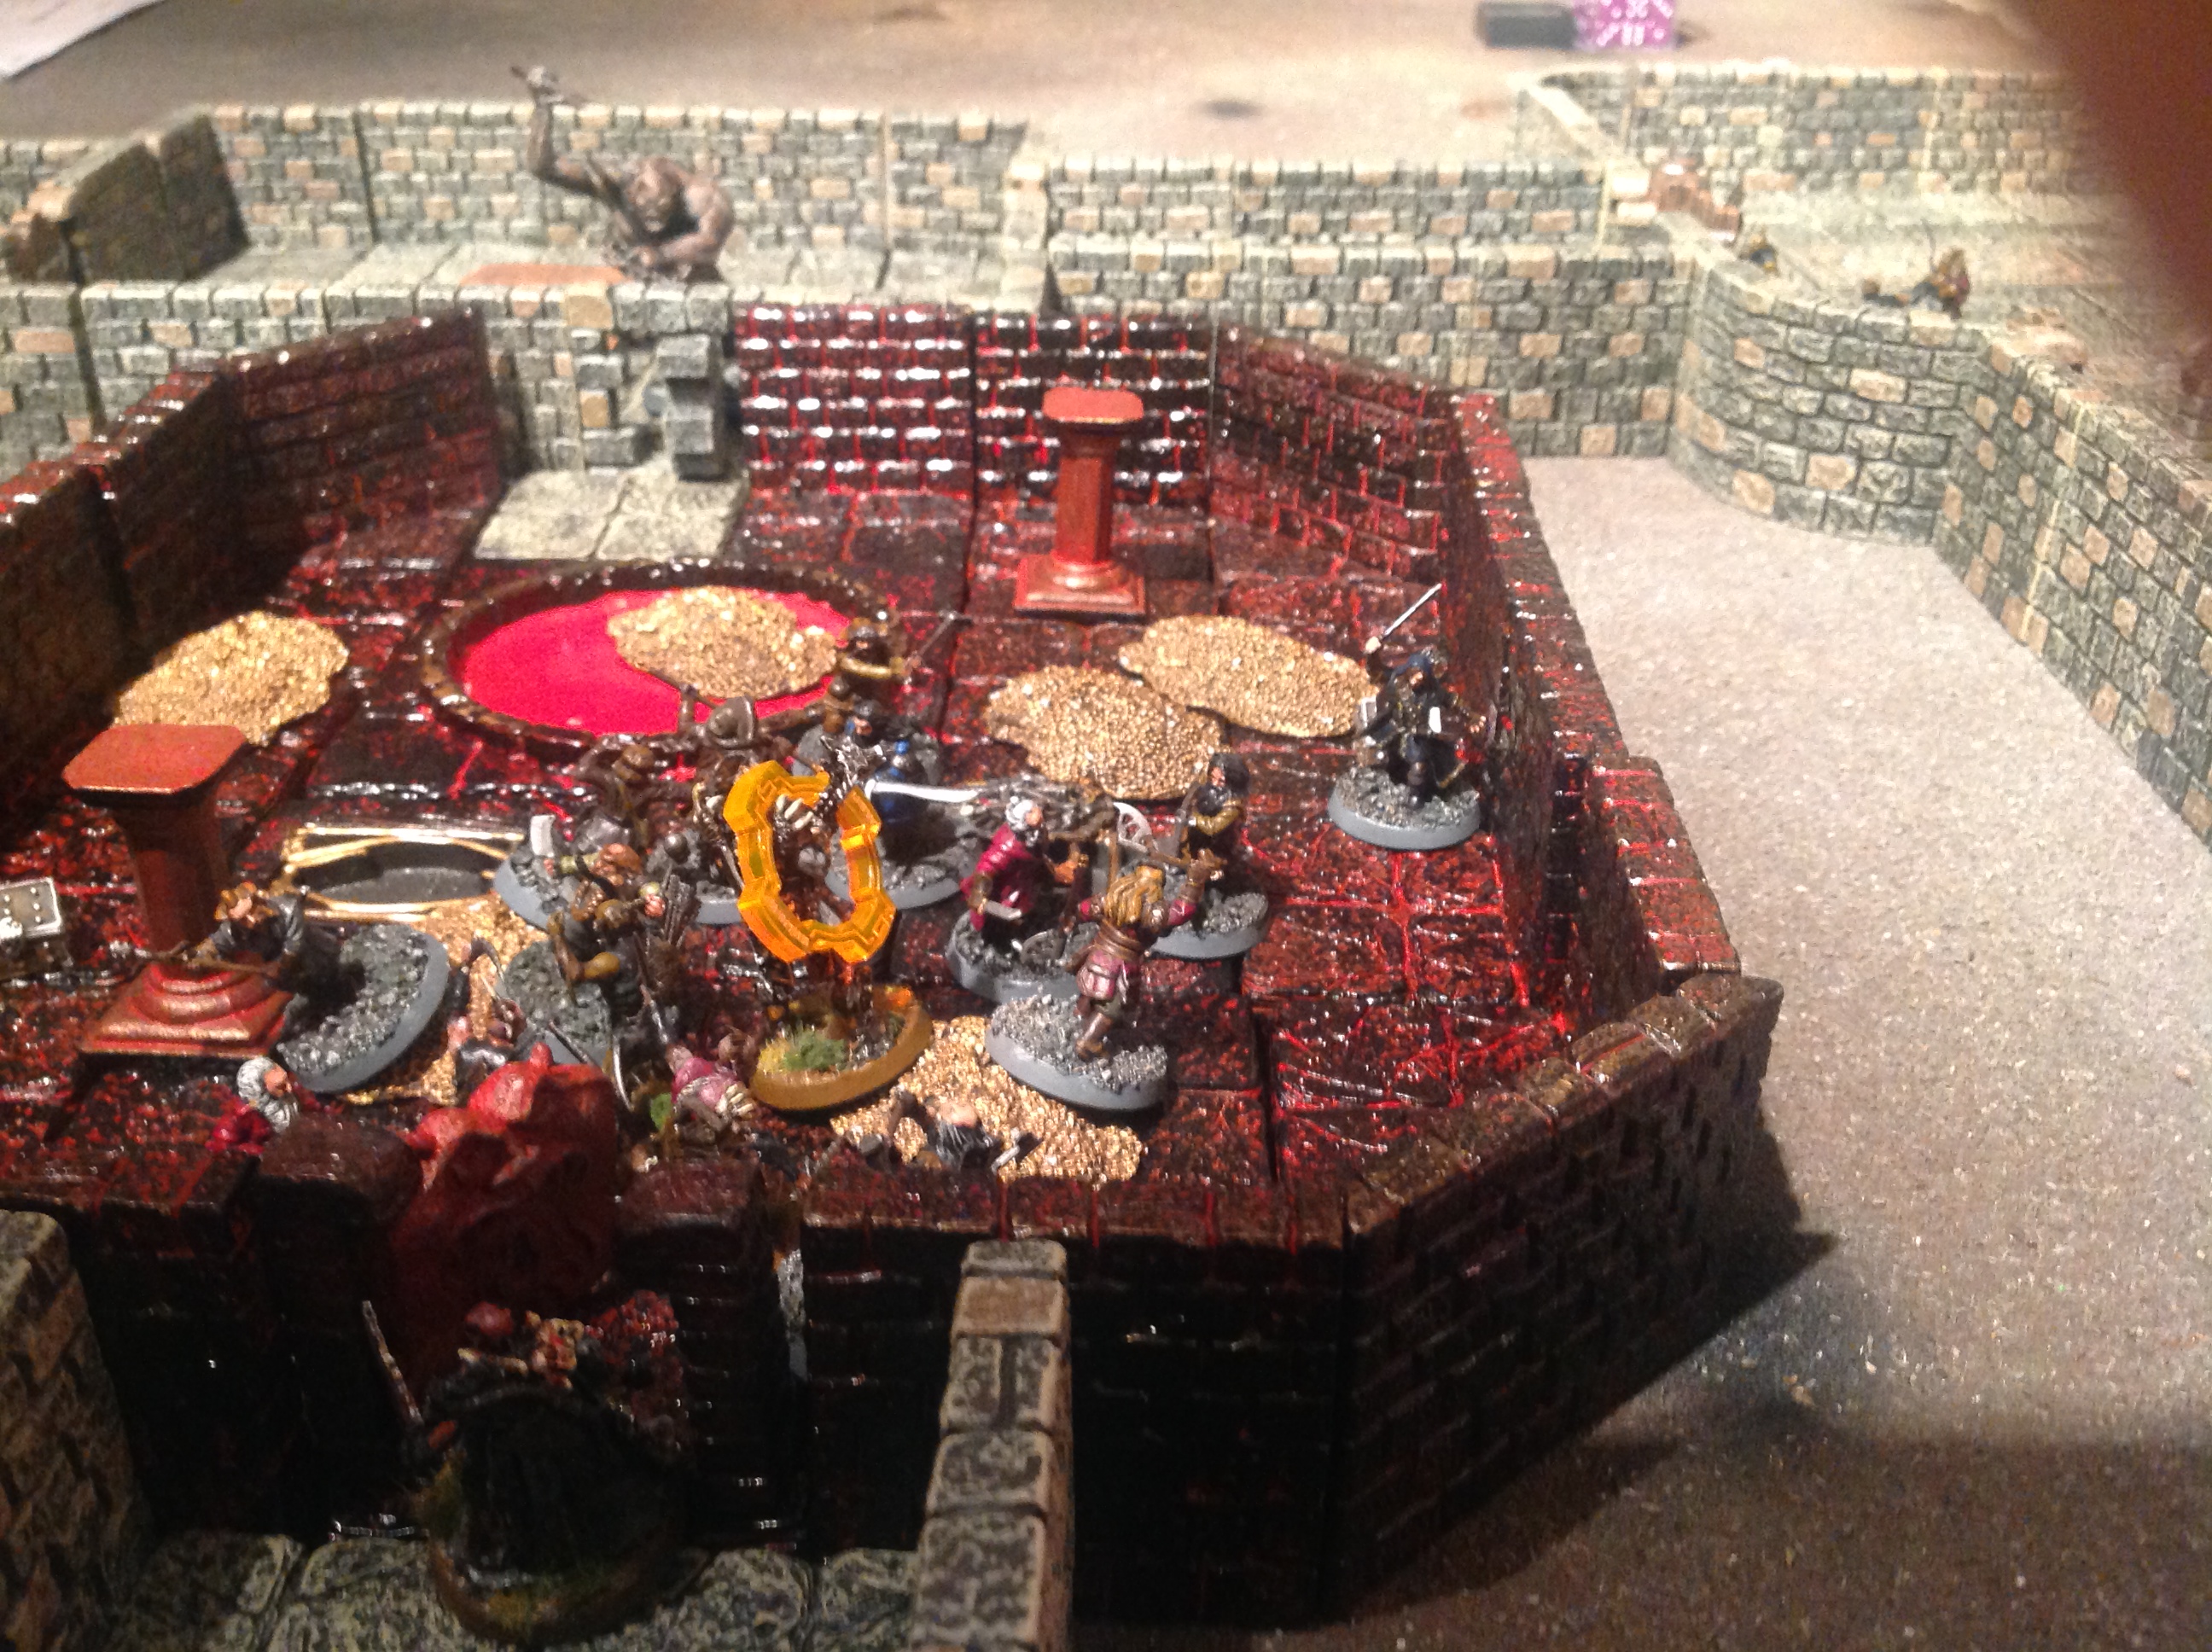
Solo Adventure using Song of Gold and Darkness supplement for Song of Blades and Heroes.
Terrain: Dwarven Forge
Models: Dungeon Command
Adventurers: Heart of Cormyr
Denizens: The Curse of Undeath and Blood of Gruumsh factions.
Scenario:
The Dragon Knight has gathered about him a stalwart band of elves (archers), dwarves (warriors and cleric), halfling (thief) and humans (wizard, ranger (plus the dedicated Half-Orc Undead Hunter)). They must put a stop to the Vampire who has been terrorising the villagers and stealing away victims for terrible fates unknown.
The Vampire has founded a Temple of Blood in the Lair of the Lich and gathered about him an army of Undead. Also he has formed a pact with a band of Savage Orcs led by a vicious Chieftain. In exchange for their lives he has allowed them to stay in the Lair and sends them on raids to capture victims for his bloody sacrifices. For their part the Orcs fear the Undead but benefit from the security of the Lair and the assistance of powerful Vampire and Lich; who are easily appeased by regular deliveries of pathetic humans taken from the surrounding villages or travelling the highways.
Can the Dragon Knight and his brave comrades put a stop to this tyranny?
Progress:
The party arrive in the antechamber (south). To the North is a corridor with 3 doors. An elven archer opens the door to the west on an empty room and finds the door to the North locked (which requires the Halfling Thief to unlock). The Halfling moves to the door but the Earth Guardian simply bashes it open whilst he is looking for his picks. The Archers with their Quality 3 and Medium moves prove useful scouts so head up the long corridor and check the doors finding them locked. The Dragon Knight’s Leadership bonus certainly helps keep the party moving and they soon head into the corridor and move towards the first door as a group.
A dwarf warrior forces his way through the first door and rushes into the room. It is filled with undead; a skeleton guardian and some zombies and skeletons. The party advance into the room but find their elven archers relatively useless against the Undead. However whilst half the party is fighting in the room a Gruumsh patrol appears in the corridor to the North; an Ogre with two Orcs. The Earth elemental advances towards the Ogre who ignores the spells and arrows coming towards him. His Orc minions appear dumbfounded. In the room the Dragon Knight and the Dwarven warriors defend themselves against the skeletons whilst an archer attempts to find a useful firing position heading towards the treasure chest.


In the corridor the Earth Guardian forces the Ogre to recoil who is then knocked down by the elven archer. Finally he is Transfixed by spells from the Human Wizard and Dwarven Mage. In the room the Elven Archer fired a perfect shot at a skeleton causing a gruesome kill. The burst of psychic energy thus released destroyed the remaining Undead who failed the resulting Morale checks. The treasure proved to be extremely heavy but contained a very useful ring of carrying which the Elven Archer used to carry it.
Meanwhile the Earth Guardian and the others dispatched the Ogre and his minions. The other Archer opened the next door and found the Lair of the Lich! A fiendish room with a ramp forcing the party to fight their way through the Dracolich and skeleton warrior before they could reach him and the treasure. Also the heroes would need to slay the Lich (or the Orc Chieftain) before they could find the Final challenge and the Vampire himself. The elven archer found his weapons useless against the Dracolich but the party advanced into the room (the Assassin keeping to the shadows). The Lich cast Transfix spells on the two mages but not before they were able to Transfix the Dracolich. The Undead Hunter then fired his crossbow at the trapped creature and destroyed it. The heroes rushed towards the skeleton who proved tougher than expected managing to kill one of the dwarf warriors. The party soon surrounded the Lich who was powerless in combat and was destroyed. Luckily no wandering monsters appeared. The chest was trapped so whilst the Halfling slowly advanced towards it to disarm it the heroes headed off in search of the Vampire (now they had broken the magic seal to the Temple if they could find it).


The Halfling duly arrived whilst the Archer with the ring of carrying waited patiently and declared the trap impossible to disarm (level 3). So the Archer set it off and fell over. In it was a cloak of flying which the Halfling grabbed to save him the long trip back down the stairs whilst the Archer picked up the heavy chest.
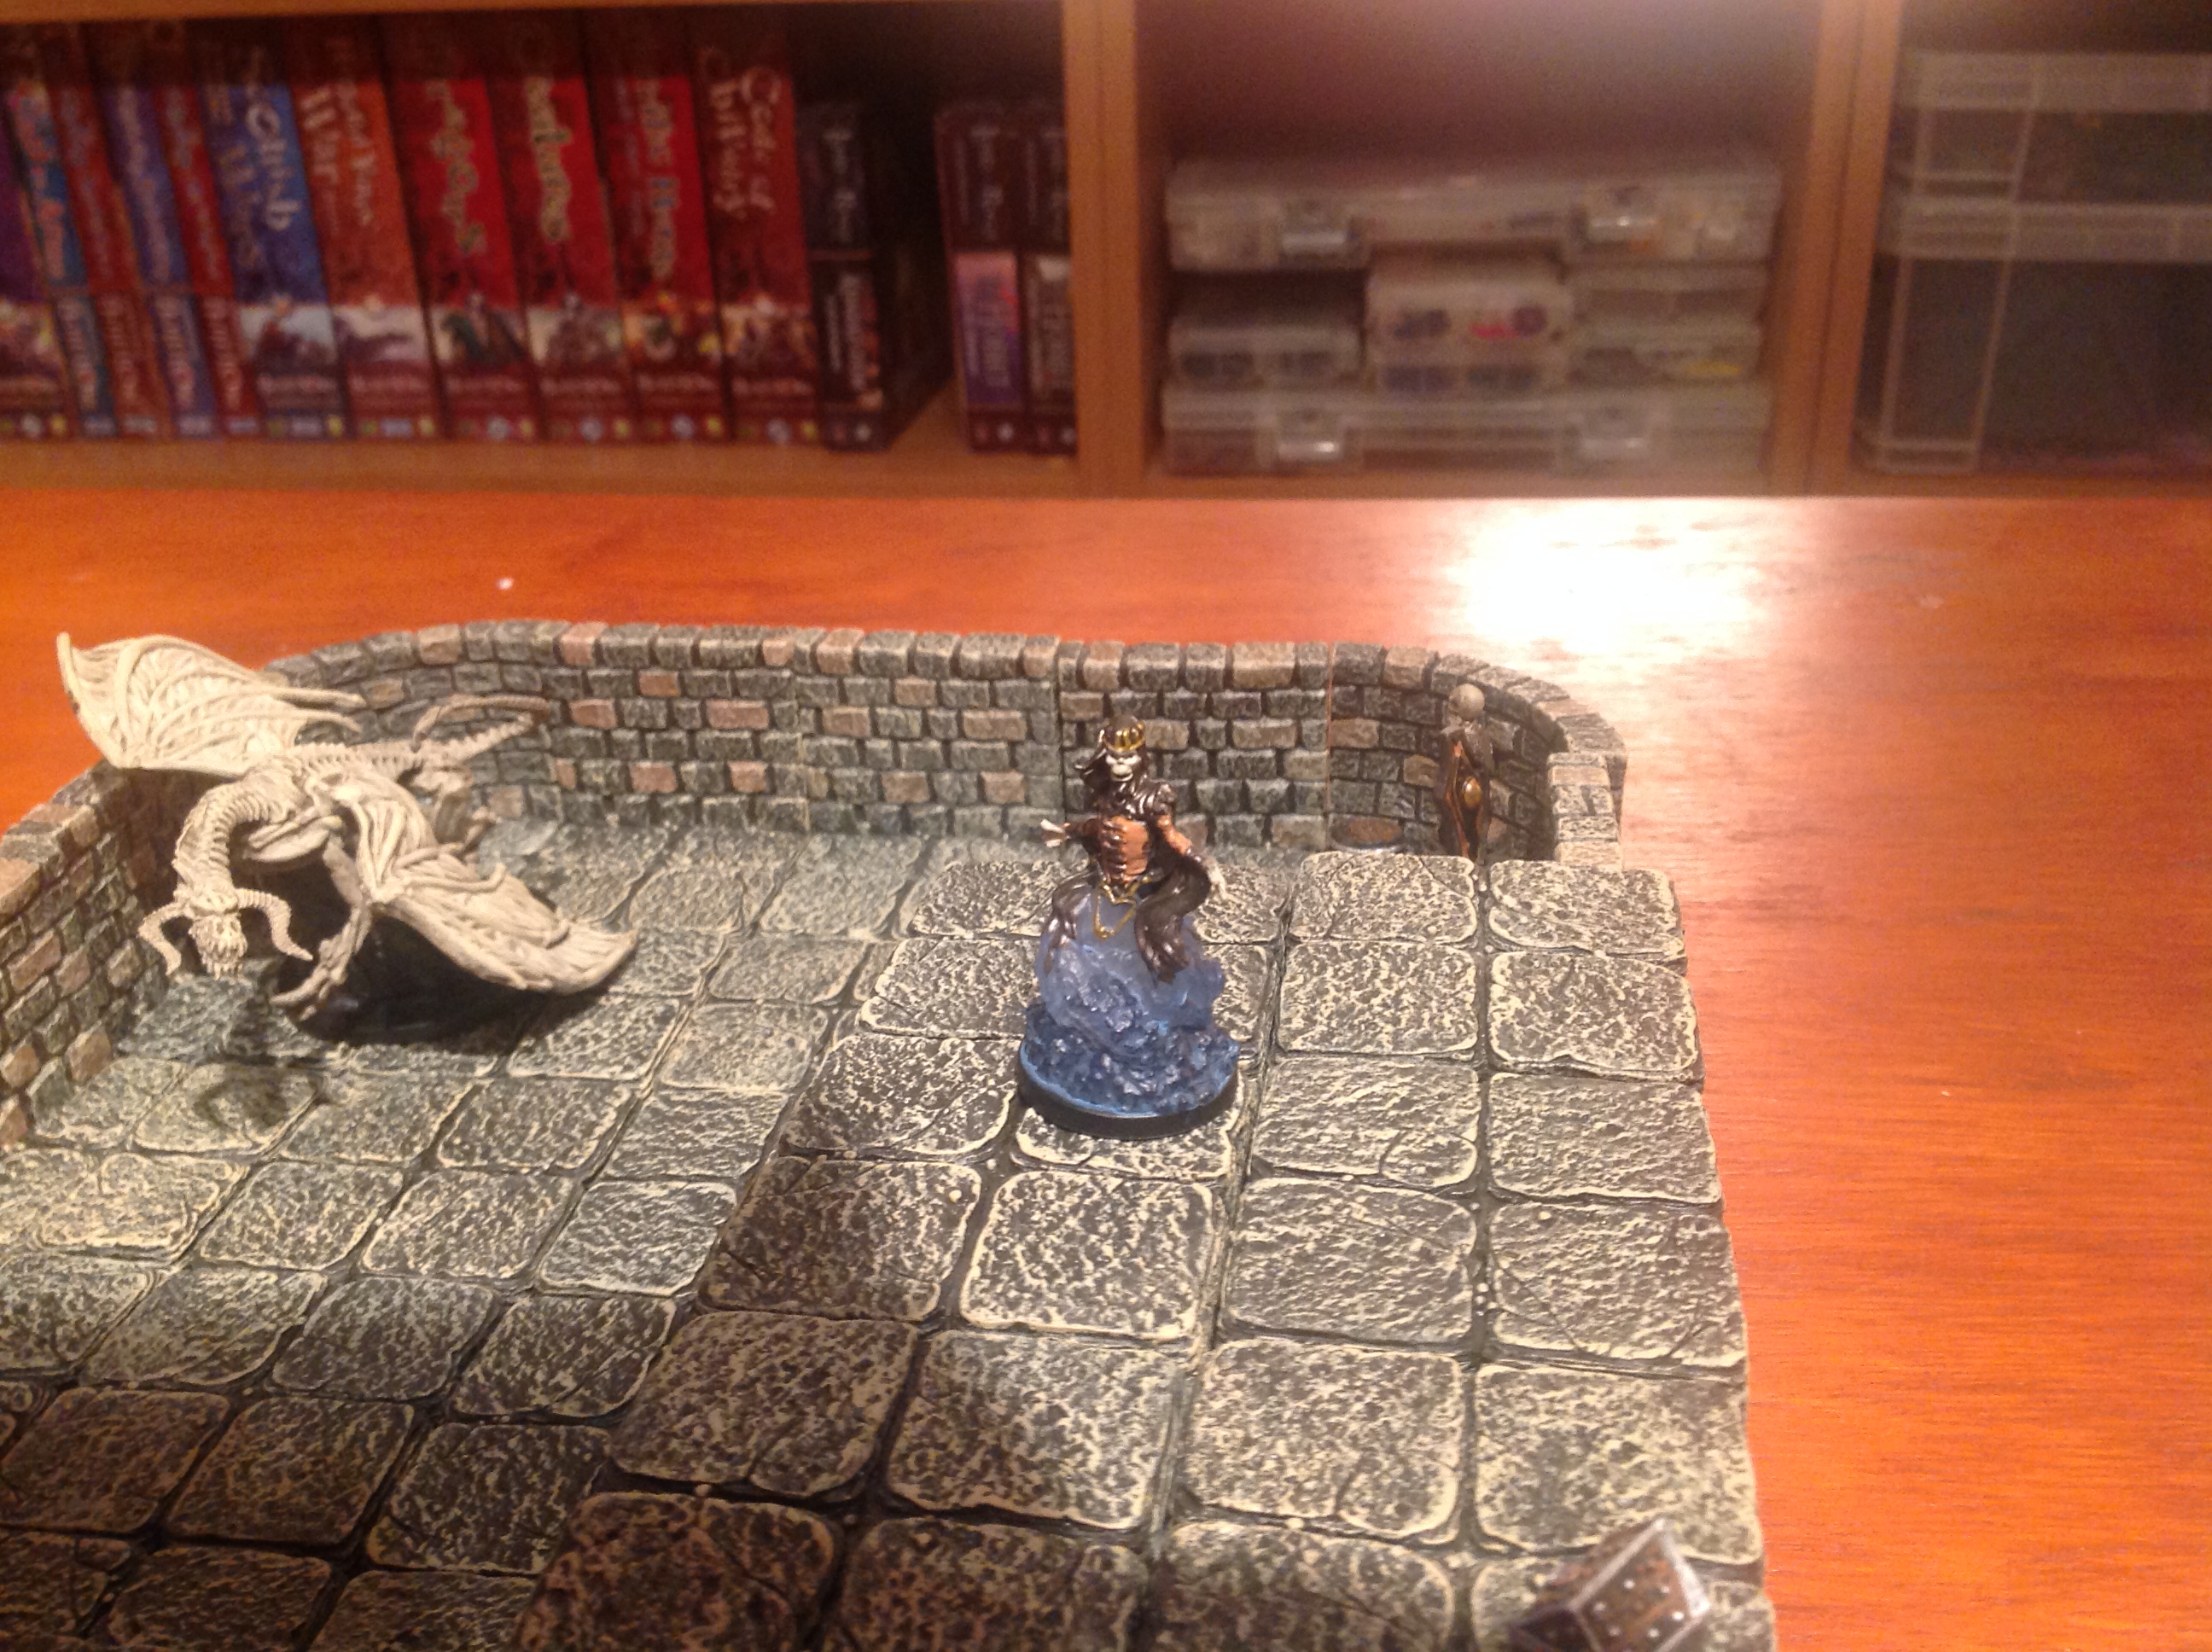
The heroes found an empty corridor with 3 doors and an empty store room. Advancing towards a heavy locked door the Earth Guardian managed to force it open and reveal the Temple of Blood! There was the Vampire with a Ghost and a skeleton archer. A tricky room with a pool, pillars, skulls and a broken grate plus the whole room counted as Vampire soil (which put the heroes at -1 combat). This latter was to prove highly deadly.


Our heroes bravely rushed into the room, again their archery proving useless against the Undead. The room contained a pile of treasure and the Vampire was wearing a necklace of teleportation should he require it. The Earth Guardian and a Dwarf warrior advanced towards the Ghost and the Vampire whilst the Knight and the Assassin moved round the pool towards the skeleton. The others advanced towards the room as fast as they could but were slower than expected due to the fear emanating from the room (bad rolling on activation).


The combination of Terror and Vampire soil proved deadly for the heroes. The dwarf and elven archer soon fell to the deadly blade of the Vampire. Surely the Earth Guardian would do better but it too was smashed to pieces by the powerful vampire. Things looked very bad now as the Undead Hunter fled in panic from the Ghost narrowly escaping with his life. The Assassin choosing discretion also fled the room (claiming she was coming to the aid of the Undead Hunter and Mages outside) whilst the Knight slew the Skeleton. At this point things looked bad for our heroic leader alone in the Temple room but the Vampire failed to activate! The Ghost was dispatched and the mages entered the Temple. The Dragon Knight moved towards them and the Vampire. The Mages successfully Transfixed the Vampire as the Halfling and assassin moved behind him. Finally the Undead Hunter closed and fired his Crossbow and the Dragon Knight moved in. With the Vampire transfixed it was possible to dispatch it and the battle was done.


The Knight, Wizard, Undead Hunter, Mage, Wizard, Assasin and Halfing had survived to fight another day.

Victory Points: 52
Thoughts:
An interesting game. The rules on dungeon exploration for solo games were quite successful. Remembering to roll for wandering monsters was a challenge. Having lots of goons who can respawn certainly makes for a challenge. The Vampire was very tough and on reflection making the entire room count as Vampire soil was hard (next time it will just be the grates). A minus one is a big difference in combat. The treasure weight rules would have been very annoying without the lucky find of the Ring of Carrying ad perhaps don’t work on solo delves. Transfix proved incredibly useful, especially against the Undead who are resistant to missiles from the Elven Archers.
Forces:
SBH_Warband _w_cardscormyr SBH_Warband _w_cardscurse

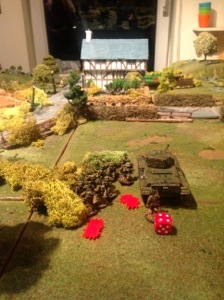
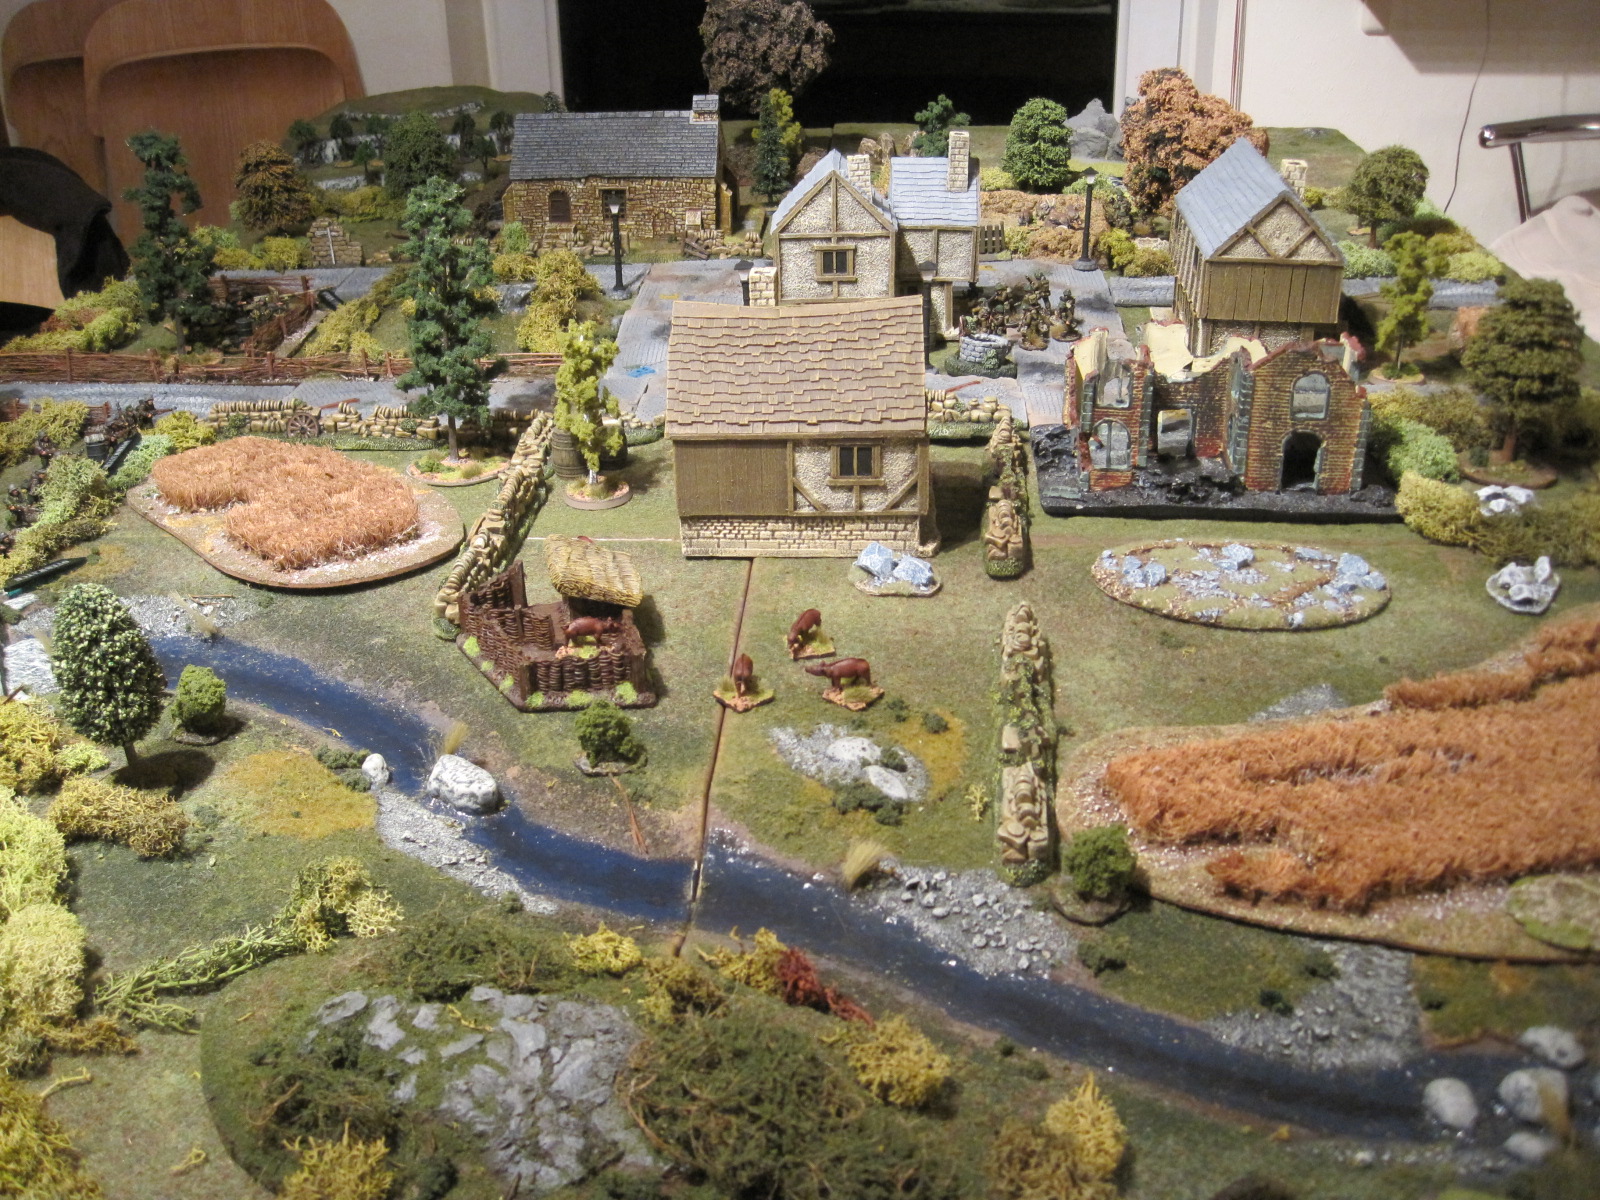
An abandoned farm in Normandy overlooking an important road junction forms the basis for our second chain of command scenario: Attack and Defend.


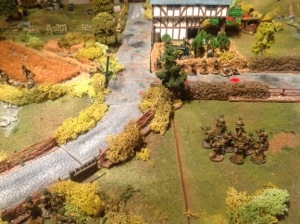
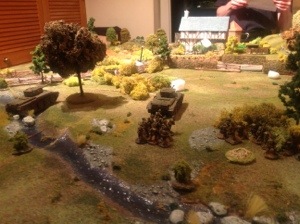
Our first game of WW2 Chain of Command Rules from TFL.
We decided to use Mike’s British and German forces and try the second scenario (the Probe) for our first game.
See the images here.


Lots of fun this week as James brought over his excellent Star Wars X wing game. He has custom painted Rebels depicting all the famous characters from the game.
This time James and Andy led a small force of X wings and Y wings (with heroes like Wedge, Skywalker, Porkins and Dutch) against a large Imperial force mainly of Tie fighters (Mike, Phil and Darryl). Leading the mostly untried Imperial academy pilots was none other than Darth Vader with the strategy devised by Admiral Mike who had been reading the manuals to good effect!
The game opened with Darth’s missiles taking out a brand new custom painted X wing in a single shot! Doesn’t that always happen when you paint new troops!? Over time the Imperial numbers began to tell as the Rebels ran out of missiles but more Tie Fighters just kept on coming. The Imperials destroyed Rebel ships and in turn suffered losses too (Darryl’s green dice defensive rolls being especially legendary) but had the numbers to absorb them. Eventually only Skywalker and a single Y wing remained and James conceded defeat. Of course as James pointed out it would be at this point that Han Solo would arrive allowing Skywalker to escape but at least this was the first game that the Imperials had not lost!
James hosted a great game of X wing using his collection. Phil, Bruce and James played the Rebel Alliance and Mike and Andy led the Imperial force.
Victory went to the Rebels.
Pictures and Aar to follow.


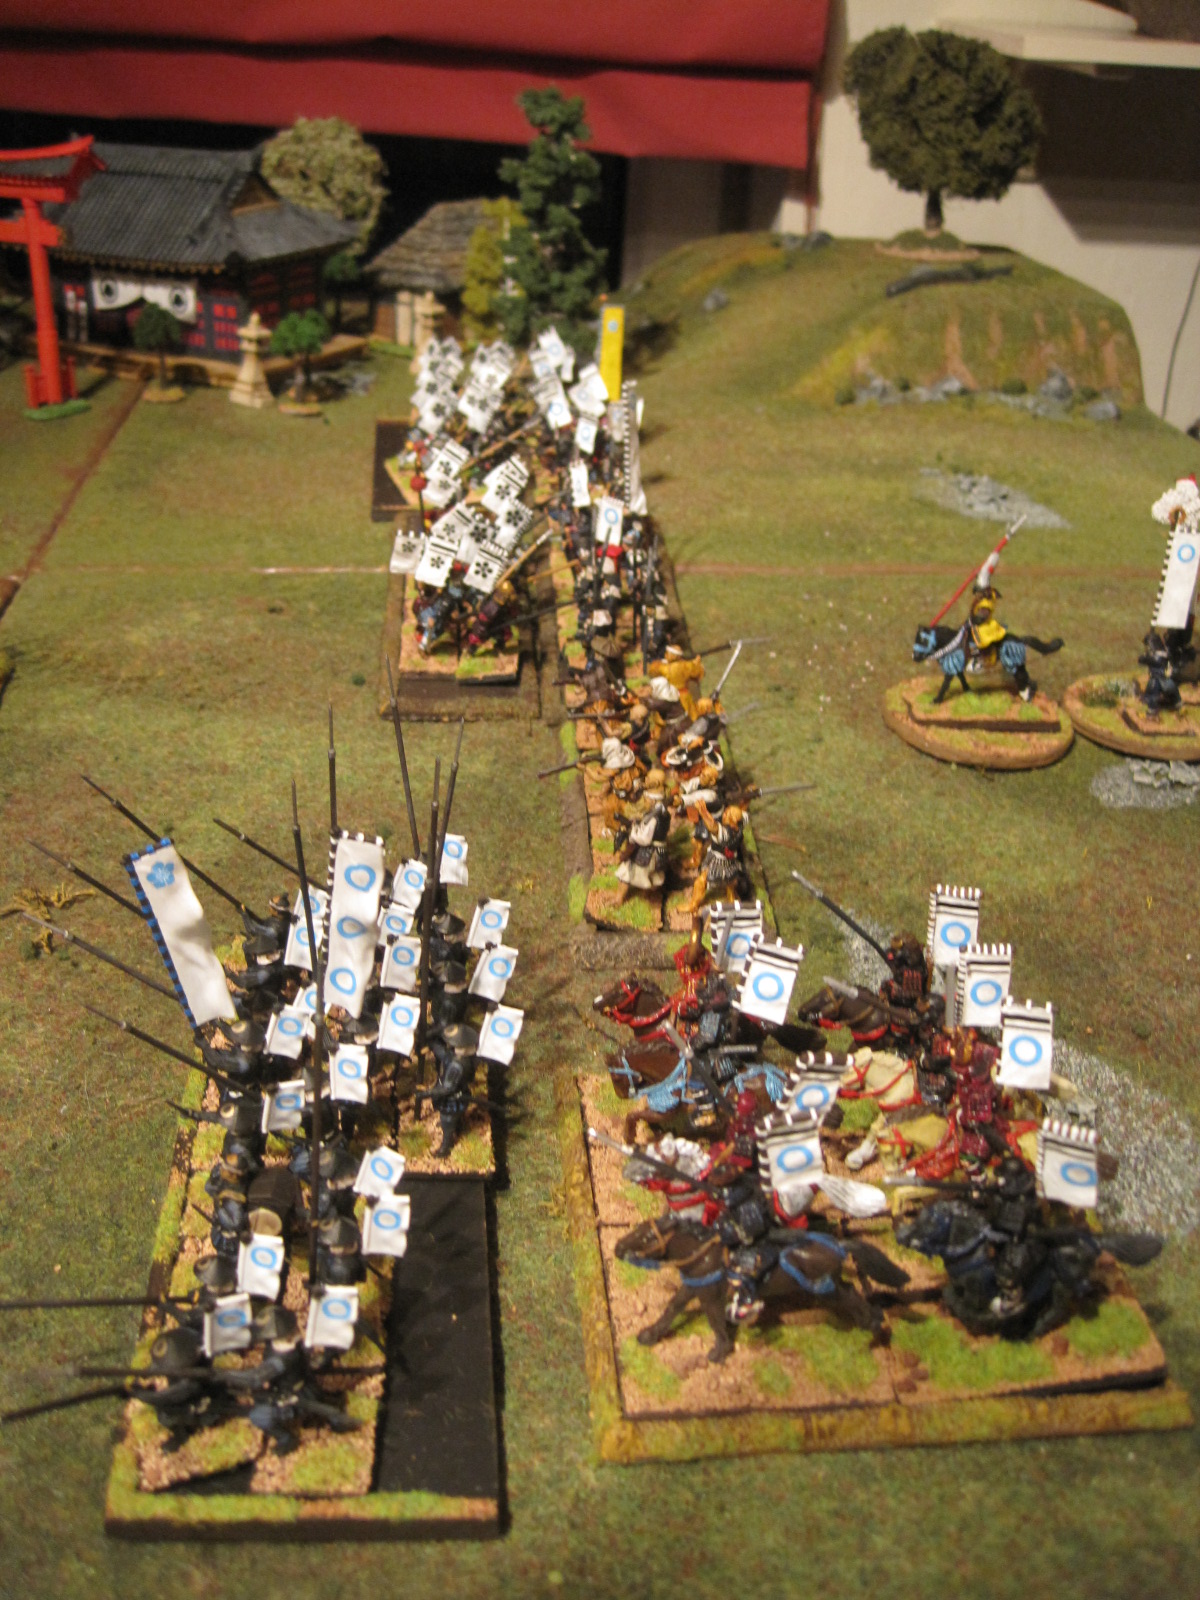
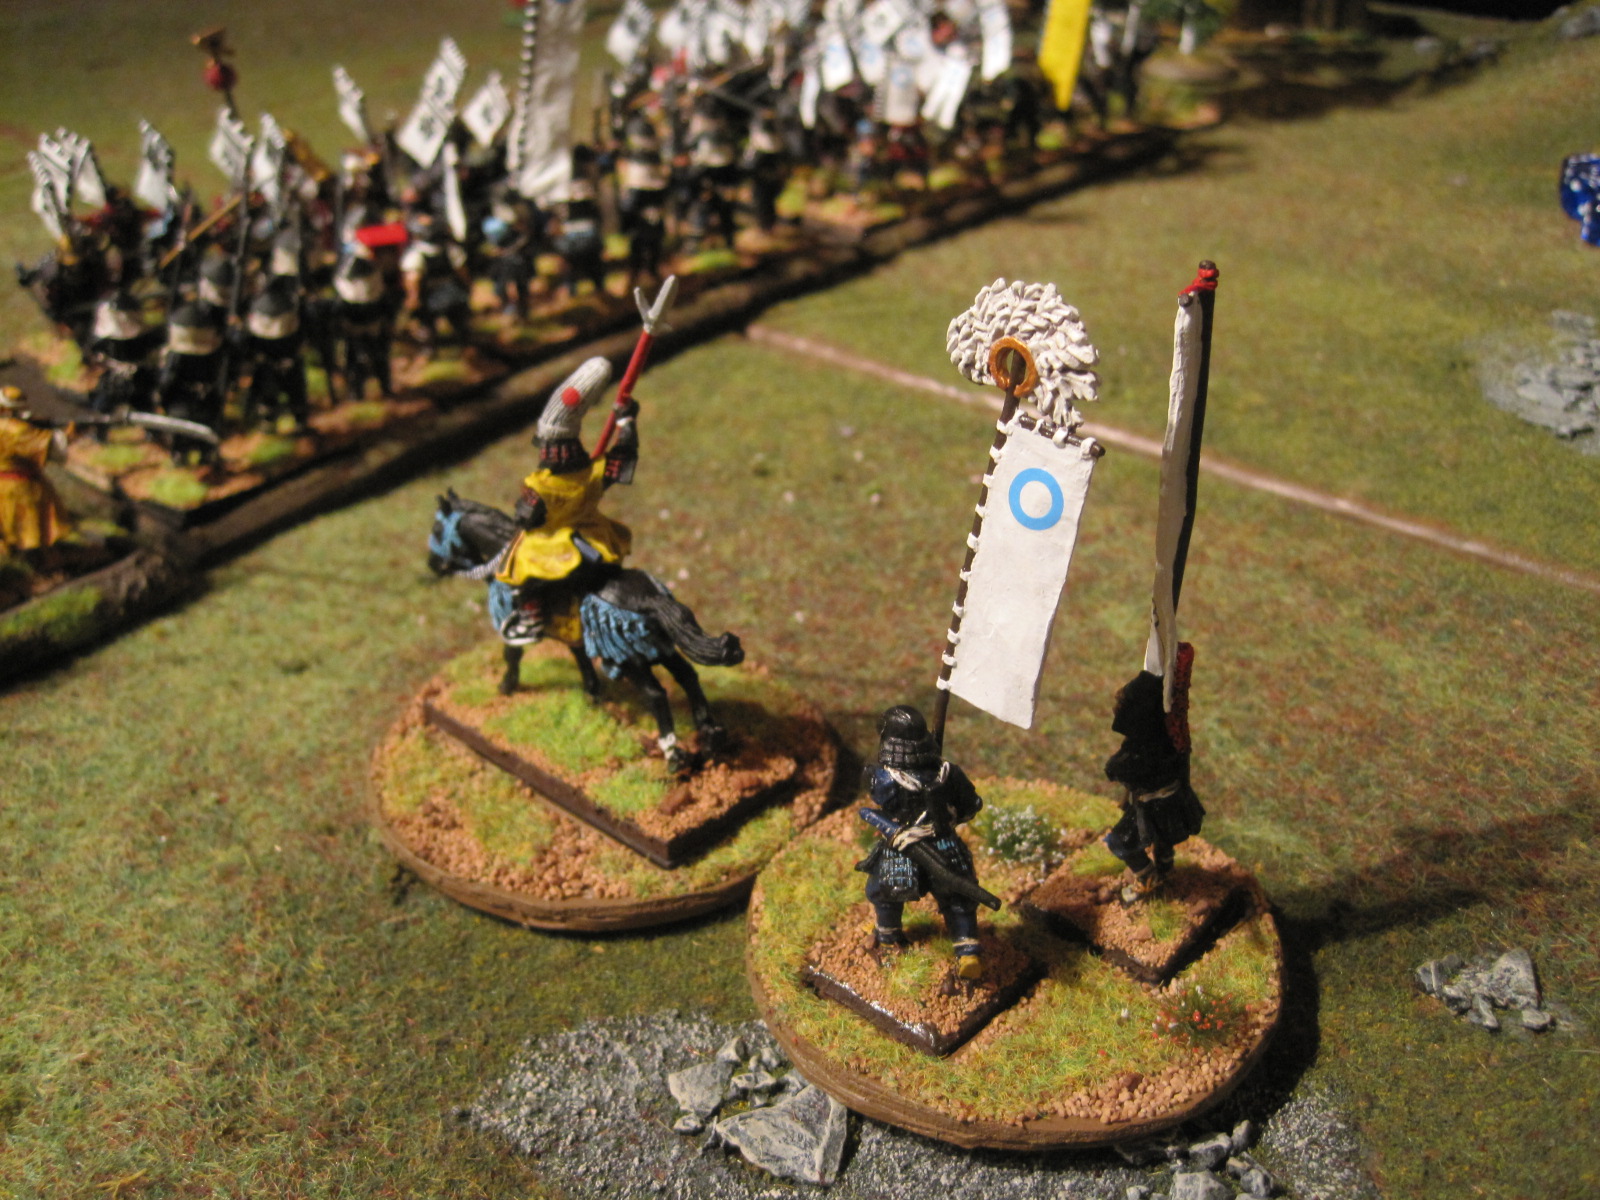
A Battle using the excellent War and Conquest rules and my Samurai forces.

Read the scenario; Battle at Arako kannon-ji Temple and the complete written AAR here with pictures from the Battle. Suggested listening music is the Last Samurai soundtrack.
Images to follow.