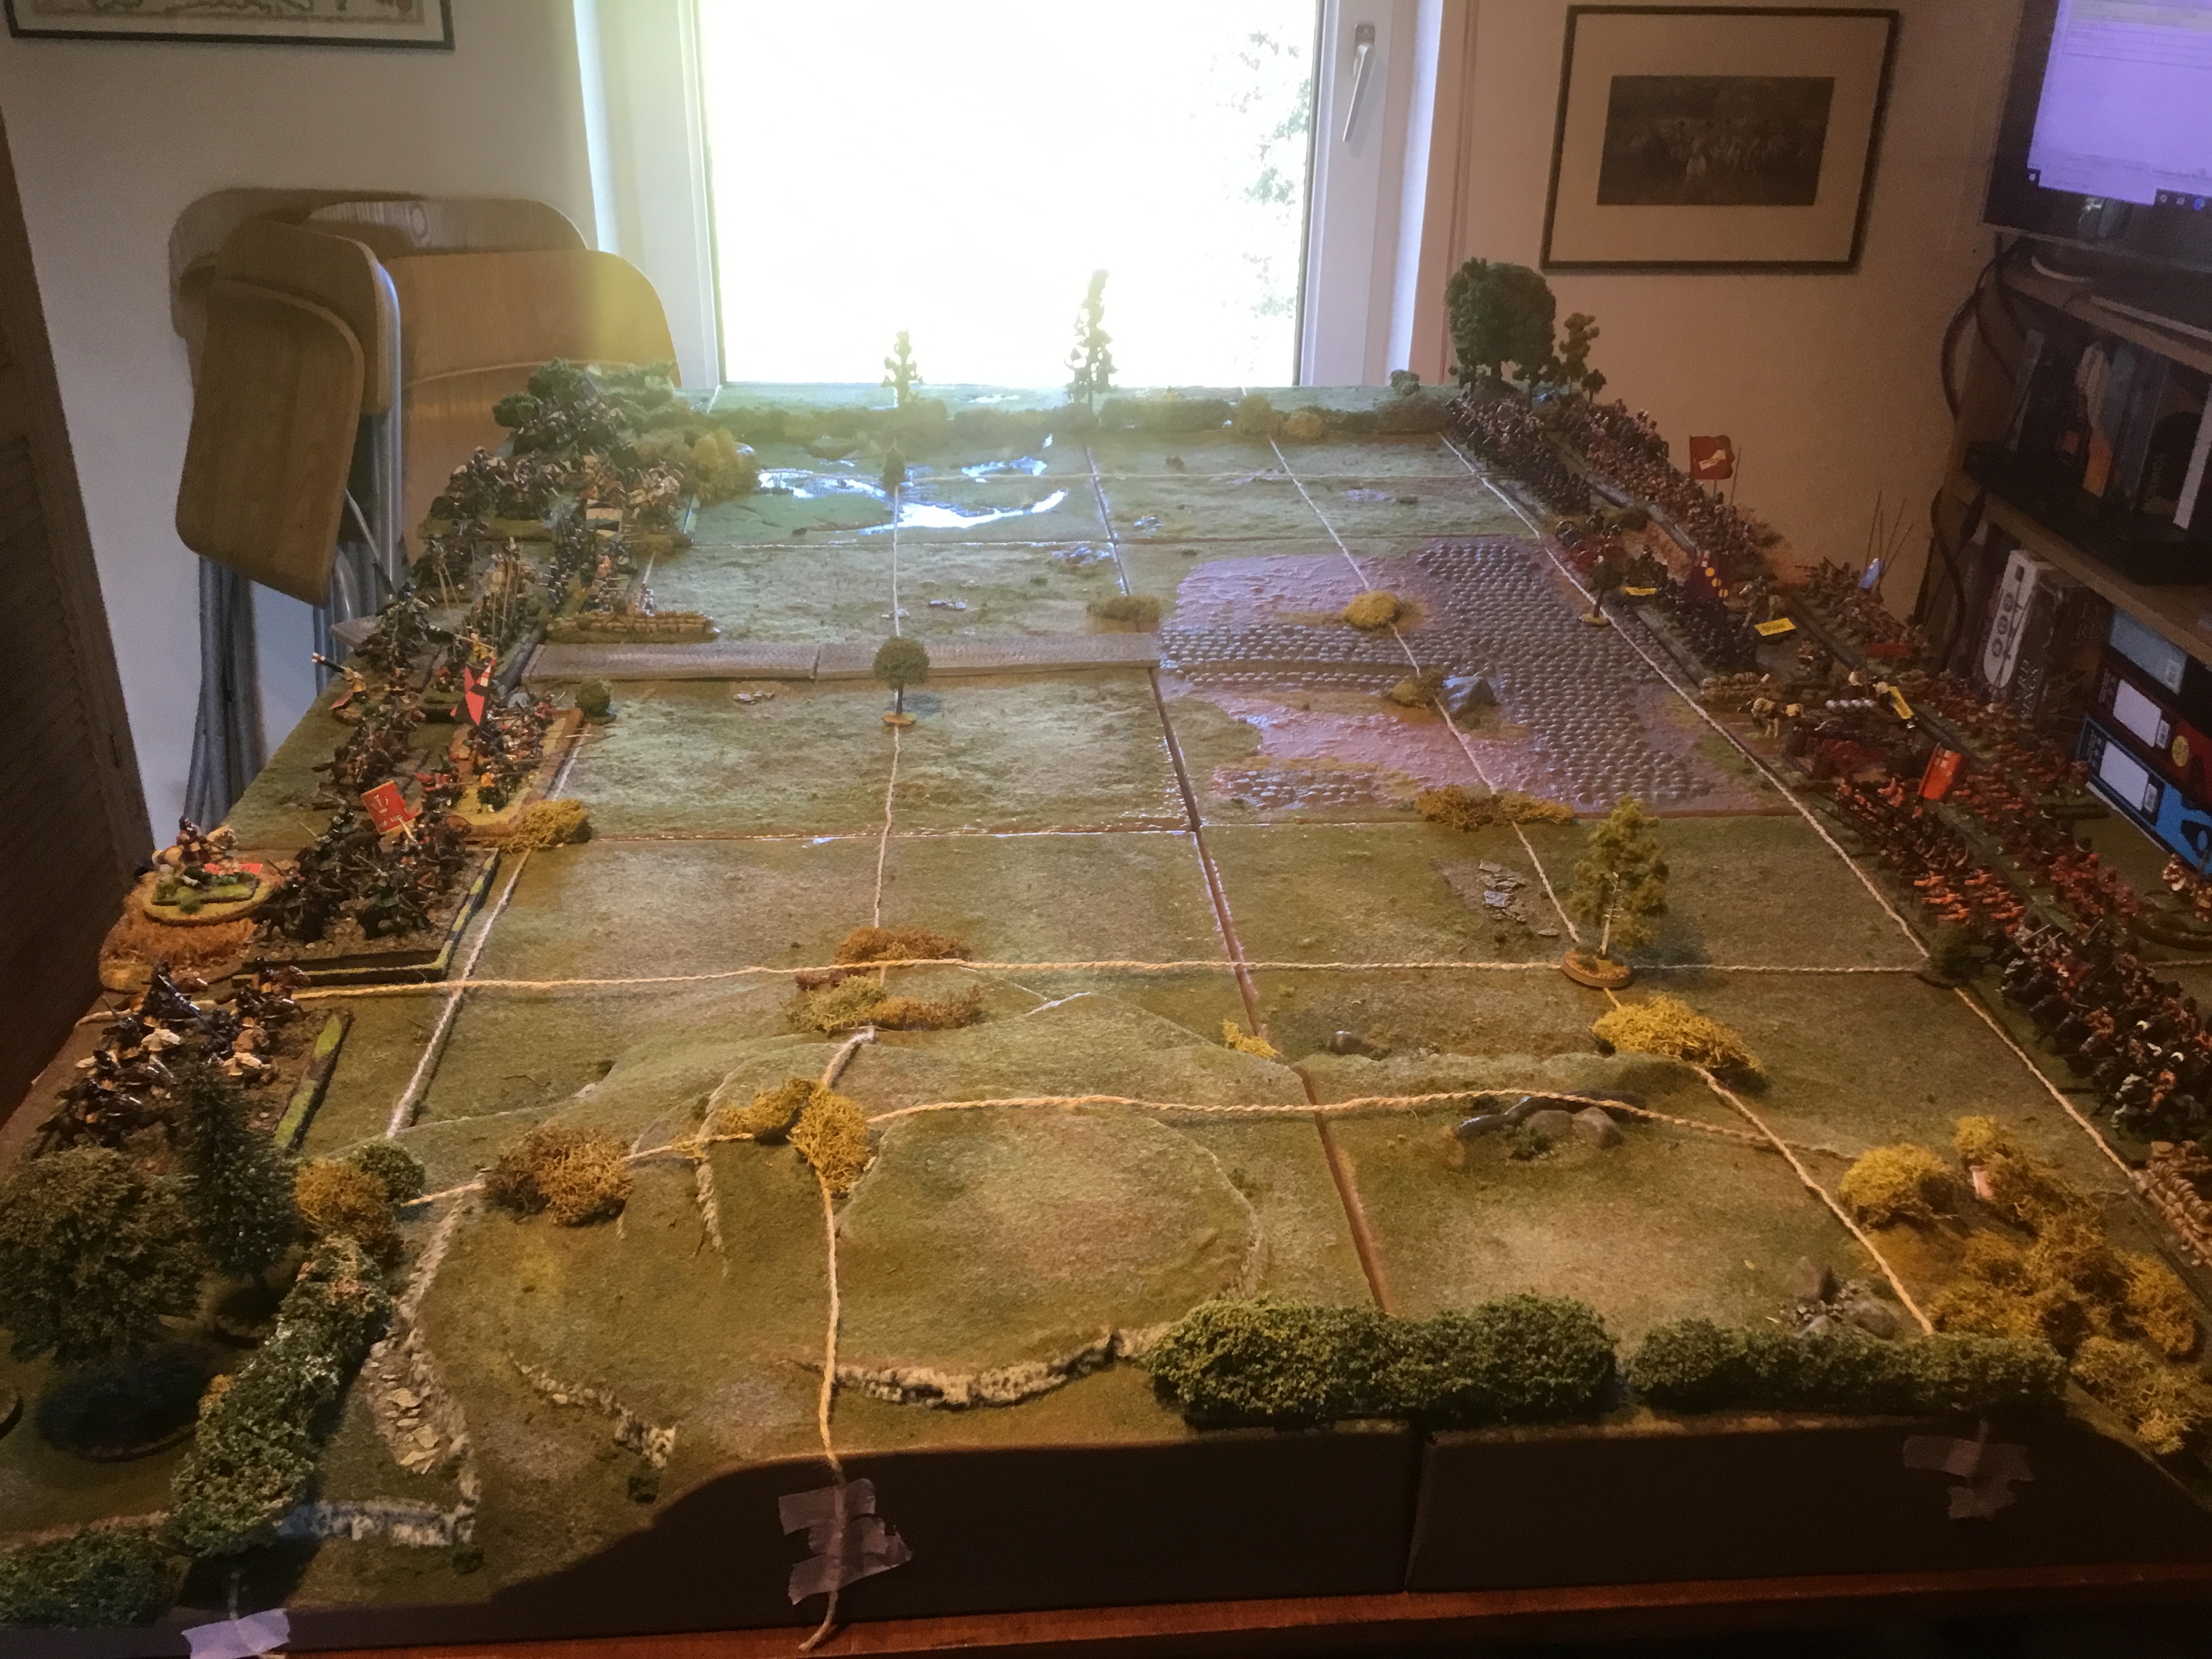
For King and Parliament are the TTS version for ECW.
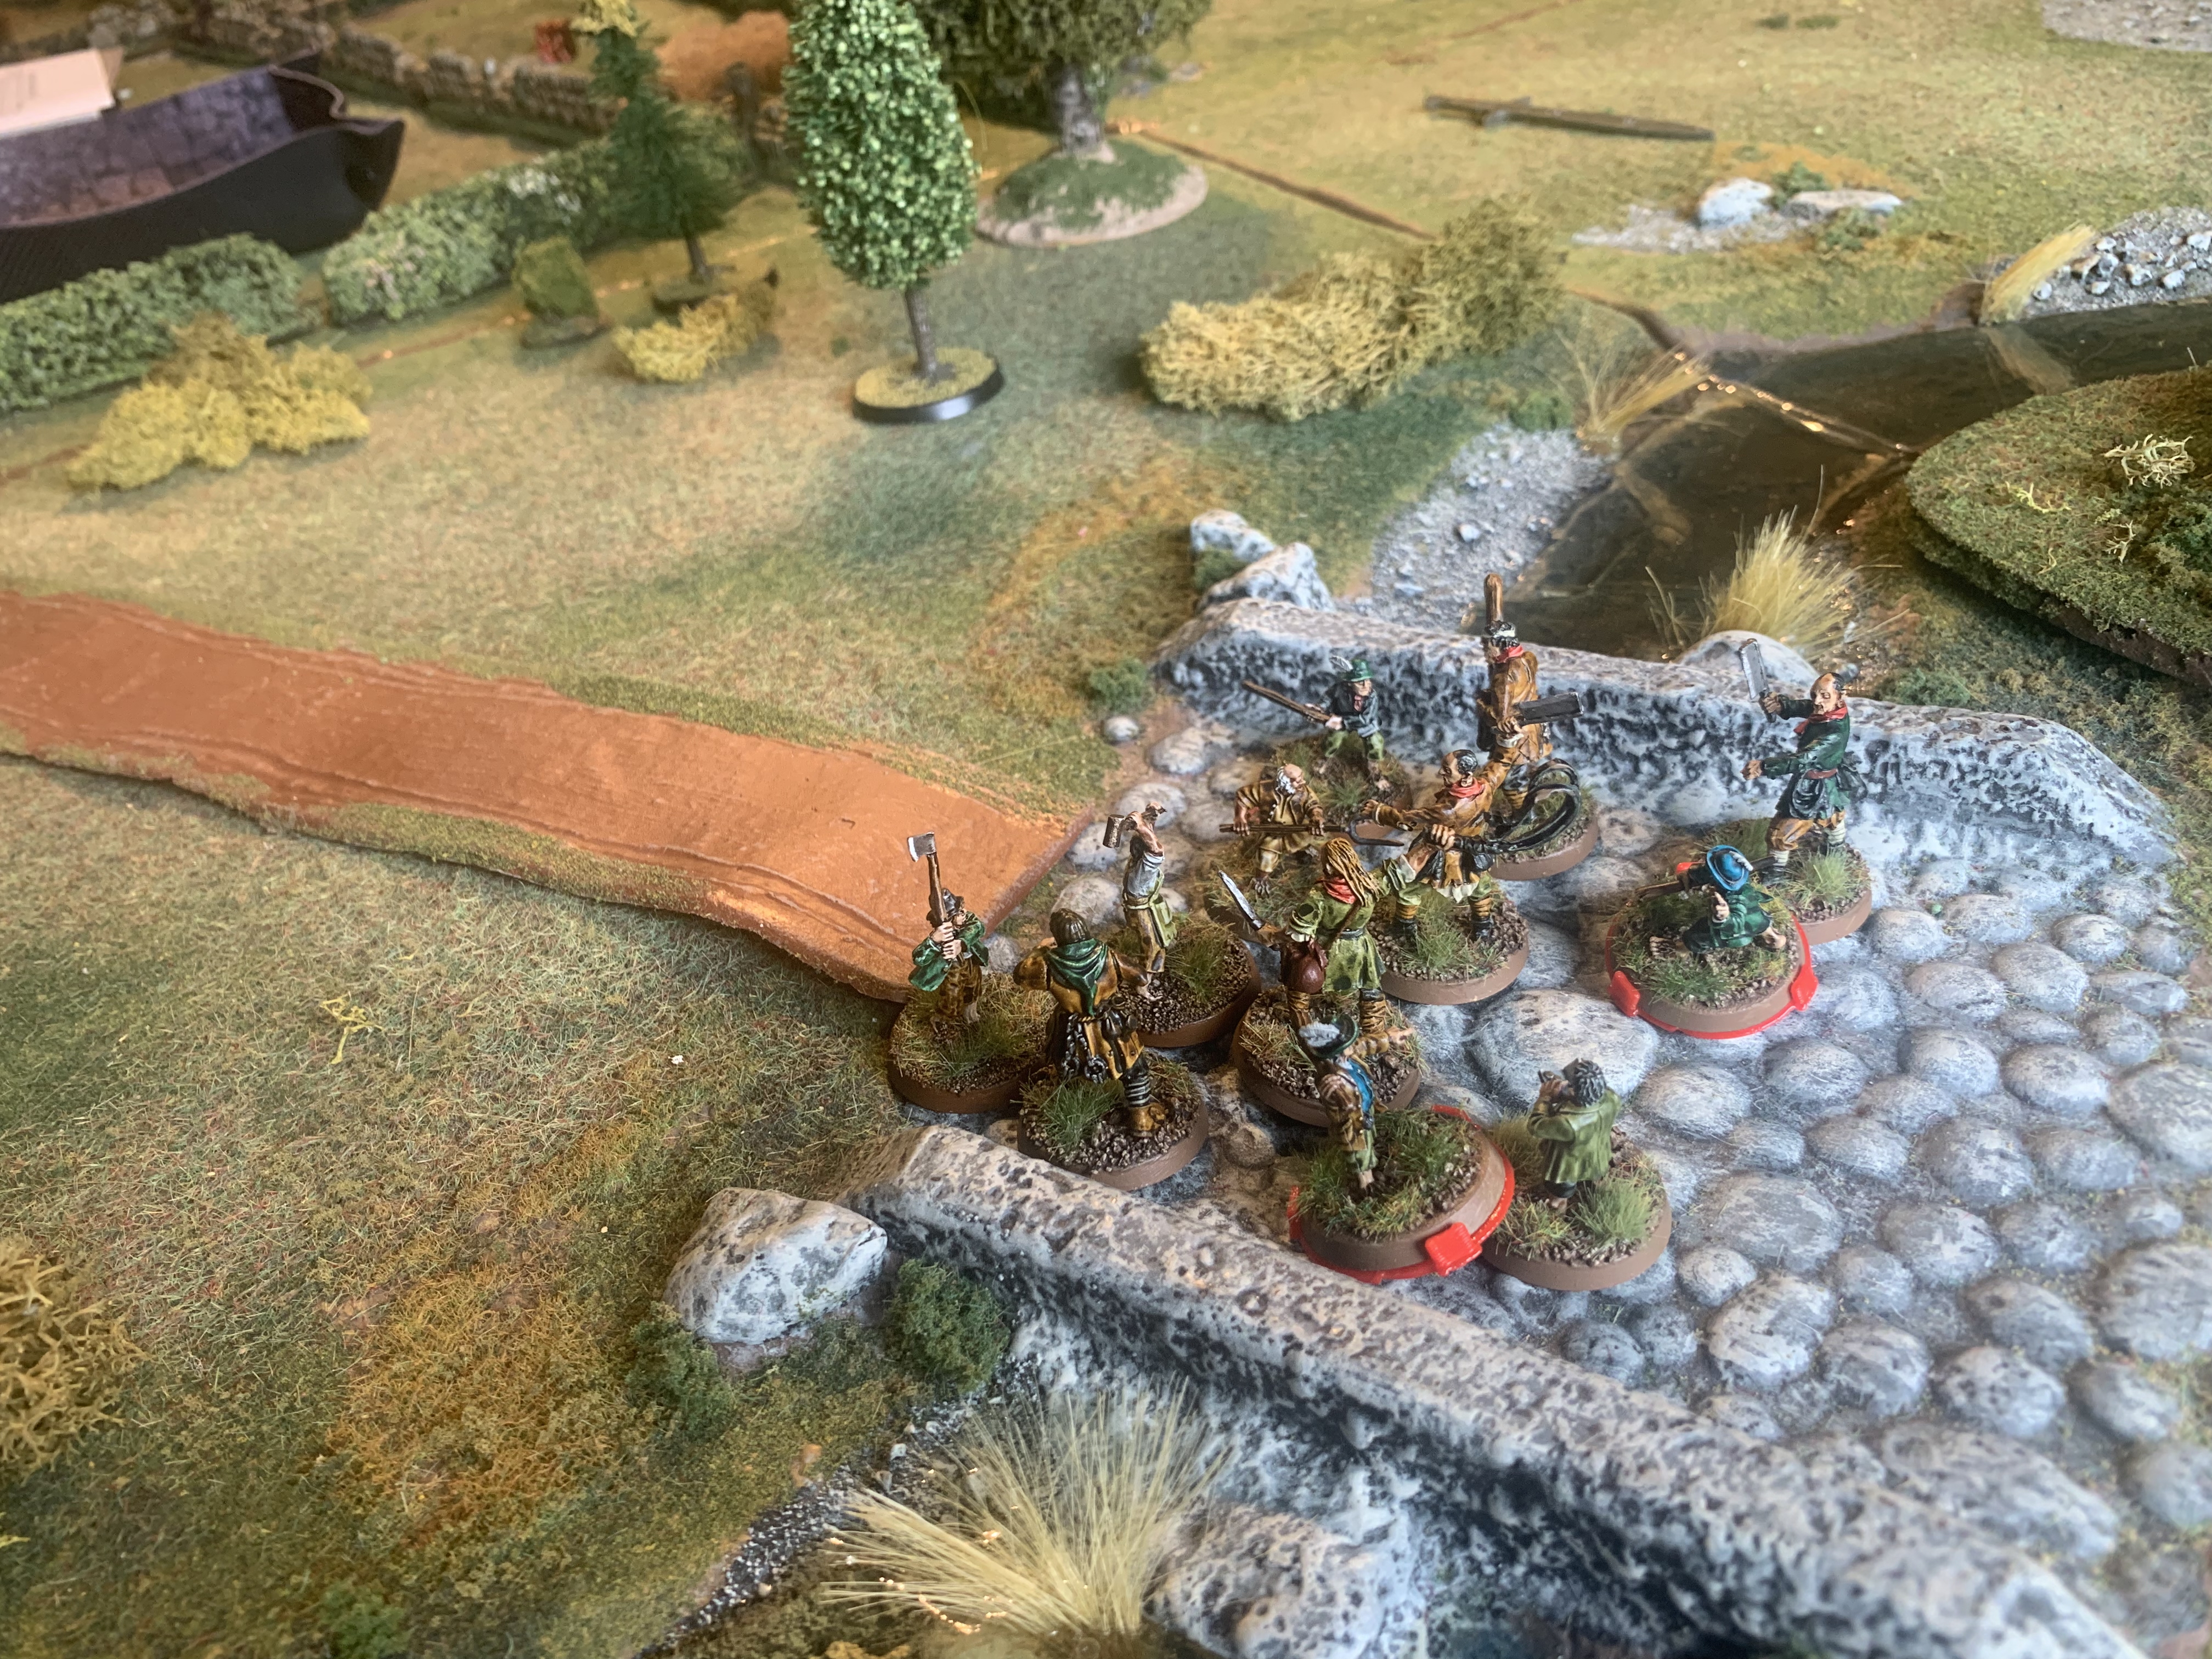
Using a scenario book have prepared forces for Dunsmore Heath. A stronger Parliamentarian force must drive off the Royalists who are attempting to block their way to Coventry at Dunsmore Heath.
The Battlefield set out in 20cm squares for FKaPThe RoyalistsParliament
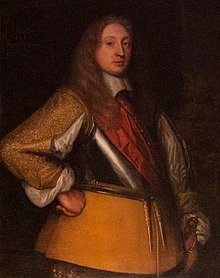
Spencer Compton, 2nd Earl of Northampton
An incredibly wealthy Royalist, with land in eleven counties and a close friend and advisor of King Charles. On the outbreak of the English Civil War, Northampton as Lord Lieutenant of Gloucestershire and Lord Lieutenant of Warwickshire was entrusted with the execution of the Commission of Array in Warwickshire.
You are leading a strong force of cavalry supported by your own Regiment of Foot. Unfortunately, you lost your artillery in an earlier skirmish as your outnumbered infantry fled the field dropping many of their muskets in their haste. Nevertheless, your Cavaliers are made of sterner stuff and once again you have deployed your forces across the road at Dunsmore Heath near Rugby. Your aim is to block your local Rival, Lord Brook – that detestable base born religious fanatic and affront to the King in the House of Lords for many years past. Your small army numbers about 700 foot and 1000 horse and dragoons.
Your orders are to prevent the Parliamentarians from crossing the field of battle to march on Coventry. If you can do this whilst sustaining only half their casualties (VP coins), then that would be a Major victory for the cause. However, if your force is losing the day then if you could safely withdraw 75% of your cavalry that would deny Parliament a Major Victory. Your cavalry force is actually most of the Cavalry available to the King at this time, early in the war.
Robert Greville, 2nd Baron Brooke
A radical Puritan activist and leading member of the opposition to Charles I of England prior to the outbreak of the First English Civil War in August 1642. Appointed Parliamentarian commander in Staffordshire and Warwickshire.
You have been readying for this war for some time, purchasing and storing weapons at Warwick Castle. You have recruited many good men of similar mind to your regiment, for example the Leveller, Freeborn John Lilburne (whose writings are said to have later inspired the US Constitution). Your soldiers are full of righteous passion for the cause and well equipped but lack even basic training as yet. Strong in infantry and with artillery captured from the Royalists at an earlier skirmish your army is numbering about 3500.
Your orders are to link up with and relieve the Parliamentarian forces besieged at Coventry. You find the road blocked by the forces of the Earl of Northampton, your rival in Warwickshire at Dunsmore Heath near Rugby.
In order to do so you must rout the Royalists whilst sustaining only half as many casualties (VP coins). Parliament will require your forces for later battles especially once they have had time to learn some drill.
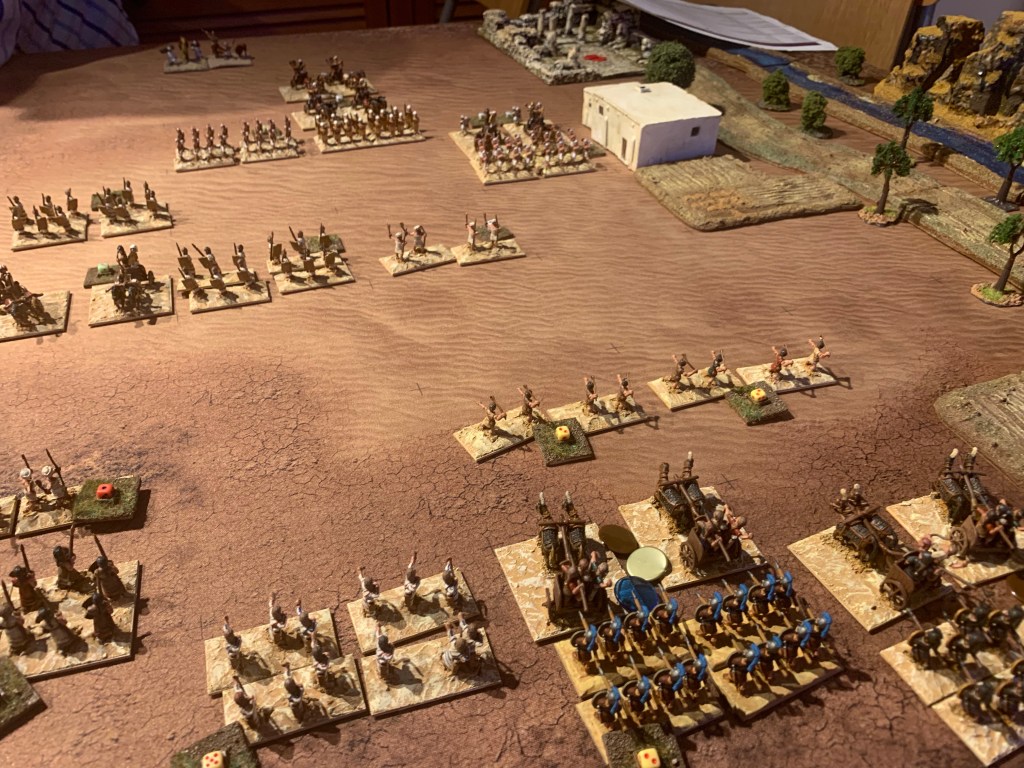
We join the action after the destruction of the Ptah division. The Pharoah has driven his chariot from his camp to meet the opposing Hittites as they cross the Orontes.
The forces deployed. Egypt the the left and Hittites to the right.Muwatalli advances. The Egyptian Prince’s division opposite. To the Hittite left the forces clash. The heavy chariots prove too strong for the Egyptian right wing. The Hittite left wing push forward whilst the right and centre are held back by the Egyptians. The Hittite centre chariots evade back after their initial charges as the Egyptian infantry push forward. Finally the Hittite left wing drives back the remaining lights whilst the heavy chariots turn and strike the centre division to the flank. The Egyptian forces fail to inflict enough casualties themselves and are soon out of victory medals.
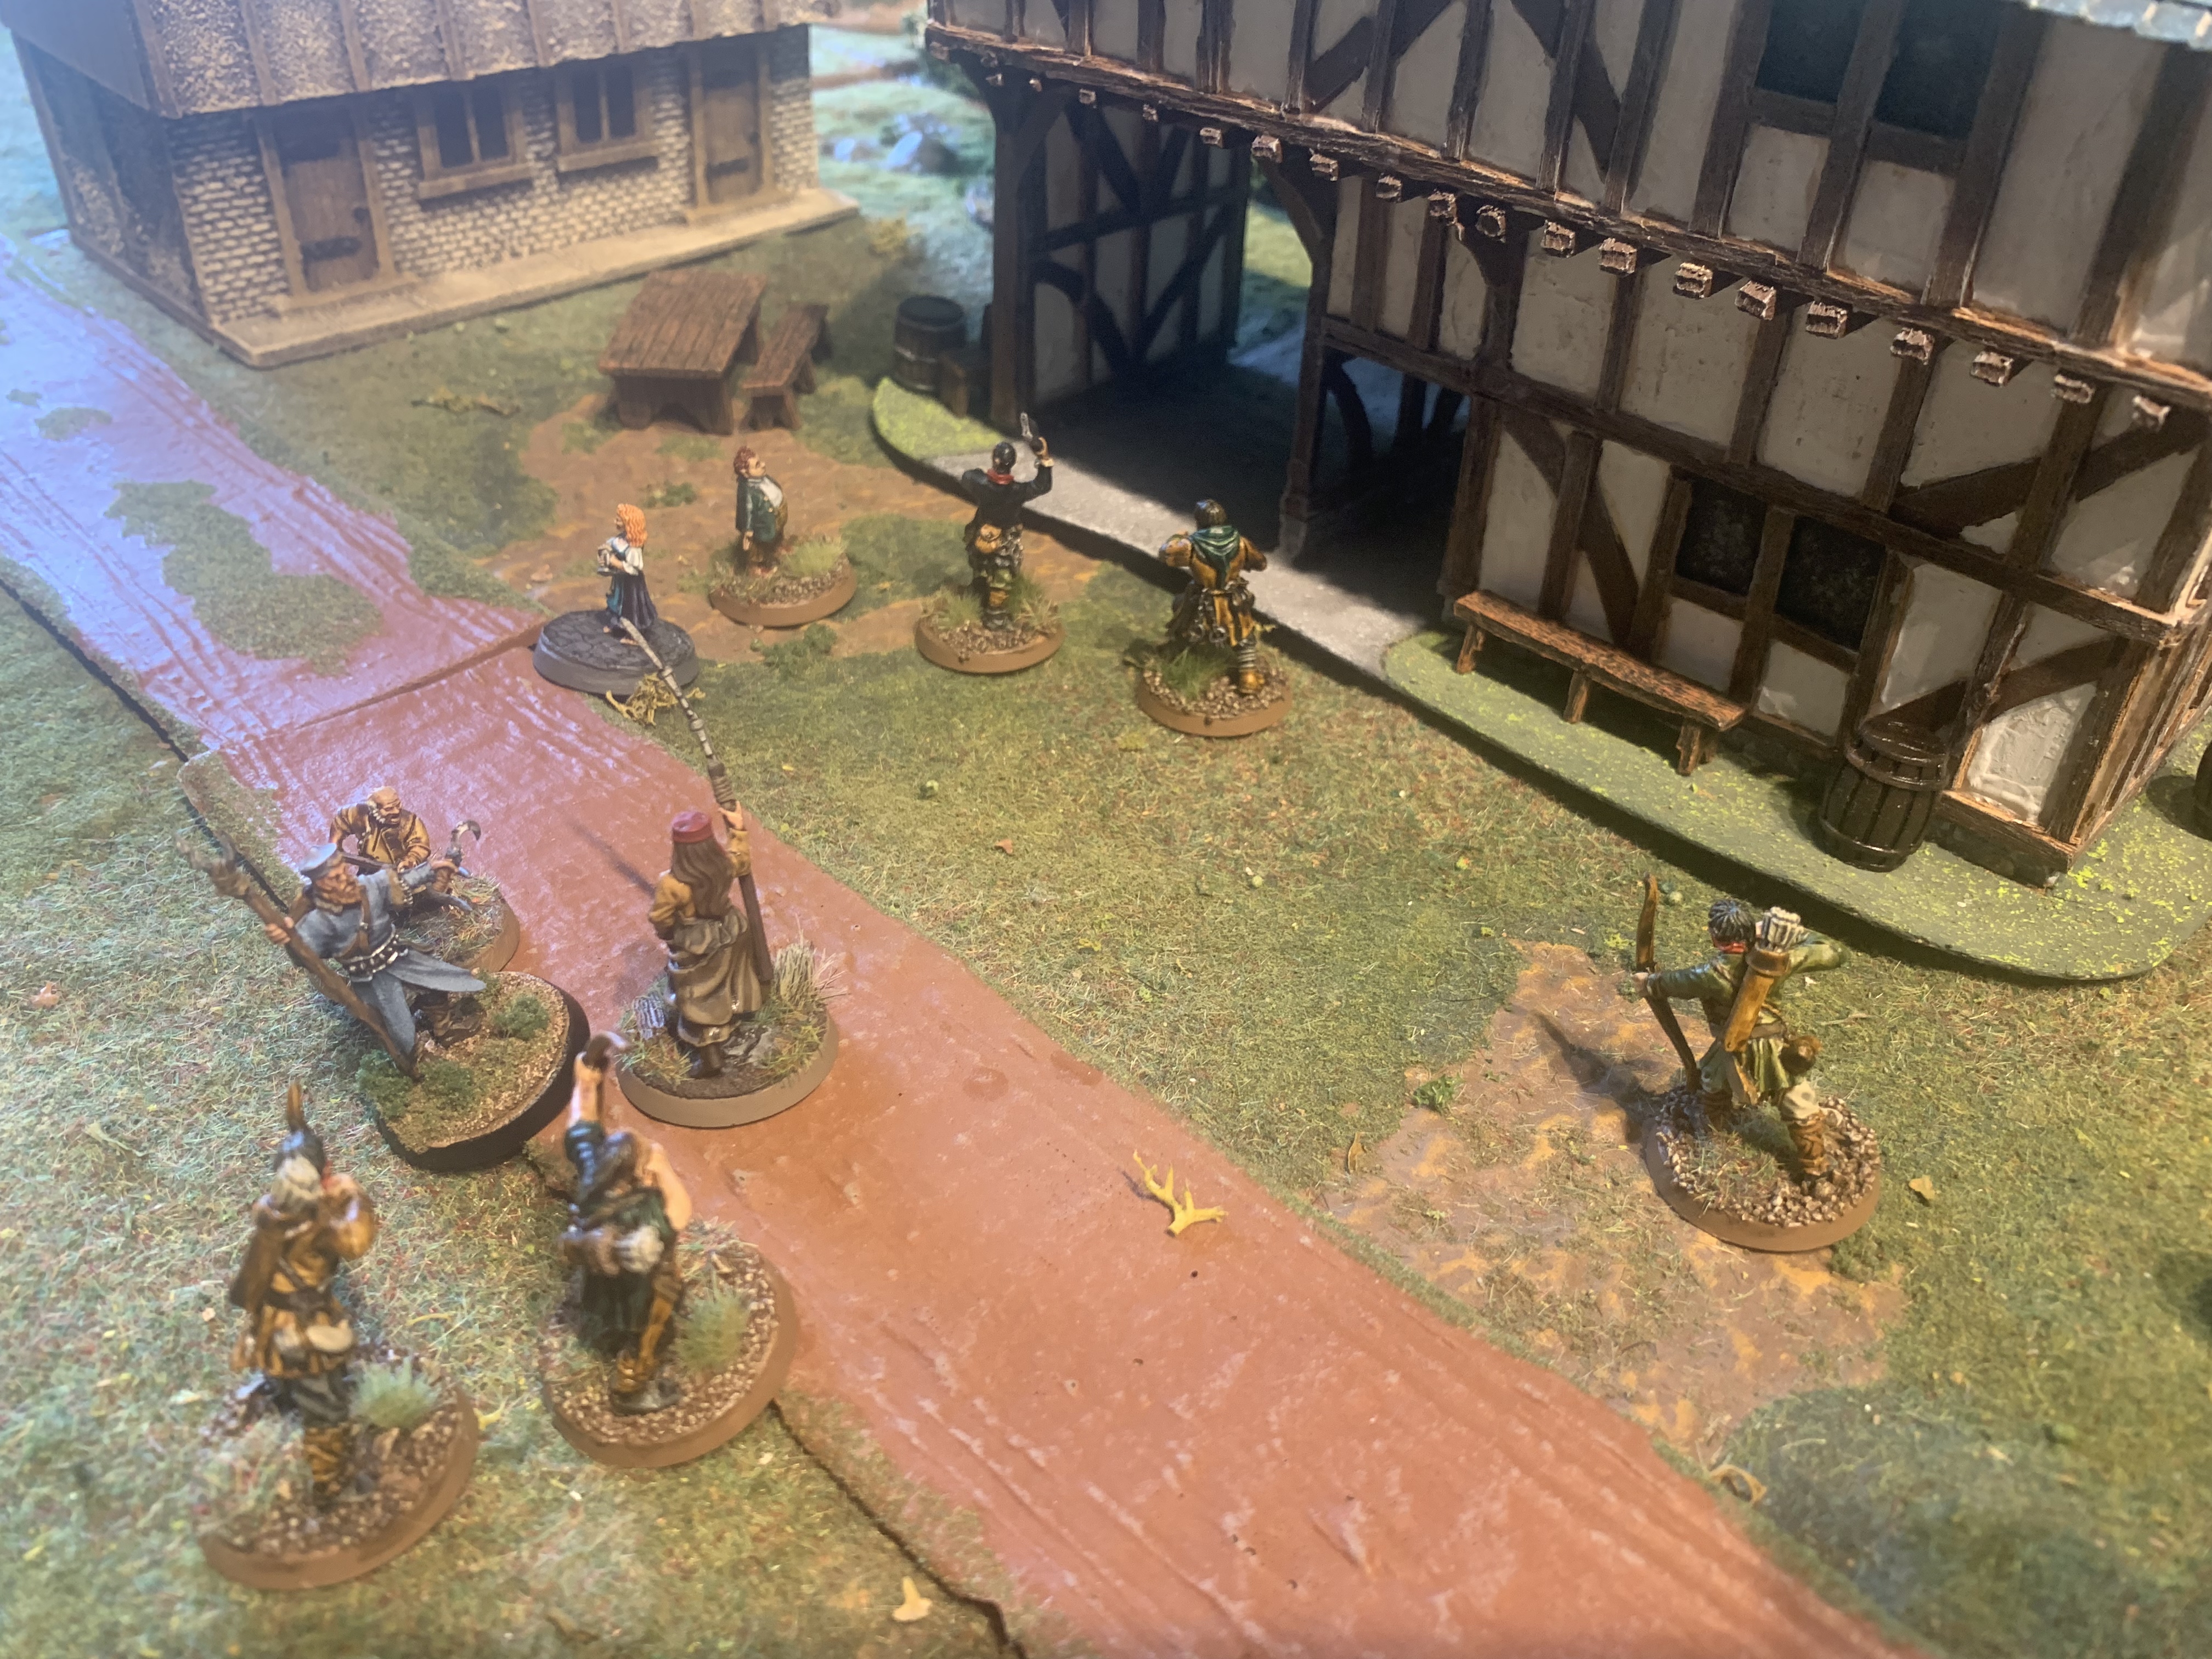
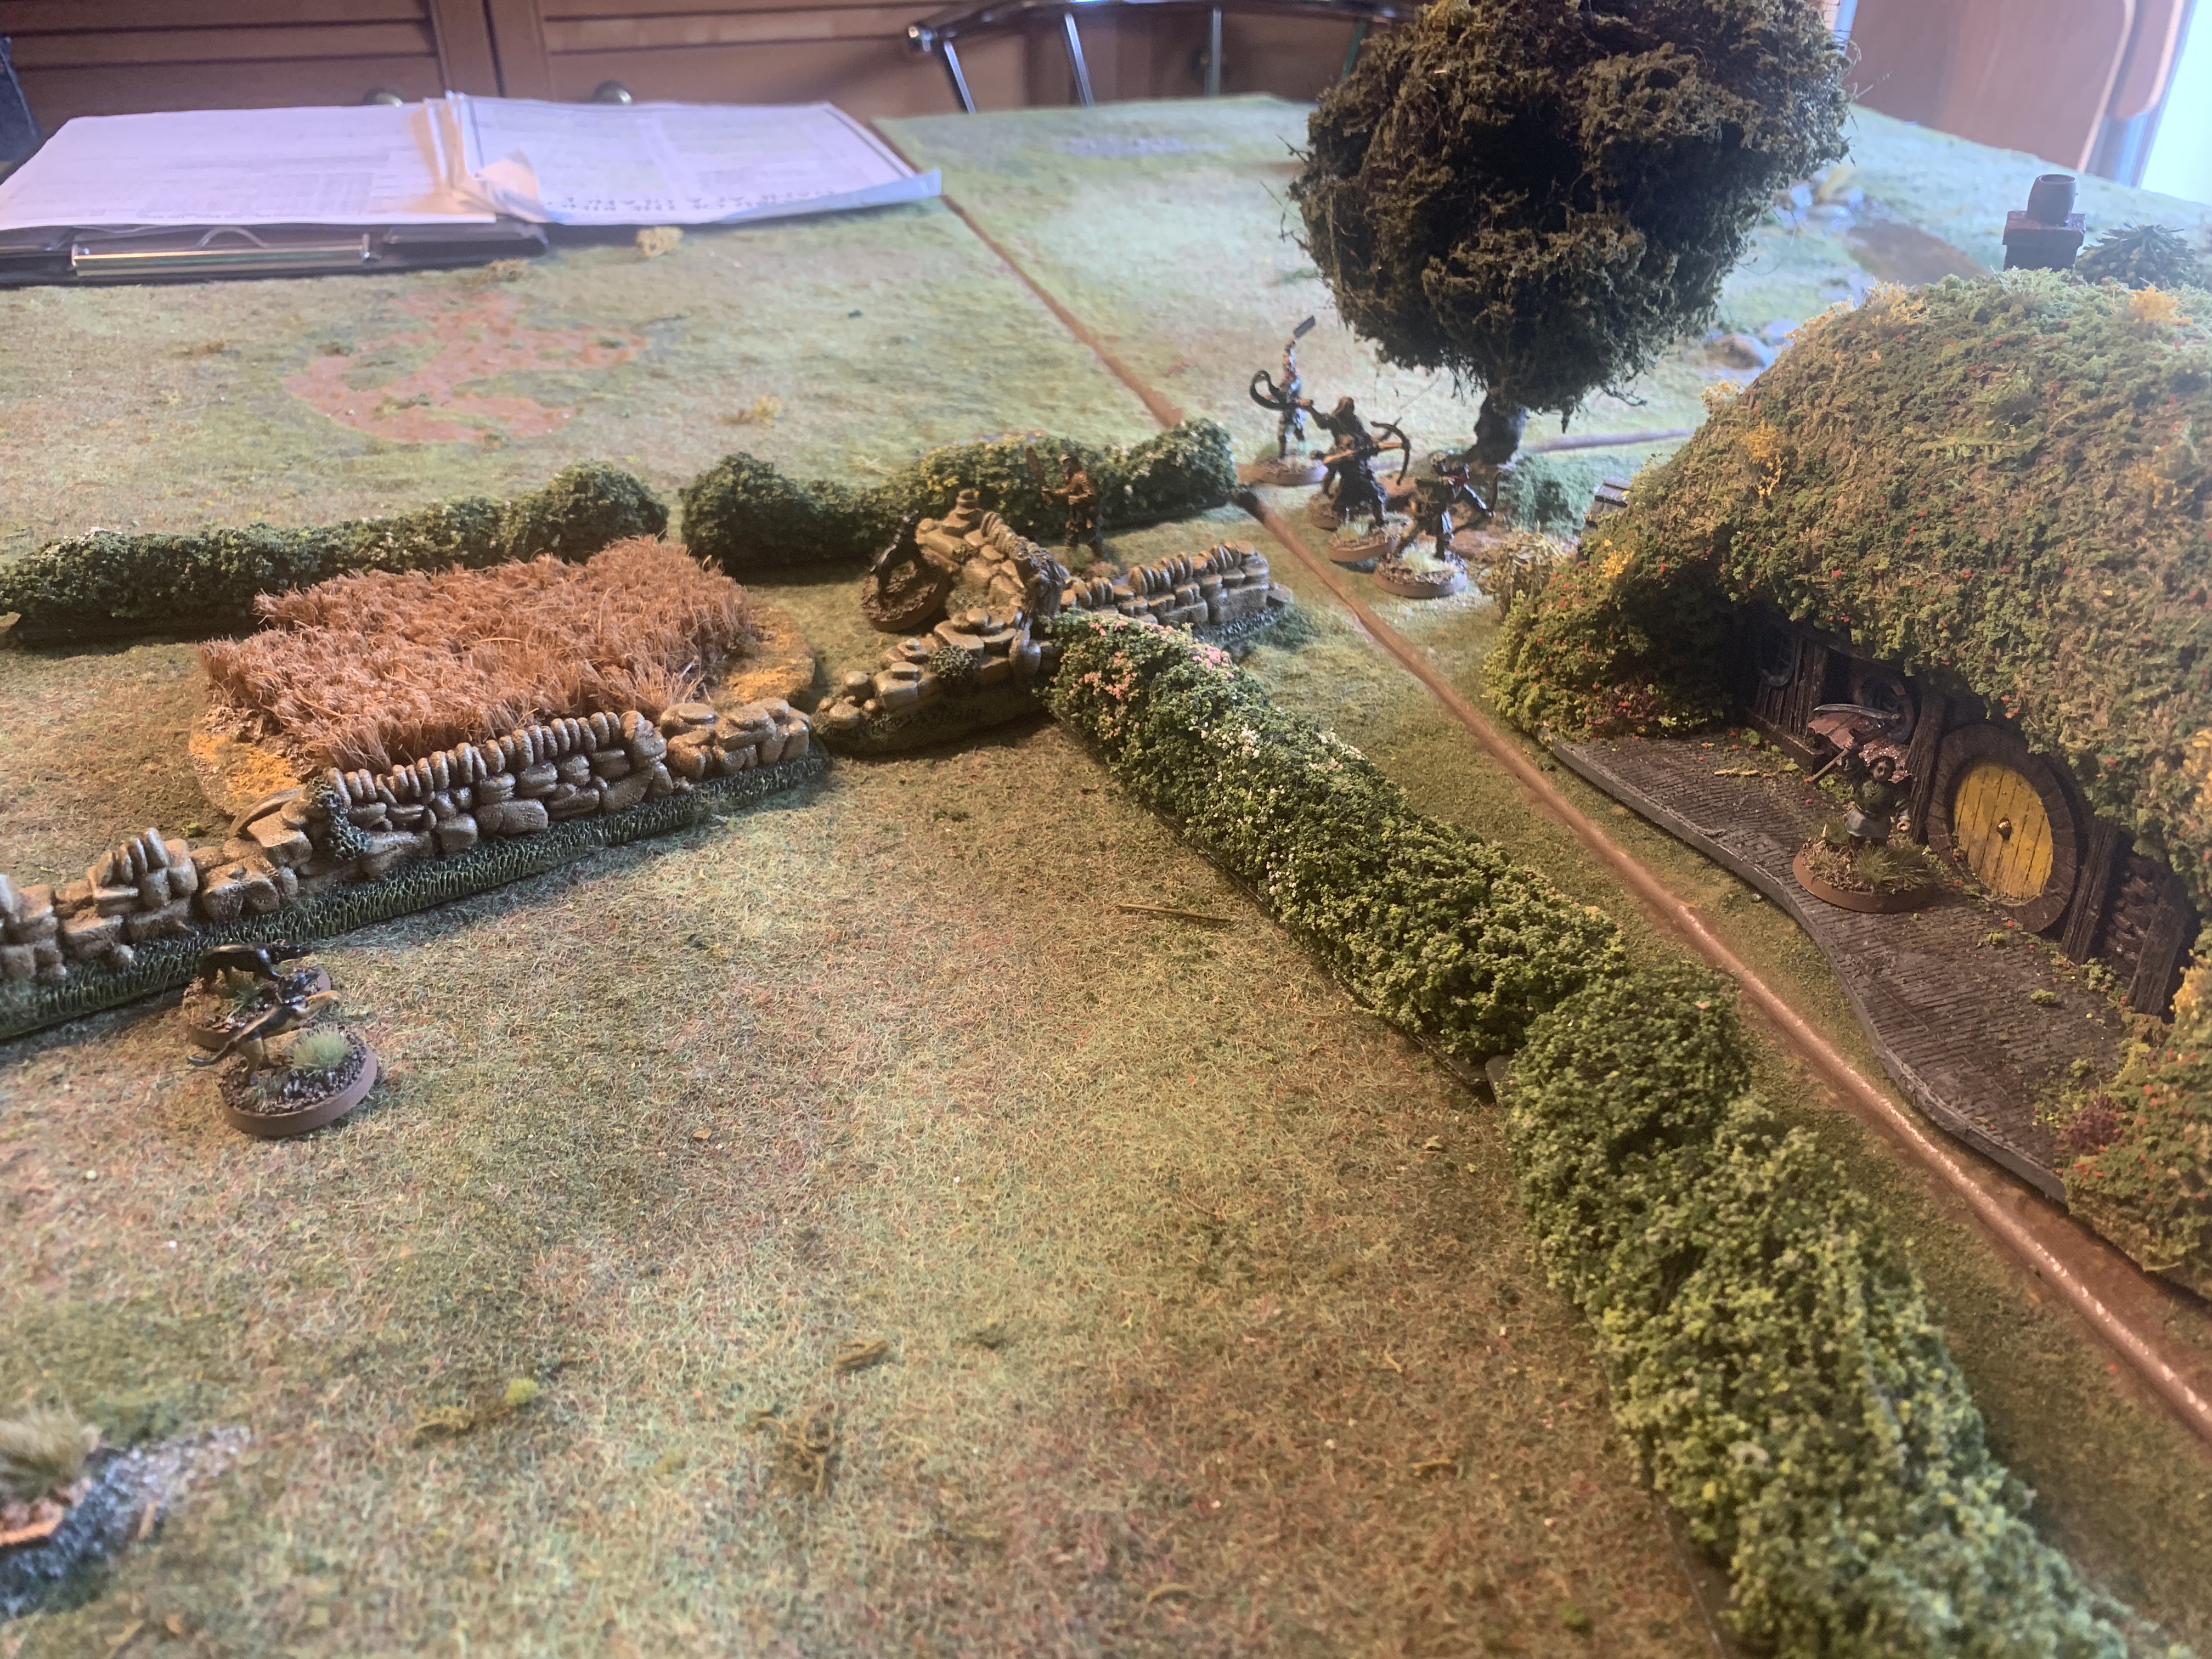
After time for some of Farmer Maggot’s best sausages we were ready to continue.
First up was the fight at the Old Mill. Ted Sandyman and the Ruffians had to smash or open the doors. Ted tried to sneak round to the right. However in sight of the doors and with two Ruffians to aid him he had a sudden rush of blood to the head and raced into a fight! The outnumbered militiaman struck him unconscious! However without any heroes to aid them this scenario soon went to the Evil side.
Next up was the arrest of Mayor Whitfoot.
This was an ambush!
Whitfoot and the Hobbits rushed forward trying to protect Will as he made his escape. Unfortunately Sid and his Ruffians blocked the road and made short work of the Hobbits. Another quick victory for Evil.
So the Next scenario will be the Death of Lotho which looks to be a good one.
So far in terms of campaign bonuses:
Evil 3 additional ruffians in Bywater. Ted Sandyman will return at Bywater. Folco may move on the first turn in the arrest scenario.
Bruce took the part of Good and the Hobbits whilst I played the Ruffians. The First Scenario ended with the villagers being beaten into submission but Bill failed to take two casualties. He was fought back by Fatty who rolled a six in the final round. So a draw.
The Brandywine bridge.
In the second scenario the Ruffians wanted to capture the two Shirriff leaders. The Hobbits were able to throw stones at the careless Ruffian archers who stood out in the open at close range. However on the bridge the battle went way of the Ruffians who smashed through the Shirriffs defending. They caught the two leaders and put them in chains. However the tricksy Hobbits kept escaping. This meant it was impossible to capture them and drag them away in the twelve turns so it was a victory for Good.
Both leaders in chains.
Next was Farmer Maggot’s fields.
The hounds began quite active and bounded towards the woods in search of the Ruffians. However they sensibly chose to avoid them and moved to the other side and crossed over the dry stone wall/ hedge. This clearly confused te hounds who then failed to do anything whilst the first few Ruffians escaped. They did finally raise the alarm and one hound harried the last few even taking one down. However Farmer Maggot had clearly been at his cups and refused to stir despite the howls and growls. So the last few escaped too with a victory for Evil this time.
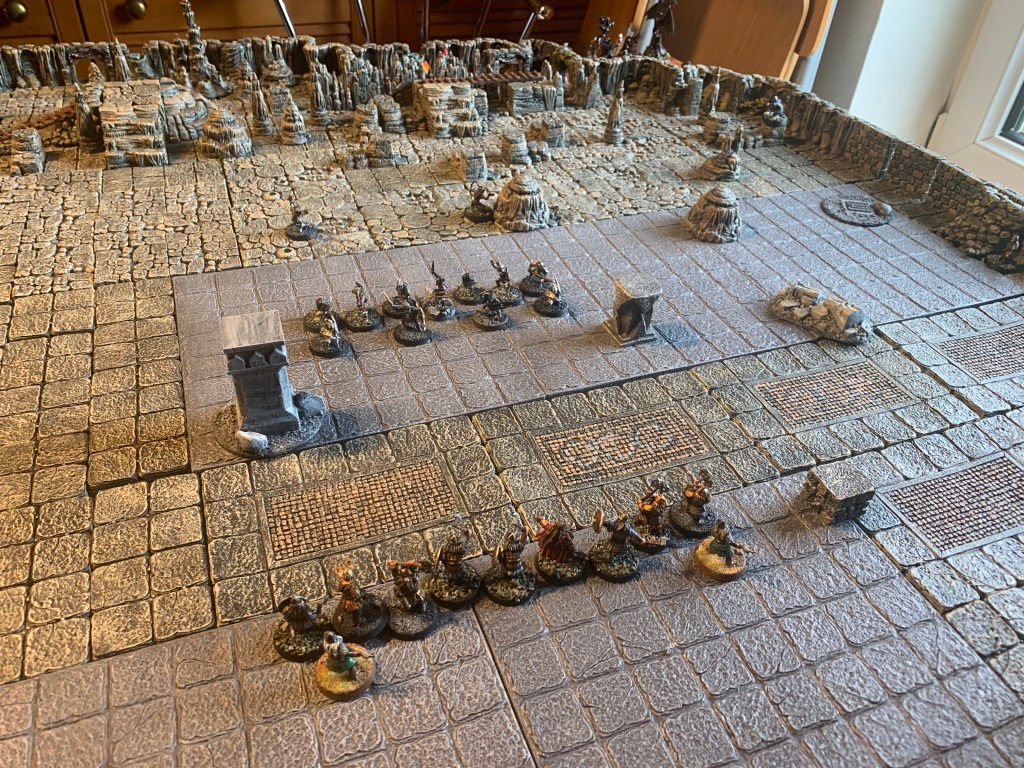
In our scenario Balin has led a small force through the gate and encounters a small scouting patrol of goblins.
Bruce managed to get one of them into the mines to raise the alarm. However the patrol tried to hold back the powerful dwarven attack and was massacred. Yet Balin was badly wounded in the melee.
When the goblin captain leading the reinforcements failed his courage test and fled the field the other cowardly goblins ran away. This allowed Balin and his guards to pass through deeper into the mines.
Next we played two battles between Gandalf and the Balrog. This ended honours even. Finally we played through two games of the Treachery of Sméagol and Sam was victorious twice!
So in the end a great day of Moria themed strategy battle gaming. Well done to Bruce and his goblins who smashed the hapless foolish dwarves in the main battle of the day!
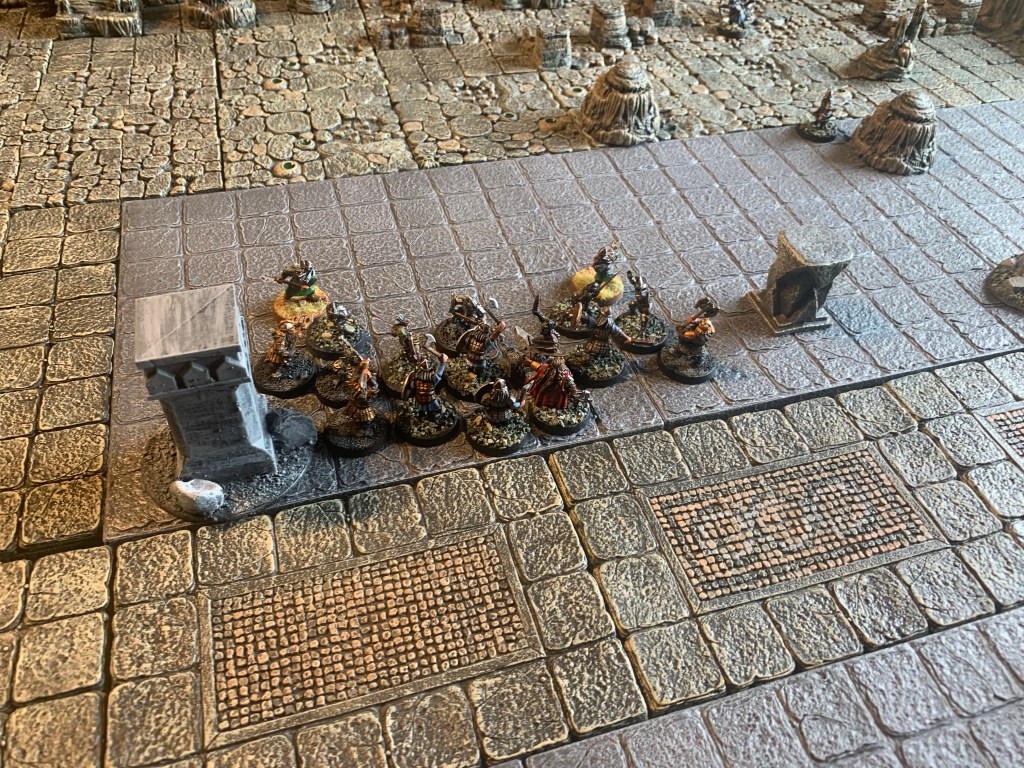
Bruce formed his goblins up behind the Troll heading towards the bridge whilst the dwarves split into three groups, with Balin and Floi leading the main force towards the bridge.
The dwarven archers picked off their opponent’s archers and this kept the goblins in cover for the most part. Nevertheless as the dwarves advanced they also lost some casualties to arrows from the dark and of course that hurt more as a guard is more expensive than a lowly goblin.
The iron guard held up the Troll and then dispatched it. Balin moved up behind them waiting for a gap whilst across the bridge The goblins and their king kept in cover and waited.
The dwarves bravely kept across the chasm thinking to close with goblins and move in and help Balin cross the bridge. However so many rolled a one and fell to their doom that they fell prey to the goblins on the opposite side. Having armour six or seven is not so good when losing a fight when outnumbered let alone surrounded.
With their numbers dwindled even though they had succeeded in forcing the path across the bridge the dwarves chose to withdraw. Victory to Bruce and his evil goblins.
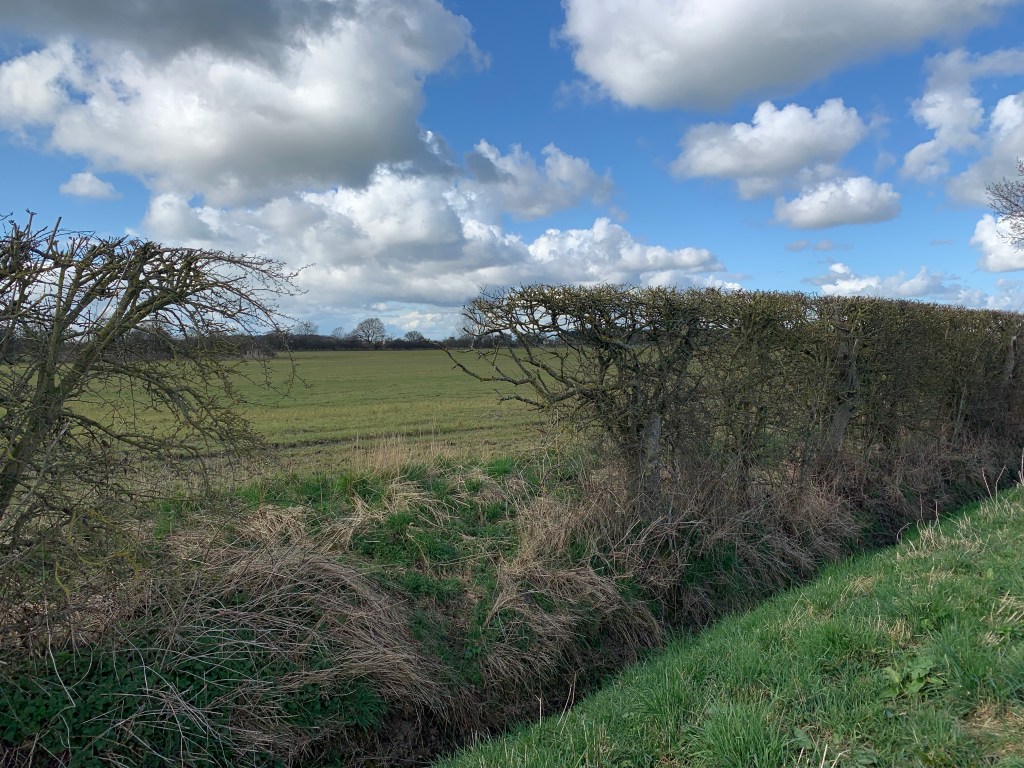
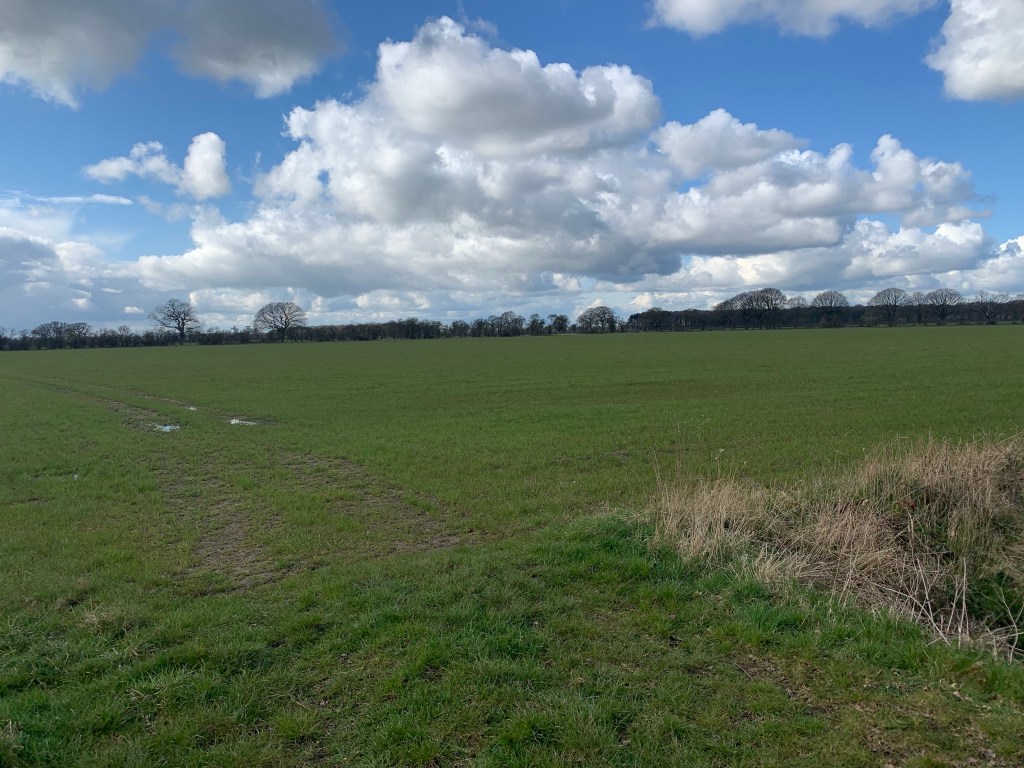
Battlefields trust have a very useful website for those visiting the moor. You can stop opposite the monument. The battlefield is not sign posted otherwise. We walked up the path opposite. Unfortunately the track leading to the famous white sike has been blocked by the landowner. However you do get a great view of the largely unspoilt battlefield.
Is this a piece of revisionist history? The overall commander, the Scottish Leslie reduced to a supporting role in Cromwell’s victory?
We walked along Moor Lane with the Royalist deployments on this side of the road to the left and right of the track.
The view across the White Sike where the Earl of Newcastle’s regiment of foot made their famous last stand.
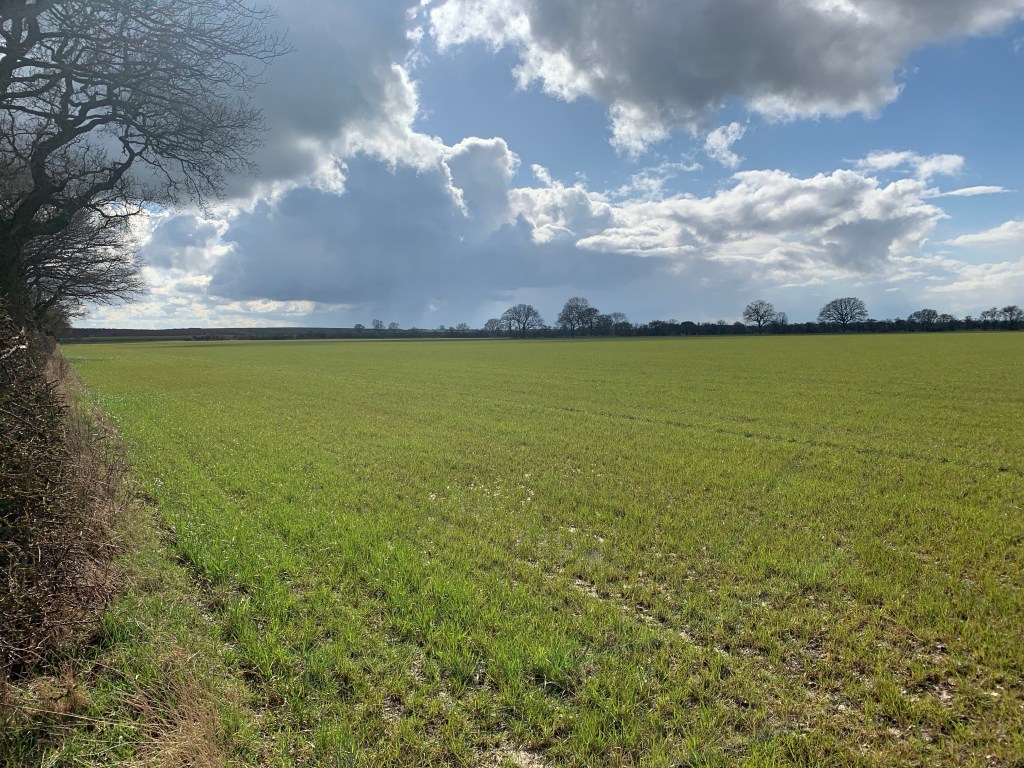
The high ground where the Parliamentarians deployed.
The landowner clearly does not want walkers following the track and visiting the white sike or linking up with the public footpath.
Overall a great place to visit. You get a fascinating view of the parliament position holding the high ground from the royalist side which is very flat in comparison. Also the drainage ditch along the track is deep and wide giving an idea of how the ditch across the Royalist front may have appeared. Clearly a difficult place to cross. It would have broken up any attempt at a cavalry charge where it was deep and wide.
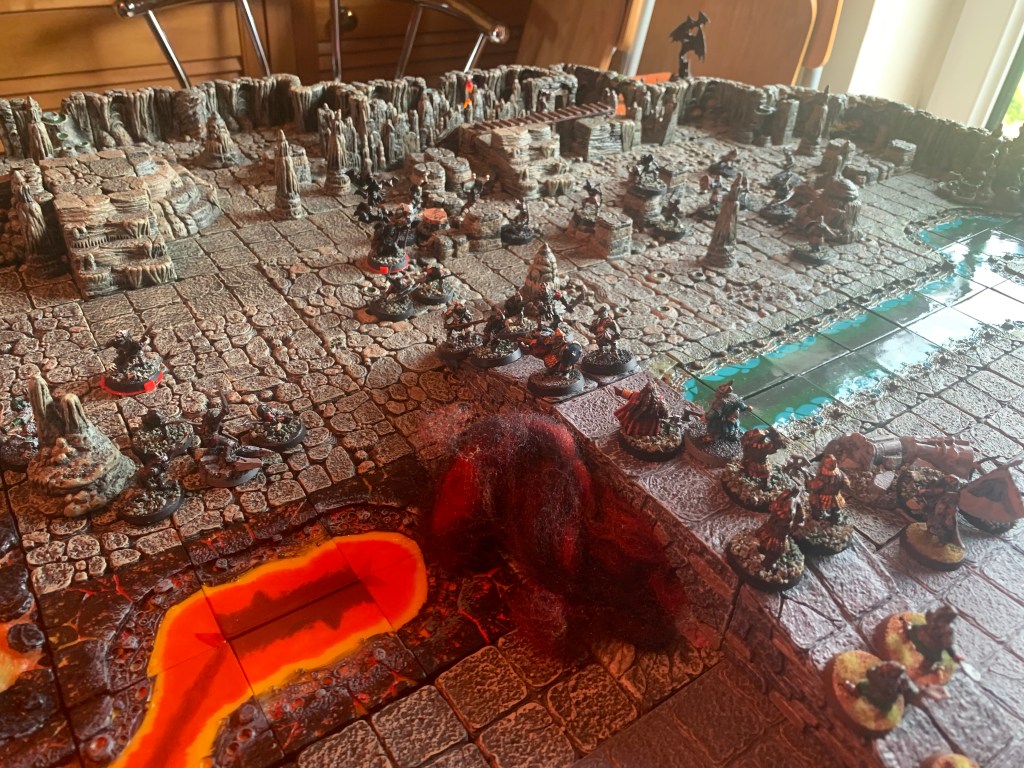
Balin and his kin have entered the Long Dark of Moria. They pour out into the Darrowdelf, the ancient plaza and living quarters of Khazad Dum. Across the chasm lie the mine workings and rising to the Sound of the Drums in the Deep come the Goblins.
This battle will be fought using the MESBG rules and is taken from an old source book Shadow and Flame. It is the second in the campaign. I have substituted the chasm with a lava flow and a roaring icy stream, which meet underneath the bridge in a crashing roaring fall, mixing far in the depths below.