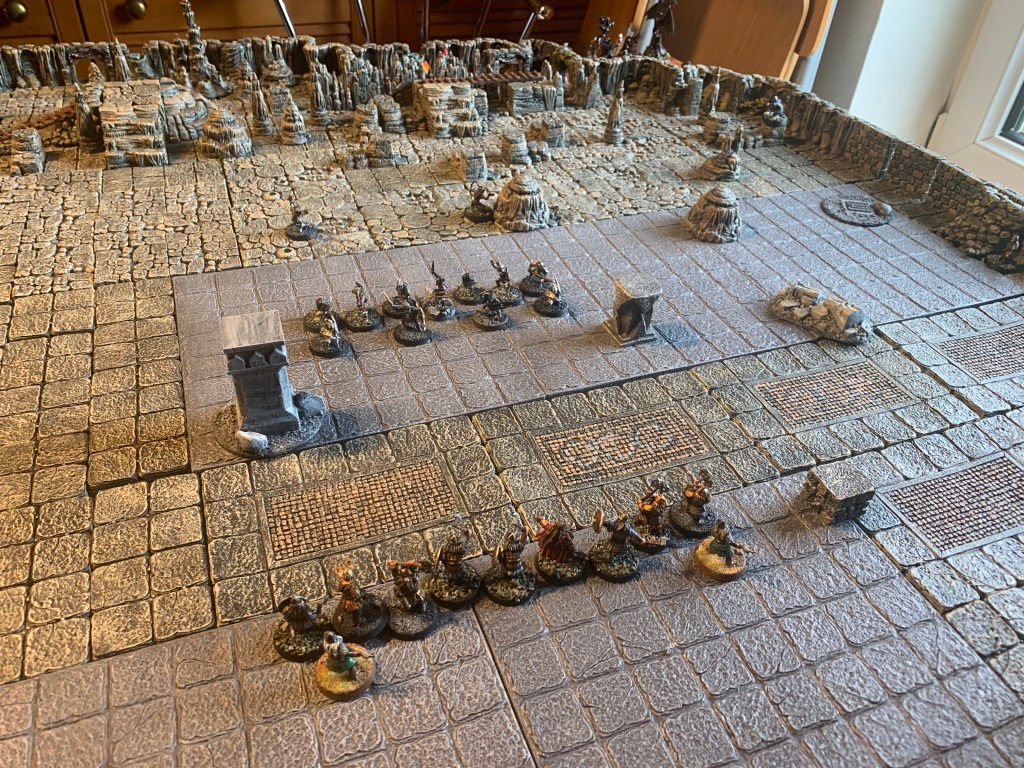
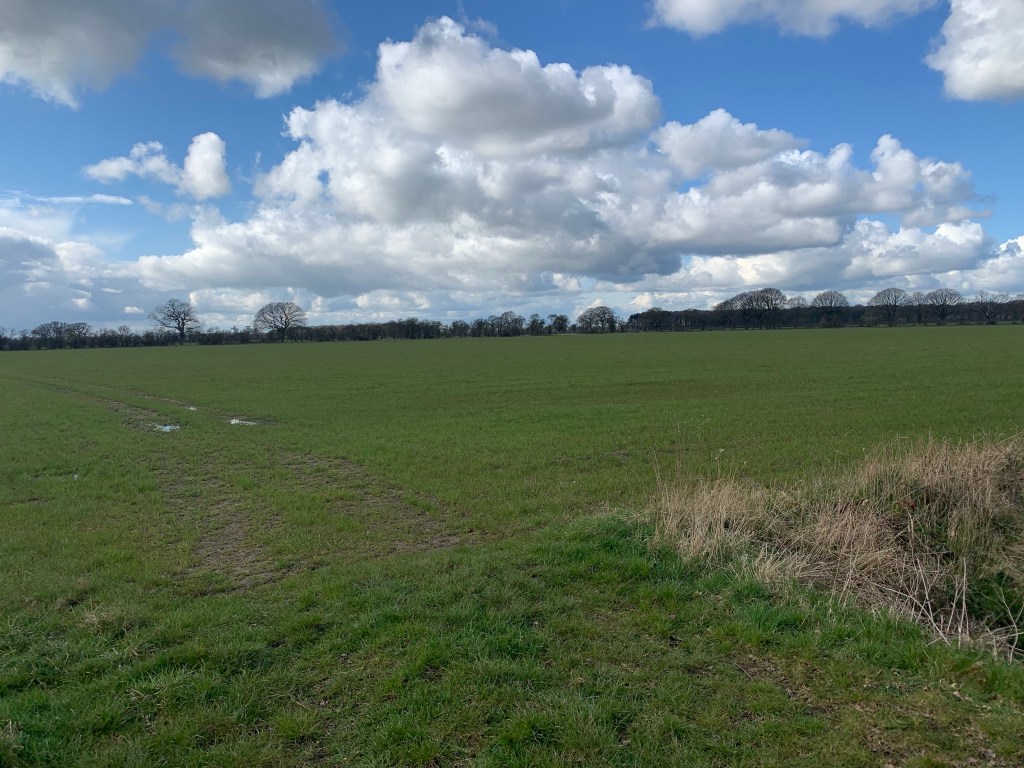
The battle of Kadesh in 15mm using the TTS rules.
We join the action after the destruction of the Ptah division. The Pharoah has driven his chariot from his camp to meet the opposing Hittites as they cross the Orontes.

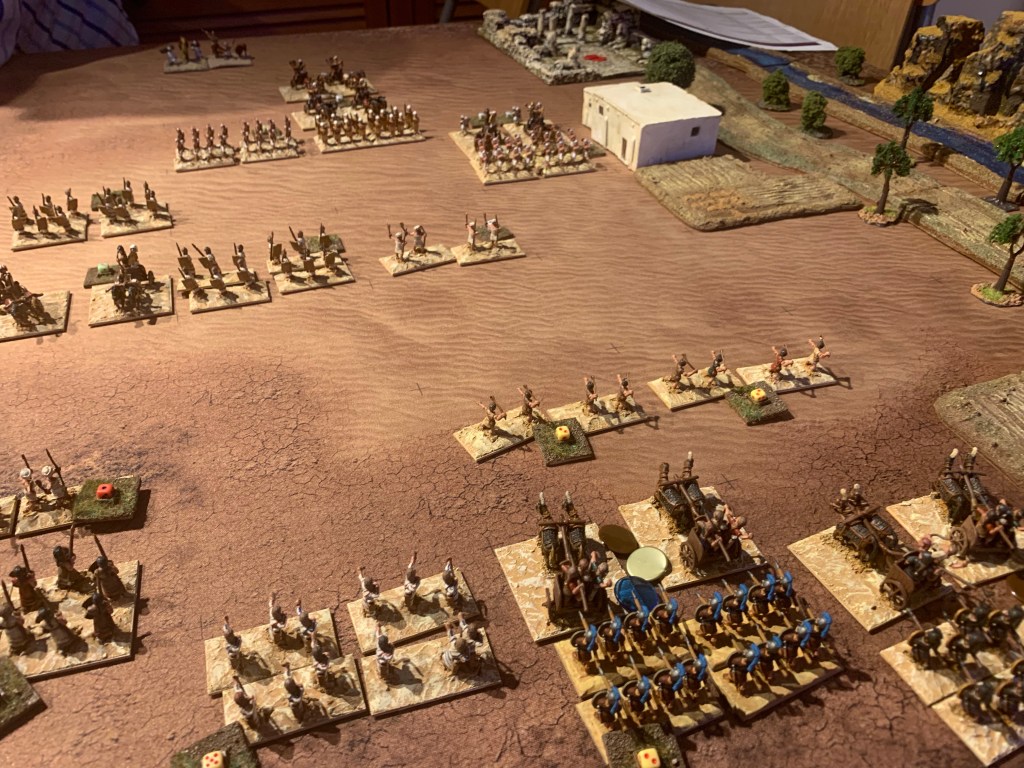


Victory to the Hittites.
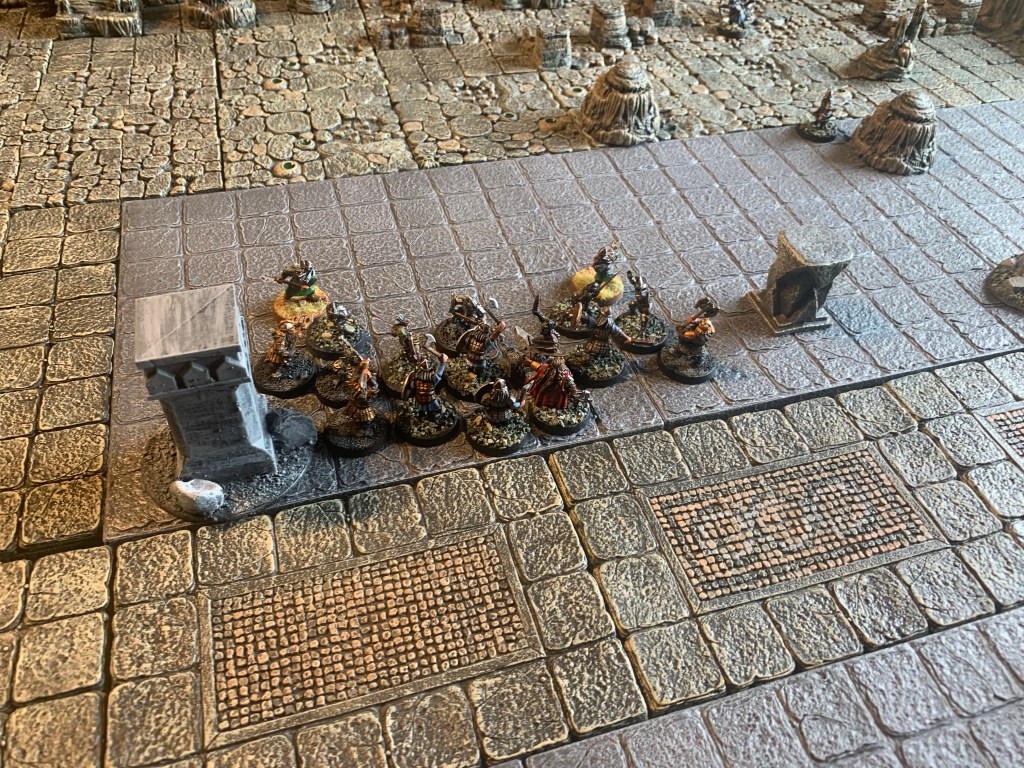
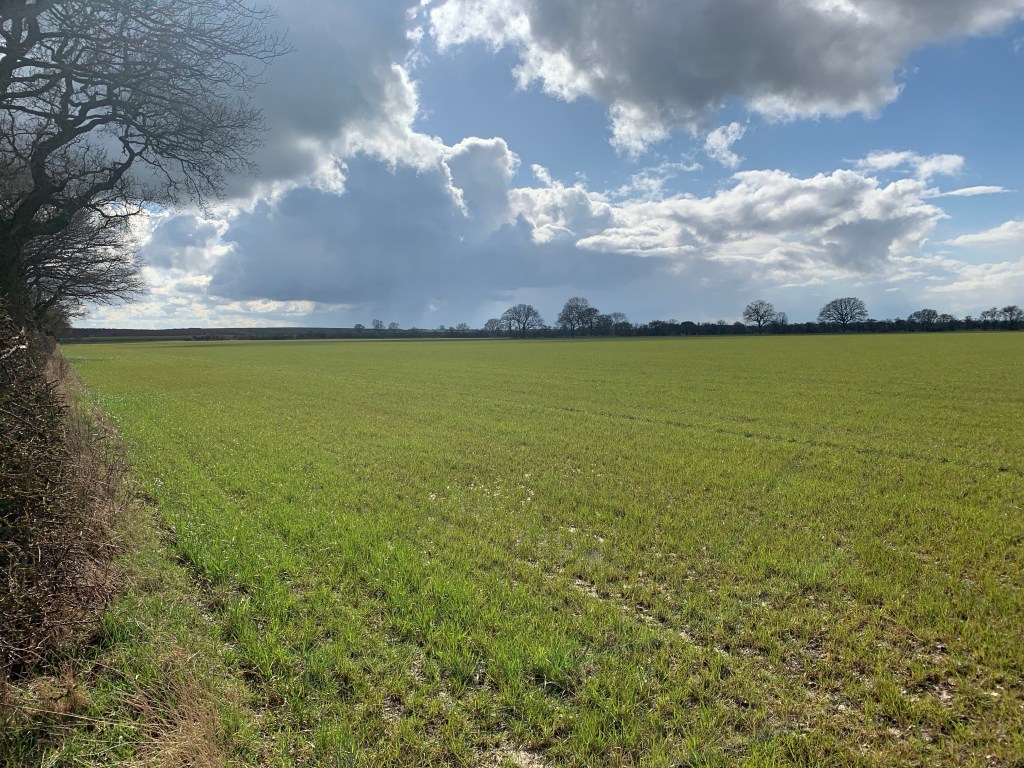
The battle of Kadesh in 15mm using the TTS rules.
We join the action after the destruction of the Ptah division. The Pharoah has driven his chariot from his camp to meet the opposing Hittites as they cross the Orontes.
Victory to the Hittites.

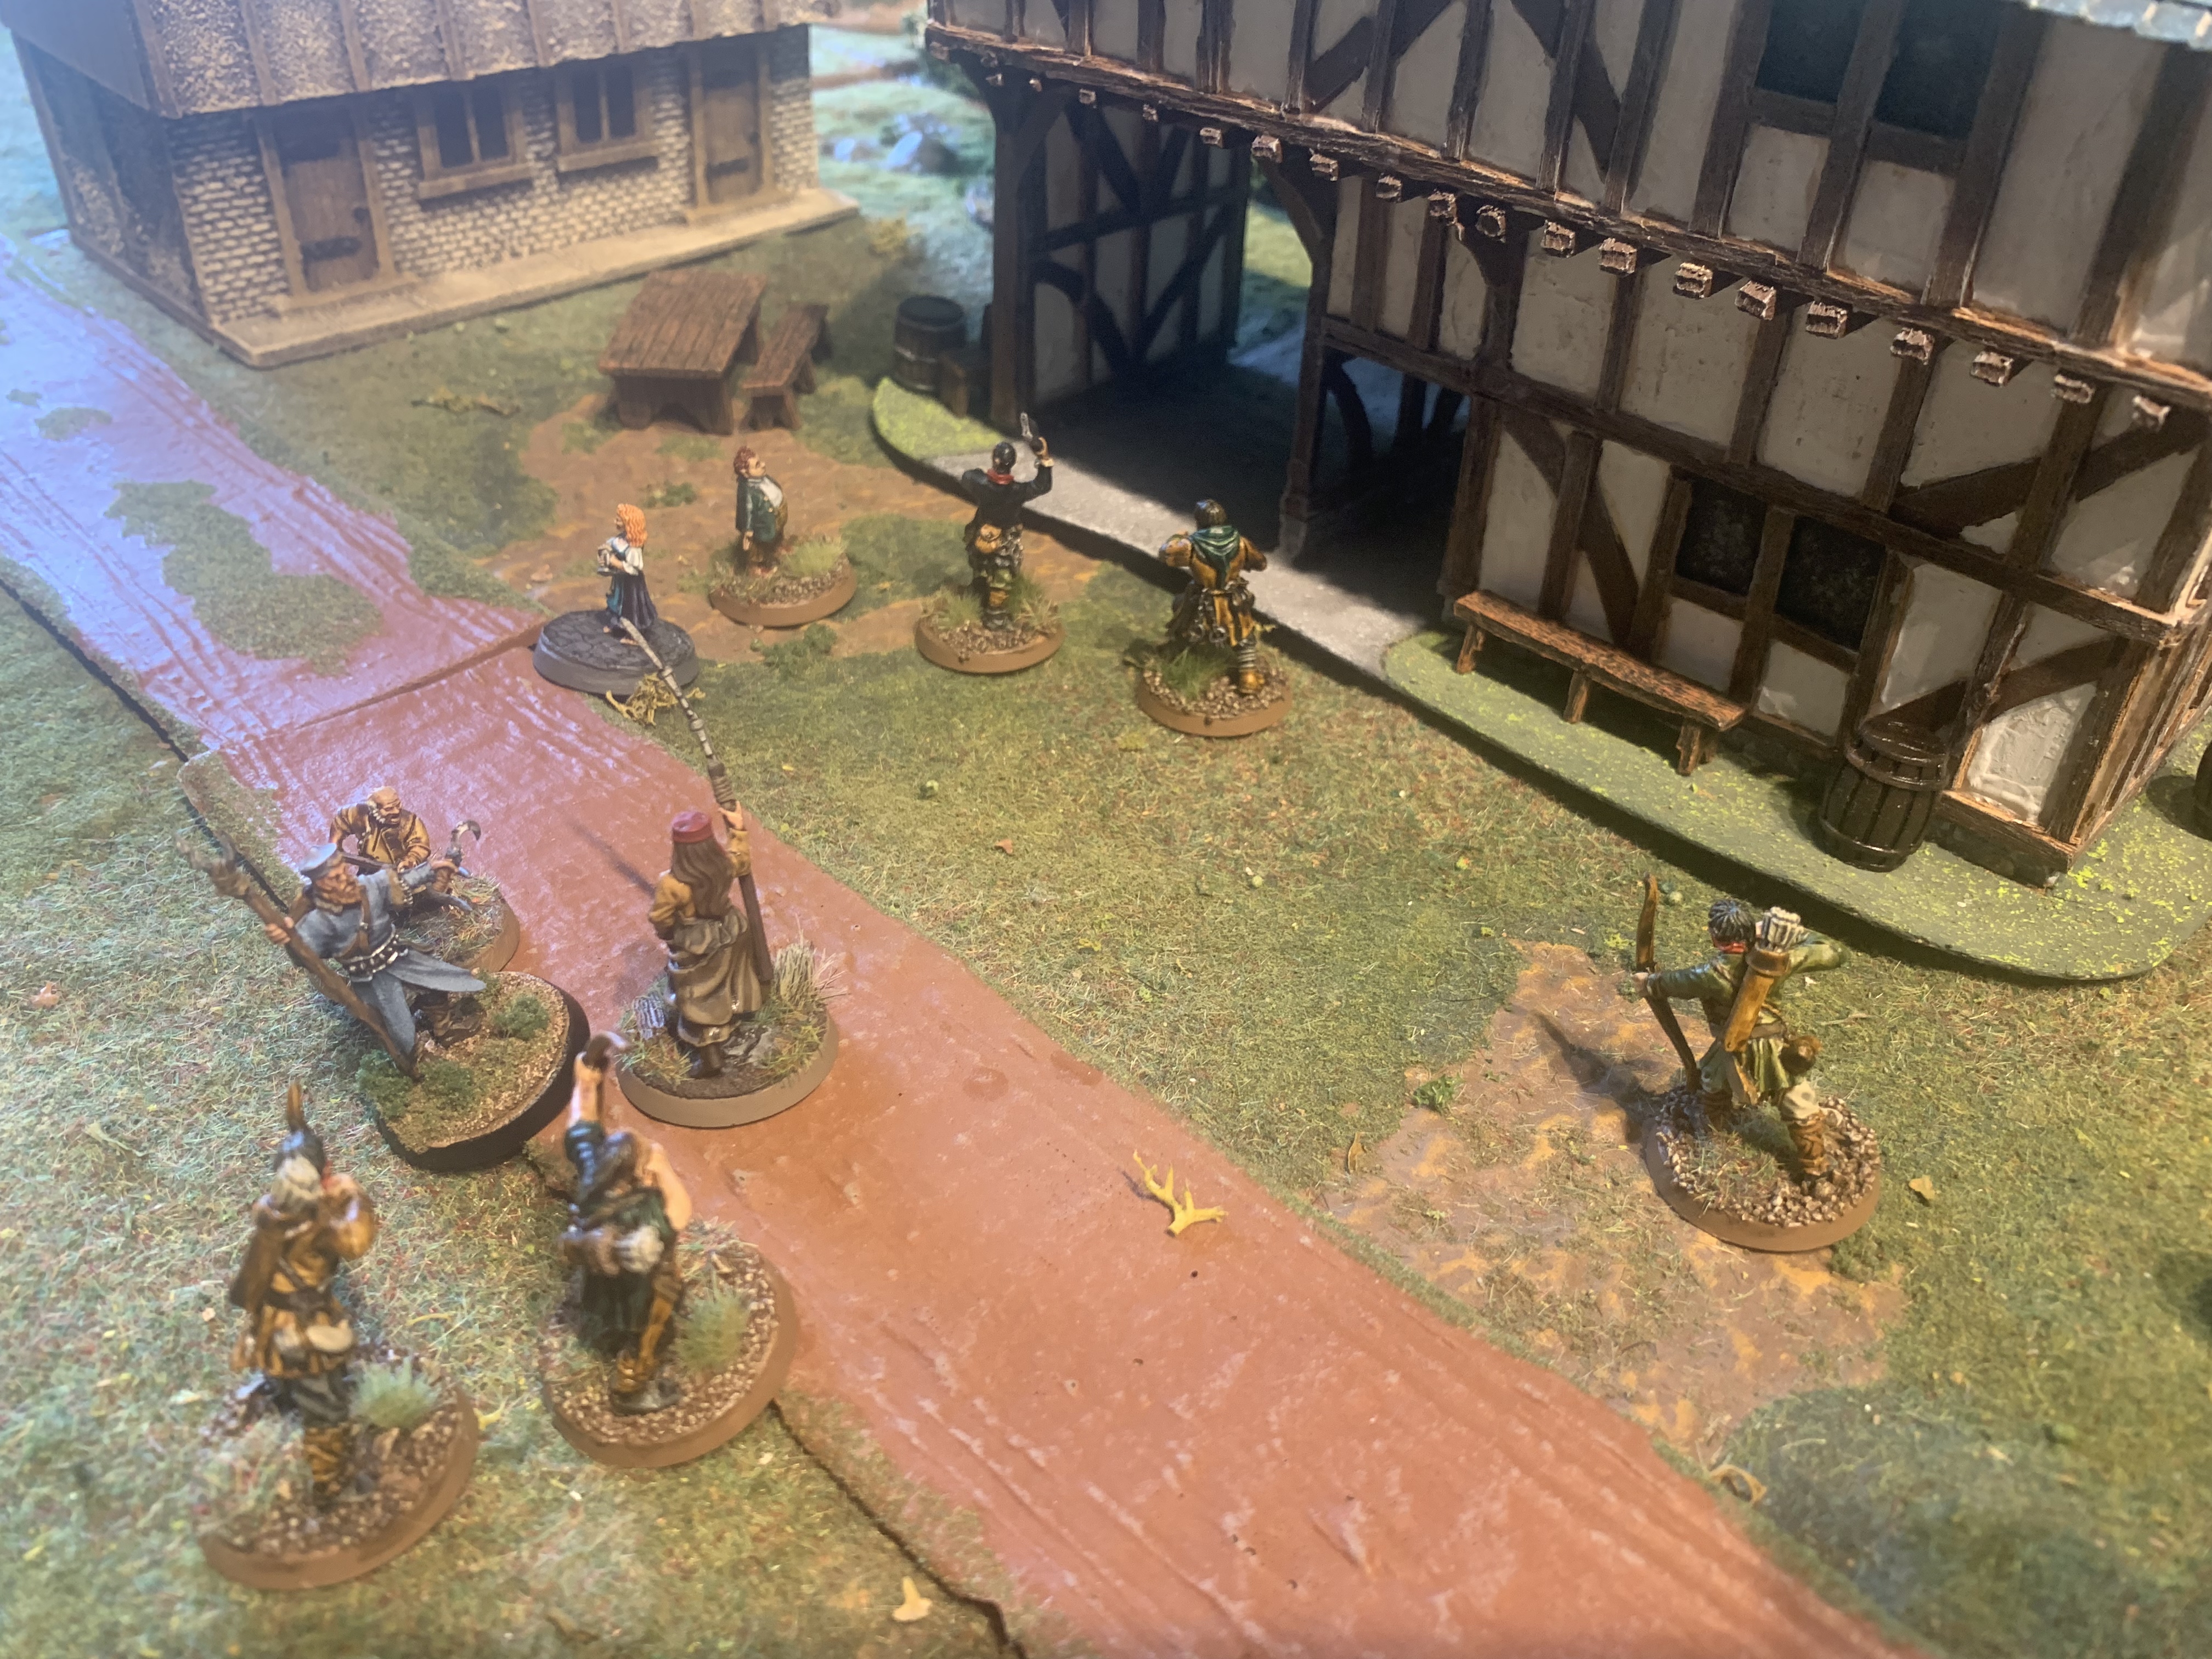
After time for some of Farmer Maggot’s best sausages we were ready to continue.
First up was the fight at the Old Mill. Ted Sandyman and the Ruffians had to smash or open the doors. Ted tried to sneak round to the right. However in sight of the doors and with two Ruffians to aid him he had a sudden rush of blood to the head and raced into a fight! The outnumbered militiaman struck him unconscious! However without any heroes to aid them this scenario soon went to the Evil side.

Next up was the arrest of Mayor Whitfoot.

Whitfoot and the Hobbits rushed forward trying to protect Will as he made his escape. Unfortunately Sid and his Ruffians blocked the road and made short work of the Hobbits. Another quick victory for Evil.
So the Next scenario will be the Death of Lotho which looks to be a good one.
So far in terms of campaign bonuses:
Evil 3 additional ruffians in Bywater. Ted Sandyman will return at Bywater. Folco may move on the first turn in the arrest scenario.
Bruce took the part of Good and the Hobbits whilst I played the Ruffians. The First Scenario ended with the villagers being beaten into submission but Bill failed to take two casualties. He was fought back by Fatty who rolled a six in the final round. So a draw.

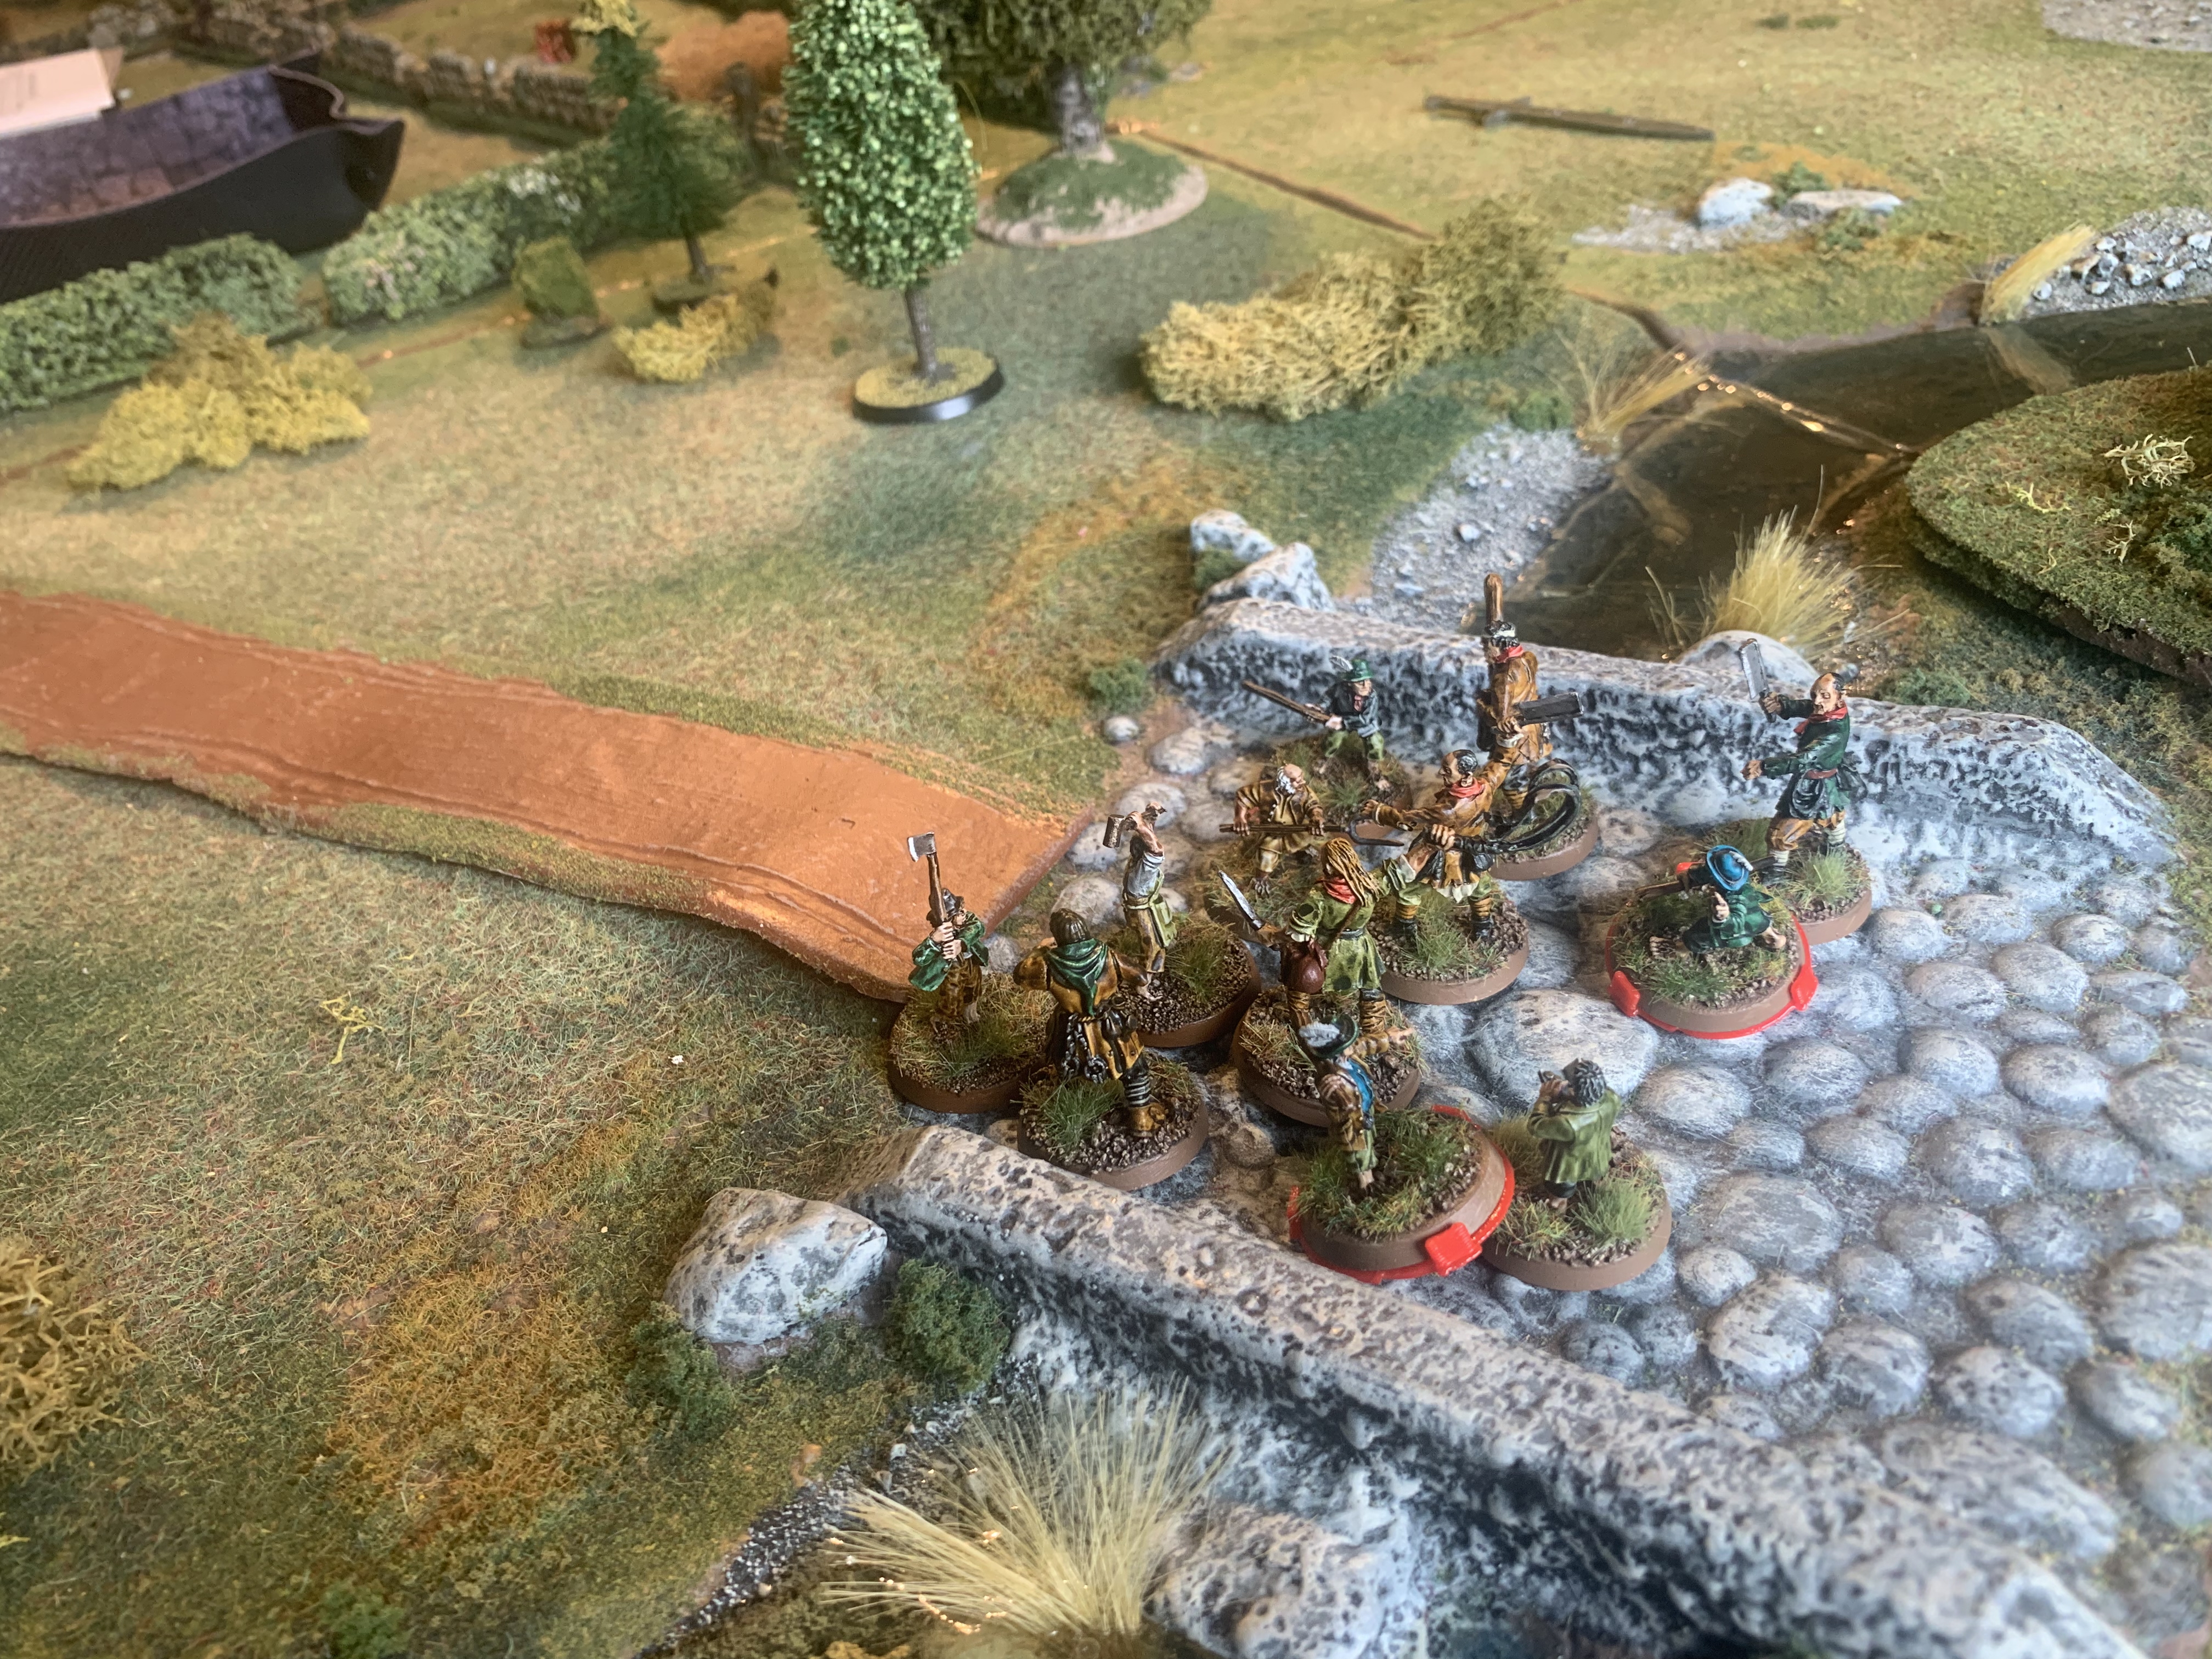
In the second scenario the Ruffians wanted to capture the two Shirriff leaders. The Hobbits were able to throw stones at the careless Ruffian archers who stood out in the open at close range. However on the bridge the battle went way of the Ruffians who smashed through the Shirriffs defending. They caught the two leaders and put them in chains. However the tricksy Hobbits kept escaping. This meant it was impossible to capture them and drag them away in the twelve turns so it was a victory for Good.
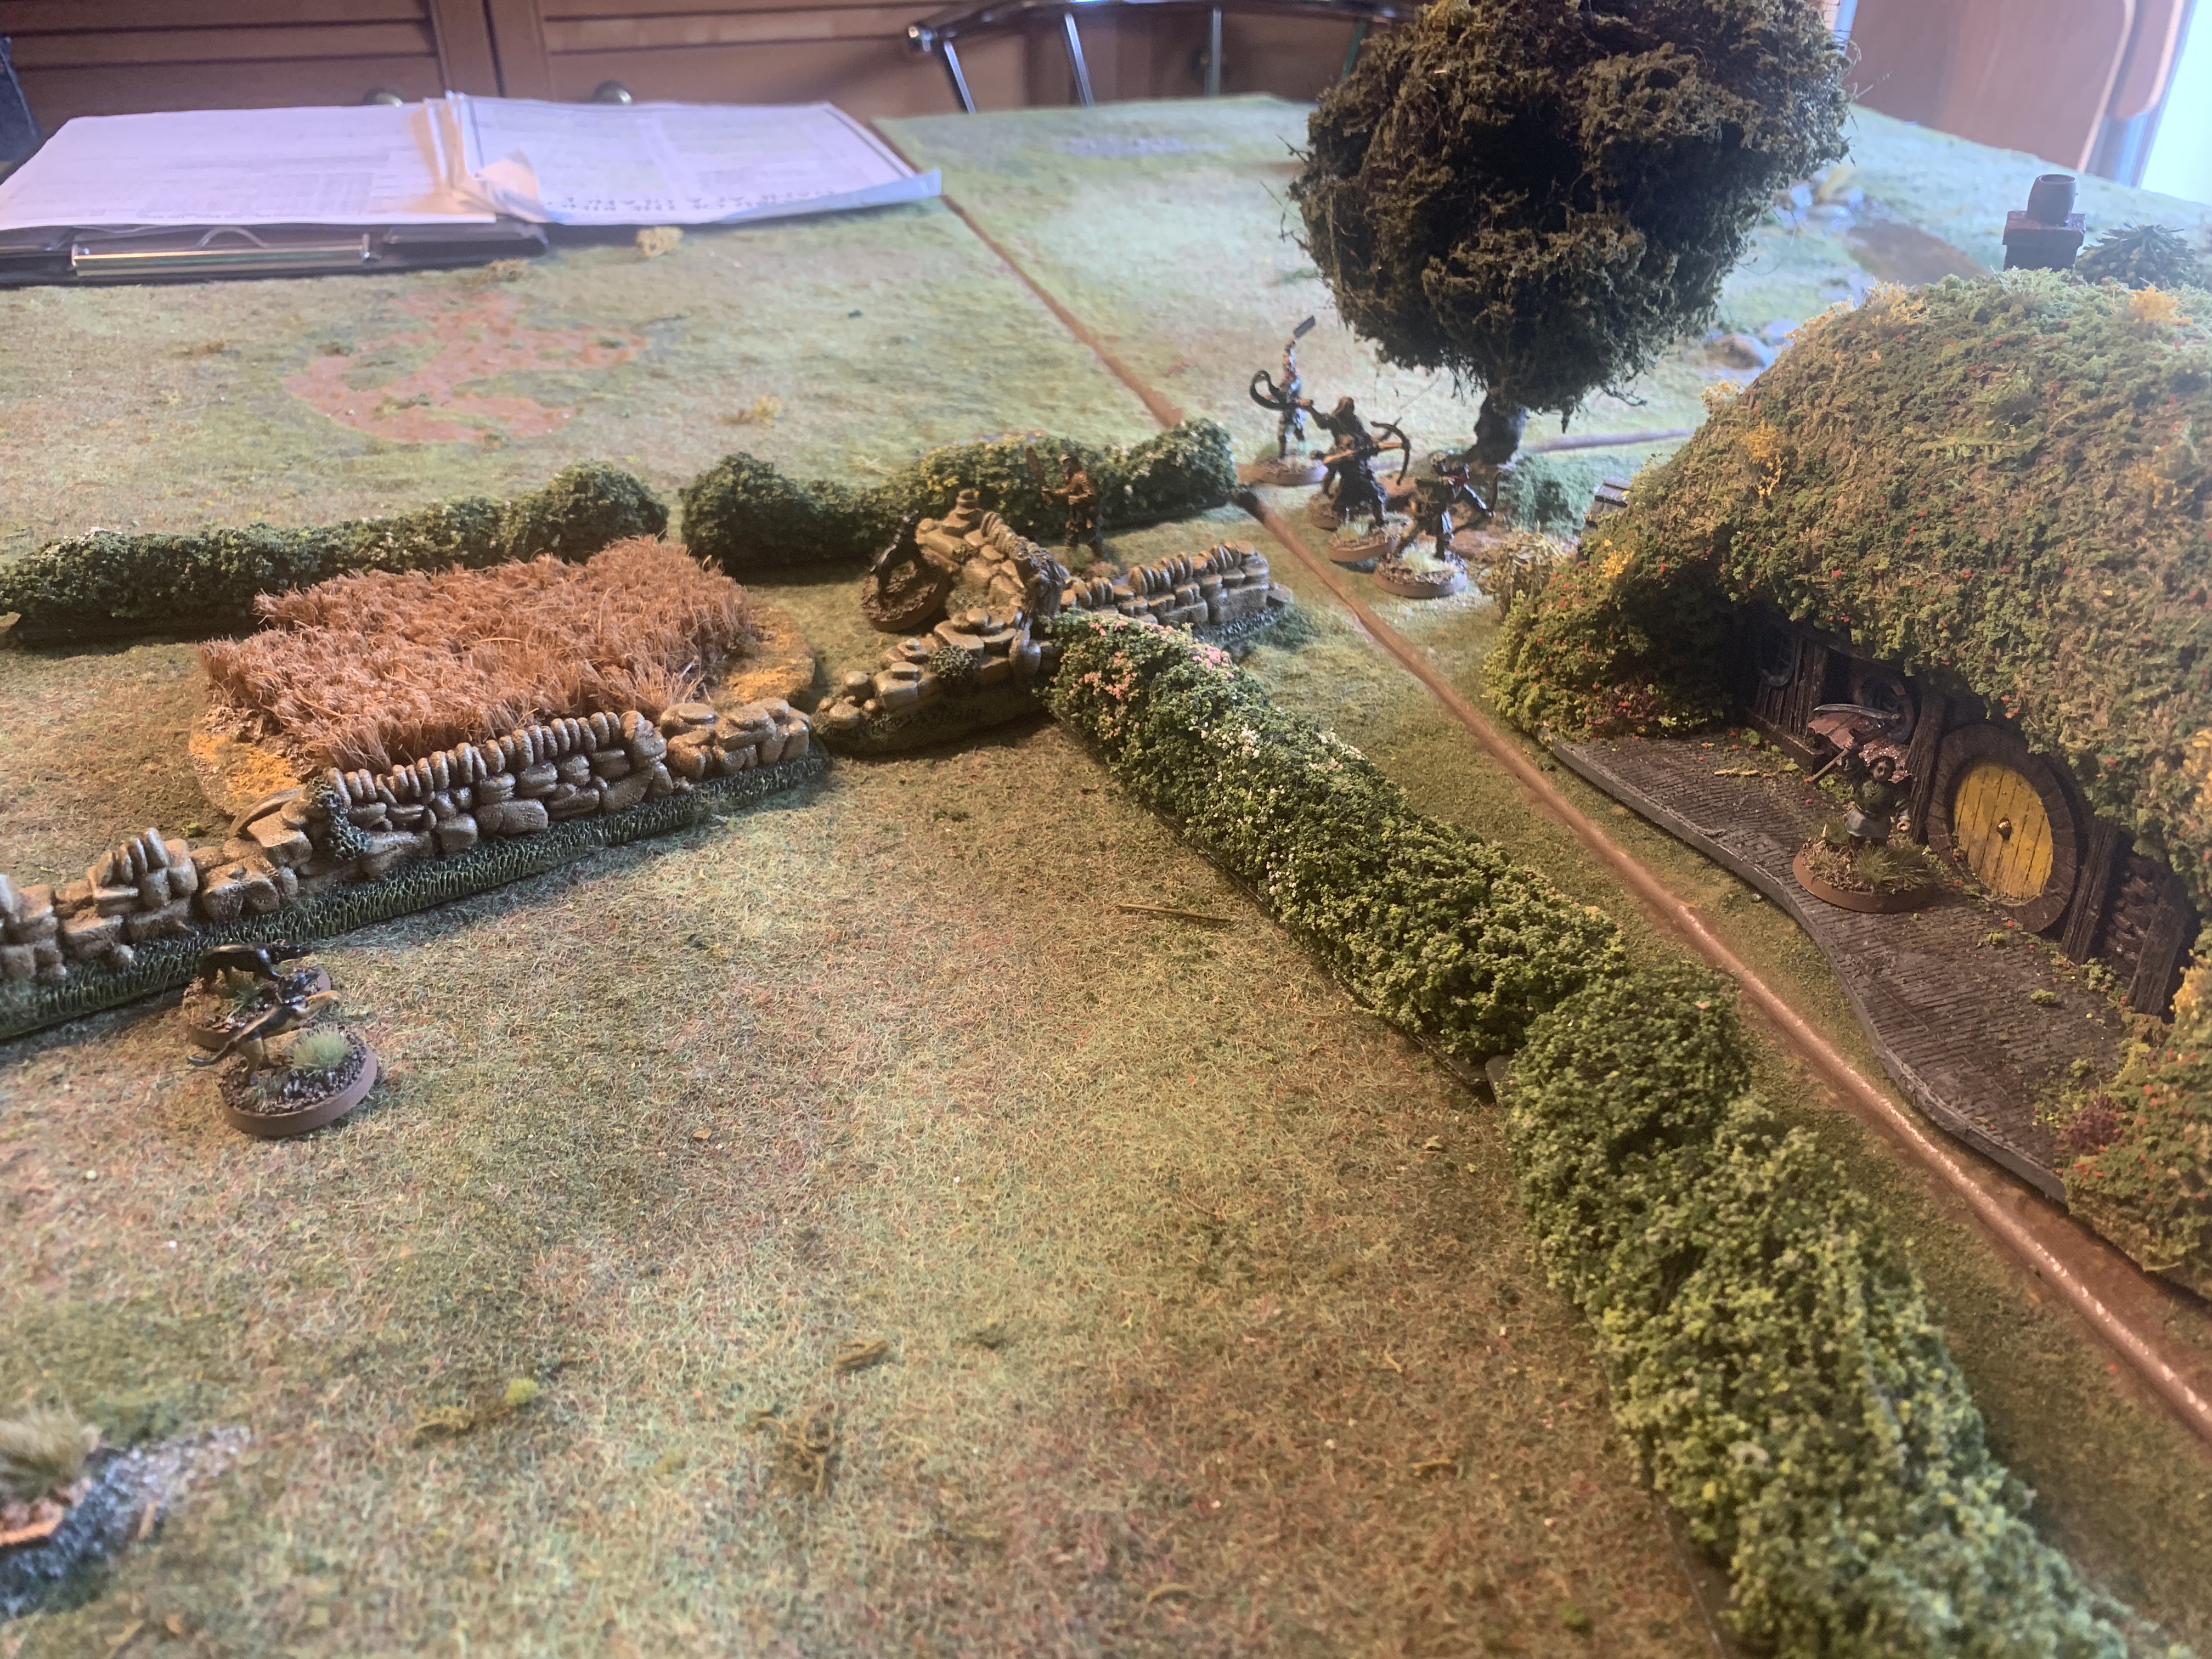
Next was Farmer Maggot’s fields.

The hounds began quite active and bounded towards the woods in search of the Ruffians. However they sensibly chose to avoid them and moved to the other side and crossed over the dry stone wall/ hedge. This clearly confused te hounds who then failed to do anything whilst the first few Ruffians escaped. They did finally raise the alarm and one hound harried the last few even taking one down. However Farmer Maggot had clearly been at his cups and refused to stir despite the howls and growls. So the last few escaped too with a victory for Evil this time.

Beginning with the skirmish at Bree the evil Ruffians plan to scour the shire and enslave the hobbits.

In our scenario Balin has led a small force through the gate and encounters a small scouting patrol of goblins.
Bruce managed to get one of them into the mines to raise the alarm. However the patrol tried to hold back the powerful dwarven attack and was massacred. Yet Balin was badly wounded in the melee.
When the goblin captain leading the reinforcements failed his courage test and fled the field the other cowardly goblins ran away. This allowed Balin and his guards to pass through deeper into the mines.
Next we played two battles between Gandalf and the Balrog. This ended honours even. Finally we played through two games of the Treachery of Sméagol and Sam was victorious twice!
So in the end a great day of Moria themed strategy battle gaming. Well done to Bruce and his goblins who smashed the hapless foolish dwarves in the main battle of the day!
So we started with the Darrowdelf scenario.
Bruce formed his goblins up behind the Troll heading towards the bridge whilst the dwarves split into three groups, with Balin and Floi leading the main force towards the bridge.

The dwarven archers picked off their opponent’s archers and this kept the goblins in cover for the most part. Nevertheless as the dwarves advanced they also lost some casualties to arrows from the dark and of course that hurt more as a guard is more expensive than a lowly goblin.
The iron guard held up the Troll and then dispatched it. Balin moved up behind them waiting for a gap whilst across the bridge The goblins and their king kept in cover and waited.
The dwarves bravely kept across the chasm thinking to close with goblins and move in and help Balin cross the bridge. However so many rolled a one and fell to their doom that they fell prey to the goblins on the opposite side. Having armour six or seven is not so good when losing a fight when outnumbered let alone surrounded.

With their numbers dwindled even though they had succeeded in forcing the path across the bridge the dwarves chose to withdraw. Victory to Bruce and his evil goblins.
Battlefields trust have a very useful website for those visiting the moor. You can stop opposite the monument. The battlefield is not sign posted otherwise. We walked up the path opposite. Unfortunately the track leading to the famous white sike has been blocked by the landowner. However you do get a great view of the largely unspoilt battlefield.

Is this a piece of revisionist history? The overall commander, the Scottish Leslie reduced to a supporting role in Cromwell’s victory?
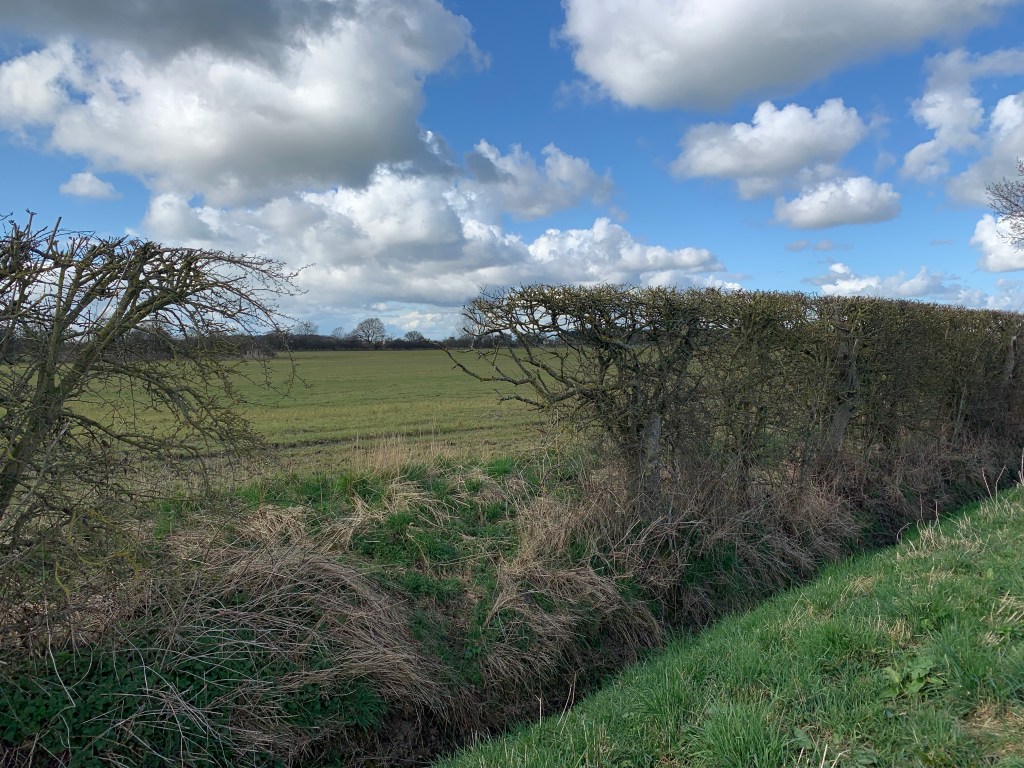
We walked along Moor Lane with the Royalist deployments on this side of the road to the left and right of the track.

The view across the White Sike where the Earl of Newcastle’s regiment of foot made their famous last stand.
The high ground where the Parliamentarians deployed.

The landowner clearly does not want walkers following the track and visiting the white sike or linking up with the public footpath.

Overall a great place to visit. You get a fascinating view of the parliament position holding the high ground from the royalist side which is very flat in comparison. Also the drainage ditch along the track is deep and wide giving an idea of how the ditch across the Royalist front may have appeared. Clearly a difficult place to cross. It would have broken up any attempt at a cavalry charge where it was deep and wide.
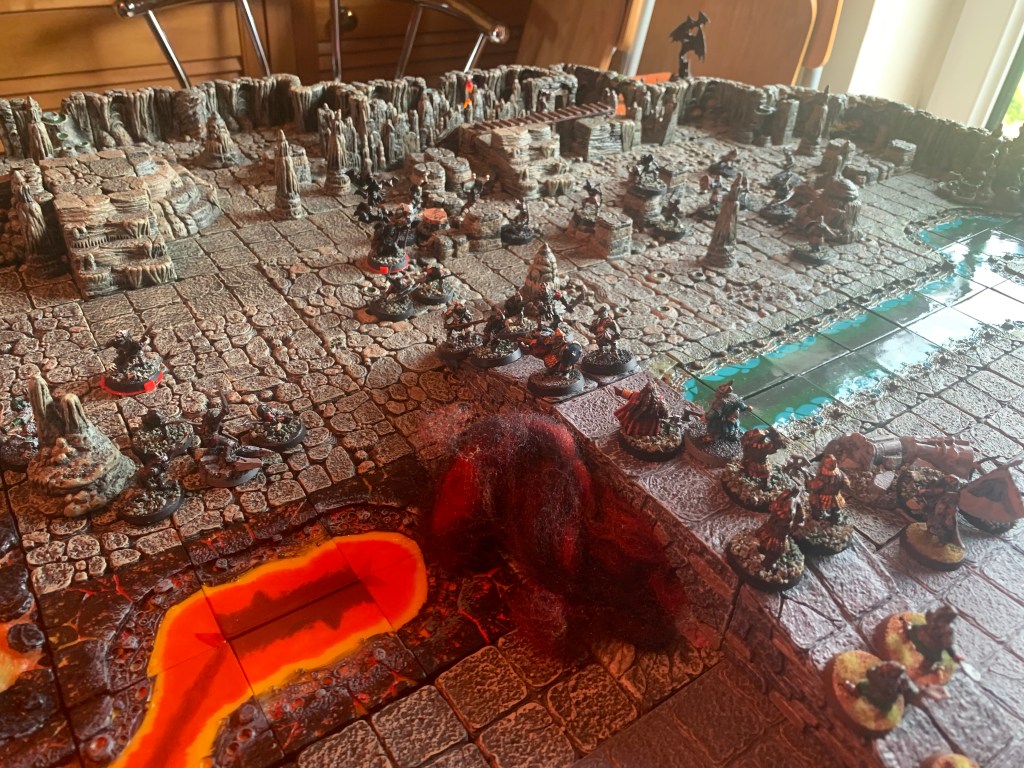
Balin and his kin have entered the Long Dark of Moria. They pour out into the Darrowdelf, the ancient plaza and living quarters of Khazad Dum. Across the chasm lie the mine workings and rising to the Sound of the Drums in the Deep come the Goblins.
This battle will be fought using the MESBG rules and is taken from an old source book Shadow and Flame. It is the second in the campaign. I have substituted the chasm with a lava flow and a roaring icy stream, which meet underneath the bridge in a crashing roaring fall, mixing far in the depths below.


New metal goblins.

Miniature painting, wargaming terrain tutorials, reviews, interviews and painting guides
Wayfaring through Middle-earth and other hobbies
Weekly tabletop miniatures blog.
WW2 Modelling in 1/72 Scale
The Adventures of Sir Thomas Hawksby's Regiment
From the computer to the tabletop, this is all about games. Updated each week-end.
Talk, support and information on Ganesha Games' Flashing Steel
President of Metropolitan Wargamers in Park Slope, Brooklyn, NYC
Thoughts about wargaming, especially 28mm.
Adventures of an historical wargamer in the wilds of Arkansas


