Still slowly working Knights.

Still slowly working Knights.

Preparations are in place now for the Battle of Ctesiphon in 363 AD. Julian the sole Emperor of All Rome has prepared retribution for the Persians for years and has now reached sight of the walls of Ctesiphon. However his cousin has failed to arrive with the expected reinforcements from Armenia.

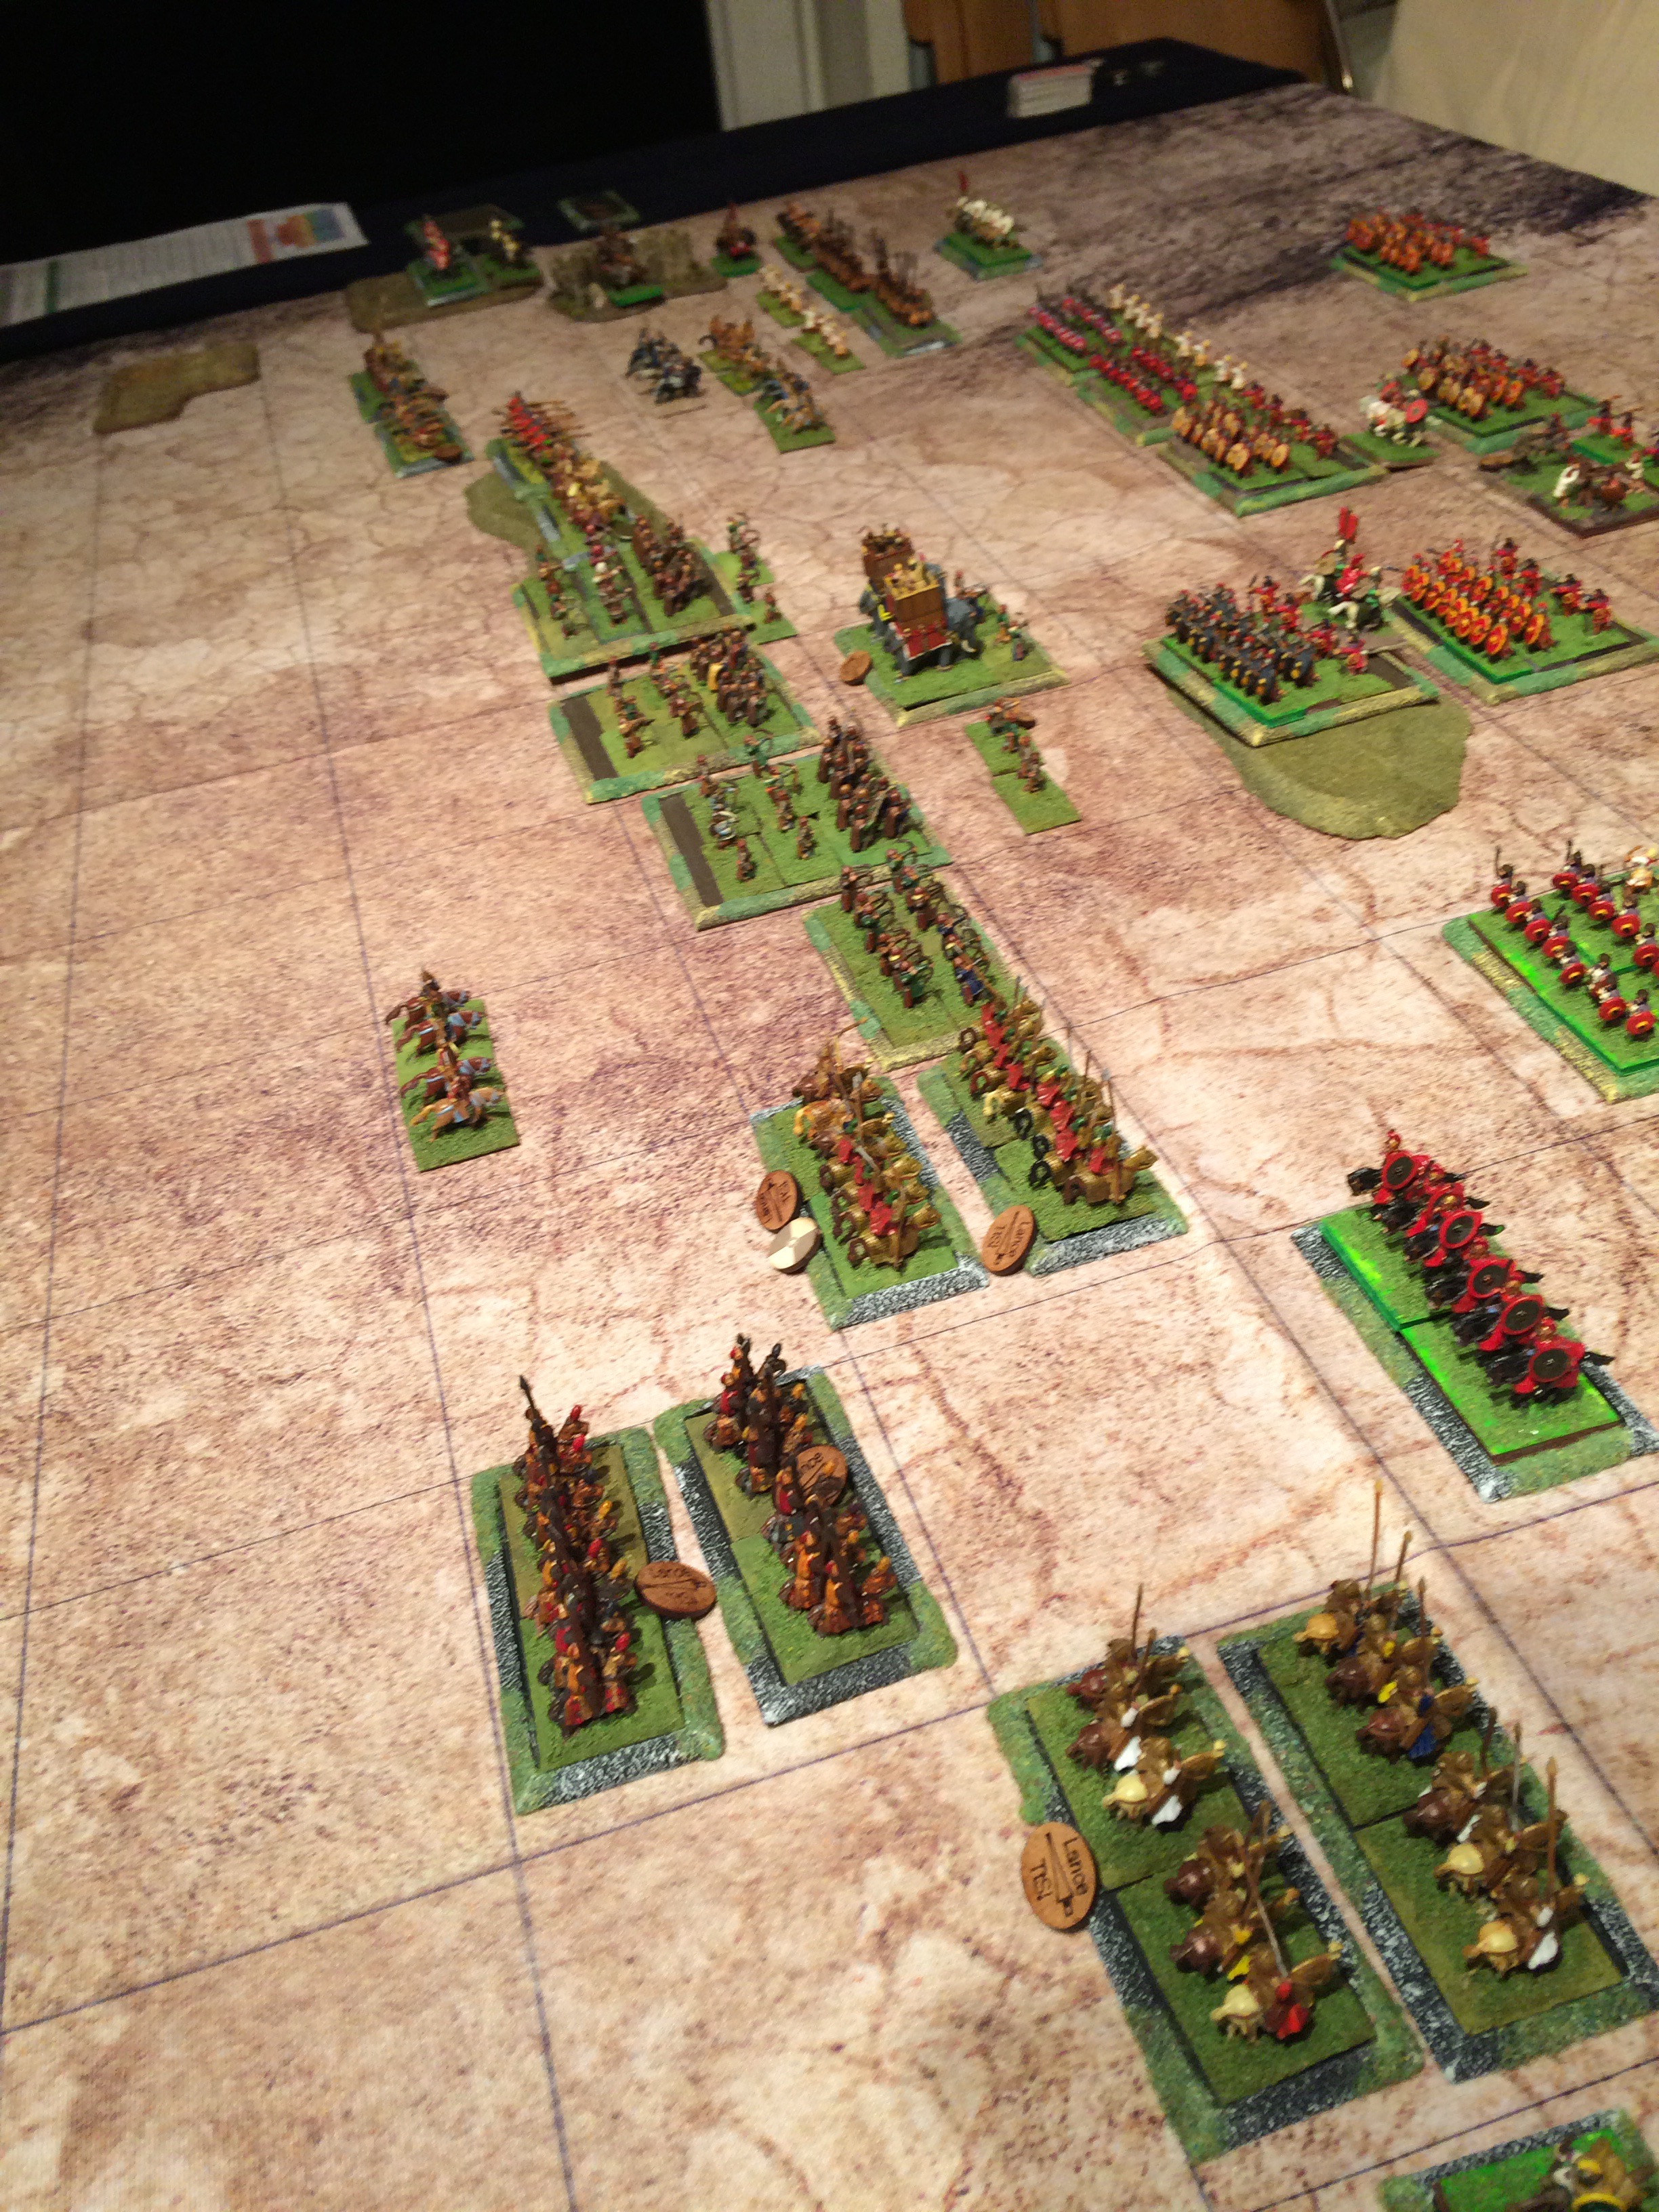
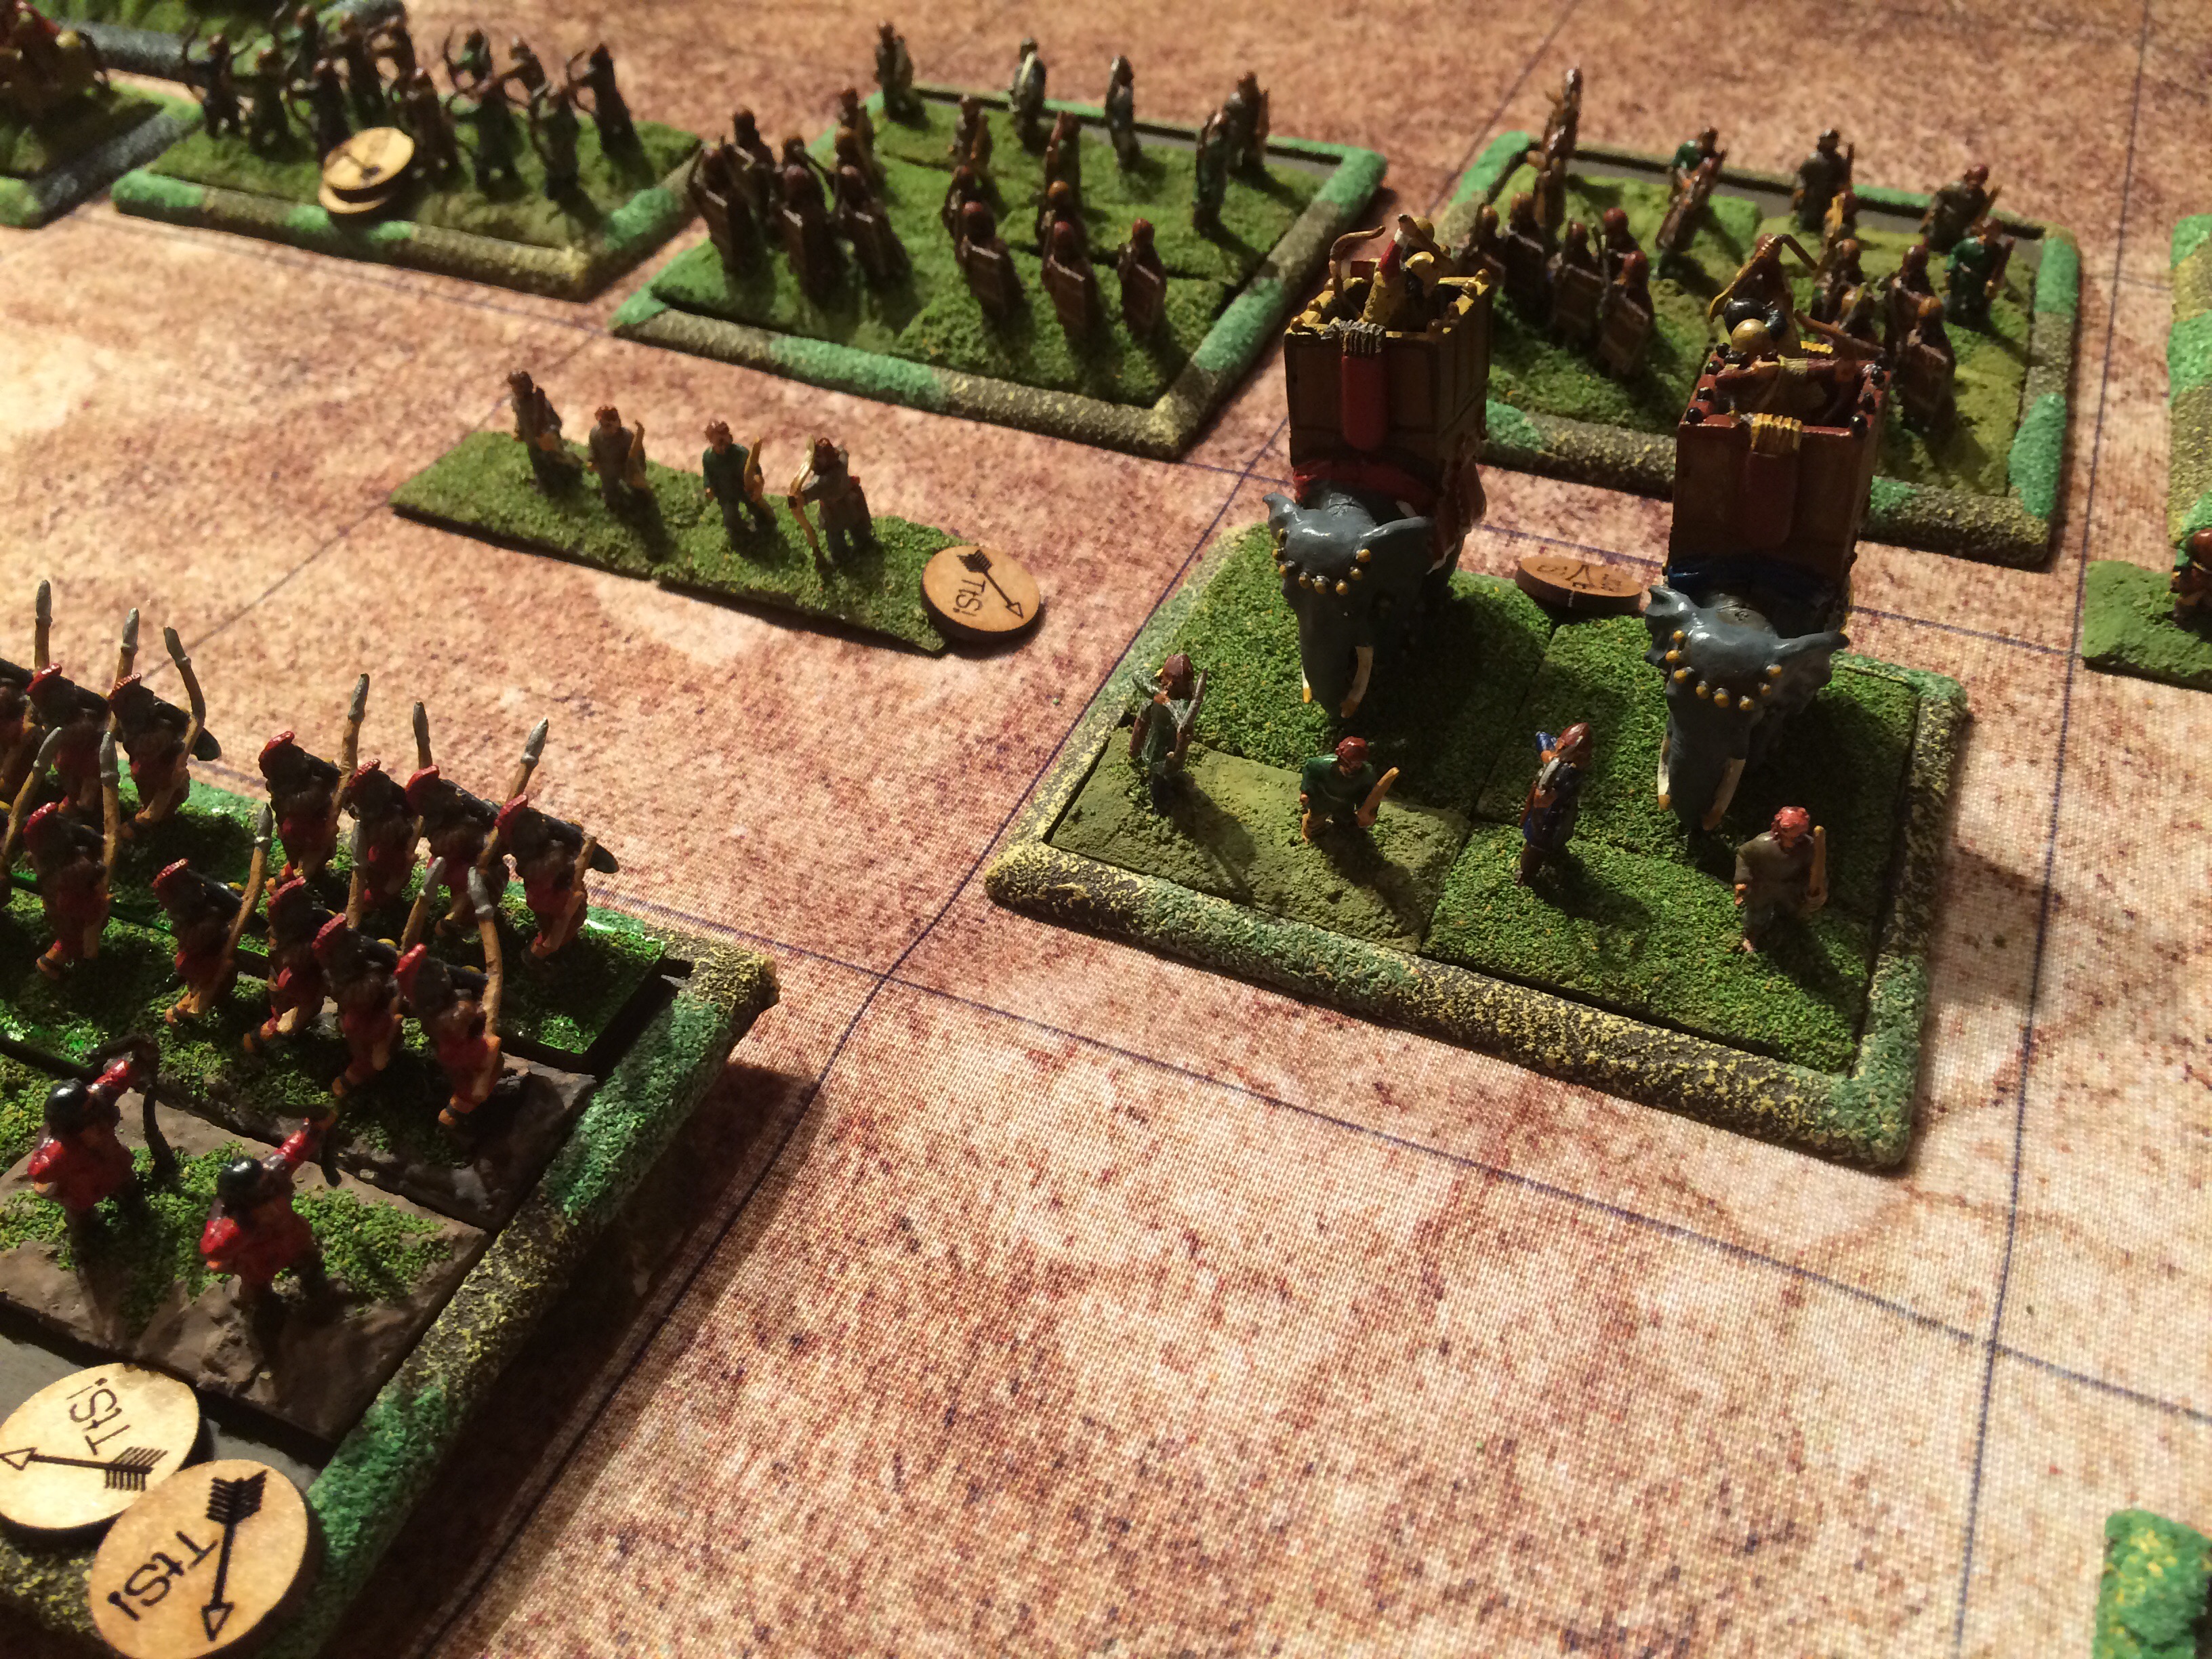
Facing him is the Army defending the capital deployed for battle ready across the Tigris led by the Spahbod Merena. Clearly a strong force has been left behind by Shapur II the King of Persia to defend his capital. Elephants with Howdah’s and fearsome Cataphracts cause the ground to tremble as they advance, supported by large amounts of the dreaded Persian Cavalrymen in full armour on half-barded horses. Behind them the Citizen Levy arrayed en-masse with sundry archers add considerable numbers to the force. Whilst all around clouds of dust and stinging arrows create confusion caused by hordes of light cavalrymen. All this strikes fear into the hot, hungry and thirsty Romans who have already fought a long campaign to get thus far only to be daunted by the sight of the high walls and strong defensive position of Ctesiphon.
Julian, fearless as ever realising he needs to seize the moment forces his Romans across the Tigris and gives battle aiming to strike before the King of Persia can arrive with even more reinforcements.
The Battle is to be fought in 15mm using two strong 270 point armies using the To the Strongest Rules. Both armies are equally strong. Julian has the pride of the Imperial army with him including a unit of veteran legionaries. The Spahbod has clearly received some advance reinforcements from the Royal Army in the form of strong cavalry units for our refight

| Senior General: Emperor Flavius Claudianus Julianus | General, attached, mounted, Great Leader |
| Equites Alares Scholae | Cavalry, Javelin, veteran |
| Equites Alares Scholae | Cavalry, Javelin, veteran |
| General | General, detached, mounted |
| Legionarii Palatina | Legionaries, extra bow, shock, veteran |
| Legionarii | Legionaries, extra bow, shock |
| Lanciarii | Light infantry, javelin, veteran |
| Legio Sagittarri | Bowmen, veteran |
| Auxiliarii Sagittarii or Funditores | Light Infantry archers or slingers |
| Artillery Ballistarii | |
| Camp | |
| General | General, detached, mounted |
| Legionarii | Legionaries, extra bow, shock |
| Legionarii | Legionaries, extra bow, shock |
| Auxiliarii Sagittarii or Funditores | Light Infantry archers or slingers |
| Lanciarii | Light infantry, javelin, veteran |
| Auxiliarii Palatina | Auxiliaries, veteran, extra bow |
| General | General, detached, mounted |
| Legionarii | Legionaries, extra bow, shock |
| Auxiliarii Palatina | Auxiliaries, veteran, extra bow |
| Auxiliarii Palatina | Auxiliaries, veteran, extra bow |
| Auxiliarii Sagittarii or Funditores | Light Infantry archers or slingers |
| Auxiliarii Sagittarii or Funditores | Light Infantry archers or slingers |
| General | General, detached, mounted |
| Equites Clibanarri | Cataphracts, Lance, veteran |
| Equites Clibanarri | Cataphracts, Lance, veteran |
| Equites | Cavalry, Javelin |
| Equites Illyricani, Dalmatae or Scutarii | Light Cavalry, Javelin |
| Equites Sagittarii | Light Cavalry, Bow |
| General, Prefect of Cavalry | General, attached, mounted, heroic |
| Equites Contarii | Veteran Cavalry Lance |
| Equites | Cavalry, Javelin |
| Equites Illyricani, Dalmatae or Scutarii | Light Cavalry, Javelin |
| Equites Sagittarii | Light Cavalry, Bow |
| Spahbod Merena | General, Mounted, Attached, Senior |
| Zhayedan Guard | Cataphracts, veteran |
| Indian War Elephants | Escorted veteran |
| Kamandaran | Bowmen |
| Paighan | Shieldwall, raw, deep, extra bow |
| Light Infantry Archers | Light Infantry Bow |
| Camp | |
| General, Papak | General, Mounted, Attached, Heroic |
| Savaran Guard | Cavalry, Lance extra bow, veteran |
| Indian War Elephants | Escorted veteran |
| Kamandaran | Bowmen |
| Paighan | Shieldwall, raw, deep, extra bow |
| Paighan | Shieldwall, raw, deep, extra bow |
| Light Infantry Archers | Light Infantry Bow |
| Sassanid Cavalry | |
| General, Peroz, Chief of Cavalry | General, Mounted, Attached, Heroic |
| Pushtigaban | Cataphracts, lance |
| Pushtigaban | Cataphracts, lance |
| Pushtigaban | Cataphracts, lance |
| Savaran Guard | Cavalry, Lance extra bow, veteran |
| Horse Archers | Light Cavalry, Bow |
| Horse Archers | Light Cavalry, Bow |
| Horse Archers | Light Cavalry, Bow |
| Hunnic Horse Archers | Light Cavalry, Bow, veteran |
| Hunnic Horse Archers | Light Cavalry, Bow, veteran |
| General Friyek | General, Mounted, Attached, Heroic |
| Savaran Guard | Cavalry, Lance extra bow, veteran |
| Savaran Guard | Cavalry, Lance extra bow, veteran |
| Savaran Guard | Cavalry, Lance extra bow, veteran |
| Savaran Guard | Cavalry, Lance extra bow, veteran |
| Horse Archers | Light Cavalry, Bow |
| Horse Archers | Light Cavalry, Bow |
| Horse Archers | Light Cavalry, Bow |
Fourth century romans versus Sassanid Persians one the Armenian borders. Mike and Michael took on phils romans with their mighty Persian force. Both sides garnered 250 points each.
With all that light horse the Persians won the scouting phase. So the romans deployed first and the Sassanids would take the first move.
So the romans deployed a mixed force of heavy cavalry and infantry on the left around the villa. In the centre was the infantry and the ballista. On the right was the strong force of heavy cavalry. The Persians placed elephants and deep units of levy in the centre and a holding force of light and heavy cavalry opposite the roman right . They then placed a very strong force of cavalry including cataphracts against the weaker roman left.
The Persian right was slow to advance . The elephants advanced in the centre supported by levy. The light horse moved to skirmish with romans and generally delay them amidst the broken ground and fields near the river.
The roman ballista truly struggled to activate and fire despite a clear shot of the elephants ahead. They only fired one Miss as I turned out the whole game. On the roman left the light horse and gothic and roman cavalry advanced towards the Persians it wer ineffective and had to evade in disorder. The elephant commander was shot dead by the roman legions extrabow in the first shot of the game in the centre. Then the legions led by the roman left general with a clever retire and charge took out. An elephant unit thus gaining the hill.
On the right by slow attrition and advance the romans pushed back the Persian refused flank. Eventually they were able to turn and threaten. The Persians though still pushed hard on the roman left where troops pulled back in line. With the villa being held only by lanciari the Persians were able to ignore it and try to threaten the roman centre but the auxilia were strong and forced the cataphracts back.
Eventually with darkness falling the victory coins and positions were compared. Mike and Michael generously awarded victory to the romans .






Darryl’s evil overlord beat up Phil, Mike and Alex ‘s attempt to find a peacemaker pistol. Even Luke sky walker was no match for his machinations .
Bruce hosted a night of post apocalyptic perils for Mikes DeaD of Winter. Phil, Alex and Darryl joined in. The first game finished before the second turn with a defeat for all players. The team needed to get plenty of survivors for the VP. So they did not hold back on playing survivors. This would have been okay but each time a new character tried to move they rolled for exposure and got bitten. Morale was low in the colony. Then Phil drew the Prison guard and then tried to move safely using fuel. However the secret event card said that if he moved a prison revolt occurred and he needed to roll 4 times or eight for exposure. This of course caused more survivor characters to die and the team lost. Phil wamost upset because Blue the Chimp had a flamethrower and a drone and was looking like an interesting new character.
Second game was better. This time Alex had the chimp and turned him into a banana demanding vampiric demonic super weaponised search monkey. He even bit Phils character and scared away bruce’s from the laboratory.
Together the team were able to get plenty of survivors especially using a secret tunnel to the grocery. With so many mouths to feed they only had one starvation counter just in the penultimate turn. Then quickly it was looking like the end and probably a solo win for Phil. However DARRYL who in fact was the traitor tried to unsettle things on the final round of the final turn. This allowed the other players to redraw their failing secret victory cards . Alex drew one that allowed him to join in with phils victory. But at least Mike and bruce were on the winning side. Well done team colonists under the benign leadership of phils politician.
We played the secret of sentinel hill scenario. Phil, Mike, Darryl, Alex and Bruce.
We played on extra hard settings with no clicks unless next to an icon and duke the dog requiring an action to be used. Probably not the best idea as we are not very good at mansions but players were insistent.
We arrived too late to stop the ritual by one turn and then attacked the big monster. Unfortunately by then most of the party were insane and Alex had turned traitor. The big monster was badly wounded by the battling players surrounding it when Alex lobbed his dynamite into the fray. This wiped out most of the party and those left standing were killed through double insanity or double wounds in the mythos phase except Phil’s ashcan Pete. Even Alex was killed which robbed him of victory too being some satisfaction as ashcan fled the scene defeated. So all the players lost and evil was defeated but Alex had the satisfaction of seeing his side win.
A tough scenario but quite thematic and fun. I think being allowed to click on the question marks to identify the requirements such as a silver key or holding two pieces of evidence personally is needed in these closely timed scenarios to save wasting time walking up to them and missing a valuable turn. Especially as players are limited to completing their own turn before another player can aid them.


Miniature painting, wargaming terrain tutorials, reviews, interviews and painting guides
Wayfaring through Middle-earth and other hobbies
Weekly tabletop miniatures blog.
WW2 Modelling in 1/72 Scale
The Adventures of Sir Thomas Hawksby's Regiment
From the computer to the tabletop, this is all about games. Updated each week-end.
Talk, support and information on Ganesha Games' Flashing Steel
President of Metropolitan Wargamers in Park Slope, Brooklyn, NYC
Thoughts about wargaming, especially 28mm.
Adventures of an historical wargamer in the wilds of Arkansas


