Mike, Phil and Alex played further in their campaign against Darryl’s evil empire. This time it was the incredibly difficult scenario with the dreaded terminals in the general’s secret base. Mike and Phils as Jedi and smuggler headed north to the first room. Luke skywalker headed east towards the other room supported by Alex as the sniper. Each team destroyed the Probe droid in the way. However the Nexu then came north up the western corridor towards the sniper.
In the northern room Mike opened the door and Phil entered heading towards the terminal guarded by a Nexu. Meanwhile Luke raced back to take on the Nexu but missed completely ! The Nexu would take some killing but at least it missed skywalker on its turn whilst the sniper took shots at it as it retreated back down the corridor. Eventually it was slain but it took a lot of valuable time and stress n the Sniper.
Back in the northern room Phil and Mike dealt with the Nexu. Phil then attempted to decipher the terminal. With two dice on eye attribute tests he thought he would do better than no successes at all! Mike therefore had to deal with it wasting more precious time. Phil then opened a crate and claimed a Bactra infusion he would later use to heal Mike’s Jedi. The pair then headed towards the eastern room and tminal picking up another crate and a medikit en route.
Now heading towards the Southern door Luke was taking a lot of damage whilst The sniper kept in cover behind. They partially damaged a probe droid which then healed itself but they did take out the e web engineer who simply respawned in the eastern route to bother Mike and Phil. Luke opened the door quickly with his light sabre and Alex raced his sniper towards the terminal! With three dice in his spanner attribute this should not be too hard he thought. Six dice rolled later and only one success things were looking bad. Luke had to sacrifice himself to finish it off. Luke was then defeated by the probe droid but at last there was only one terminal left.
The general in his walker had by now appeared in the central area cutting off the two groups from each other. More probe droids, imperial storm troopers and Nexu were apppearing all over the place and harrying our heroes. The jedi was sorely wounded but there was just ni time to heal her and so they staggered towards the final door. Armed with only a blaster Phil’s smuggler found the door tough to open but eventually blasted an opening for Mike to head towards the red strength terminal. Phil’s worst attribute with just one die so Darryl concentrated his fire on the Jedi. Mike became wounded. Disaster this reduced her strength attribute! However using his Jedi forseight and defensive stance she became focused!
So ignoring all their foes Phil tried his luck on the final turn against the terminal. No succcesses on either of his rolls. It was all down now to the Jedi. As Phil despaired Mike rolled trusting to the Force. Two successes and the heroes had won with seconds to go. Well done players. Evil Darryl though gained influence as the players took so long to achieve their goals.
In the upgrade phase the Imperials bought some secret upgrades. The Jedi bought a meditation skill and the sniper some expertise. The smuggler saved her xp. The players pooled their resources and bought the famed vibro axe for the jedi to go with the extended haft plus an imperial blaster rifle for the sniper. The smuggler got nothing but had gained a better pistol last time round.
Next up the players will attempt the gain resources side mission.
Mike introduced us to Police Precinct. First time round the players were defeated quickly due to unchecked emergencies getting out of hand whilst they concentrated too much on solving the crime. Second time round they played much better as a team. Phil and Bruce concentrated on detective work plus solving any emergencies they came across whilst Darryl and Mike worked hard on keeping the emergencies and hoodlums under control. Eventually Mike arrested the criminal before he could escape past the road traffic accident. Well done Police Team.
We then played Sherlock Holmes the card game. Phil won and Mike got the record high score.
Ran a playtest of Advanced Song of Blades.
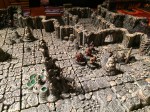
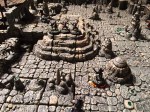
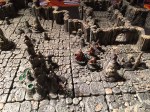
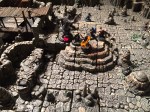
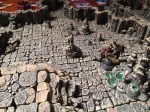
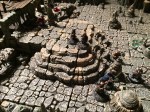
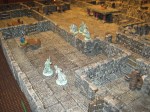
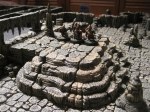
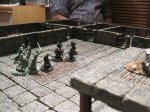
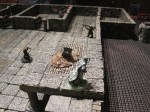
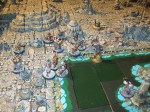
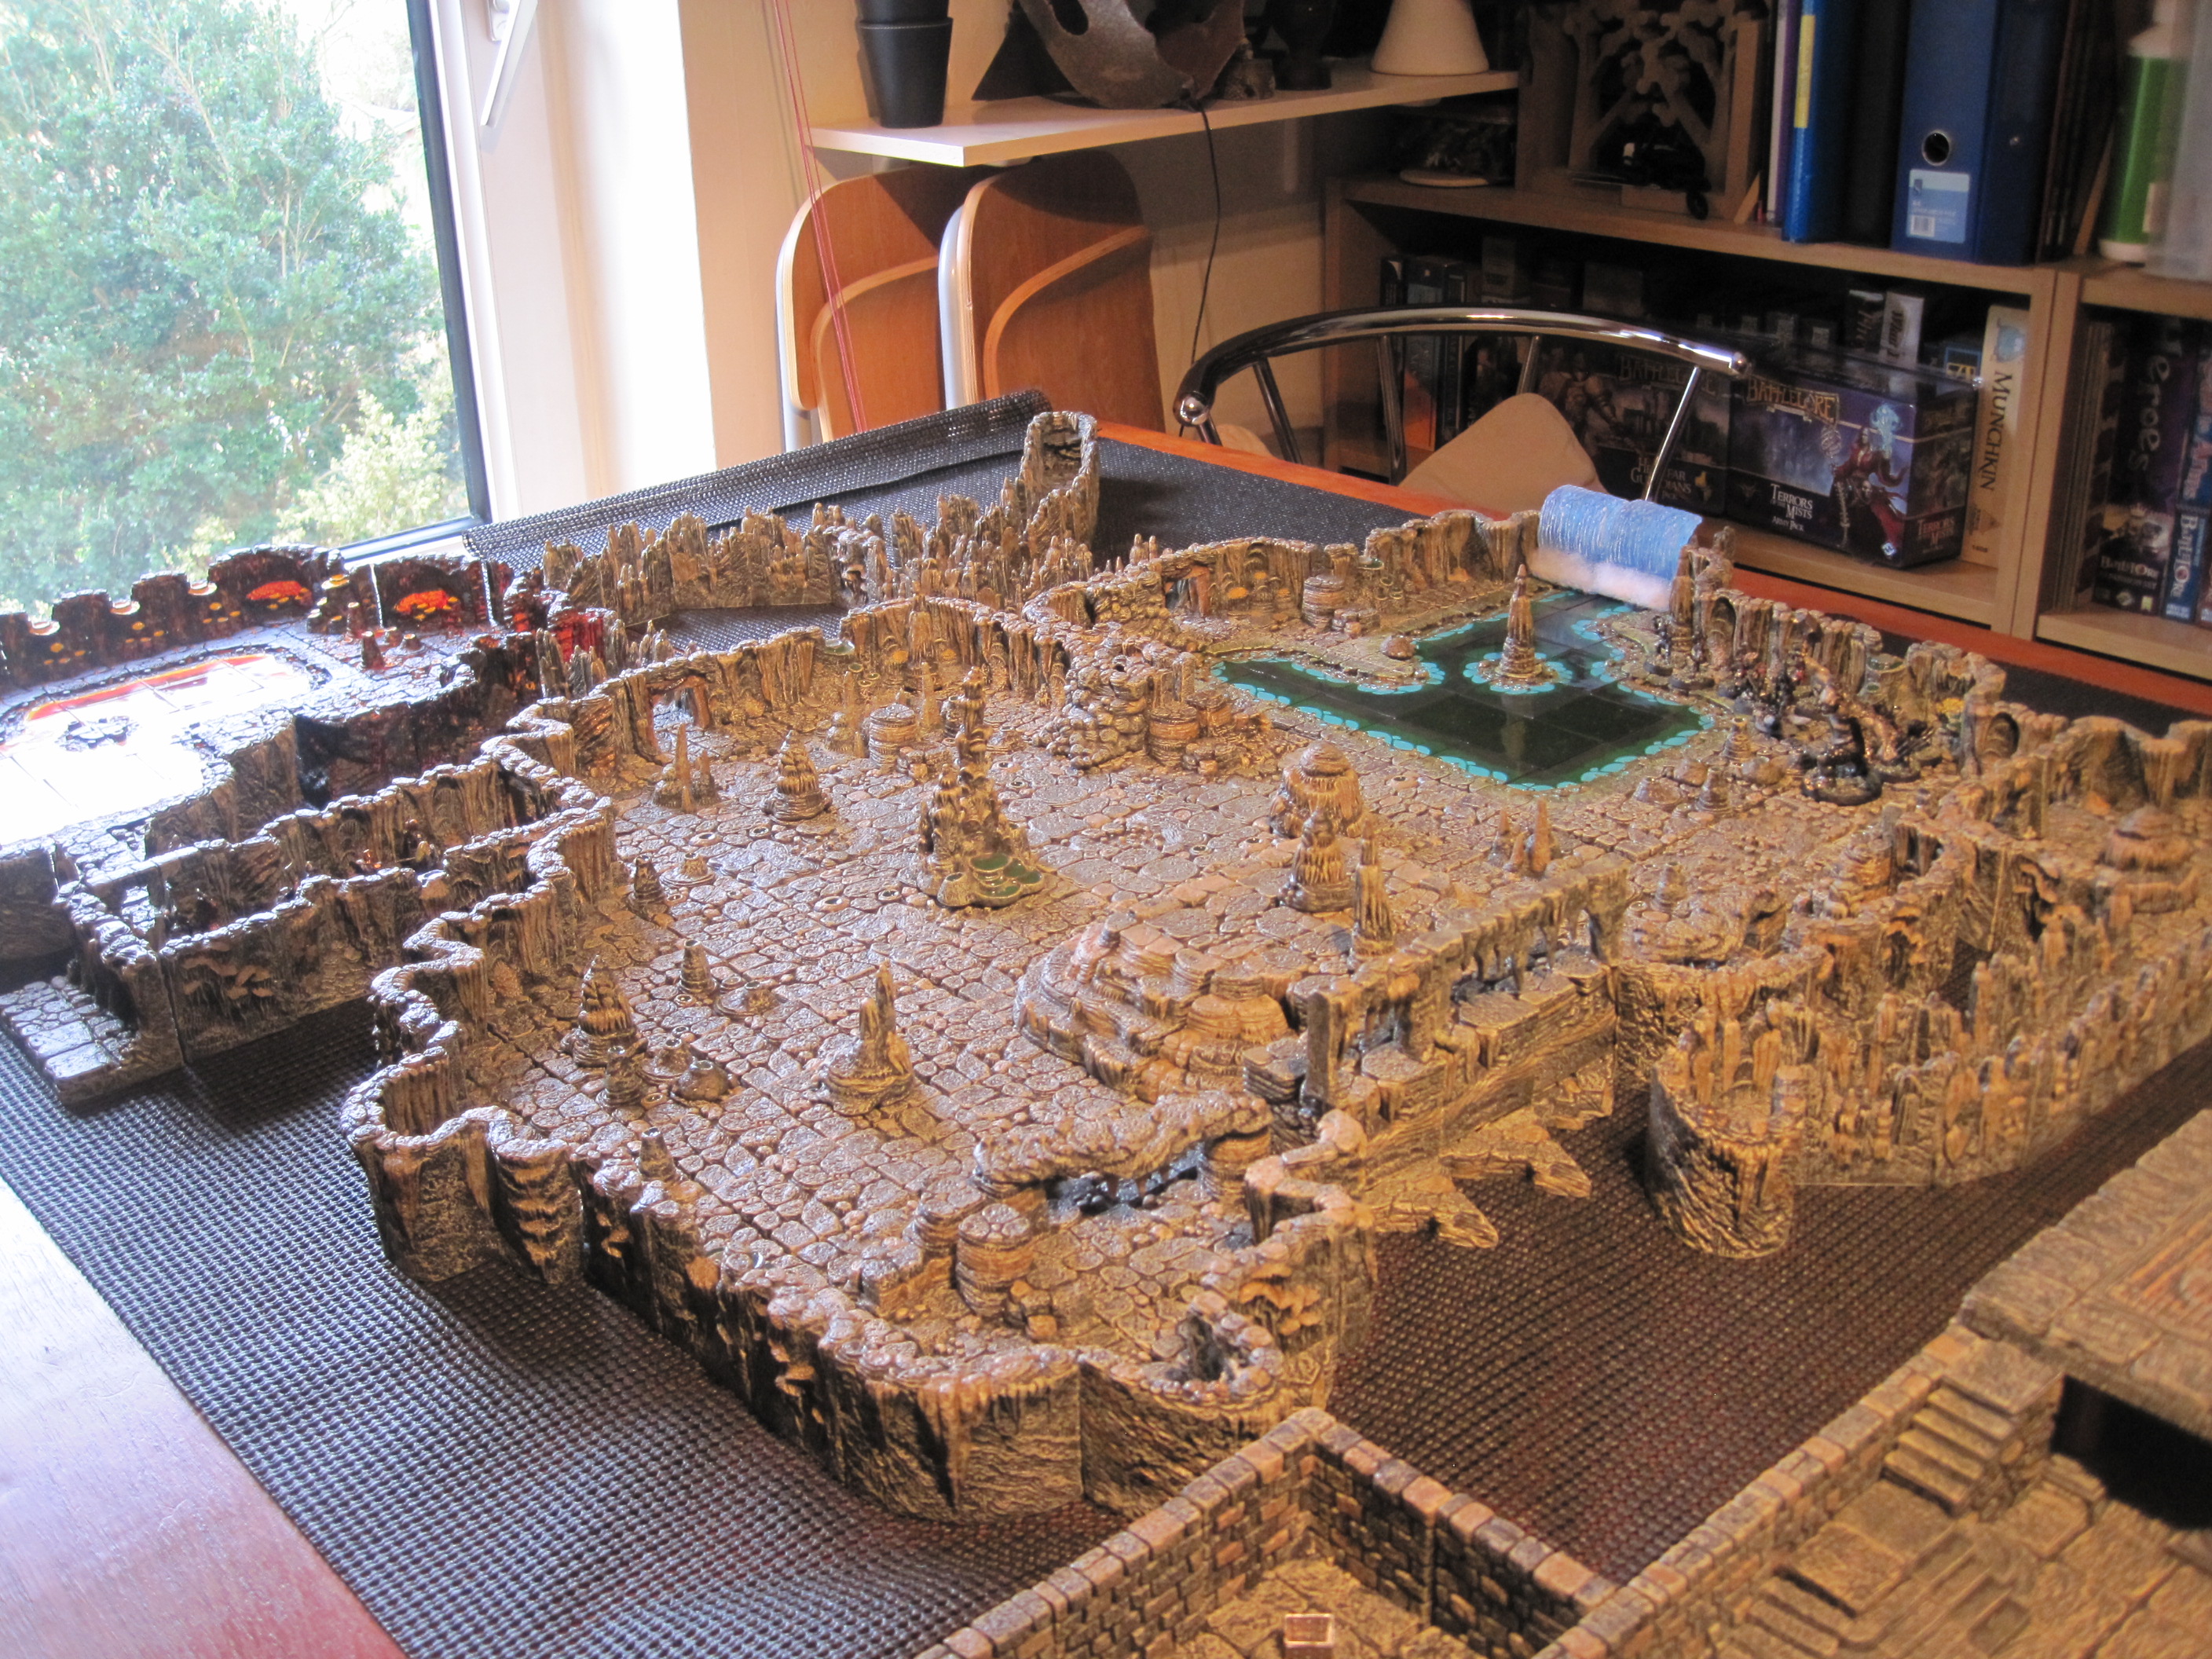
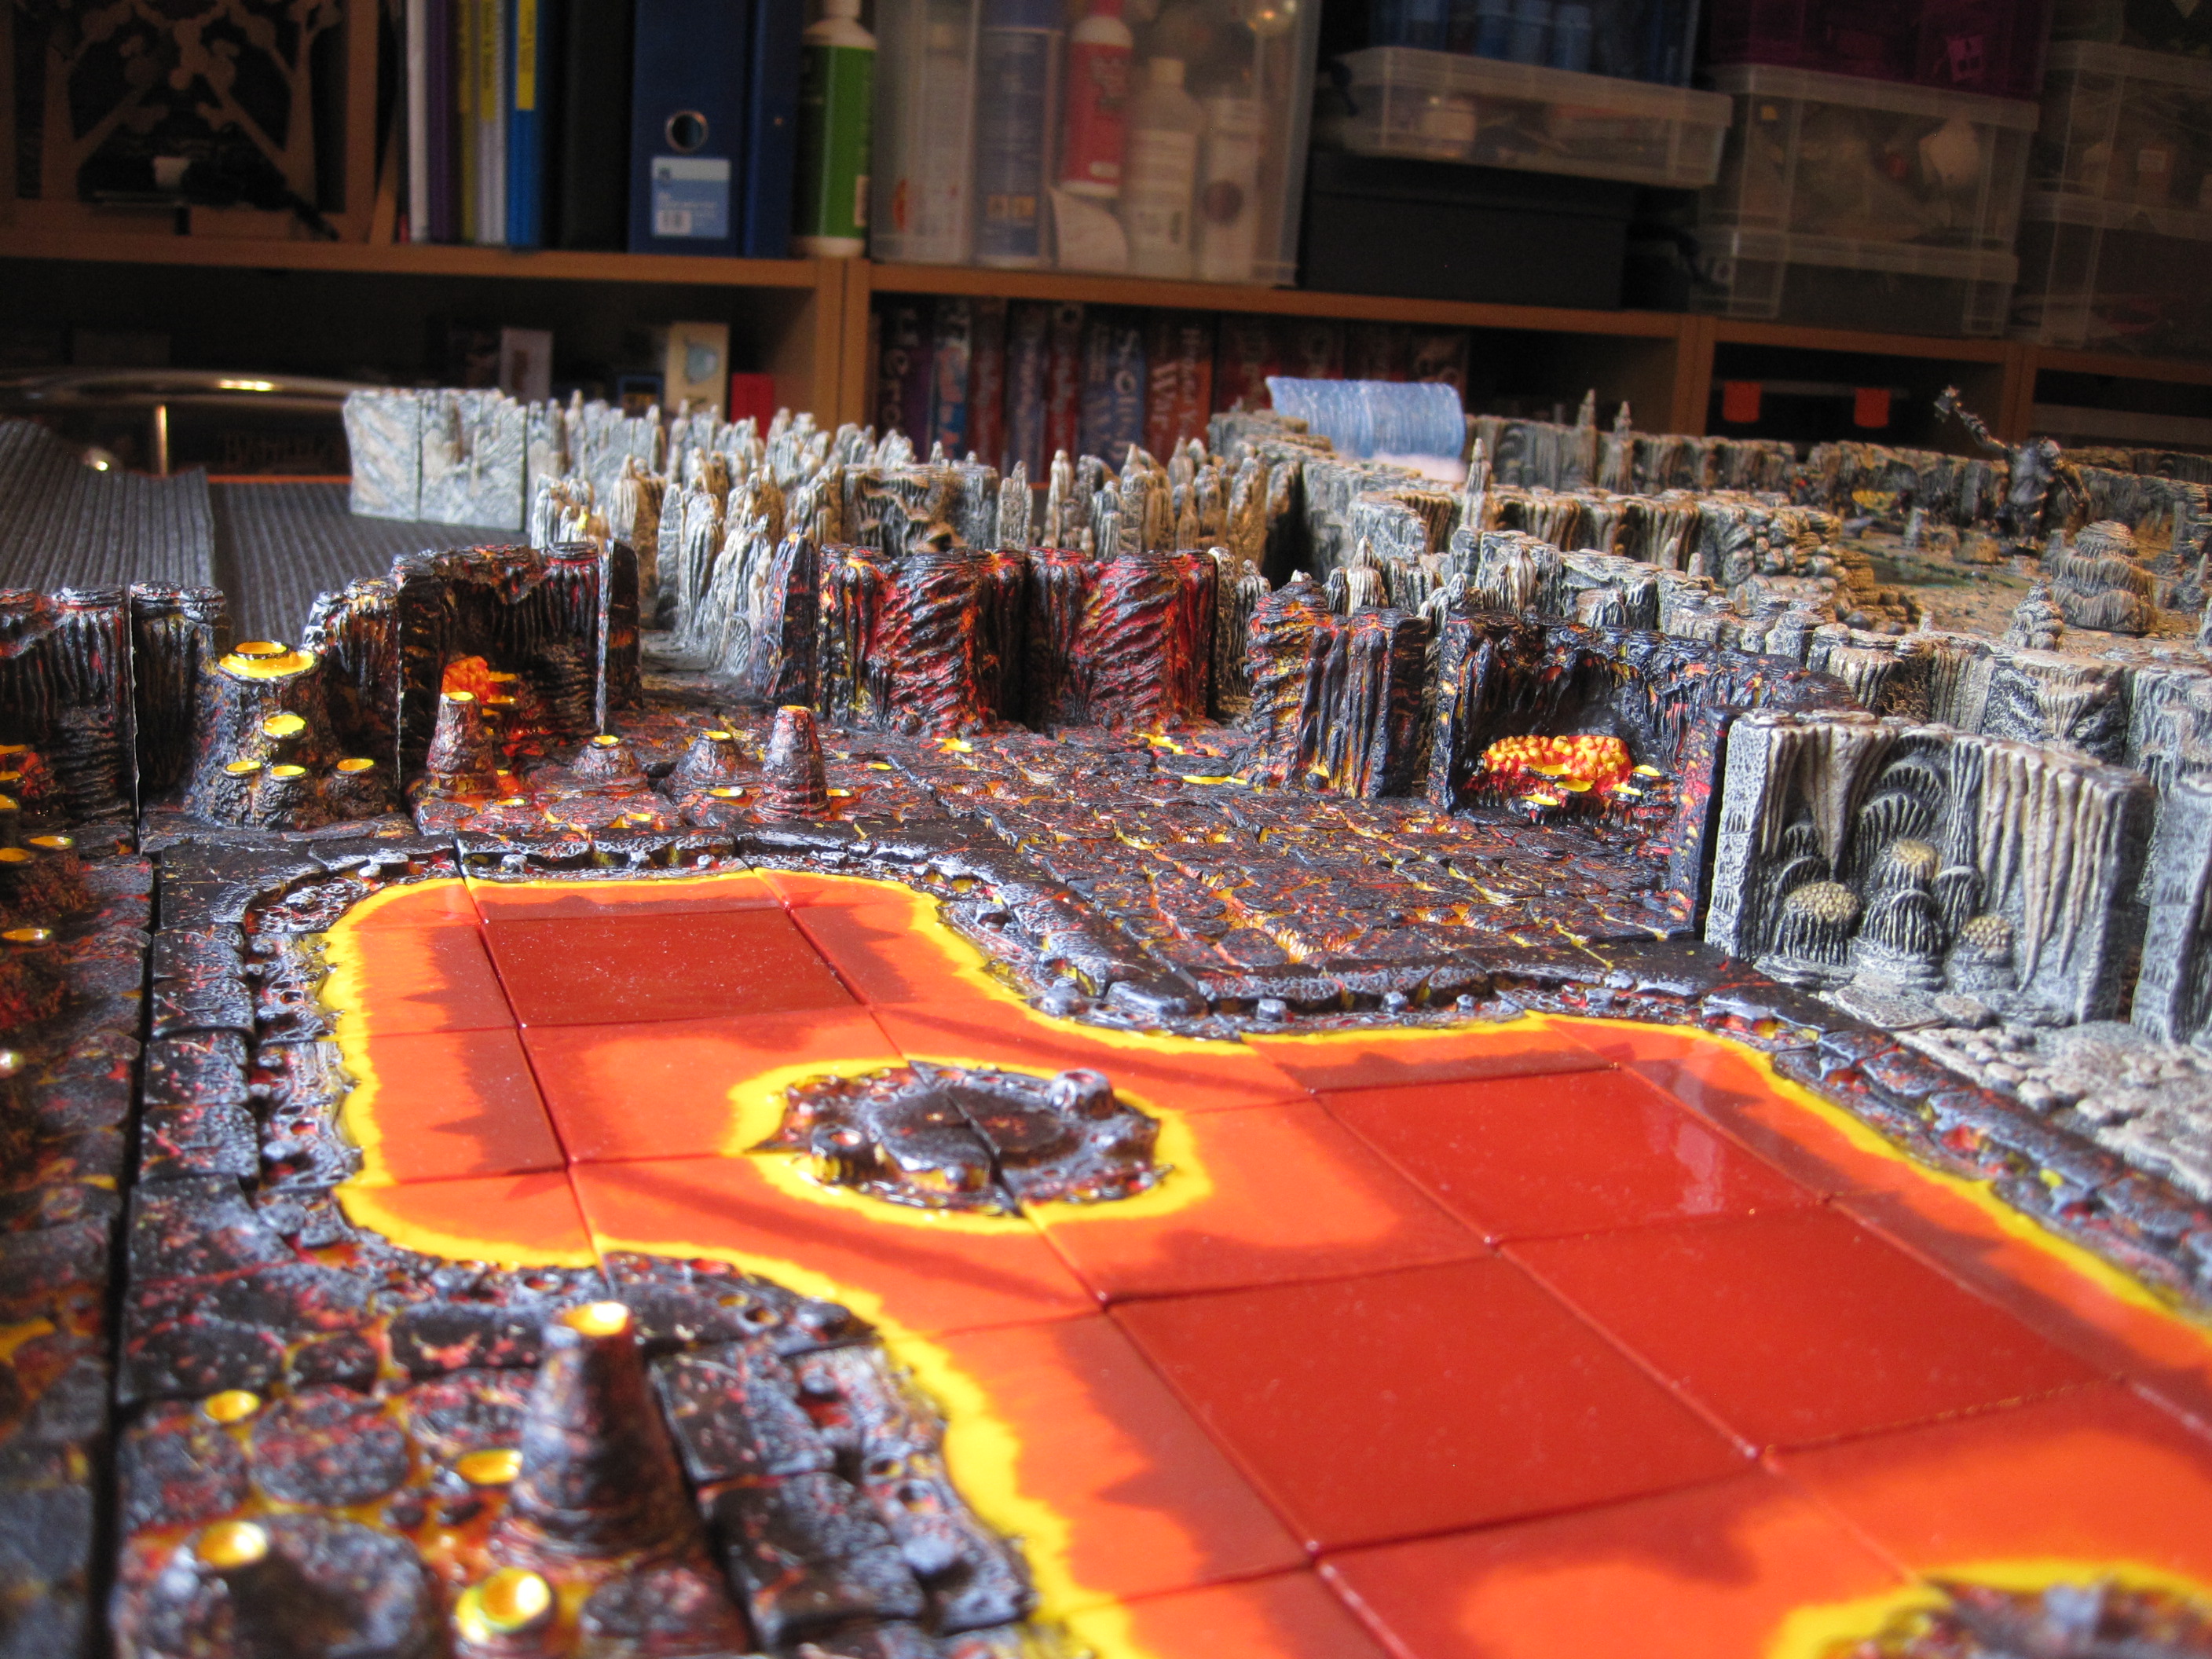
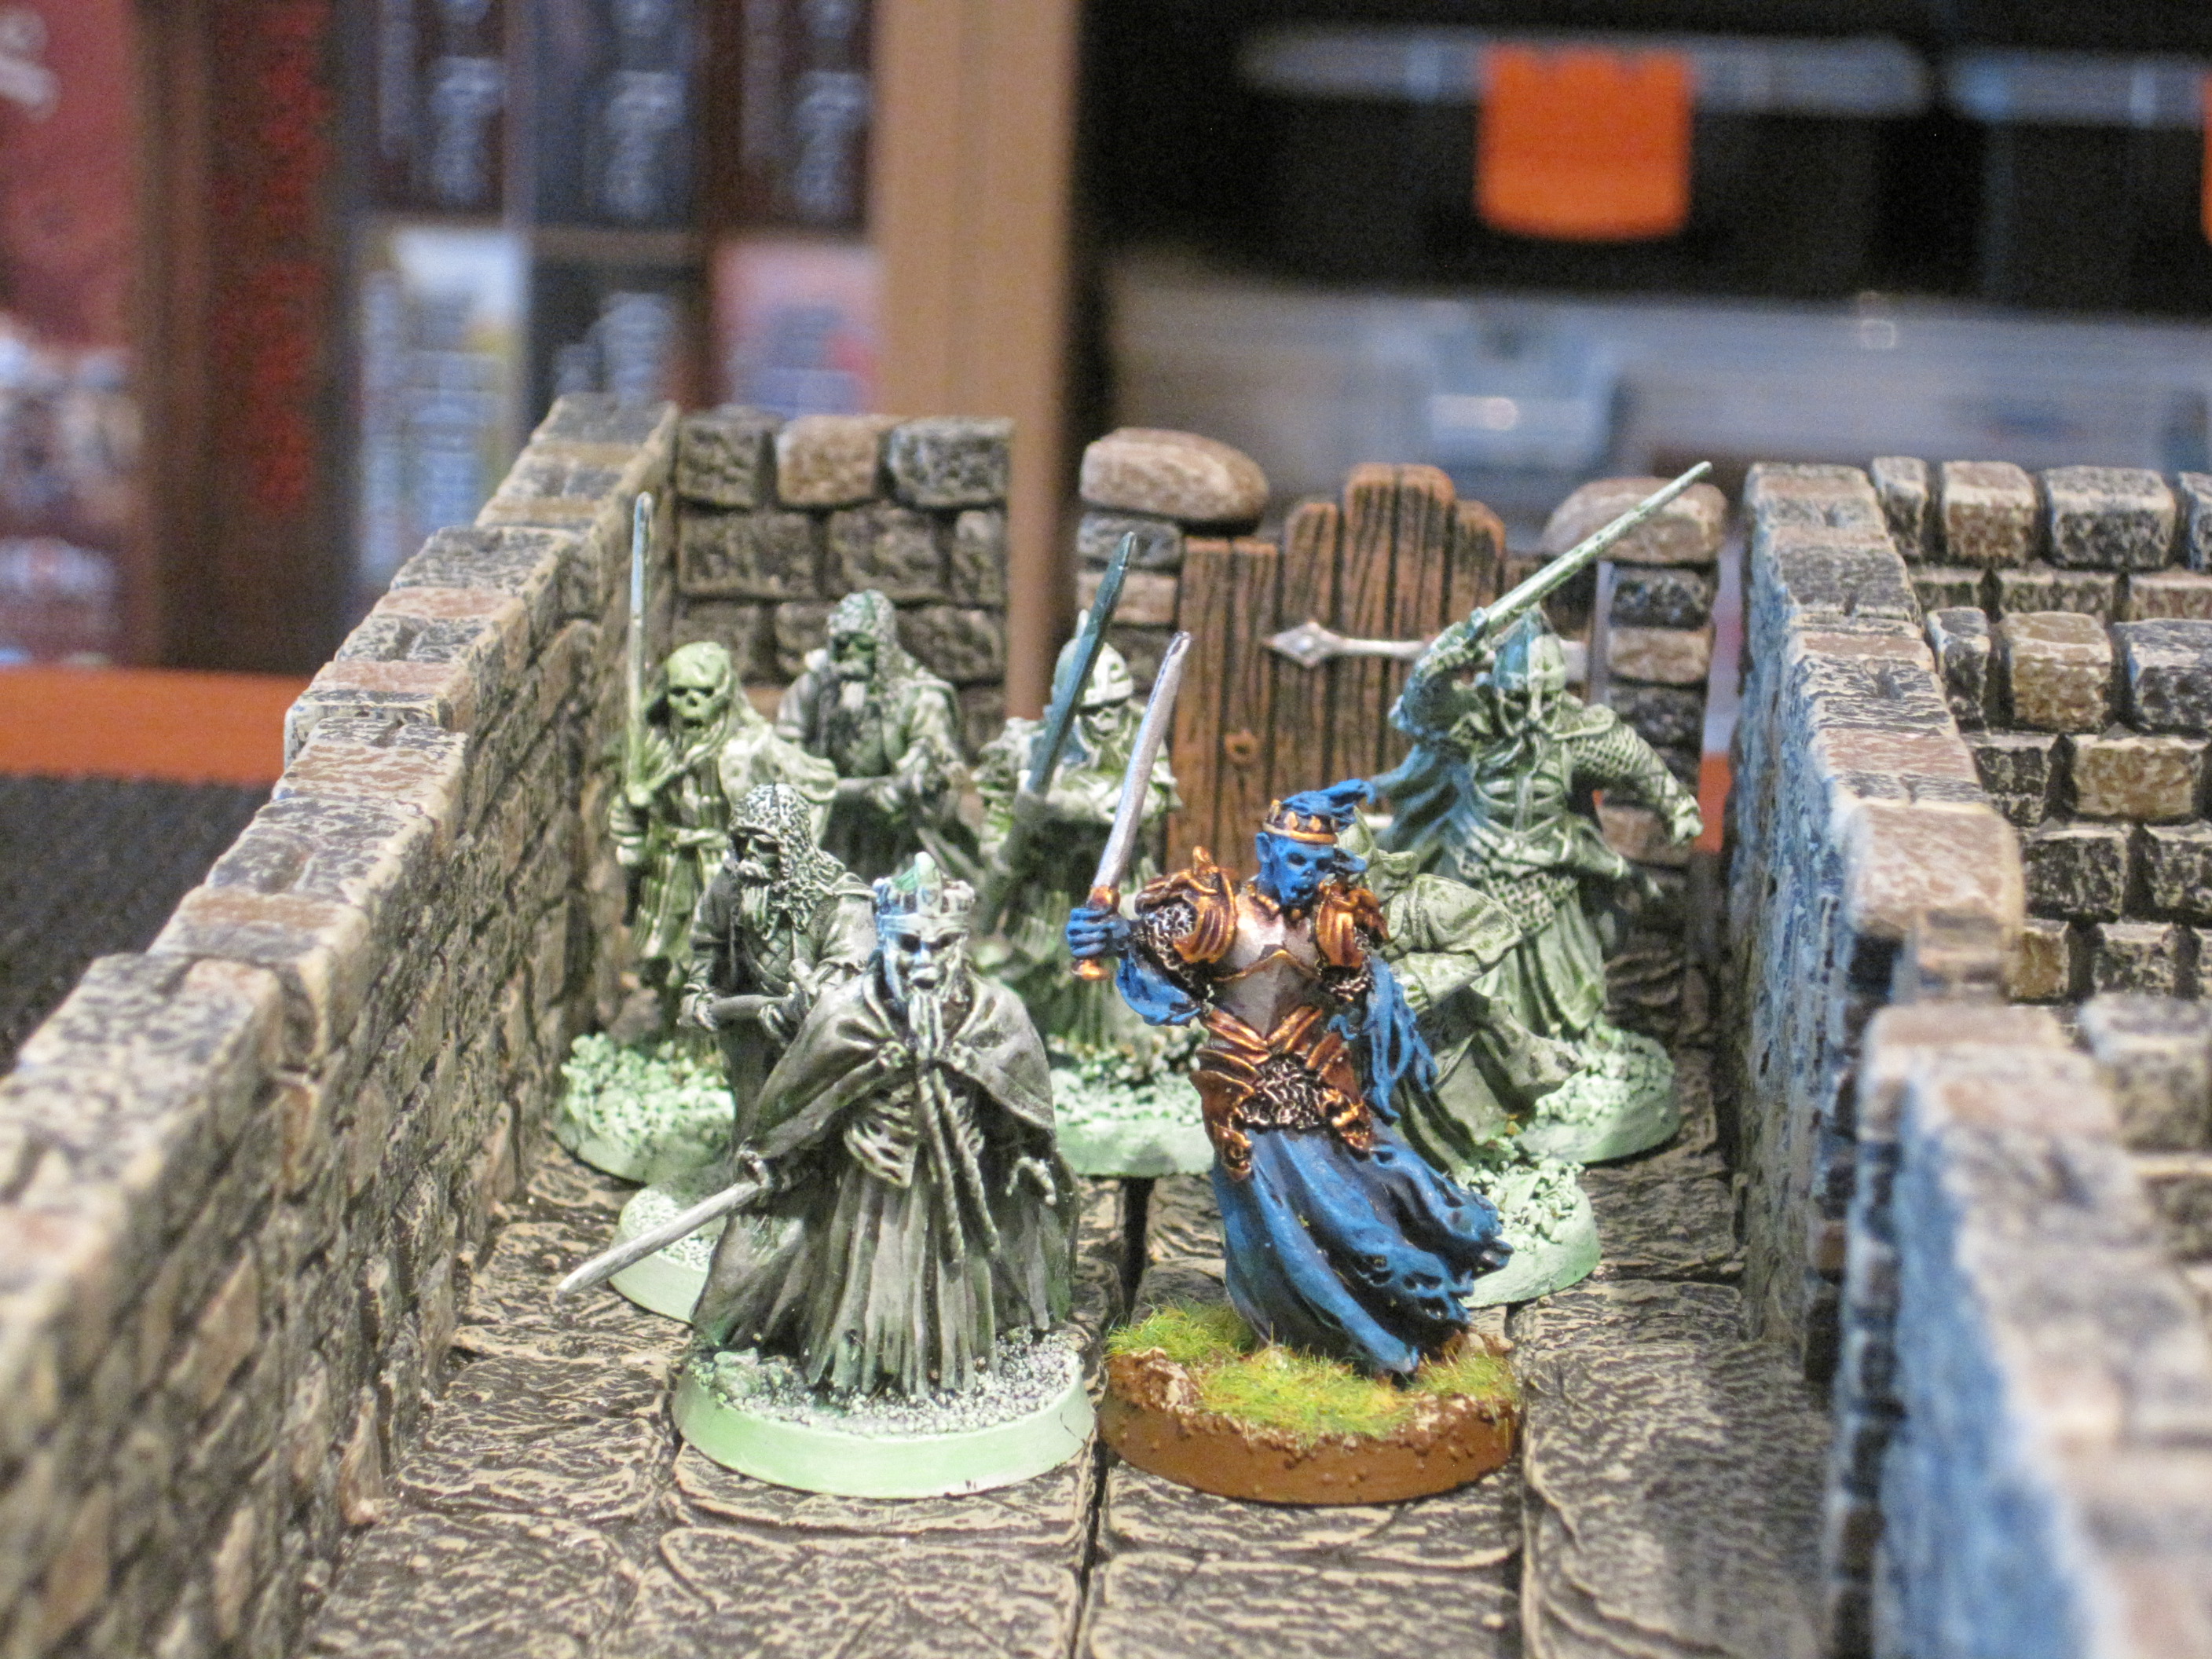
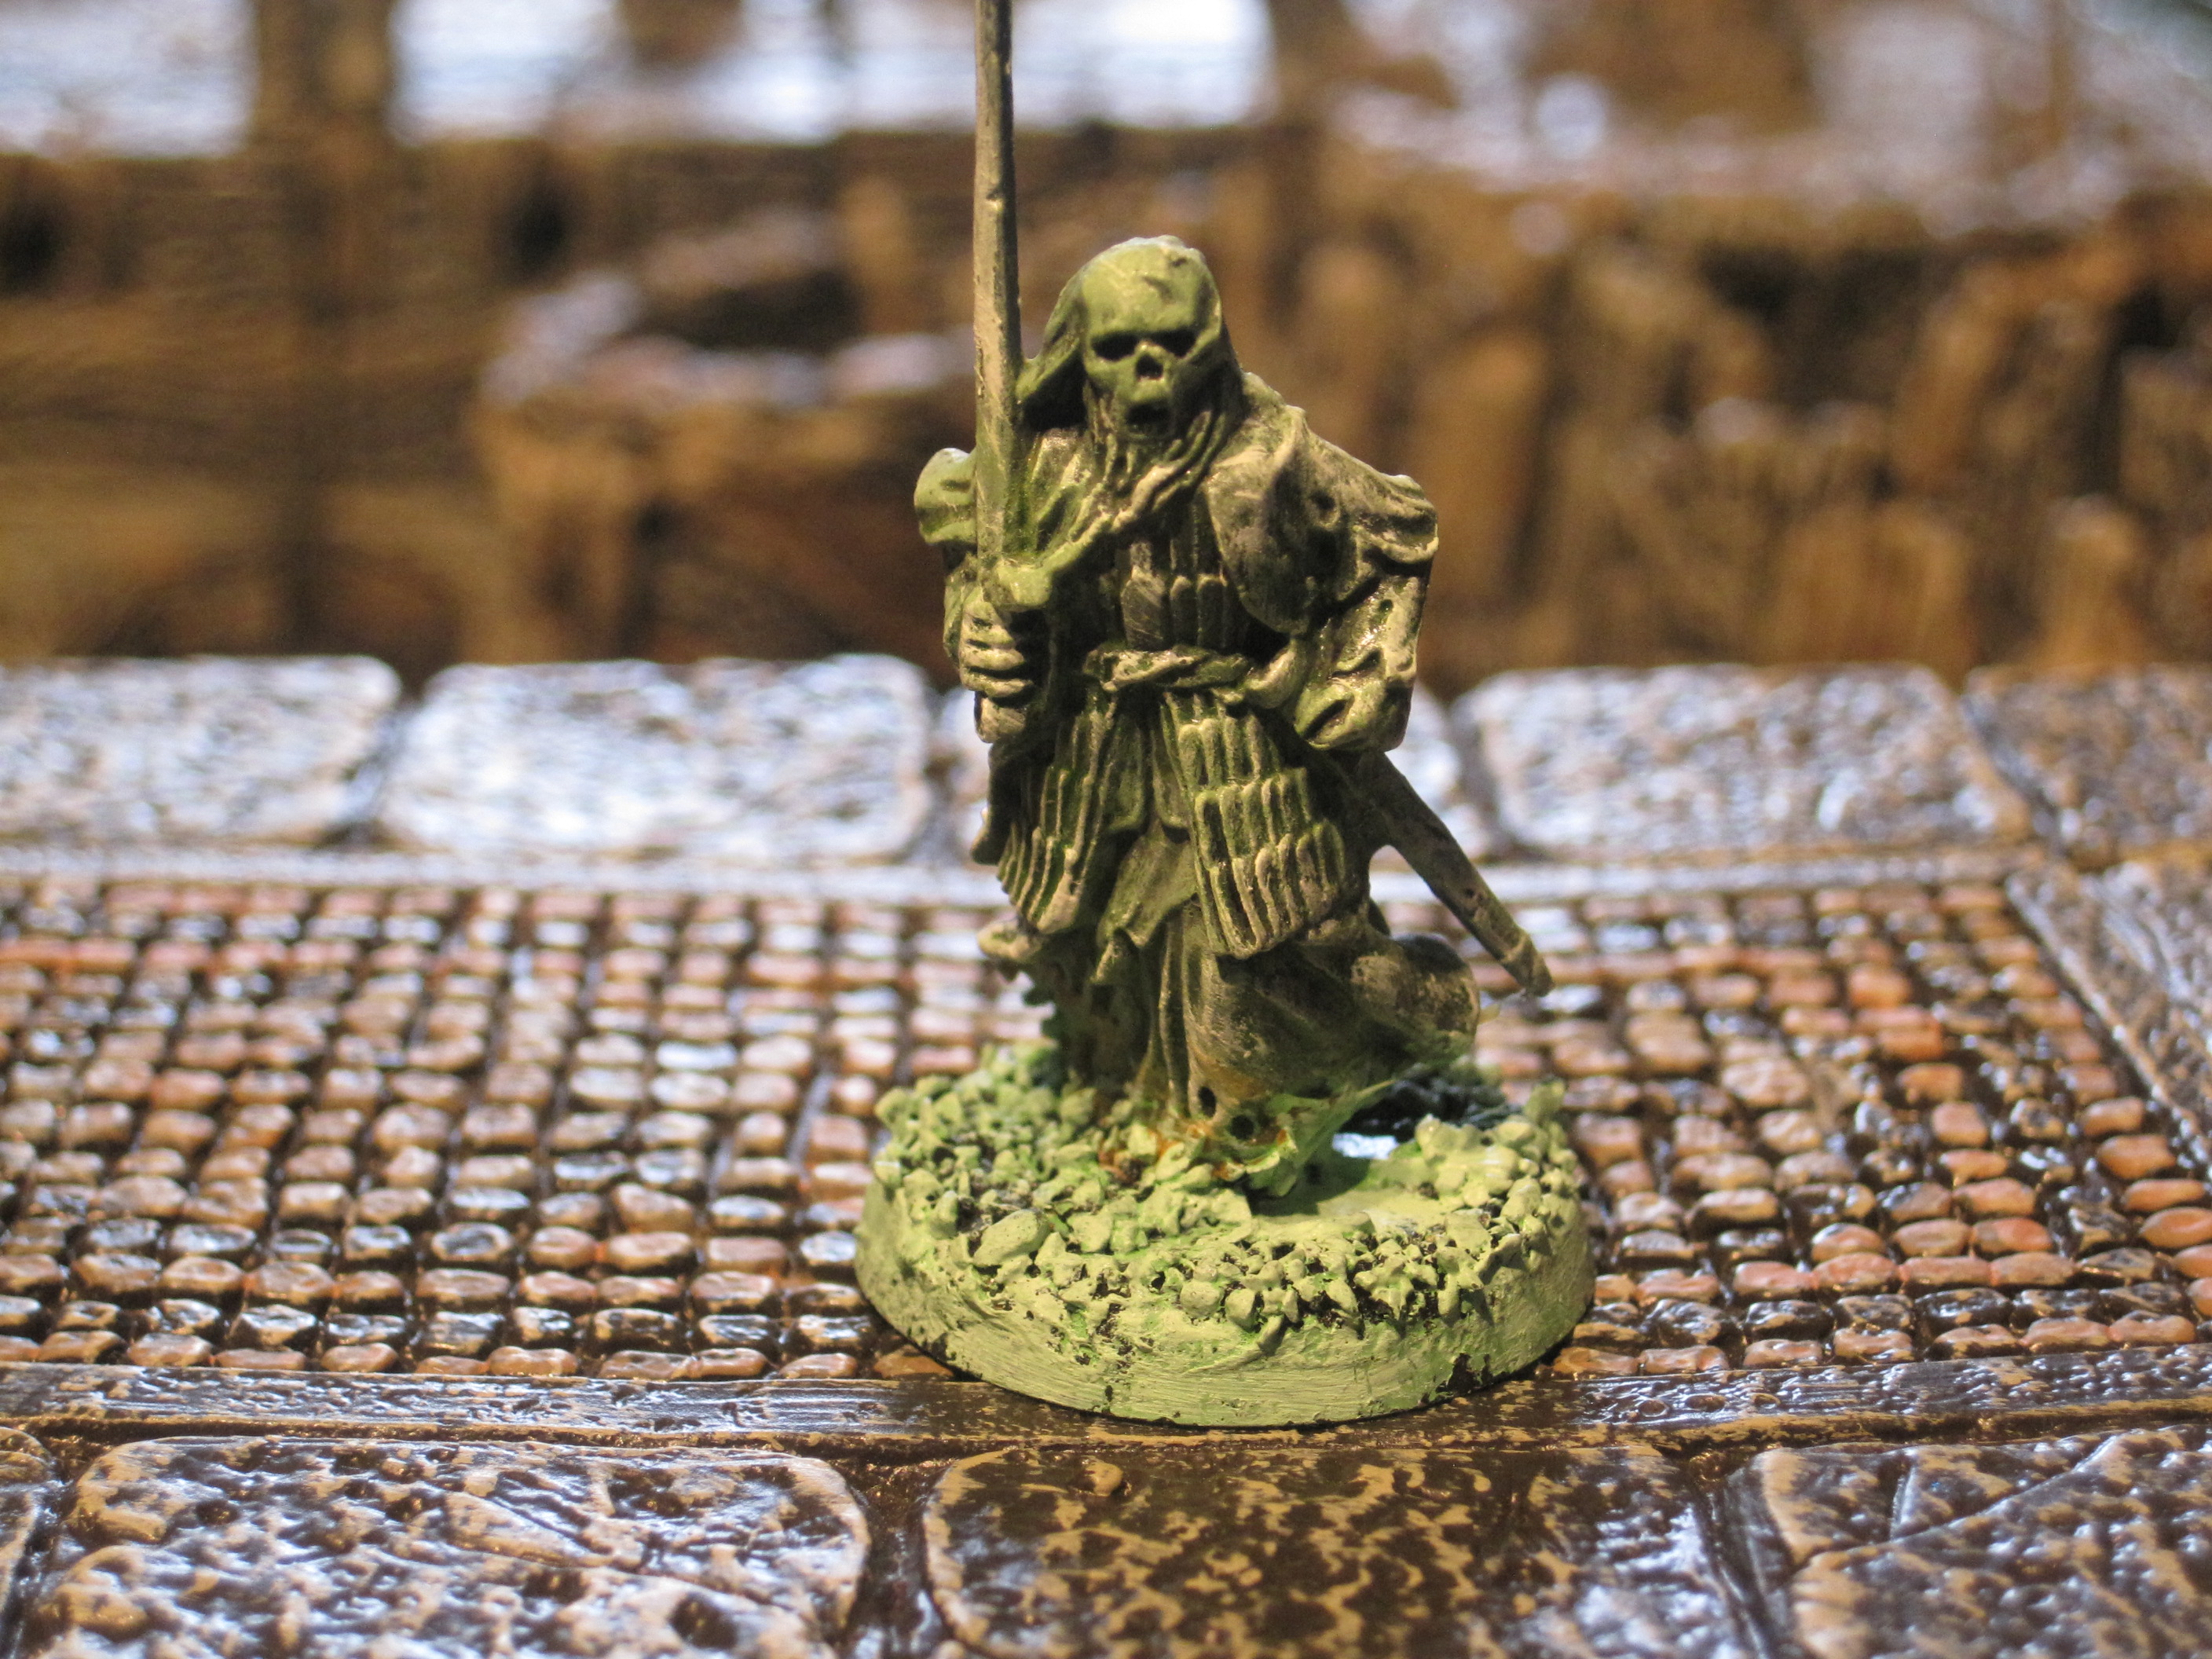
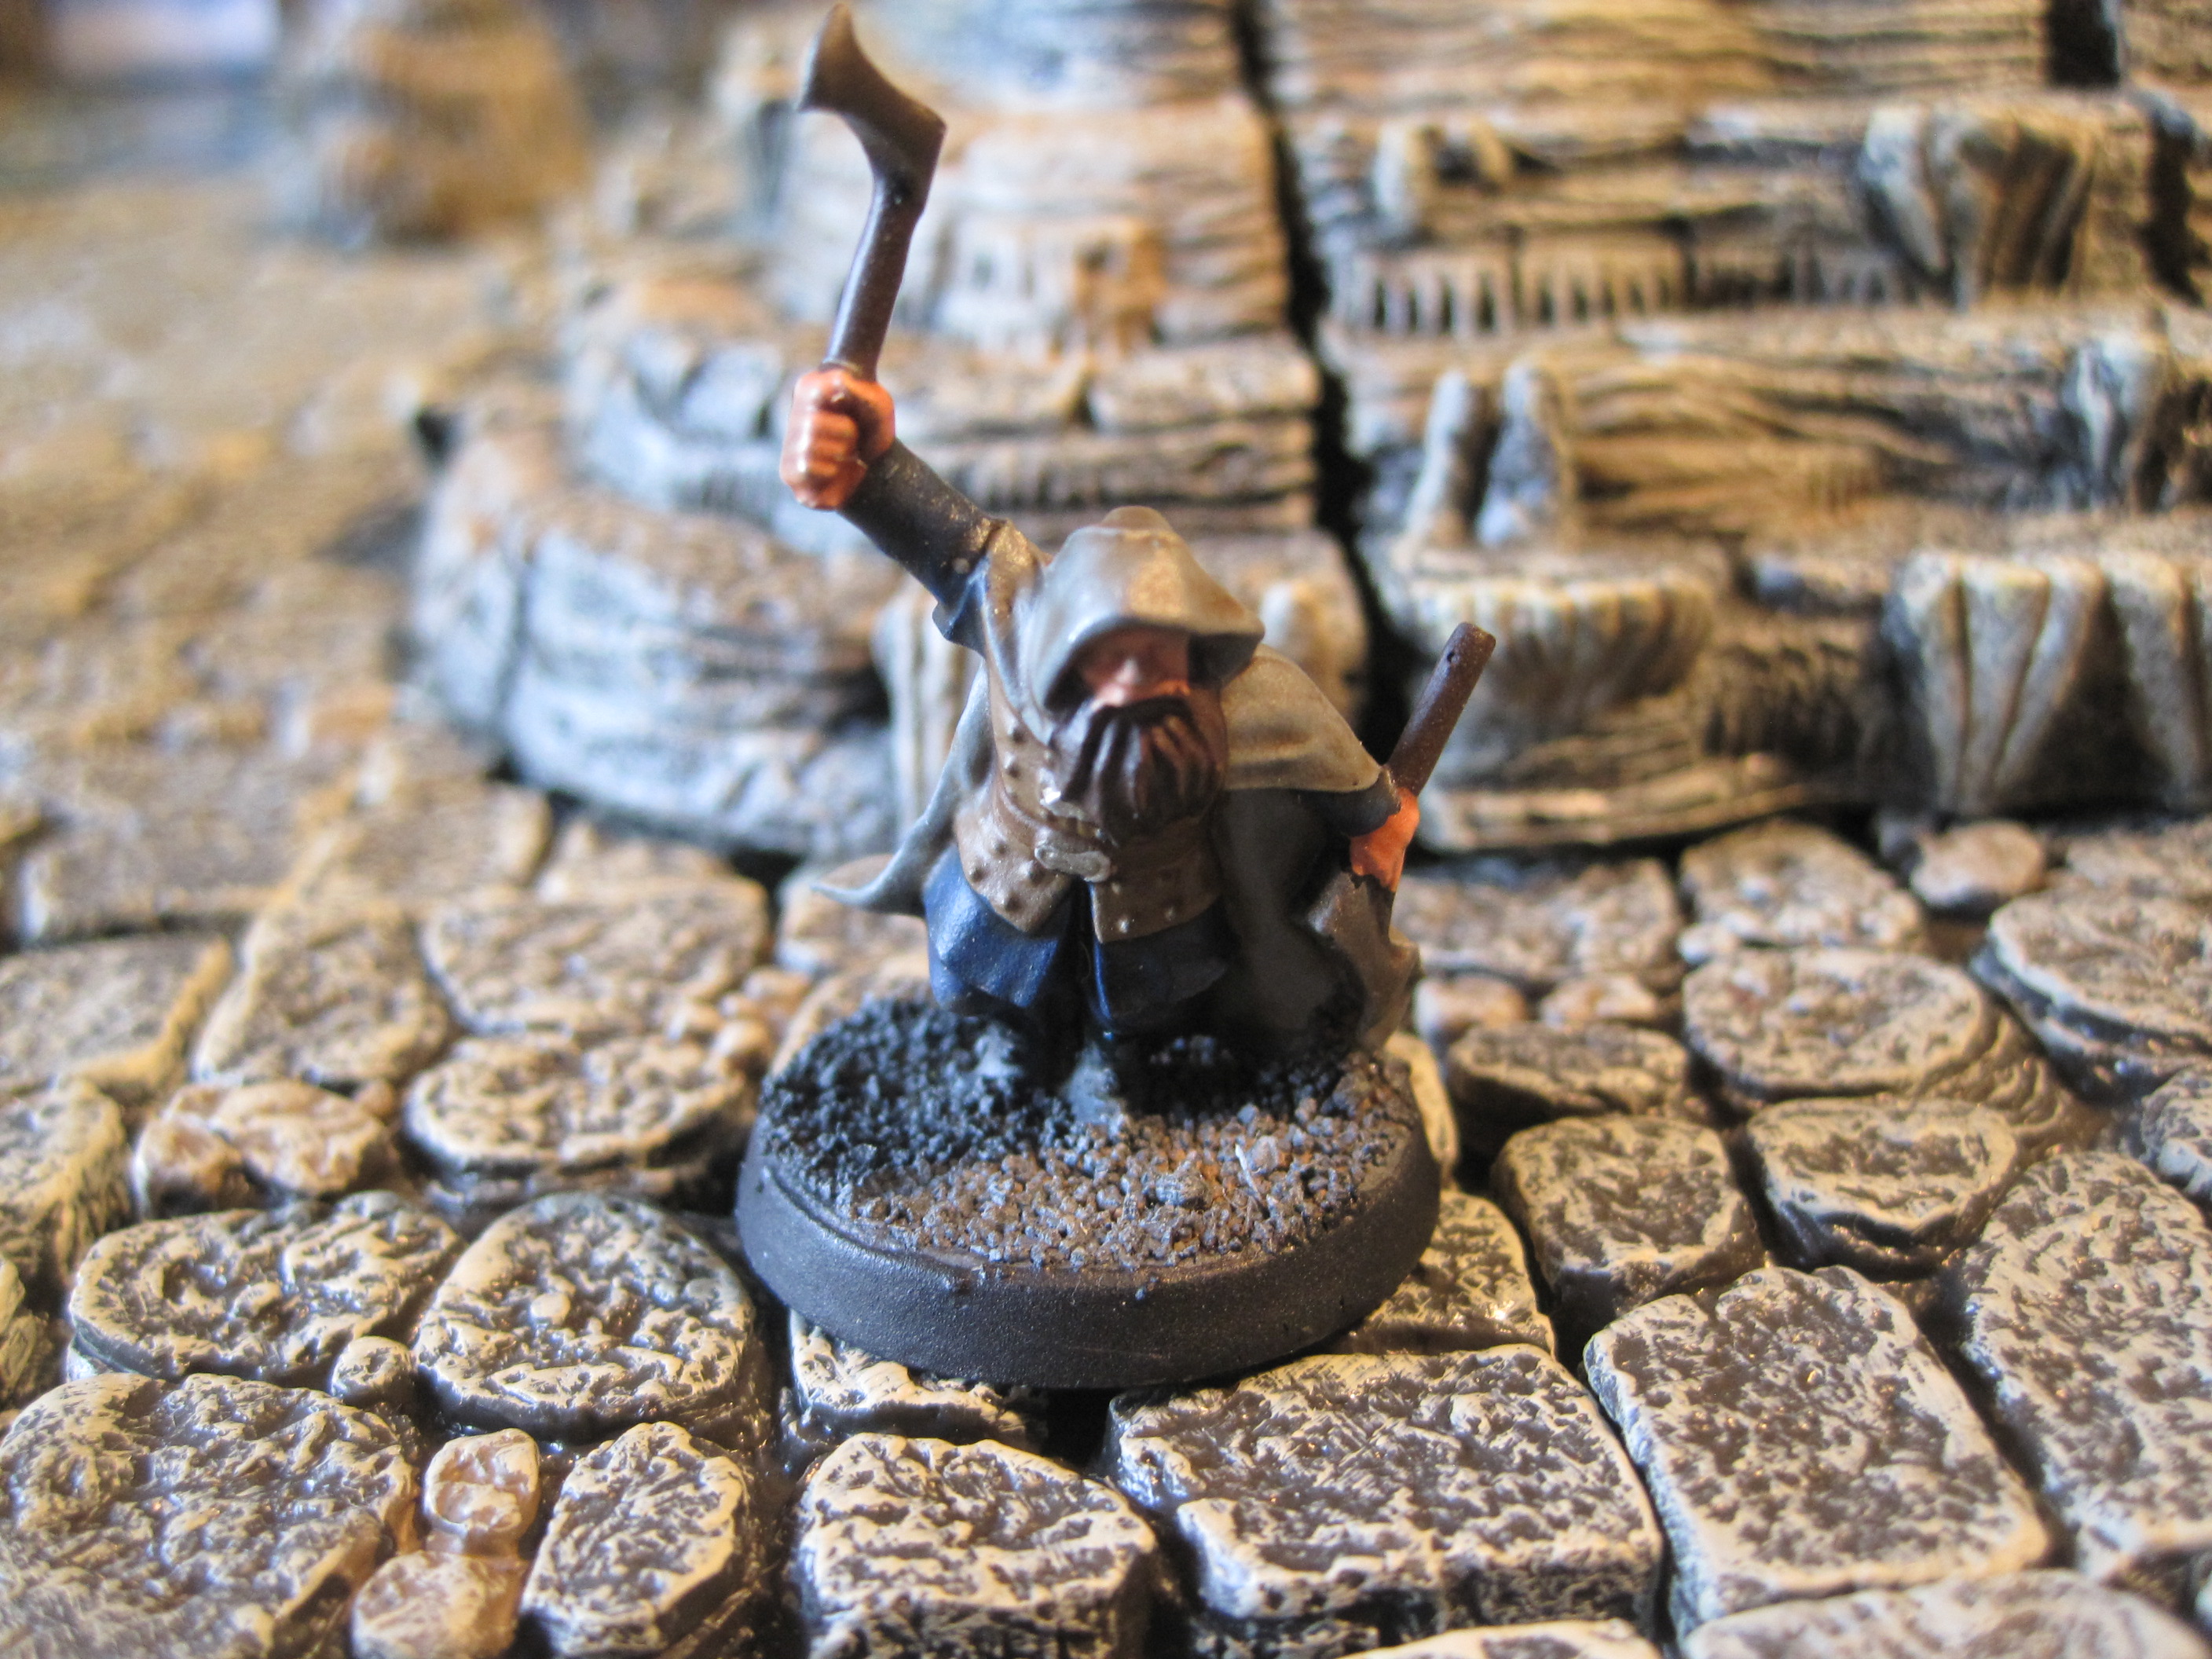
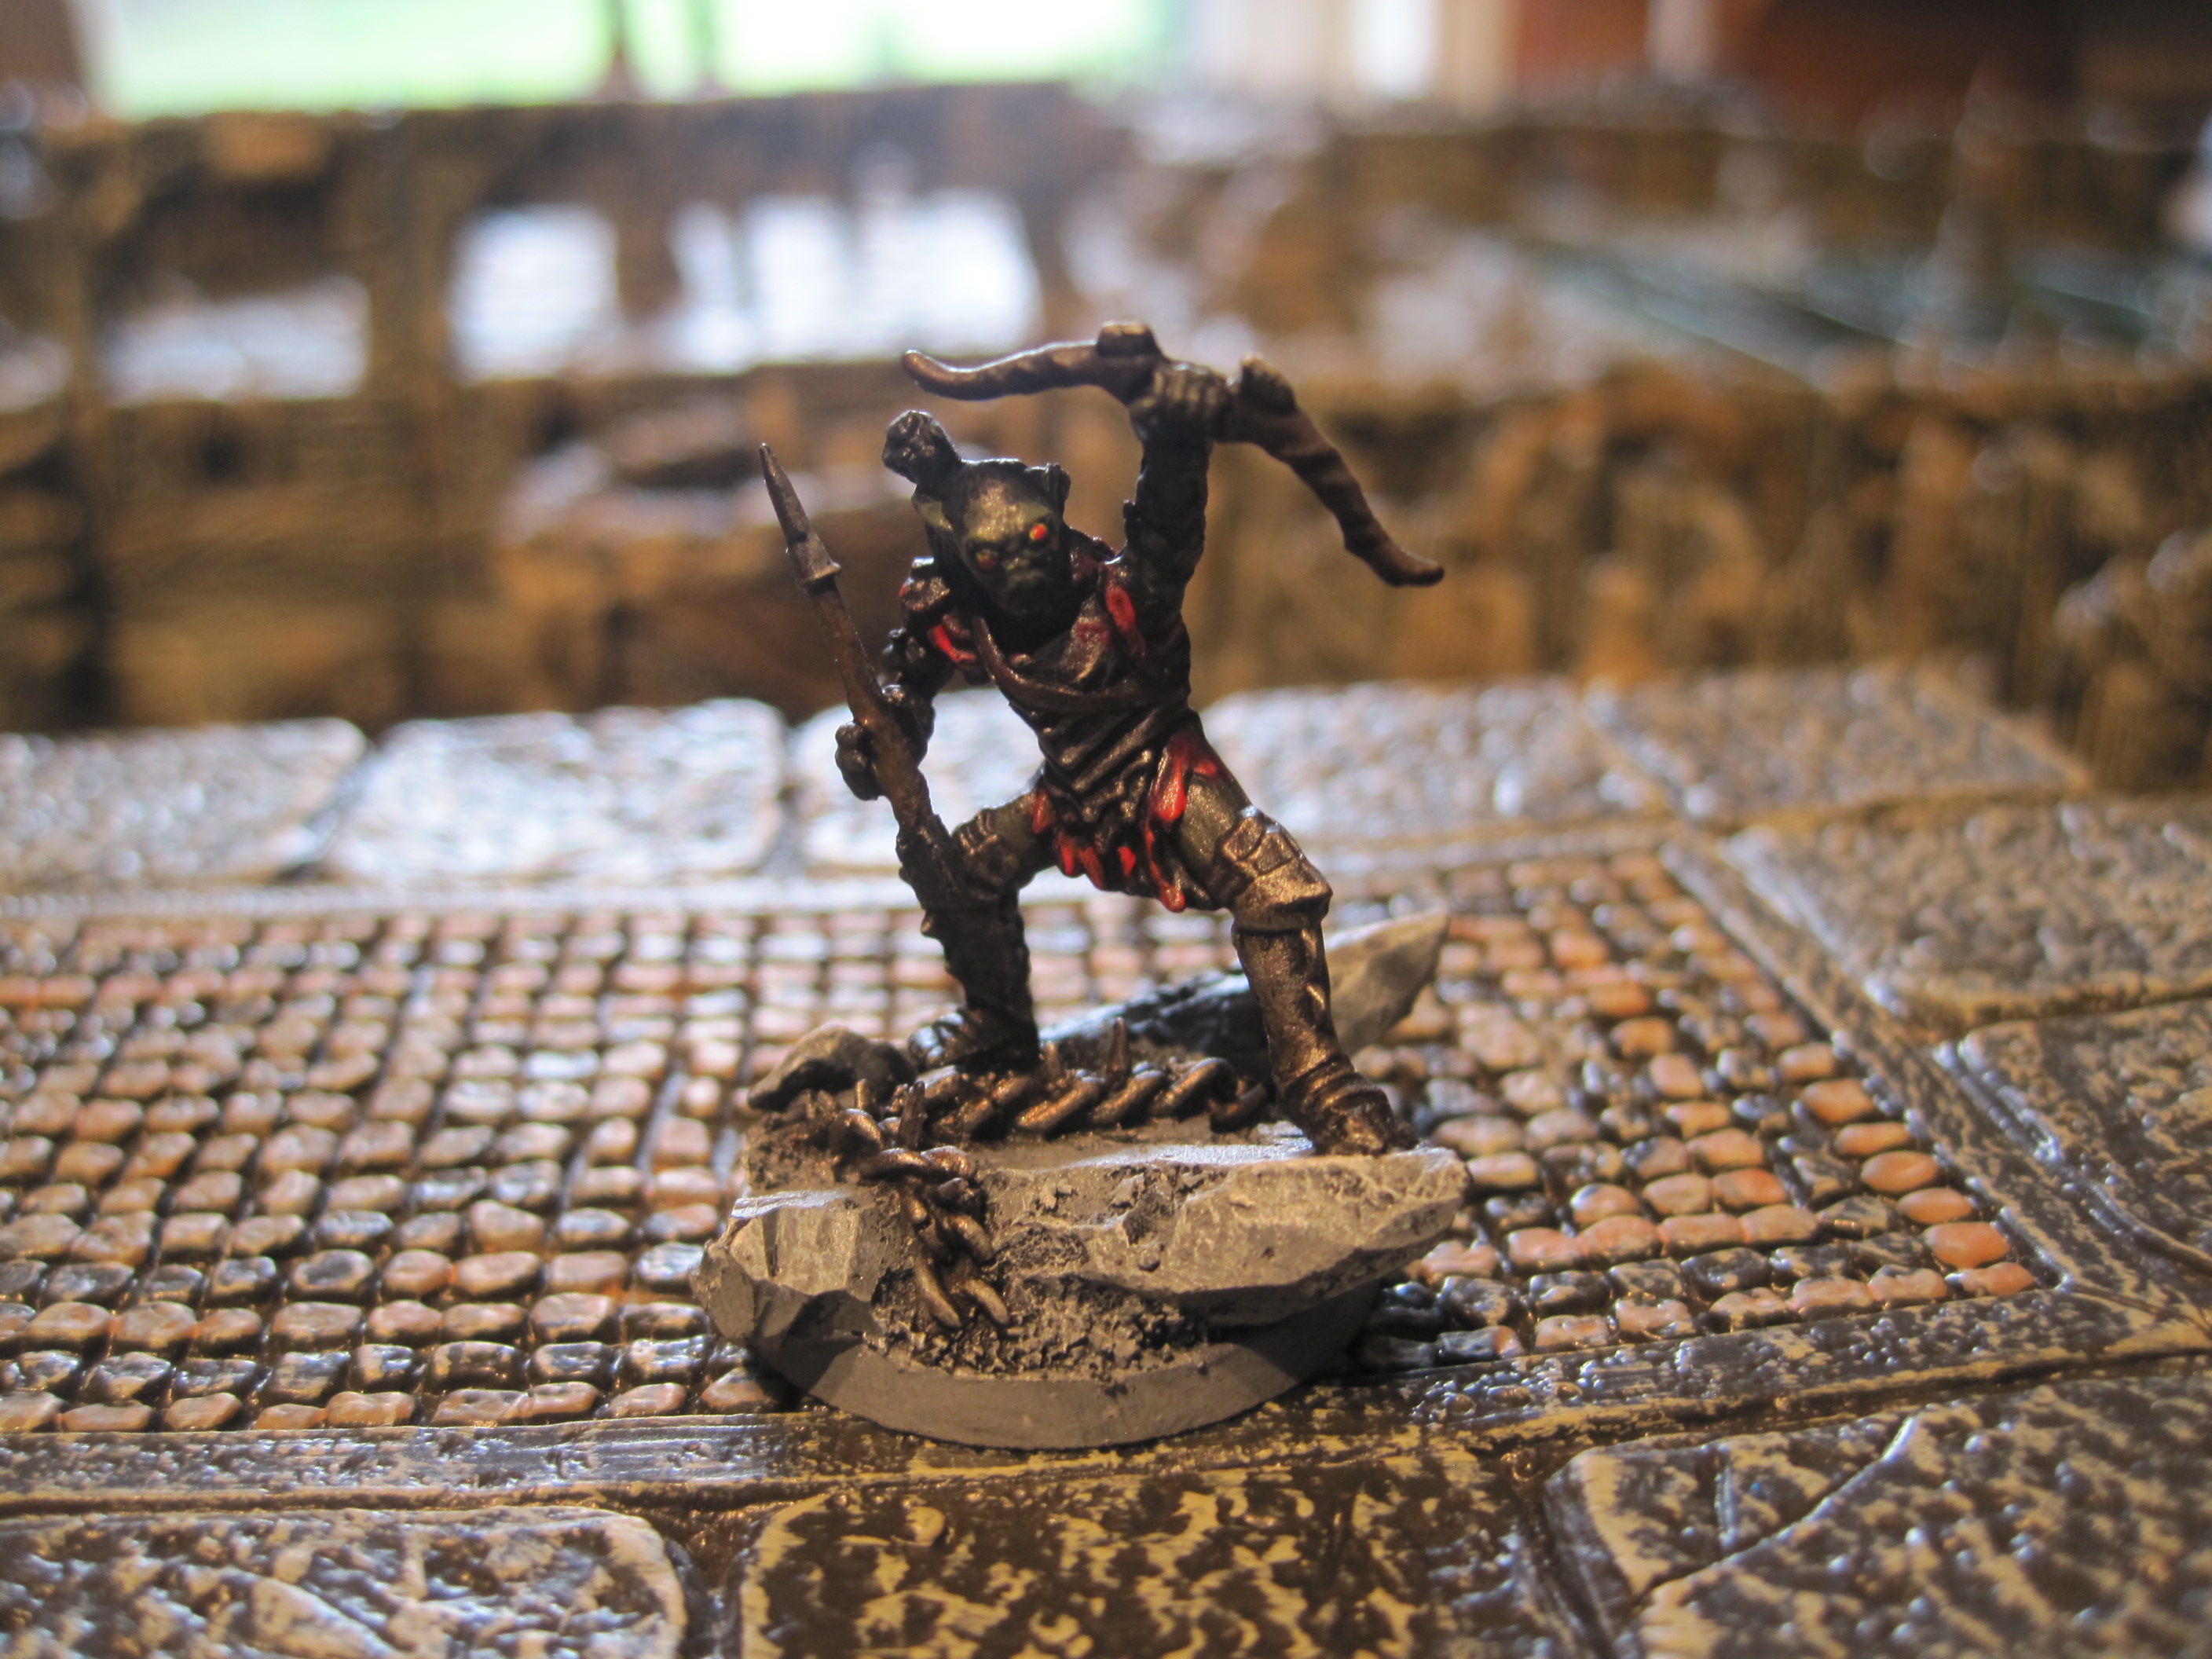
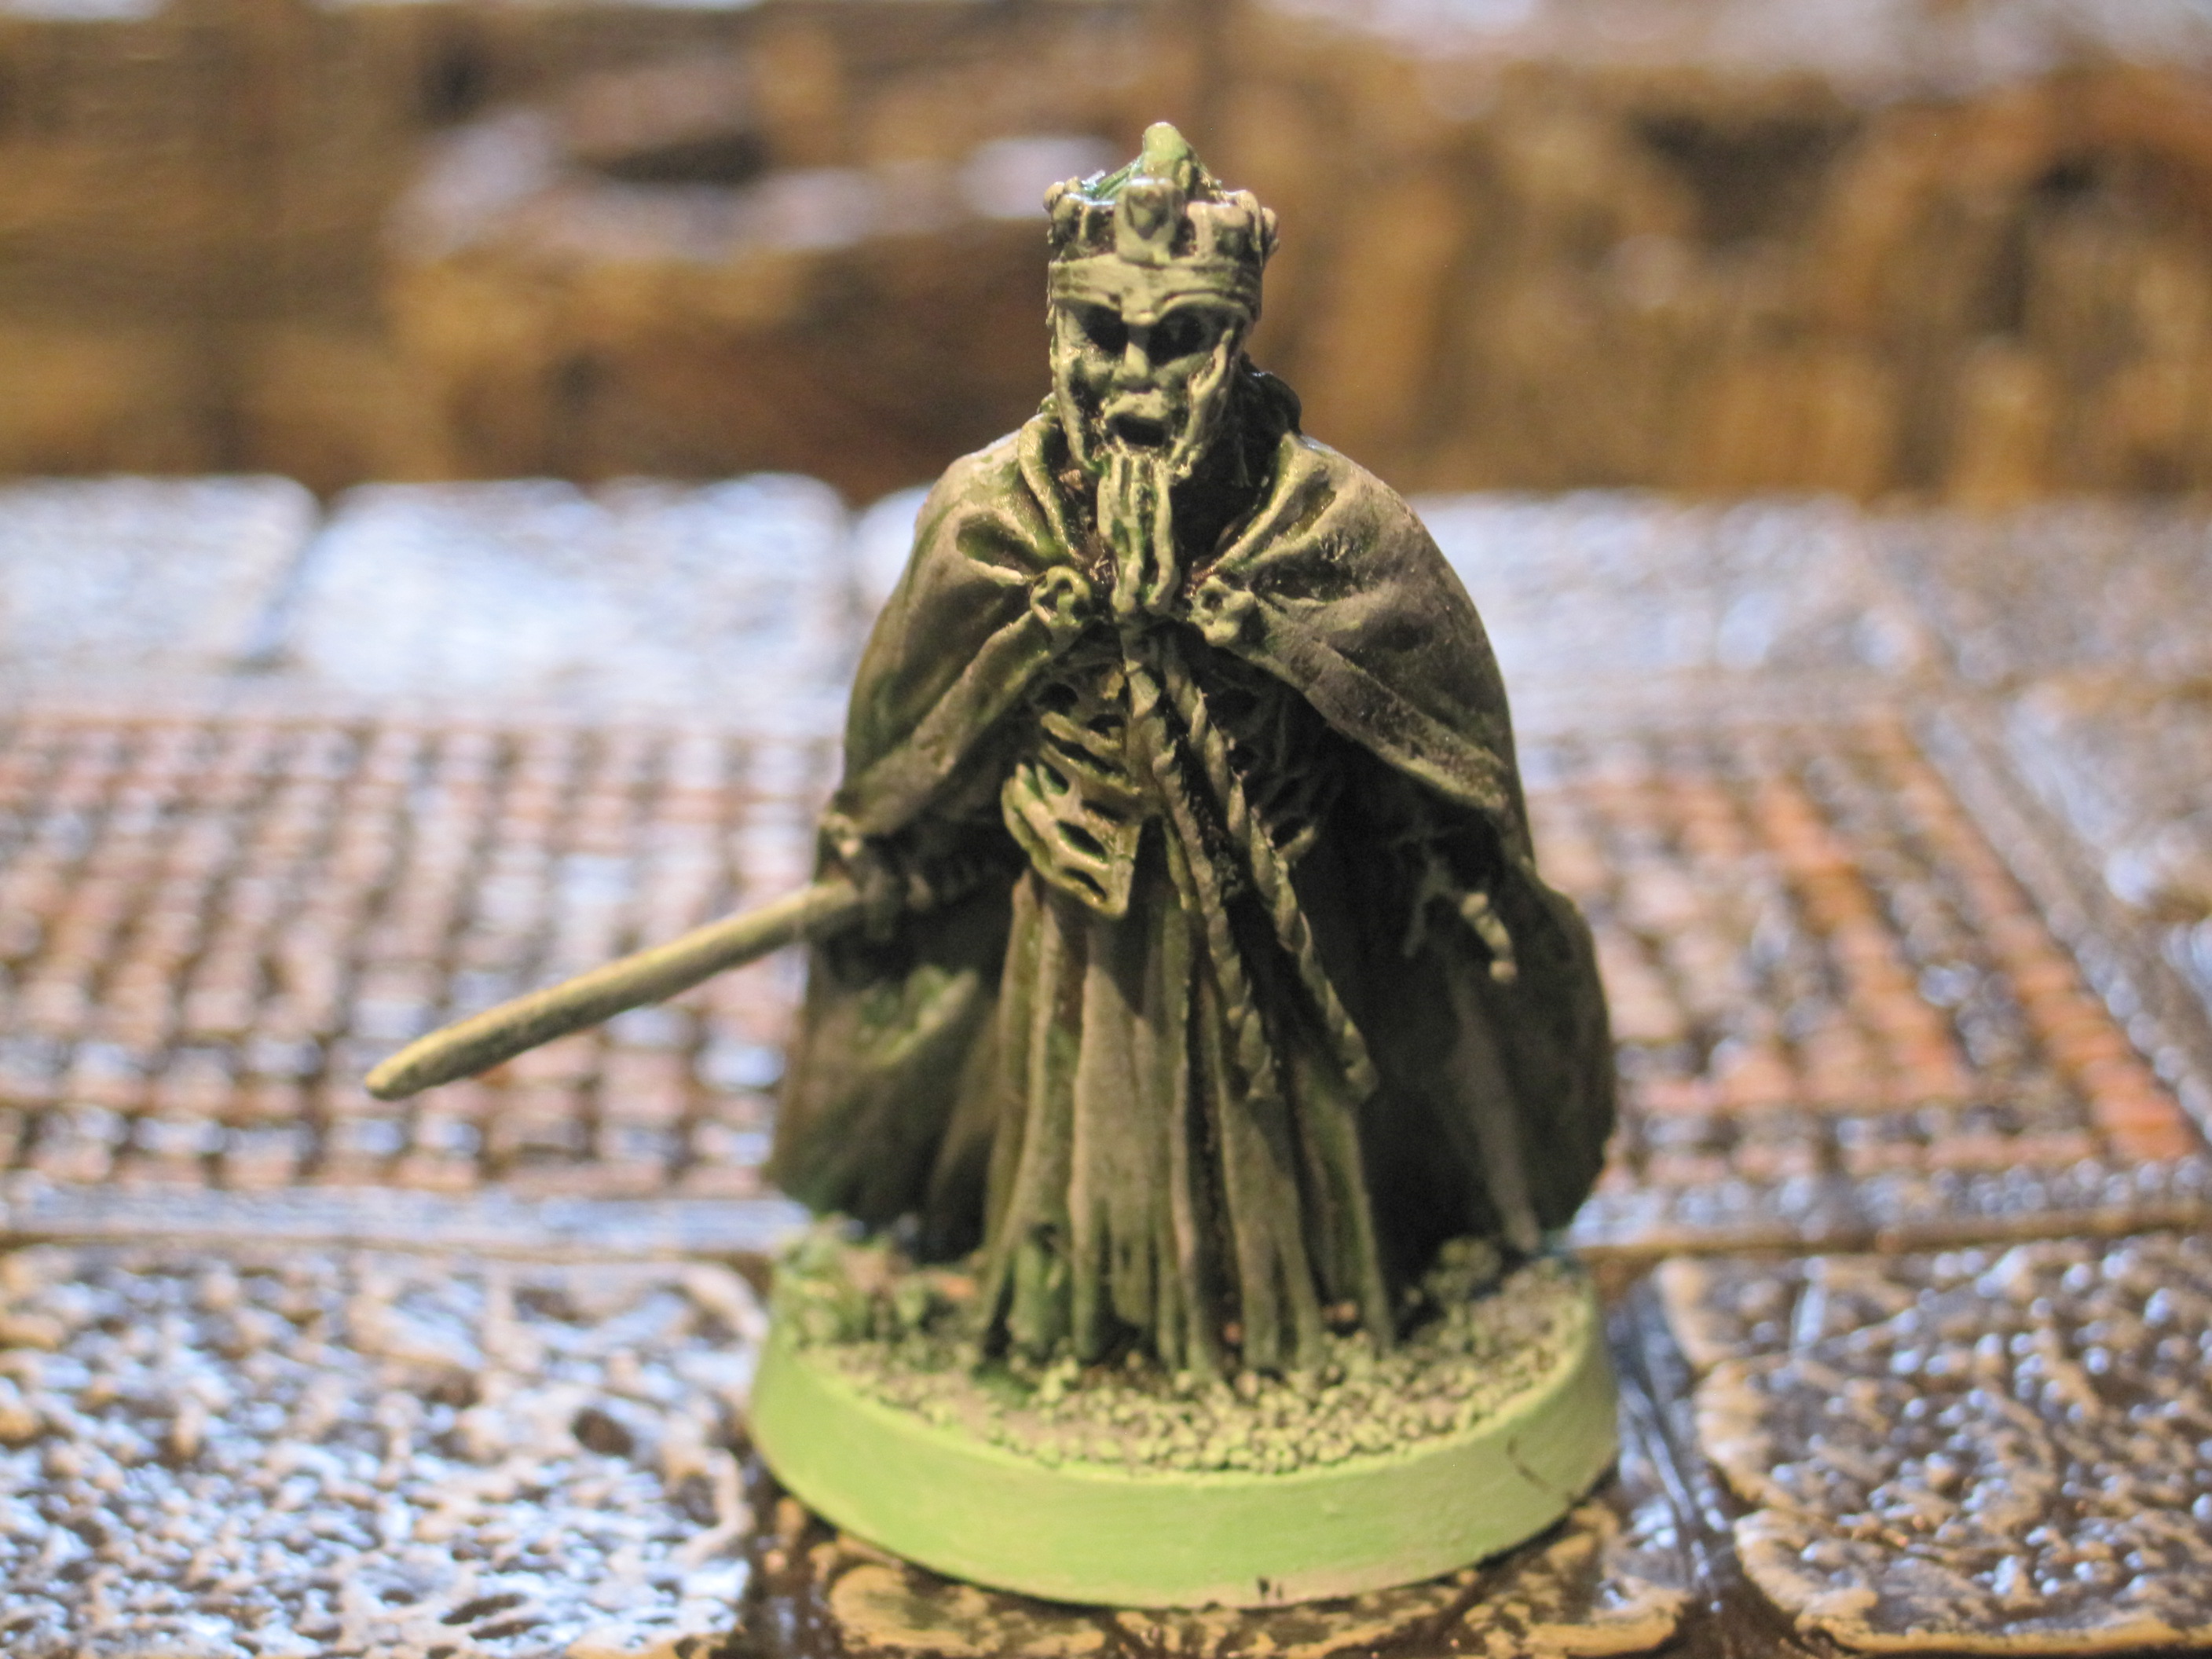
The rules are updated from the original and are indeed Advanced. See post below for pictures of the terrain and figures.
First scenario
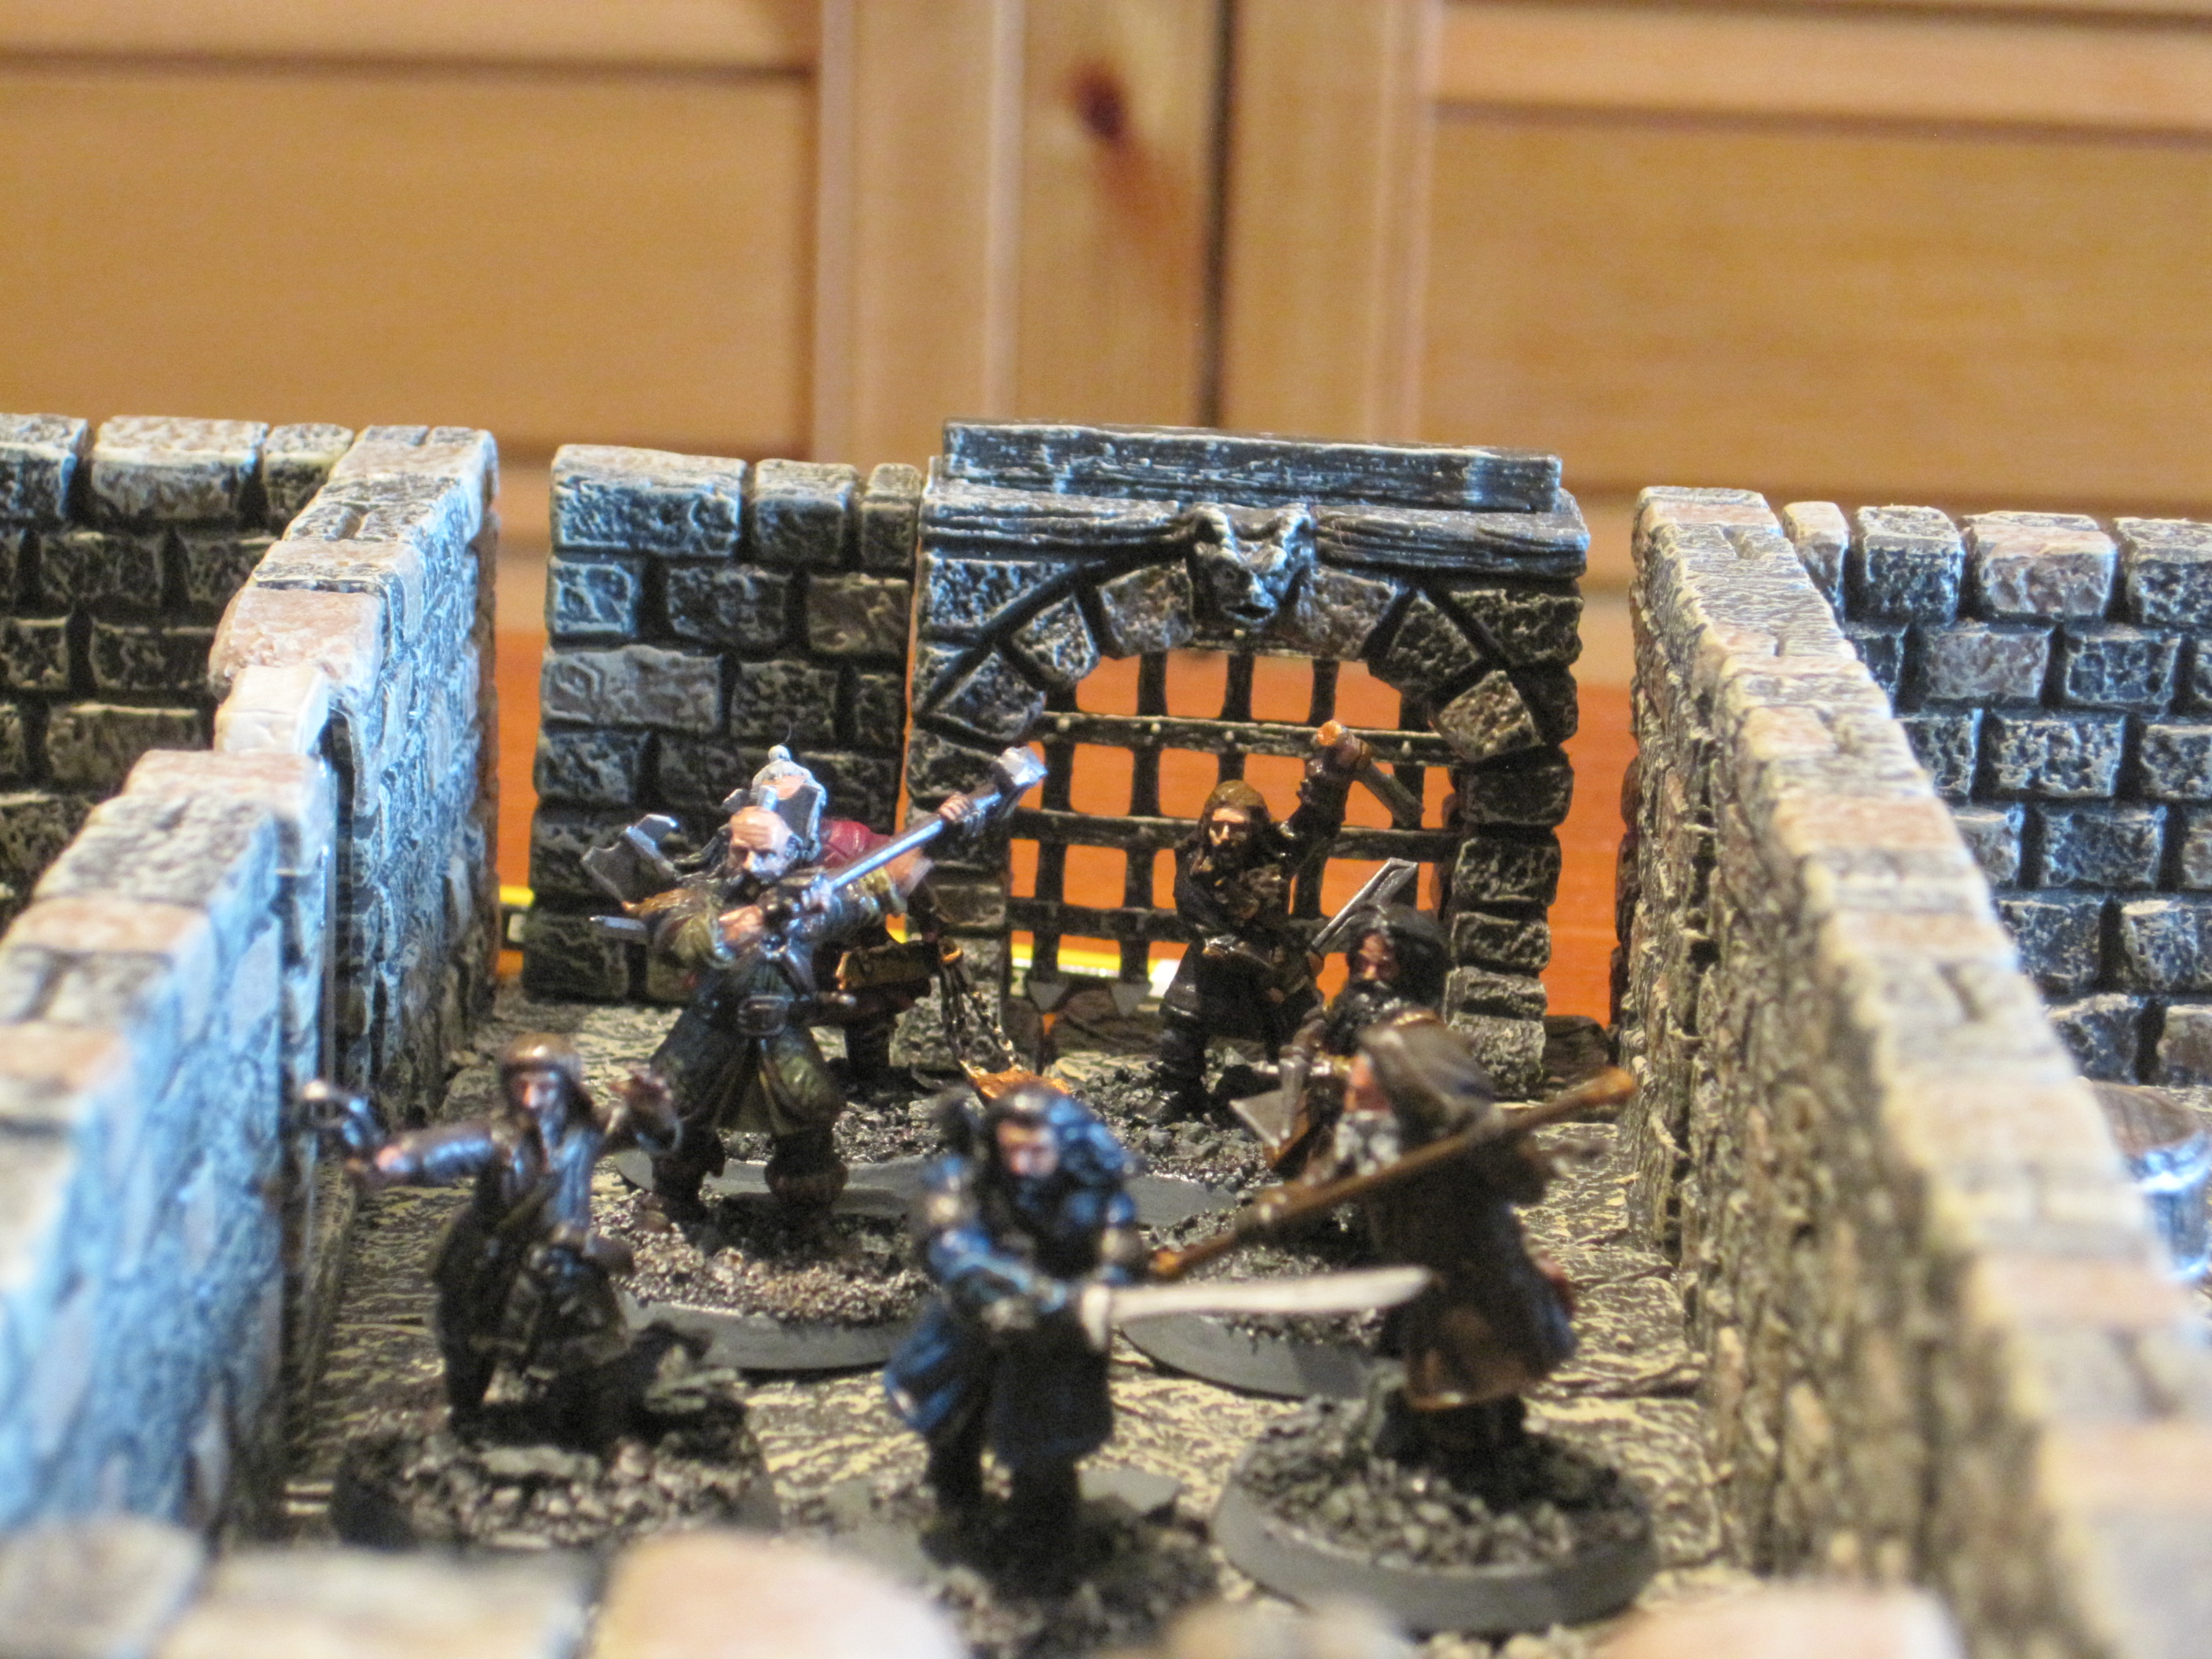
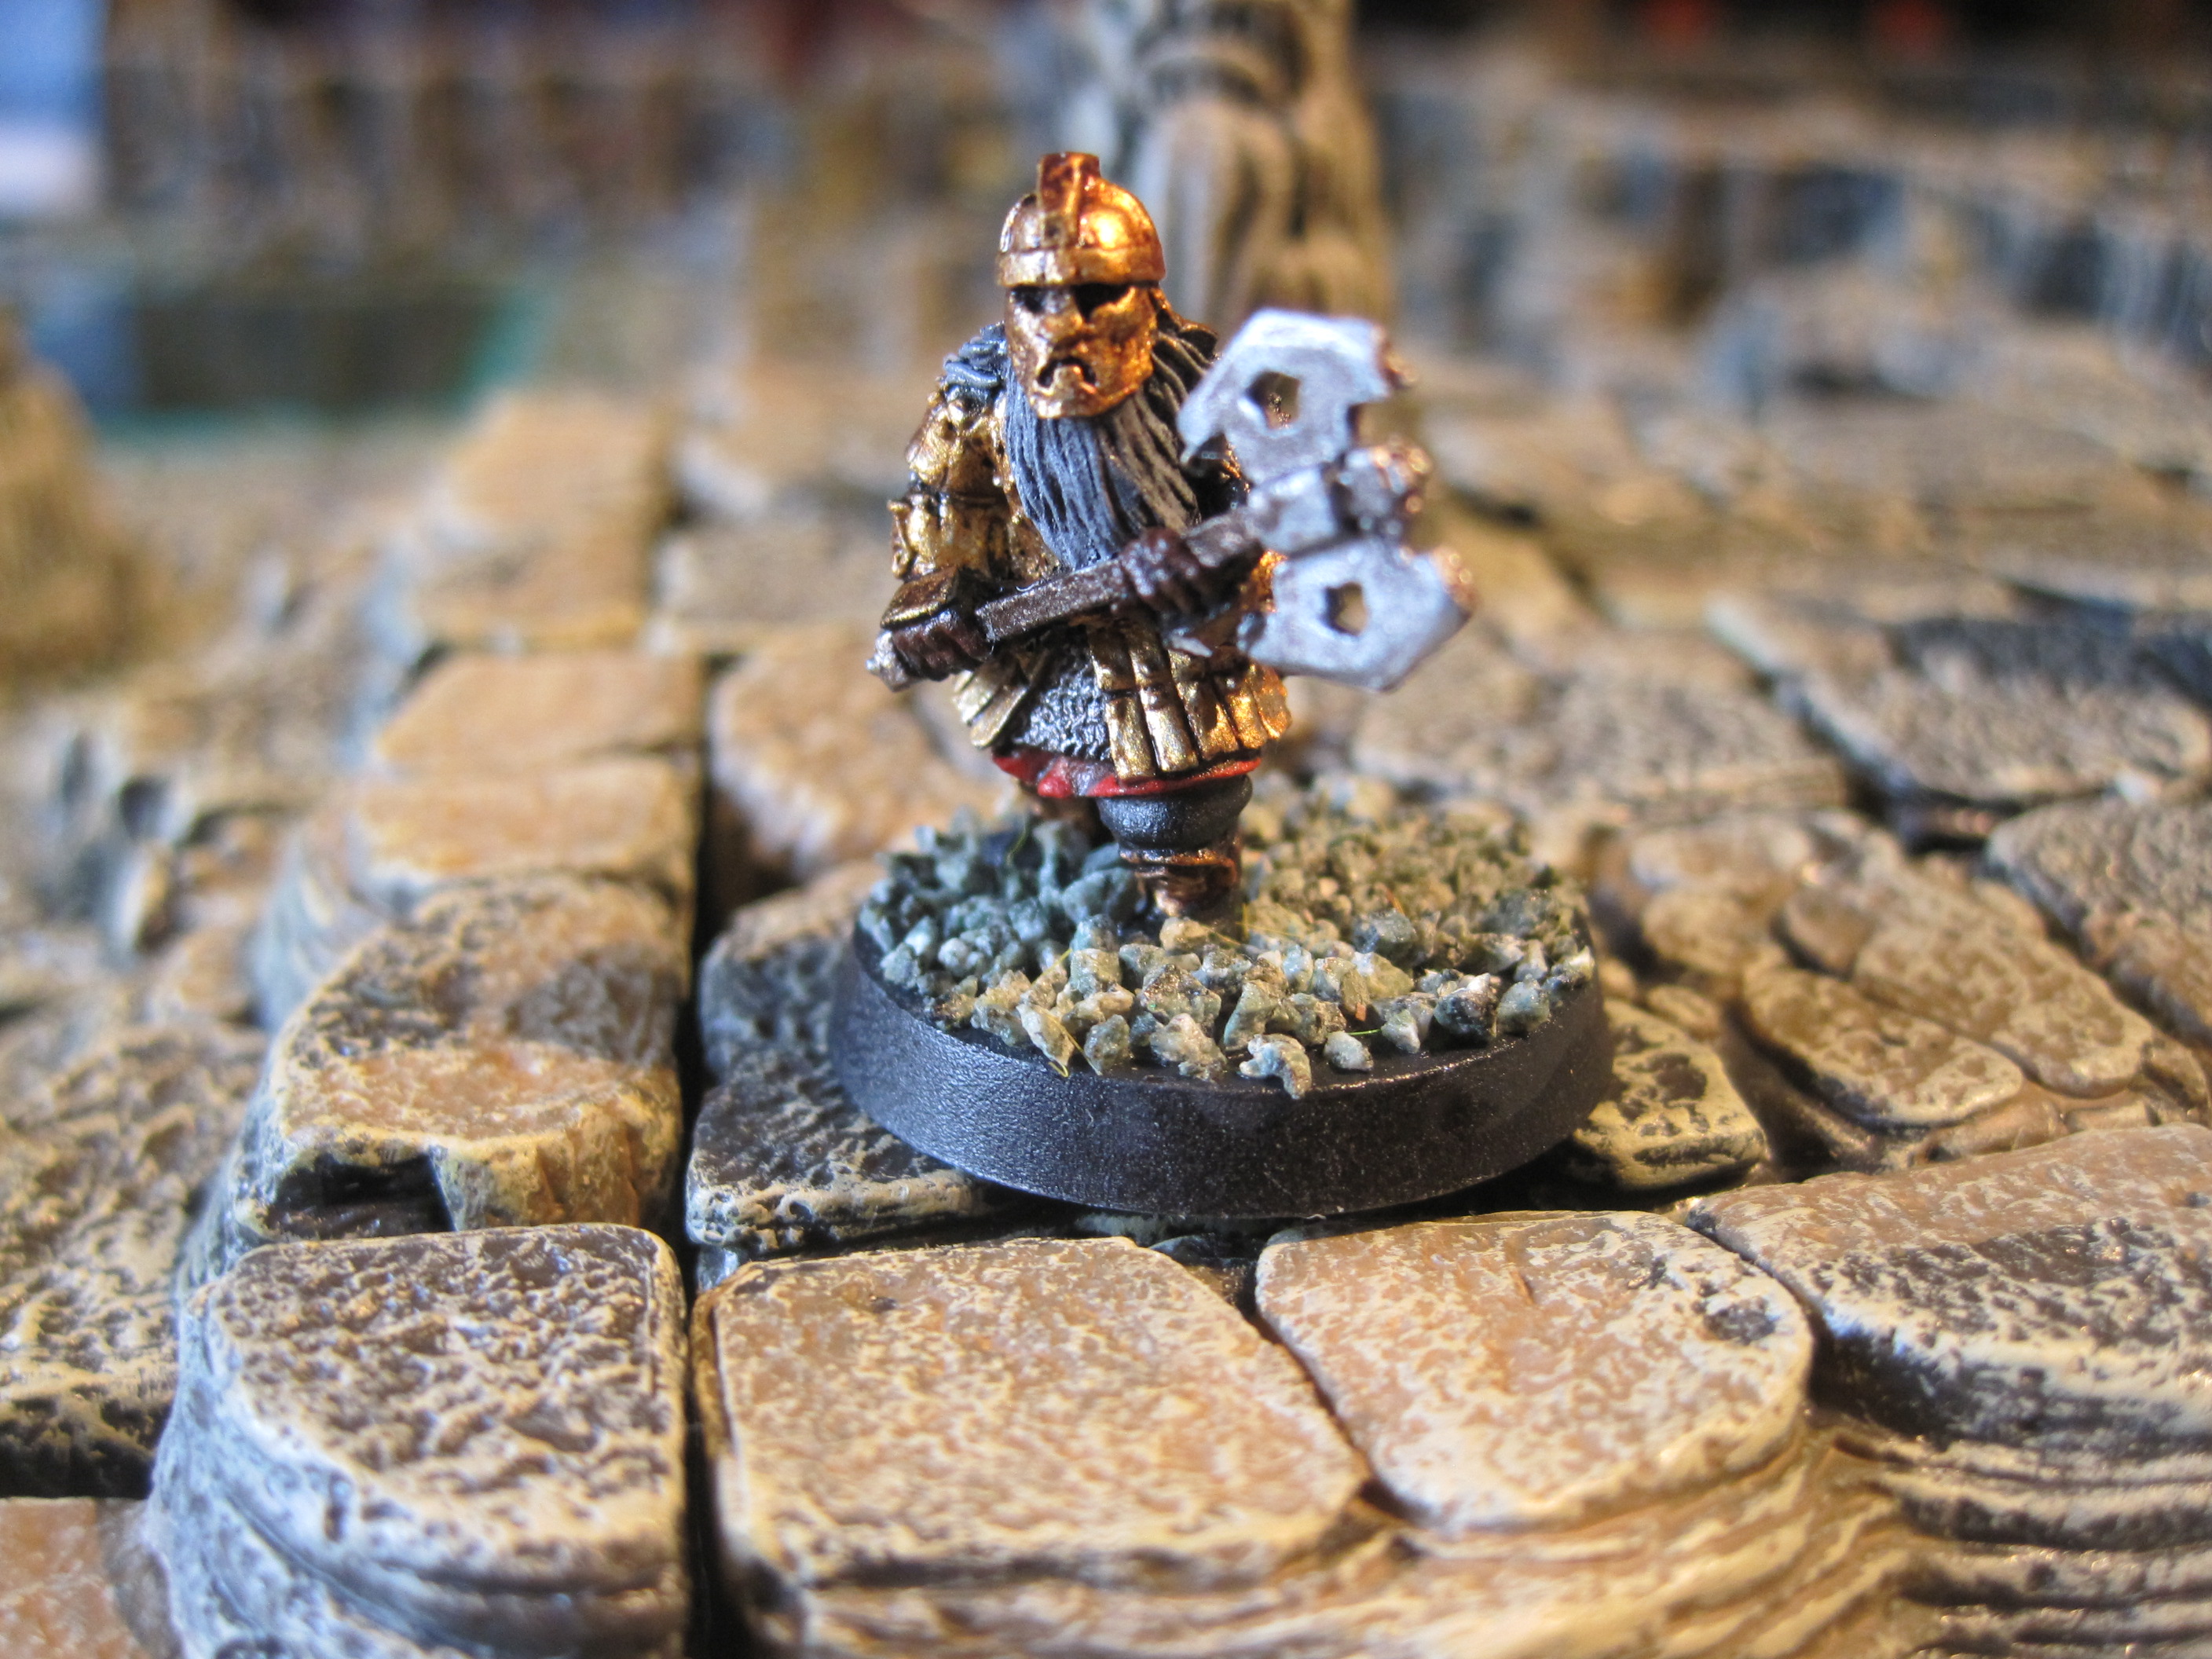
My first game involved the company of dwarves taking on the Undead. The profiles were mainly taken from the Hammer and Forge supplement. It was interesting to see how the two different types of leaders worked once I got the rules straight which took a little time.
The scenario was a Treasure Hunt with 3 treasure locations based on the map which was set up as the old Fortresses ground floor with a large feasting hall or audience chamber in the centre with a smaller raised platform within and then several rooms surrounding this. One of the Treasure locations would contain a valuable chest of gems and artefacts which each side was searching for. Either defeat the enemy or take it back to their baseline which would end the scenario and then VPs would be calculated. The dwarves were searching for gemstones and a map rumoured to be inscribed upon a large crystal. The Undead had been instructed/ impelled to stop them by their Lich Lord.
The Company advanced rapidly into the main hall and the thief headed towards the dais or platform. The Undead moved more slowly towards the Hall opening the doors but not entering whilst the Wight adanced quickly also towards the dais. The Thief reached the top of the dais first but was unable to cause any damage through sling shots at the advancing Wight. The Dwarves decided to advance towards the Undead in a line with their leader in support. The Undead formed up to meet them and then both sides stood and faced each other for a split second. The Wight charged the unfortunate Thief with incredible speed. Hoping to disengage the Thief attacked but suffered a terrible wound, falling to the ground out of action.
The Undead charged led by their Leader (lead from the front) and supported by the spear armed Undead warrior. They managed to force the Dwarves into combat and then were able to push their advantage subsequently. The Leader moved forwards to assist a downed colleague but was struck down mortally wounded in turn. This caused consternation amongst the dwarves who were already hard pressed in combat. Soon they were down to half their original strength and a further morale roll sealed their fate. The Wight picked up the treasure finding it on the first attempt and the Undead claimed a Major Victory.
I learnt about the two different types of leaders and how the new Lead from the front is useful when the lines are closing for battle. The other form of leader is still useful especially with his quality bonus but he can be left out of position when the lines close plus he cannot React with his groups during the opponent’s turn. The Reaction rules certainly added a great deal. It made moving low Q troops like the Healer harder and it gave good Q troops like the well led dwarves very quick on the battlefield despite their short legs. The biggest difference was that no longer can you just throw 3 dice with your final model and just get away with it.
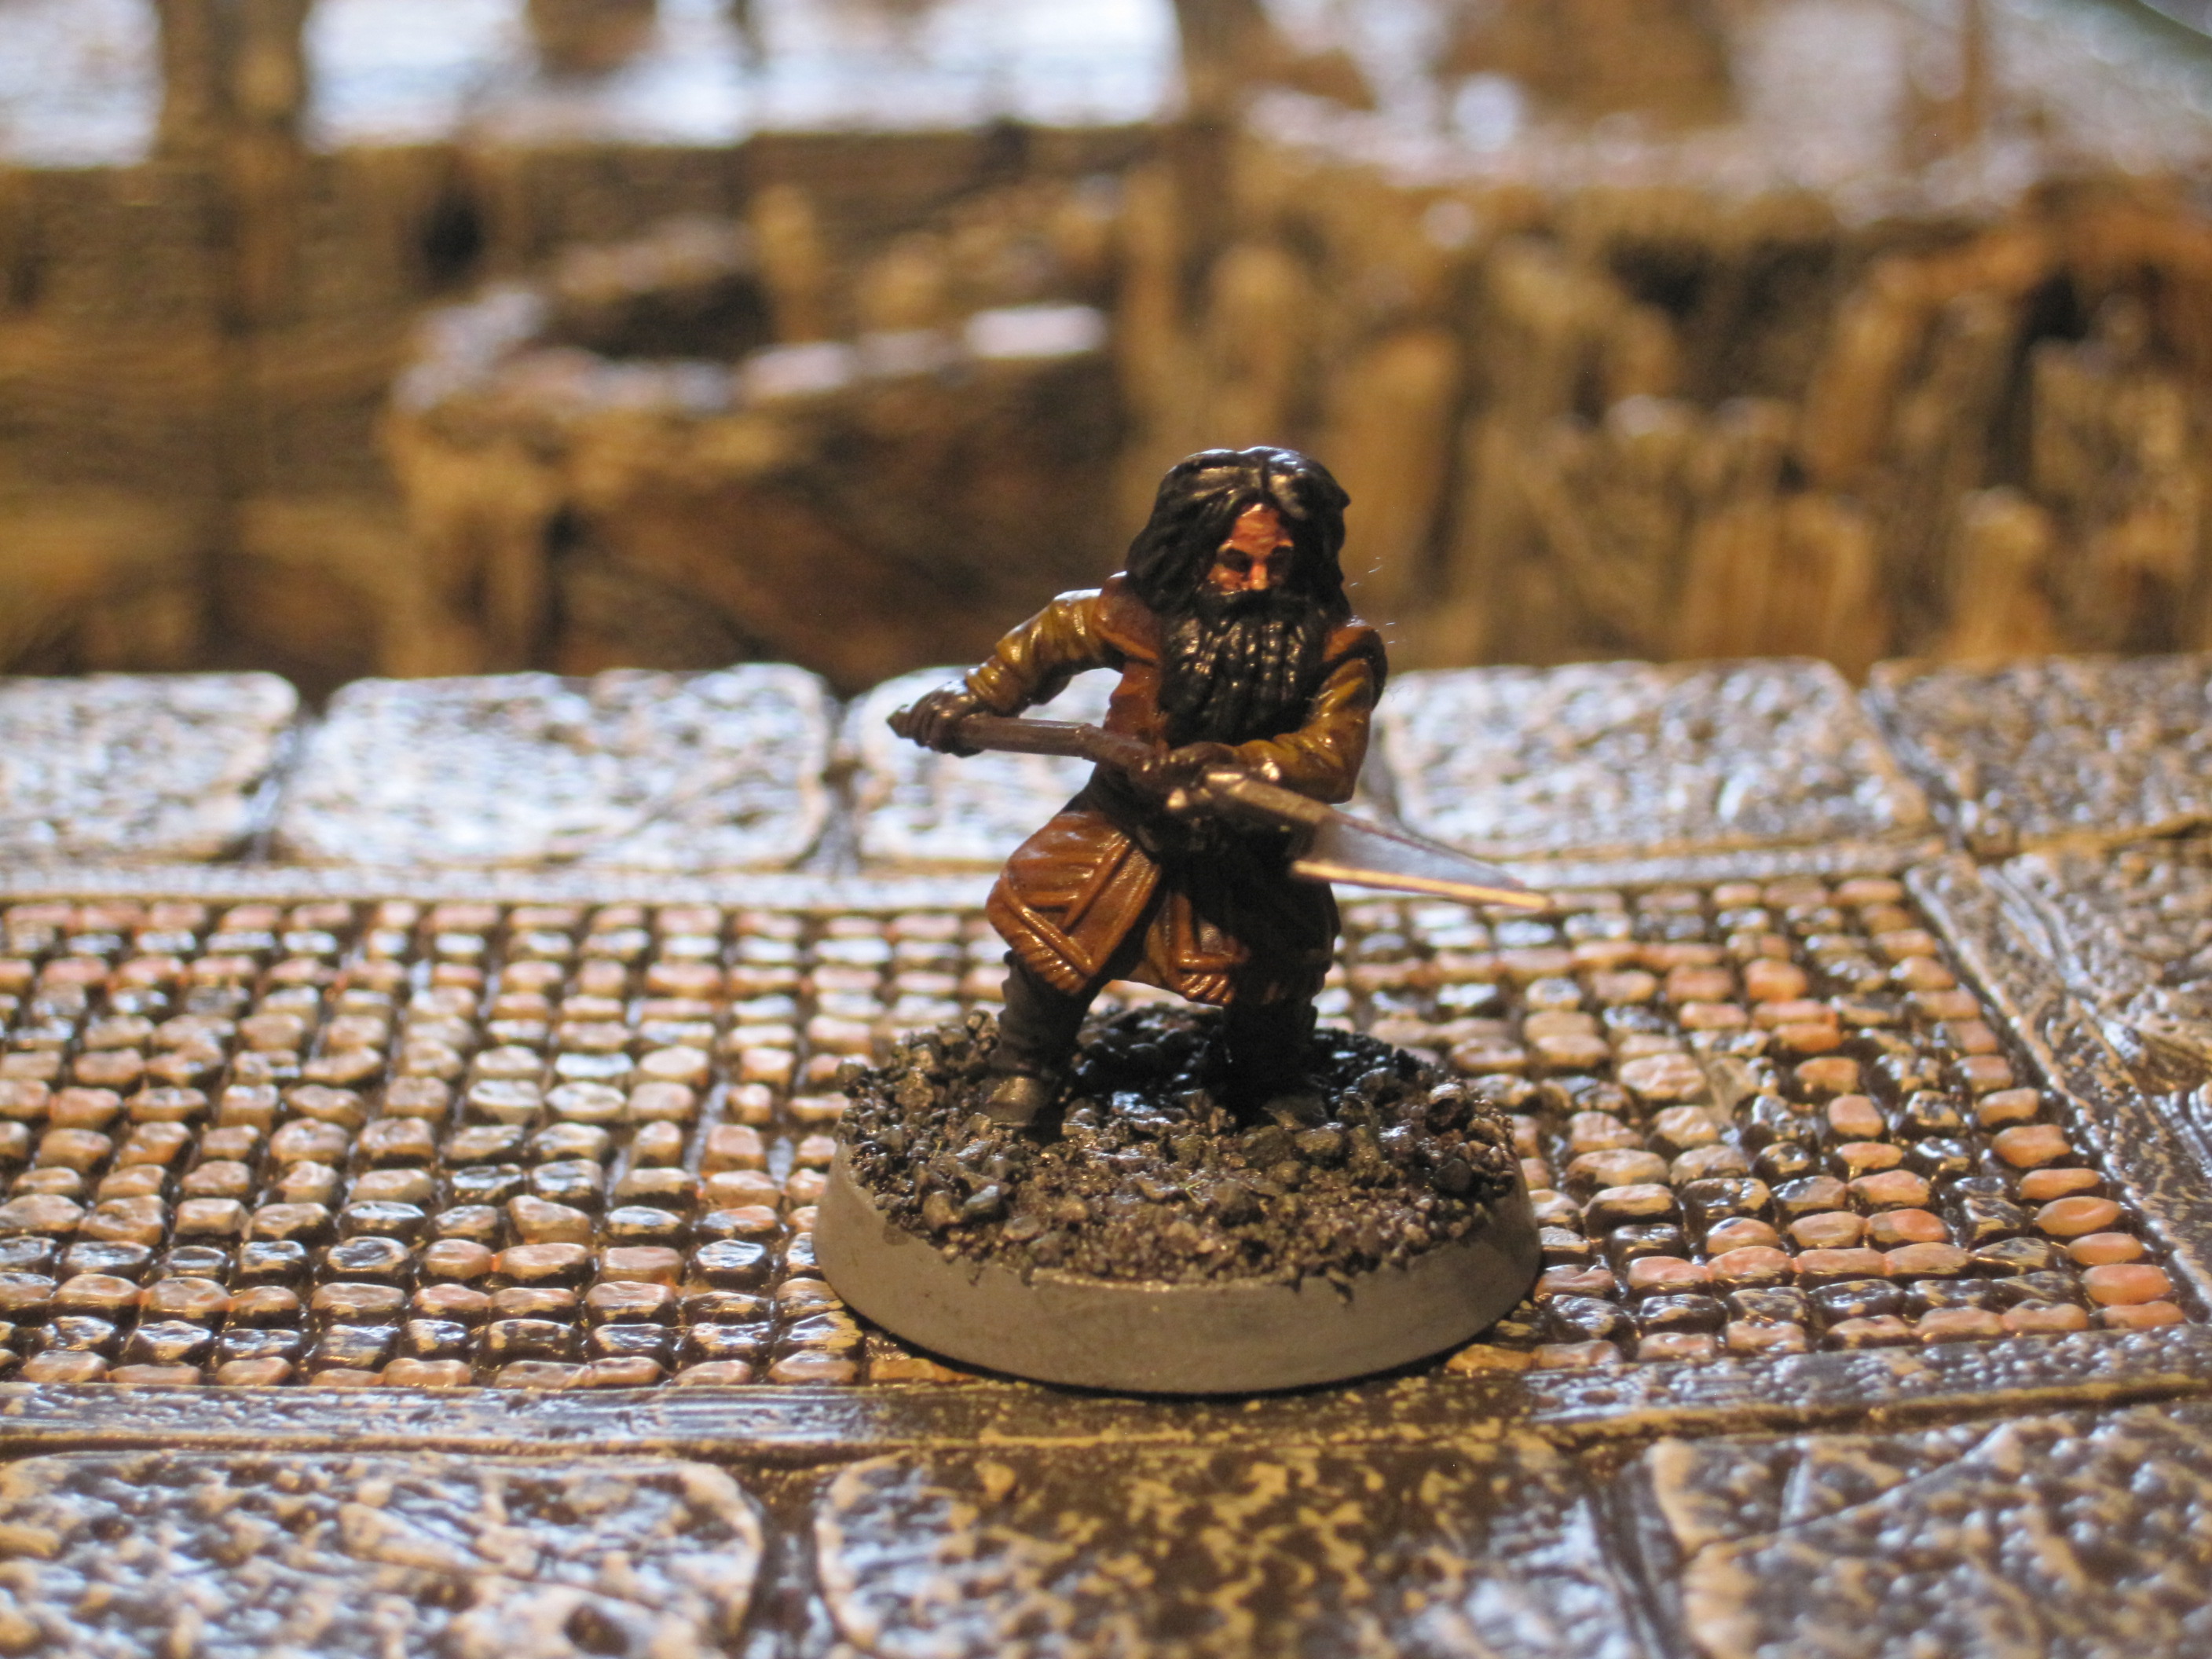
Next I played a straight forward engagement as the goblins and the Dwarven Infantry set about clearing the caverns below the fortress. The Dwarves moved quickly into the chamber being split into two groups. one the leader with his axemen and the others in the second. The Goblins also had to split with their Leader (old style) with the archers to their left and the rest in the centre having to move around the shallow Lake (difficult ground).
The Goblins found it very difficult to activate at Q4 or 3 and this gave the Q3 (2 with Lead from Front in their Group) plenty of Reaction opportunities which they tended to pass. The Goblins always seemed to fail their reactions.
Second scenario
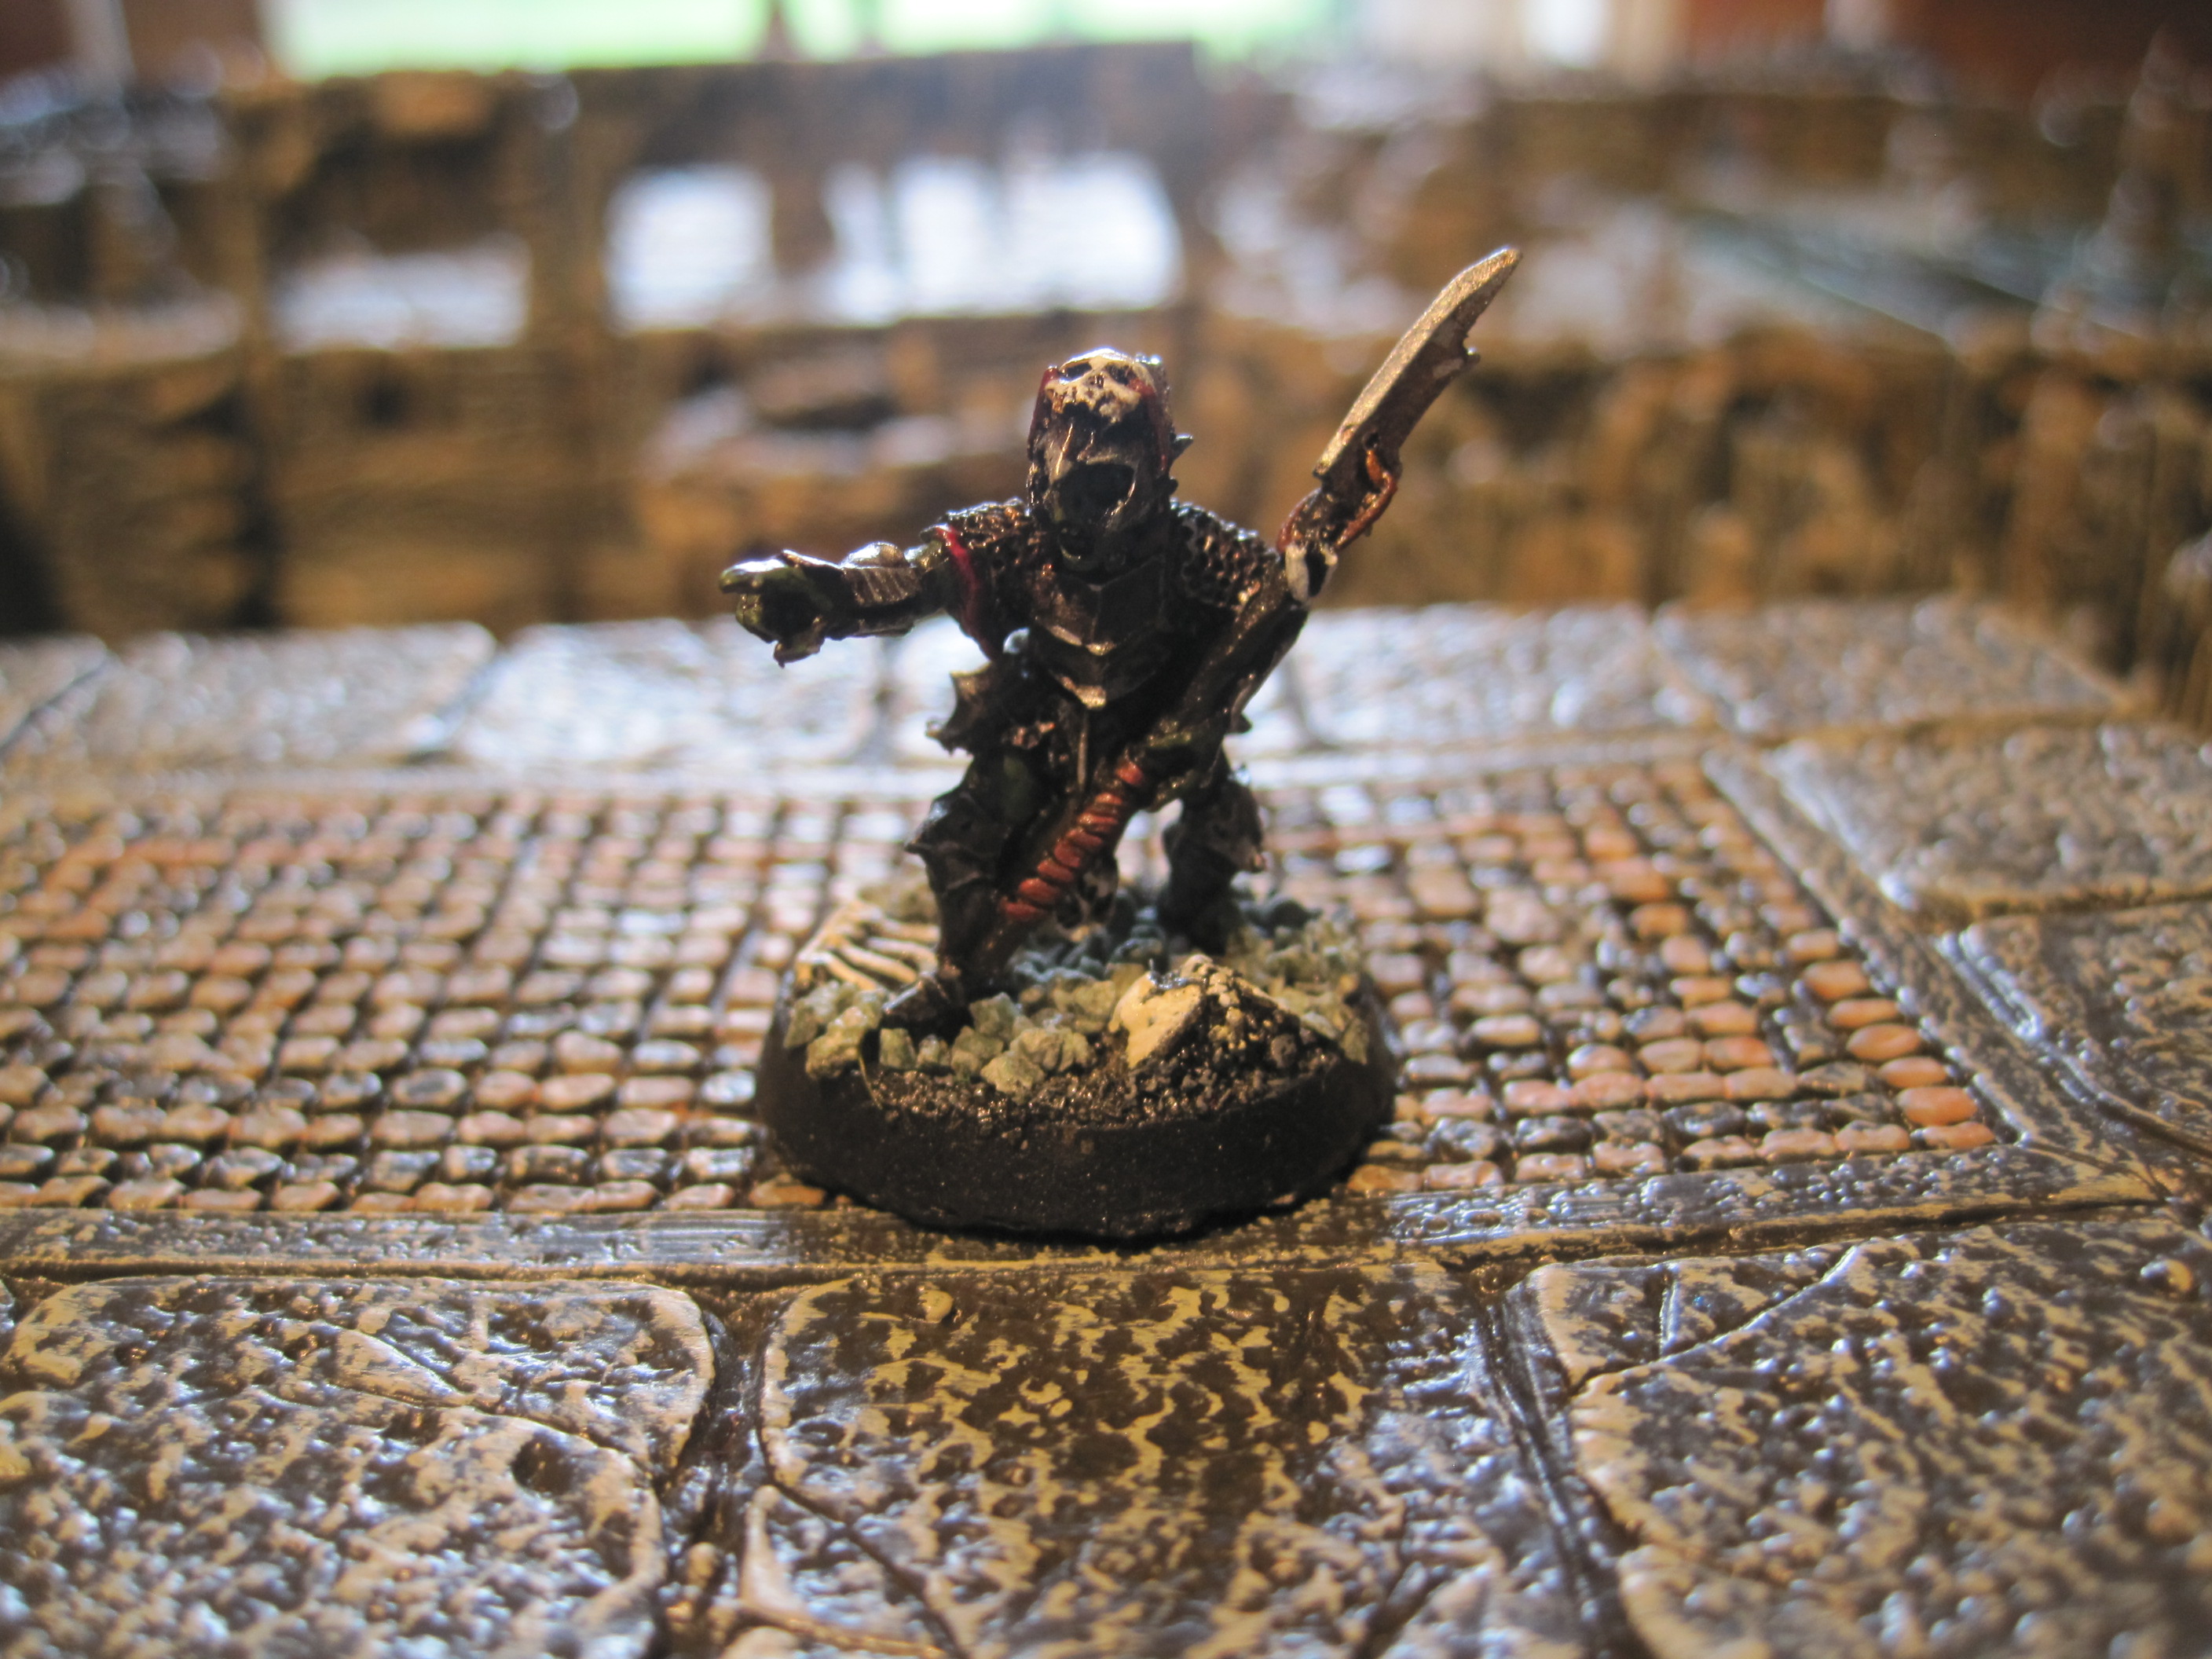
The result was that the Cave troll entered the main chamber quite isolated and was set upon by a large force of Dwarves. The Acolyte created a Wall of Wood to channel him towards the warriors. Meanwhile the archers and throwing axe armed dwarves took the high ground. The Goblin infantry charged and was looking quite bad for the archers until one defended himself so well with his short sword he scored a gruesome kill on the attacking goblin who failed to block. As can be imagined this caused a minor rout jut at the wrong time for the isolated Troll. To add insult to injury having finally got his group of archers into position for a concentrated shooting attempt they failed to activate. The Goblin Chosen bowman did score a great kill on one of the dwarves which was quite fun to see The Tough Troll though was eventually pulled down and the dwarves began to threaten the Leader breaking through the Goblin shield line. The Goblins decided at this point to give up.
This game really made me see how poor quality Q4 troops can have a hard time. It was difficult in old SoBH but with the new reaction rules it is even harder as your opponent keeps benefitting from your fails. I think a new player might get quite dispirited being given a Goblin Horde to fight off the mighty dwarven infantry backed up by a Healer and a Hero in their ranks. So I have created an alternative Orcish warband who are slightly better in terms of Q rolls and with less troops it is easier to benefit from the old style Leader. It transpires that a Leader can only issue one Group activation order a Turn and it is his final action of his activation so having two large groups of cheap goblins is not always ideal.
I also liked the new weapon types and spells which add a lot more detail and flavour to the game.
All in all I much prefer the new Advanced rules but it is definitely worth remembering that poor Q troops are rated poor for a reason. Q4 is considered poor whereas most trained troops would be expected to be a Q3 at least and the game is designed with this in mind.

Bruce introduced Mike and Phil to this game set in the Star Trek Next Generation Universe. Mike quickly grabbed some Klingon War-like crew and a new ship and then set about attacking and destroying Phil’s ships every time a Battle occurred. Phil managed though to take a lead on VP’s thanks to having a more diplomatic crew and Bruce too pursued a less militaristic path. Bruce though relied heavily on certain characters who suffered some bad luck and were not able to help him at the right moment. Phil had some bad luck with his ship being attacked by star ships drawn as events which weakened him. Eventually though Phil was able to get a superfast ship and keep out of trouble more easily. Mike steadily accrued VP’s mainly it seemed through defeating any star ship foolish enough to attack him be it a shuttle, hospital ship or a raider vessel. Bruce benefited from VP’s when Phil and Mike mutually destroyed each others ships. Finally though Phil was able to take a convincing lead with a big 100VP event only he could match and then soon made it to the finish line to claim victory. A good game and certainly fun and challenging to play!
Our second battle in the Harondor campaign was fought with two large 200 point armies: Gondor led by Bruce and Phil against Mordor and Harad led by Darryl and Mike respectively.
Bruce took charge of the Gondor Knights this time boosted by the presence of the Prince of Ithilien and his Royal Guard on the left flank. Phil was in charge of the infantry boosted by the Pelargir Citadel Guard and some artillery. Opposite: Mike was in charge of the Haradrim and Darryl the forces of Mordor boosted by some more Uruk Hai and artillery.
The battle began with Gondor advancing steadily, moving artillery onto the hill for a commanding view of the rough ground opposite and the infantry moved in to the buildings (ruined temple by the river). The light infantry rangers placed out of command on the far right did march forwards but then spent most of the game failing to activate.
Mordor attacked by sending in the elephants against the bowmen and spearmen of Gondor. The harad cavalry skirmished with the late knights but this time their armour saved the Knights from injury.
The Trolls (Elephants) took a lot of shots coming in but did manage to close with the enemy. The deep spearmen suffered a double disorder and the loss of their commander but they did manage to heroically kill the Troll. Another Troll faced a barrage of missile fire but was at last brought down by an artillery bolt from the hill. The only hit the artillery scored all game but a crucial one.
The Gondor infantry successfully occupied the buildings as the facing Uruk Hai proved very reluctant to advance. Then when ordered to charge and take the ground they consistently failed to activate with an ace card every time! On the far left flank the Gondor Knights pushed back and destroyed the Harad cavalry. However the Harad commander proved resilient and simply joined his light cavalry. Mike then moved his redoubtable javelinmen over to that flank and held the Knights up even defending against flank attacks before driving a unit off the board in disorder.
On the Gondor far right the Rangers failed to move. Whilst in the centre with the Trolls now dealt with the Gondorians were able to rally their forces just in time before the Morgul Knights charged into contact. Gondor held! The citadel Guard advanced towards hitherto immovable Half Trolls. The foolhardy Gondor infantry attempted to destroy the uruk Hai whom their archers had disordered but were soon sent scurrying back into the buildings in disorder. The Uruk Hai still kept drawing aces though so could not rally and push their advantage.
The Morgul Knights easily pulled back to the safety of the ground behind the hill and planned their next move. With the Knights pushing hard against the Haradrim to his right and his Uruk Hai stubbornly failing to advance on his left the Marshall of Umbar was in no hurry to attack the now rallied Gondor infantry in the centre. So the forces of Harad and Mordor retreated whilst the camel riders and Harad light horse archers held the Knights back long enough. Even the reluctant rangers had advanced in sight of the Uruk Hai but too late to have an effect. So victory was awarded to the forces of Gondor especially the Knights led by Bruce and the Prince of Ithilien.
After the battle we felt the Trolls had once again caused a lot of trouble and delay for the Gondorian infantry, even killing their commander but had failed to make any great impact in terms of destroying units. The Bowmen would probably be better deployed a box ahead of the shieldwall infantry to allow a retire and then swap places as opposed to being in the same box then stuck in front once the enemy close. Also Darryl felt the Harad cavalry wing with a lot of lights would be better deployed broken up and mixed with the infantry rather than attempting to face off against the superior Gondor Knights. The artillery did not really have a huge impact as their fire can easily be drawn towards light units in rough going but they did kill a Troll and save a unit of bowmen which was quite impressive. Artillery in a building (presumably placed on a tower or rooftop) would be even more useful as they can see over intervening troops more easily. The Mordor bolt thrower did not even shoot as it was killed by archers as soon as it was deployed on the hill but it did draw fire away from the Morgul Knights so that was important. Finally we could not work out what the defensive bonus for formed infantry in buildings was though it did not matter because the Uruk Hai never did manage to activate. If they had then they probably would have captured the buildings. Placing formed units out of command in a maze of rough ground is not a good idea as the Rangers found out. All in all another good game of To the Strongest and everyone enjoyed it with Bruce soon capturing the essence of the rules and activation mechanisms.
Using the To the Strongest rules Mike and Phil introduced Darryl to the To the Strongest Rules. Gondor against Mordor and the Southrons with Phil playing as Gondor. This was to be the first battle in our Harondor mini-campaign. Harondor a debatable and desert land.
First of all we set out the terrain using the rules. We thought we had placed quite a bit but when the cards were drawn almost all the terrain was removed so the armies faced across an open plain as the Sun rose in the harsh arid lands of South Harondor. The Prince of Ithilien hoped to force the enemy back as they headed up the old Harad Road North to Pelargir.
The battle began with the Gondor army advancing forwards rapidly to take the Middle ground. The Knights to the left flank, infantry centre and the Prince’s infantry and Guard cavalry to the right. The right flank infantry failed to advance. In response the Far Harad infantry advanced towards the Knights and the Trolls (Elephants) down the centre. The Harad cavalry opposite the Gondor right advanced and harried them with horse archers with little success.
On the Gondor left however events unfolded rapidly badly as the Javelinmen brought down Findegil the Commander and disordered his Knights. He was led from the field gravely wounded unlikely to ever be able to ride again. The Knights in disorder and without a commander would find it difficult to make much progress from now on.
In the centre the trolls struck the Large Units hard and heavily disordered them. They proved impossible to injure and the infantry struggled just to avoid destruction.
Eventually the Gondor Knights were slowly pushed back but continued to hold the left flank. In the centre one Troll was slain and rampaged towards the Marshall of Umbar with little effect. The others proved indestructible and the Gondor centre was buckling with a couple of units on 2 disorder. On the Gondor right flank the Prince had by now advanced his forces and was pushing the Harad cavalry back. The Serpent Guard lost a unit and the Black Serpent himself had to flee and join the second unit as the infantry pushed forwards. The Harad counterattack though was deadly and a whole large unit of infantry was destroyed. The Knights held their own and pushed back the skirmishing cavalry to the baseline but were disordered in the process.
At this point seeing that the day was lost and before his centre collapsed the Prince of Ithilien withdrew his forces and victory was awarded to the forces of Mordor and Harad. Well done Mike and Darryl.
The Trolls proved especially effective. This was helped when Phil drew an ace when trying to activate his division as they closed thus failing to shoot at a crucial moment. The deep units with extra bow proved very resistant but the extra bow was not so effective when compared with a separate unit of formed archers of course. The fact that they could never seem to hit a Troll and then when they did they always saved caused problems for Gondor. This was compounded by a bad start down the left flank with the early loss of their commander there.
Spent some time researching for a battle using the To the Strongest Rules to be fought in Harondor. Thus it will be Gondor against the Southrons. Hopefully will get to fight it in the next few weeks.
Link to the page here.